My living room looked boring with just flat walls and bare windows.
So I decided to try window molding, and I wasn’t sure it would work, but after one weekend, the difference was noticeable.
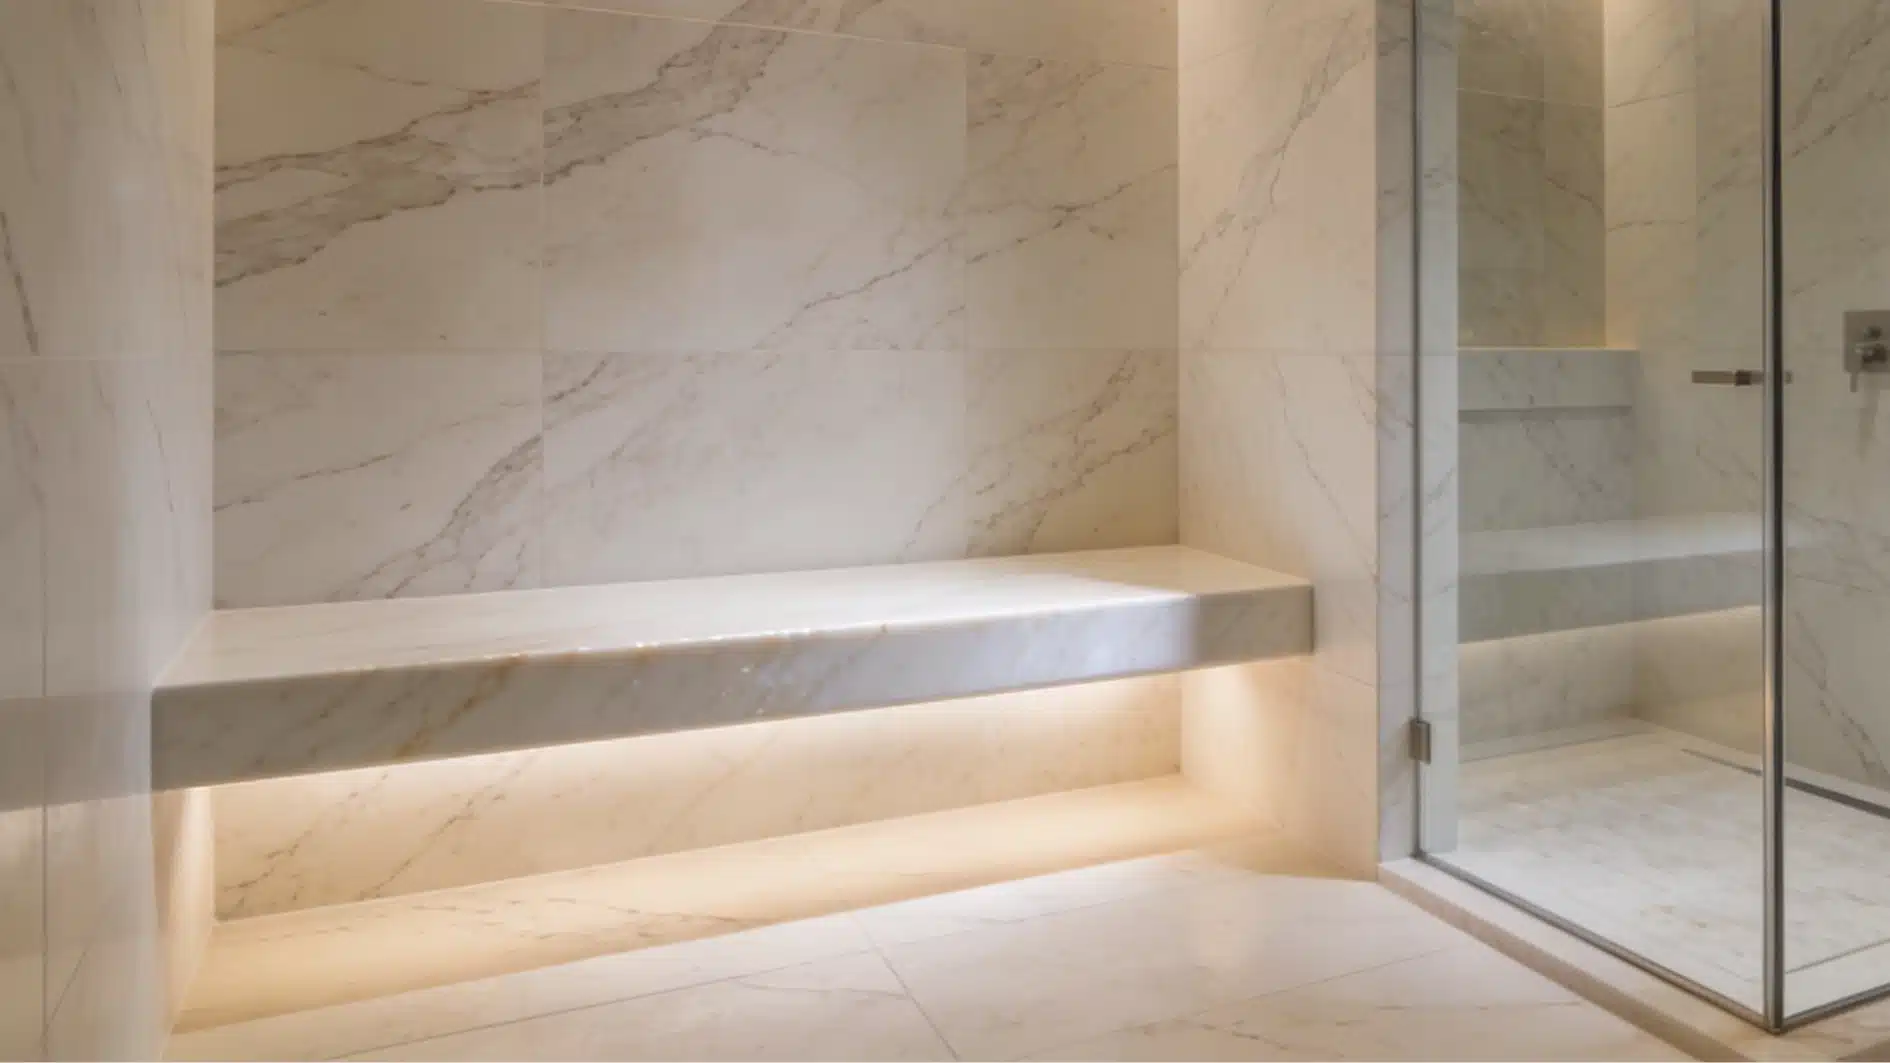
A simple, minimalist window trim gave the whole space a clean, finished look, and it’s way easier than it sounds.
Keep reading, and you’ll find everything you need to know.
Why You’ll Be Obsessed with Window Molding?
If you think it was just a decorative thing, something only fancy homes have, it’s not the case. It covers the gap between your wall and the window frame.
That gap, if left open, can let in drafts and even moisture over time, so it’s practical too.
A room without window molding feels bare and unfinished.
And you don’t need to be a pro to get it right.
Types and Styles of Window Molding
These are some common types and each style serves a purpose, so pick what fits your room best.
1. Casing Molding: Itis the most popular one. Window casings frame the window and cover the gap between the wall and the frame. Most homes already have this.
2. Apron Molding: This one sits below the window sill. It adds a finished look to the bottom half of the window.
3. Stool Molding: It is the flat, horizontal piece that runs along the bottom of the window, probably seen in older homes.
4. Rosette Blocks: These are small square details placed at the corners of the frame. They look great and make installation easier, too.
5. Minimalist window trim: It works perfectly in modern and contemporary spaces.
Step-by-Step DIY Installation

Installing window molding is very simple; follow these steps, and the whole project will take just one weekend.
Step 1: Measure Your Window Frame
Grab a tape measure and get the exact dimensions of your window frame.
Measure twice, cut once. Write everything down.
Getting this wrong means wasted materials, so take your time here before doing anything else.
Always add an extra 10% to your material estimate to save an extra trip to the store.
Step 2: Choose Your Molding Style
Head to your local hardware store and pick a style that suits your space. If you have a modern home, a clean, minimalist window trim works best.
Think about the thickness and profile, too.
What looks good on the shelf should also look right on your wall.
Step 3: Gather Your Tools and Materials
Having everything ready before you start saves a lot of back-and-forth. These are the tools you’ll need:
- Miter saw
- Hammer and nails
- Wood glue
- A level
- Sandpaper
- Caulking gun
Step 4: Cut the Molding Pieces
Use your miter saw to cut the piece at 45-degree angles for the corners.
Cut slowly and carefully, and make a clean cut as it makes the joints look tight and professional. Test each piece against the frame before moving forward.
Mark the cut direction clearly with a pencil before sawing.
Step 5: Dry Fit Before You Fix
Place all your cut pieces around the window without nailing them yet to spot any gaps or misaligned corners. And adjust accordingly.
A dry fit takes only a few minutes but saves you from having to fix mistakes later on.
Use painter’s tape to hold pieces in place during the dry fit.
Step 6: Apply, Nail, Fill, and Sand
Add a thin line of wood glue along the back of each piece. Press it firmly against the frame and nail it in.
Keep a level handy to make sure everything sits straight, and work from the top piece down. Once done, fill nail holes with wood filler, let it dry, then sand smooth.
Use a fine-grit sandpaper, around 120 to 150 grit, for the smoothest finish.
Wipe squeezed-out glue immediately with a damp cloth, as dried glue shows through paint.
Step 7: Caulk the Edges
Run a thin bead of caulk along all the edges where the molding meets the wall. Smooth it with your finger or a damp cloth.
This seals any small gaps and gives the whole thing a clean, finished look, so don’t skip this step.
Step 8: Paint or Stain Your Molding
Now apply your paint or stain in thin, even coats. Two coats usually work.
Let each coat dry fully before adding the next. Match it to your wall color, or go bold with a contrasting color. It will look good either way.
Use a small angled brush for cleaner edges near the wall for more control and to keep lines sharp.
Basic Maintenance You Need to Keep Doing!
Once your window molding is up, keeping it in good shape doesn’t take much effort. A little regular care keeps everything looking alive.
- Wipe it down with a damp cloth every few months to remove dust and grime.
- Check the caulk lines once a year and reseal any cracks that appear.
- Touch up paint or stain whenever you notice chips or fading.
- Look for signs of moisture damage, especially around bathroom and kitchen windows.
When to Upgrade?
If the wood feels soft, warps, or shows deep cracks, it’s time for a replacement.
Don’t wait too long on this. Small damage spreads quickly, especially near windows where moisture builds up.
Upgrading to a thicker profile or switching to a minimalist window trim style can give your space a completely fresh look without a full renovation.
Why do Your Doors Need Molding Too?
Door molding and window molding work together to tie a whole room together.
If your windows have clean, finished frames and your doors don’t, the room feels uneven, so adding it to your doors creates a consistent look throughout the space.
It also covers gaps between the door frame and the wall, just like window molding does. So it’s practical too.
The installation process is almost identical.
If you just finished your windows, your doors are the natural next step.
- Use the same profile for both to keep things consistent.
- Match the paint or stain for a pulled-together finish.
- Start with interior doors first before moving to entryways.
Final Thoughts
Before I started this project, I thought window molding was only handled by the contractors, but no, anyone can do it.
Also, you don’t need to spend a lot.
So if you’ve been sitting on this idea, stop wasting time and get your tools, and just go for it.
Frequently Asked Questions (FAQs)
1. What Kind of Trim Should I Put around Windows?
Casing molding is the most common choice.
1. Can Window Molding Work in Small Rooms?
Absolutely yes! Thinner profiles and minimalist window trim styles actually make small rooms feel more open.
2. Can I Install Window Molding Over Existing Paint?
Yes, you can. Just make sure the surface is clean, dry, and smooth before applying glue or nails.
3. What Paint Finish Works Best for Window Molding?
Semi-gloss or satin finishes work best. They are easy to clean, hold up well, and give molding a sharp, finished look.