How to paint a bathroom vanity using Rustoleum’s Furniture Transformation Kit
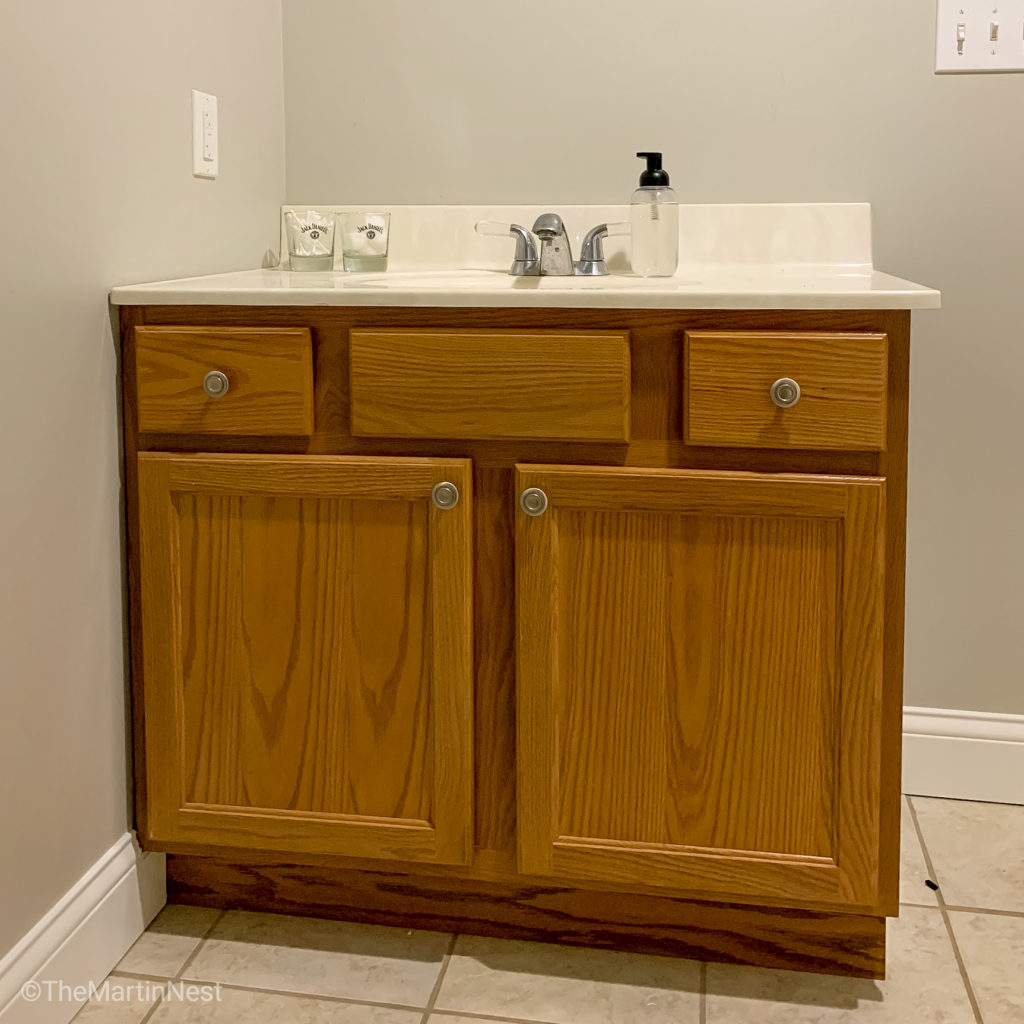
If you live in a 90’s era home, you’re more than likely familiar with the look of a golden oak bathroom vanity. Vanities have come a long way since then, but if a new one isn’t quite in the budget yet, let me introduce you to the power of paint!
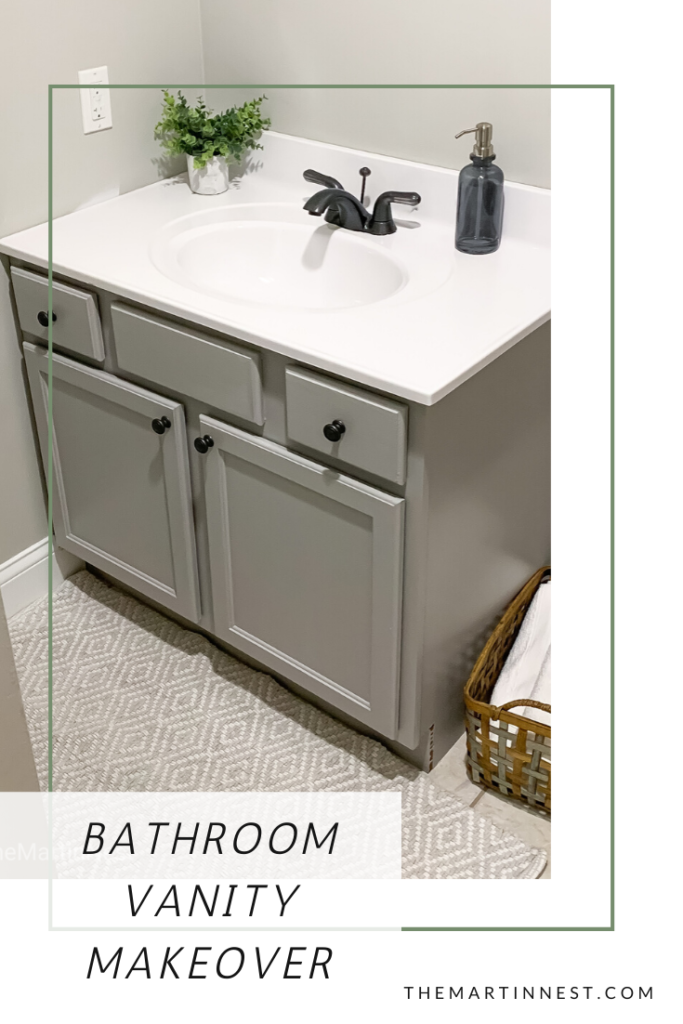
If you’re looking to update a bathroom vanity or cabinets, paint will be your best friend. There are dozens of options and every process will be different depending on your paint of choice, but I prefer cheap and easy until a complete upgrade is in the budget.
Check out how I went bold in our master bedroom using green chalk paint, and how I painted the counter top of this vanity for under $5 using spray paint!
For this project, I transformed a small vanity in our basement guest bathroom. Working on a budget of $200 for the entire room transformation I utilized some leftover paint I had from a previous project, this furniture transformations kit from Rustoleum in Modern Grey.
Rustoleum company was kind enough to gift me the Furniture Tranfomations kit used for this project. All thoughts and opinions are my own.
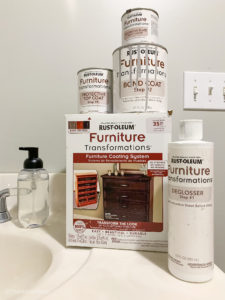
One kit will cover up to 35 square feet, and has a special bonding coat that eliminates the need for you to sand, strip or prime the surface. It also has some self leveling properties to help minimize brush strokes.
The Before
Step 1:
Remove your doors & hardware. I left my hardware on, and painted around it, but if you remove completely it’s helpful to label your doors / drawers and hardware to make sure they are placed back in the right spot.
Step 2: Prep
Tape off your areas and scrub all surfaces with the included deglosser. Wipe down with a damp cloth, and then a dry lint-free cloth. ( I used an old t-shirt)
Step 3: Apply Bond Coat 1
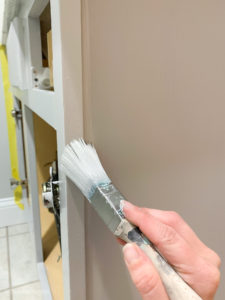
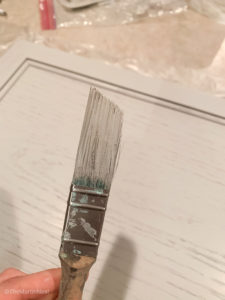
Stir the paint to mix well, but be sure not to shake. Apply the first coat using a 2” synthetic brush (this one is my absolute favorite)
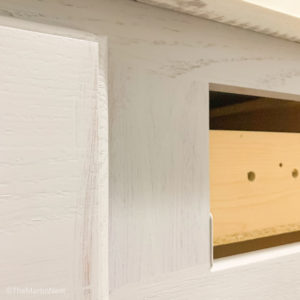
This paint is a thin consistency, and the first coat won’t provide full coverage. Two thin coats is best. Also be sure to smooth out any runs while painting.
Tips for painting cabinet doors
- Cut in around the recessed areas first, then paint smooth inset portions with long full brush strokes
- Then paint around the frame following the direction of the wood grain to minimize brush marks.
- Use painter’s pyramids or something else to prop the vanity doors up off of a flat surface. This ensures that the paint won’t drip onto your drop cloth / plastic and dry to the surface.
Step 4: Apply Second Bond Coat
Allow your first coat to dry 2-3 hours before applying the second coat using the same process. Your cabinet doors will need two coats on EACH side, so repeat steps 3 and 4 on the opposite side of the cabinet doors.
Step 5: Apply optional glaze
This particular kit comes with a glaze that darkens the look of the paint and highlights the fine detials. I opted not to use the glaze on either of my projects.
Step 6: Apply Clear Top Coat
Stir to mix, and apply the top coat over all painted surfaces using a clean brush. This step is crucial for sealing in the paint. Without this, the surface paint will scratch right off.
Step 7: Reattach hardware
I recommend waiting a full 24 hours for the surfaces to cure before reattaching any hardware. New hardware is another fantastic way to update a bathroom vanity for cheap, or you can spray paint your old hardware for a new finish to match!
You can also check out how I spray painted the countertop and faucet!
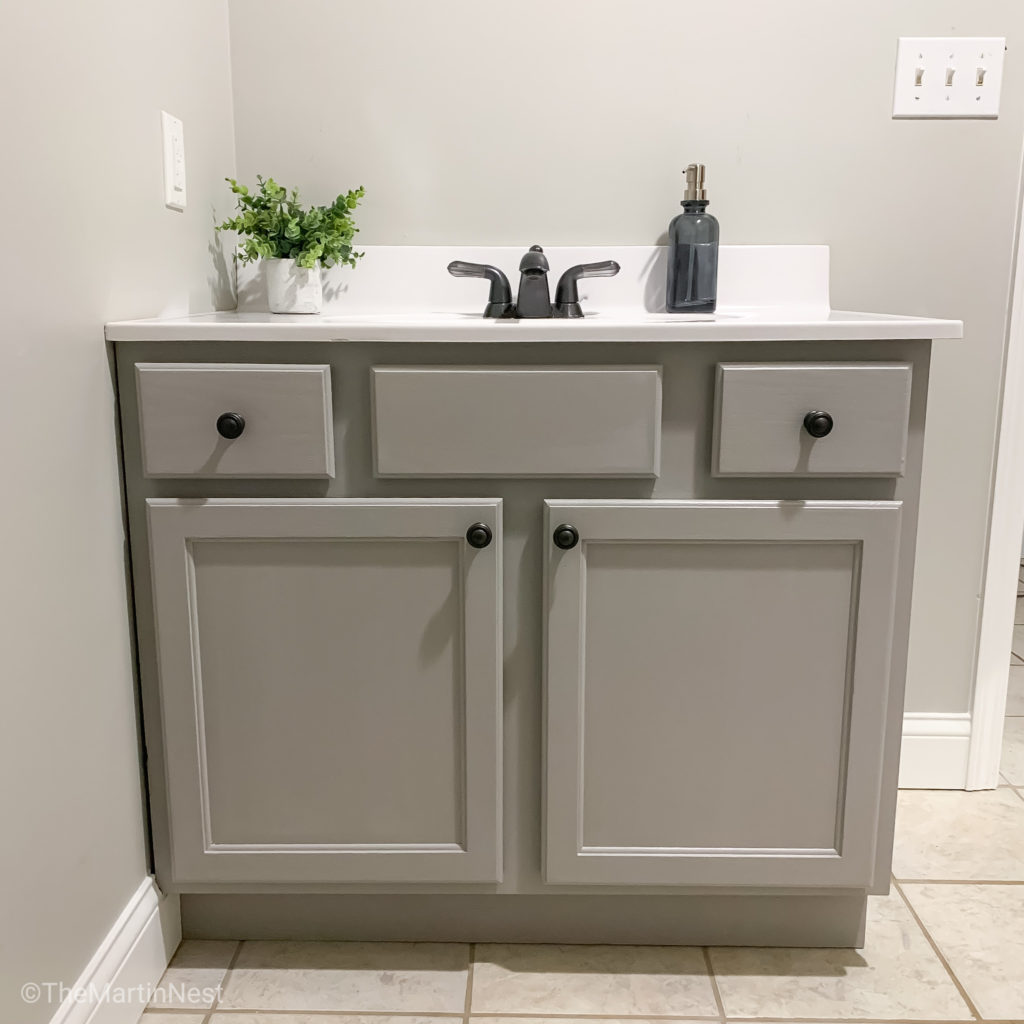
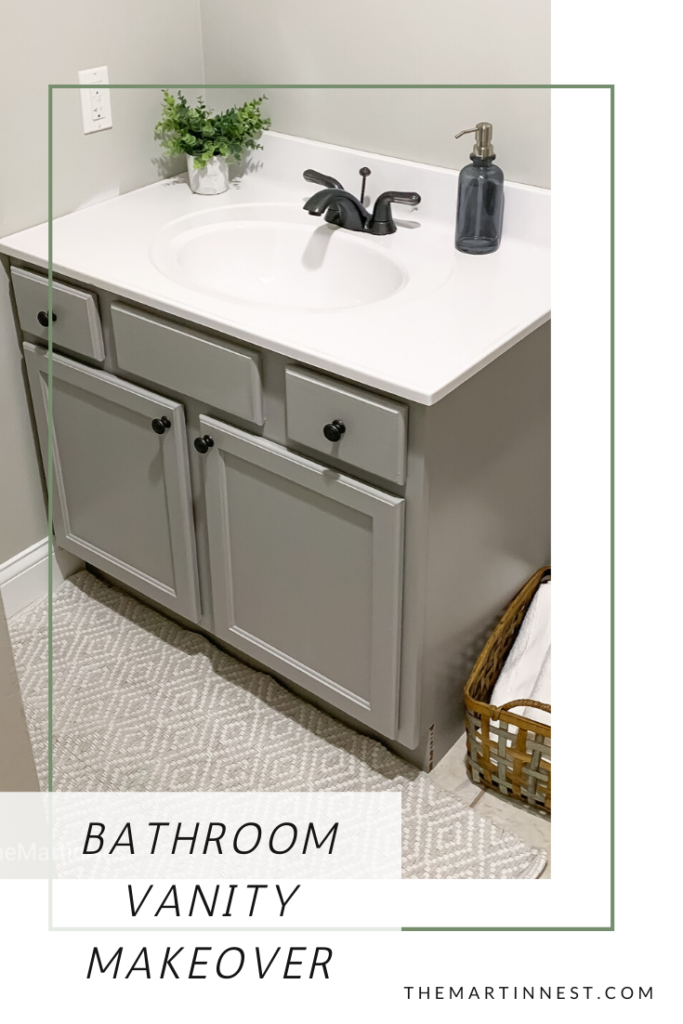
That’s it! Bask in the glory of your newly painted vanity, and pat yourself on the back for saving some of your hard earned dollars by DIY-ing it yourself!

Leave a Reply