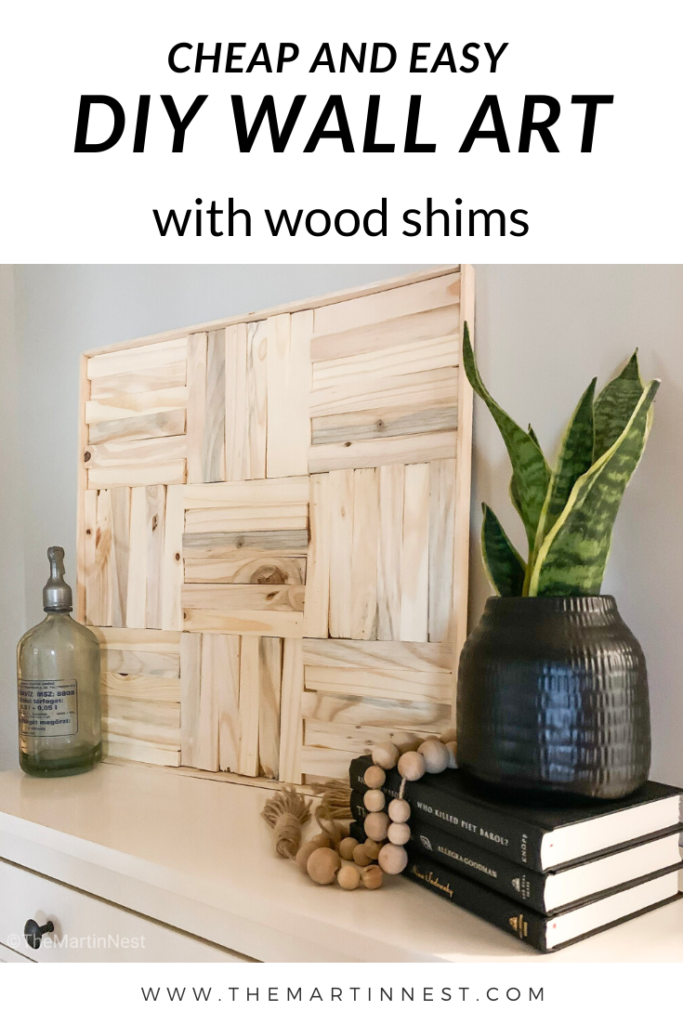
This cheap and easy DIY wall art made out of wood shims will add big texture on a budget.
If you’re looking for a texture filled piece of wall art that will make a big impact on a tiny little budget, then this cheap and easy DIY wood shim wall art project is perfect! With minimal supplies and skill you can have an awesome piece of artwork to display in no time!
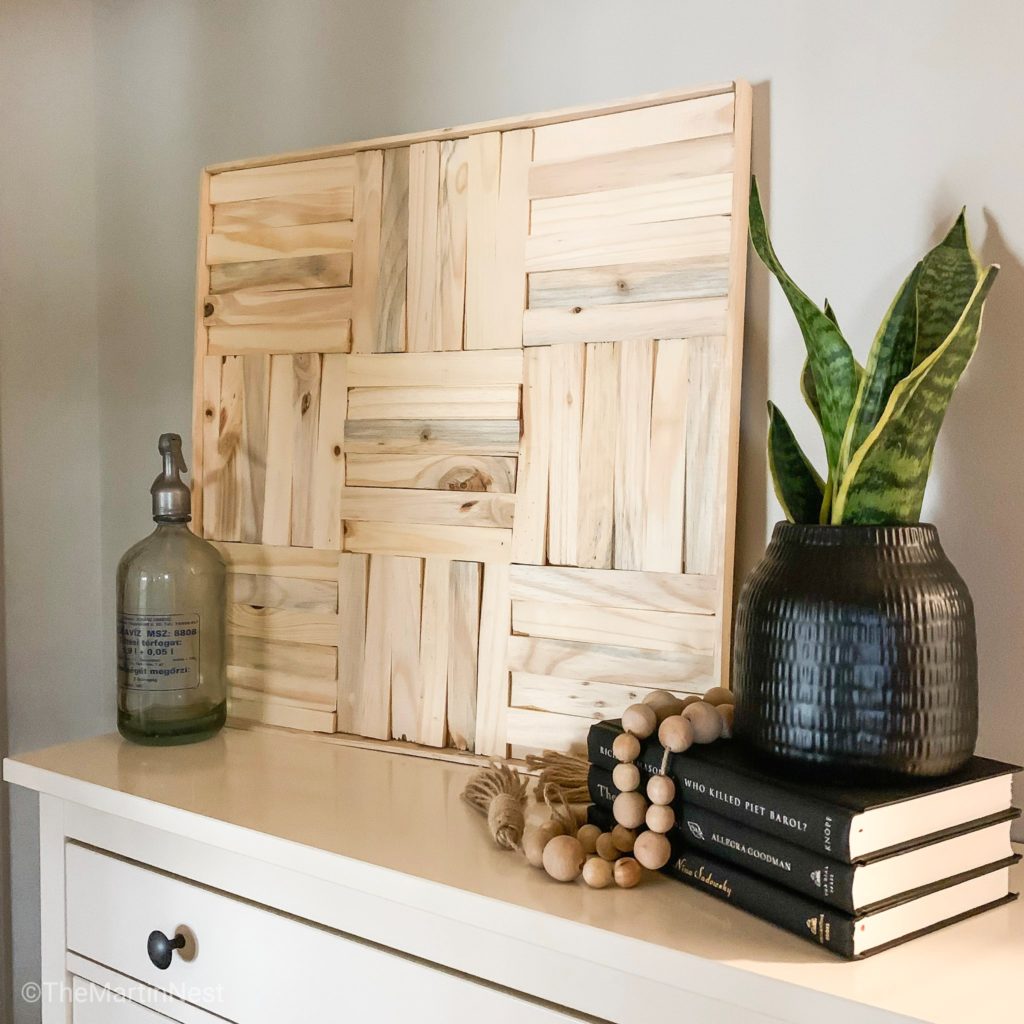
This post will walk you through the steps of how to make this cheap and easy DIY wood shim wall art.
If you love Easy DIY projects be sure to check out my DIY Bracket Shelves!
***Big thanks to Walmart for sponsoring this post! I have been monetarily compensated for my work, but all thoughts and opinions are my own. We only share what we love here, and as always, thank you for your support!***
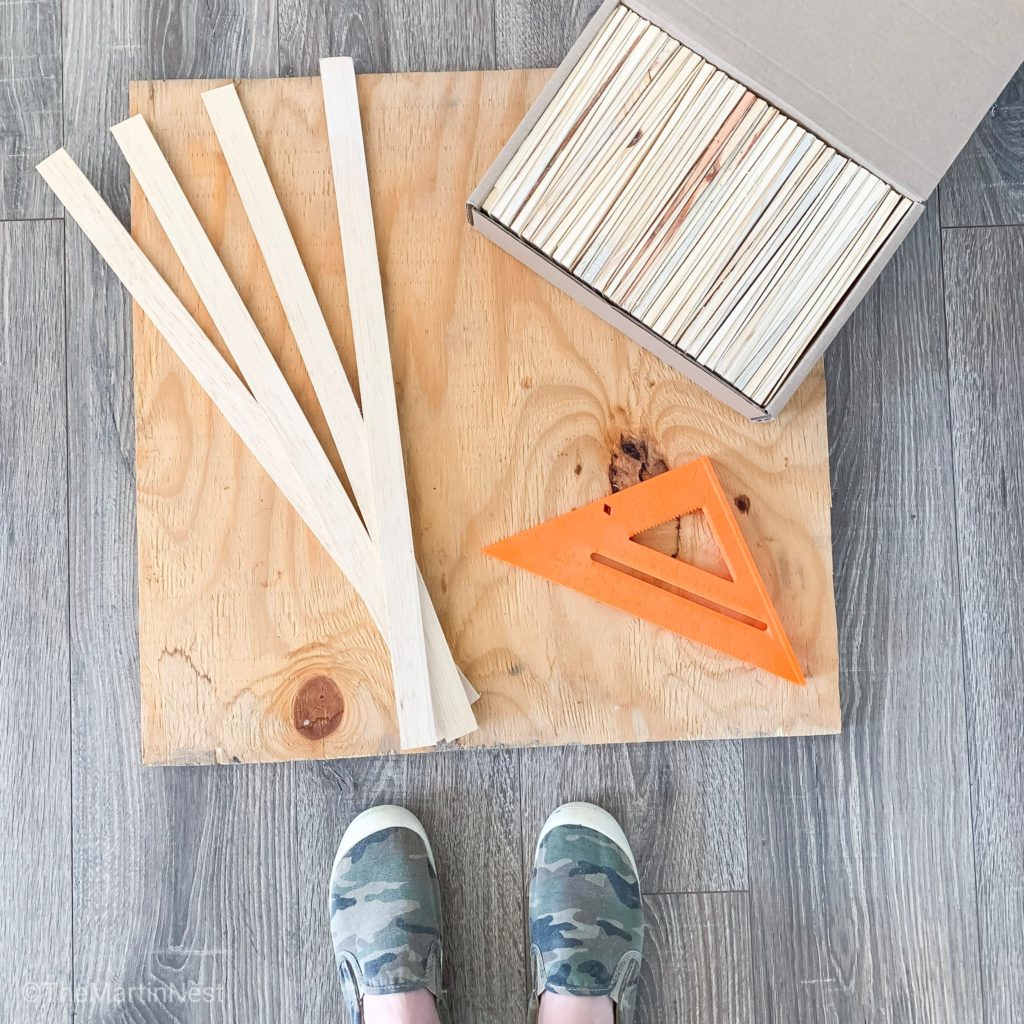
Supplies:
- Plywood backer board
- I used a 2’ x 2’ piece of scrap plywood, but you can adjust to your own preferred dimensions
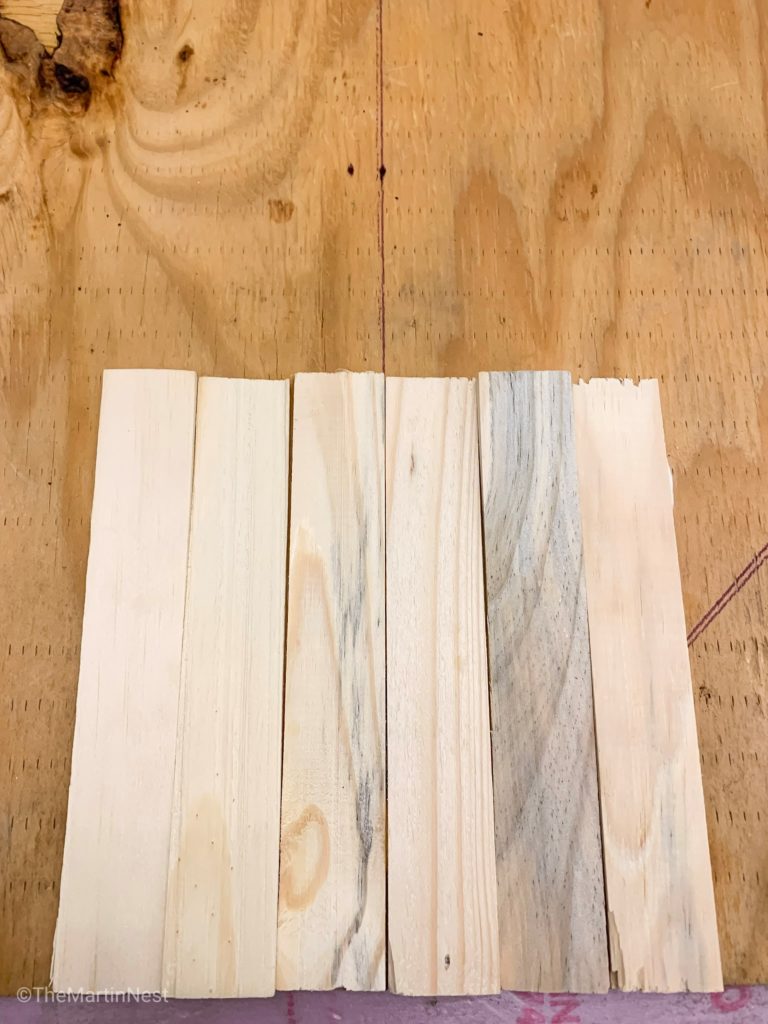
- Wood Shims
- Wood Glue or liquid nails
- Lattice trim
- Nail gun or hammer and nails
Pick a Pattern
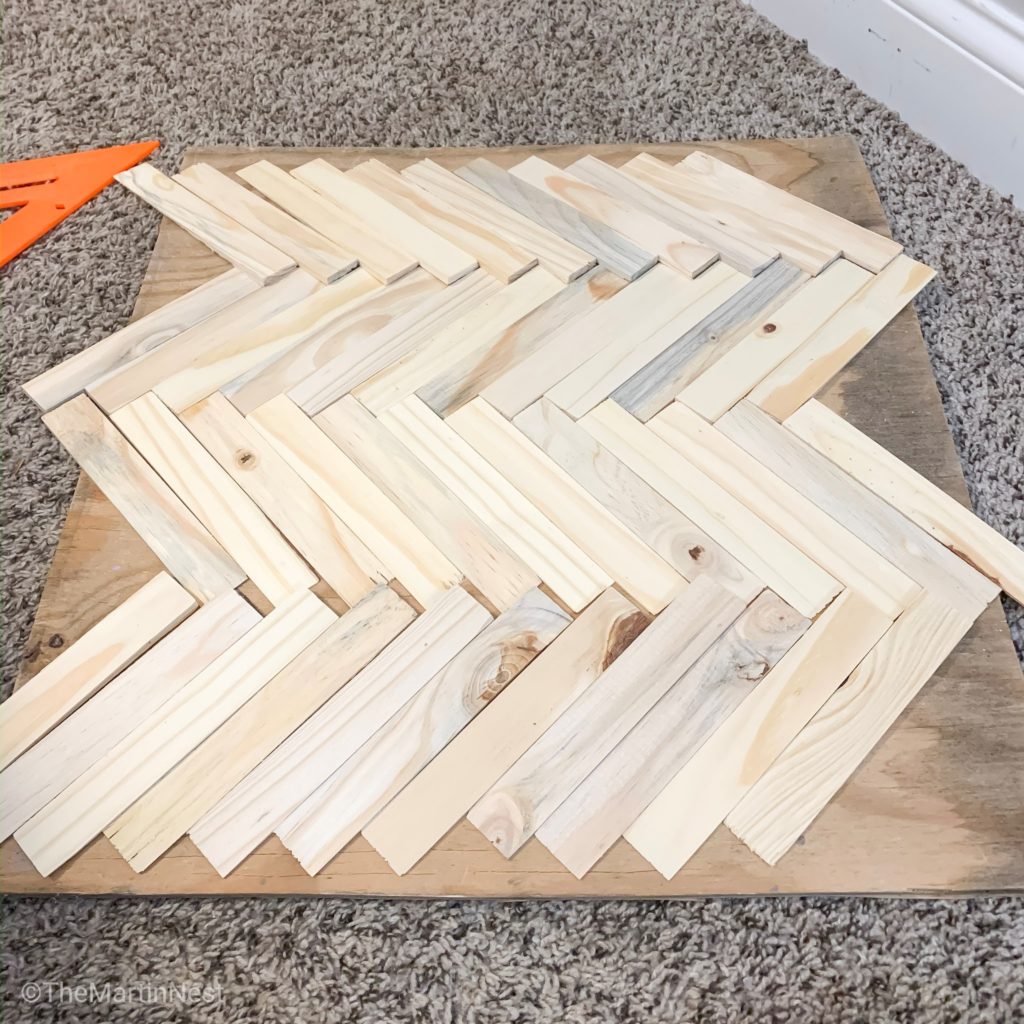
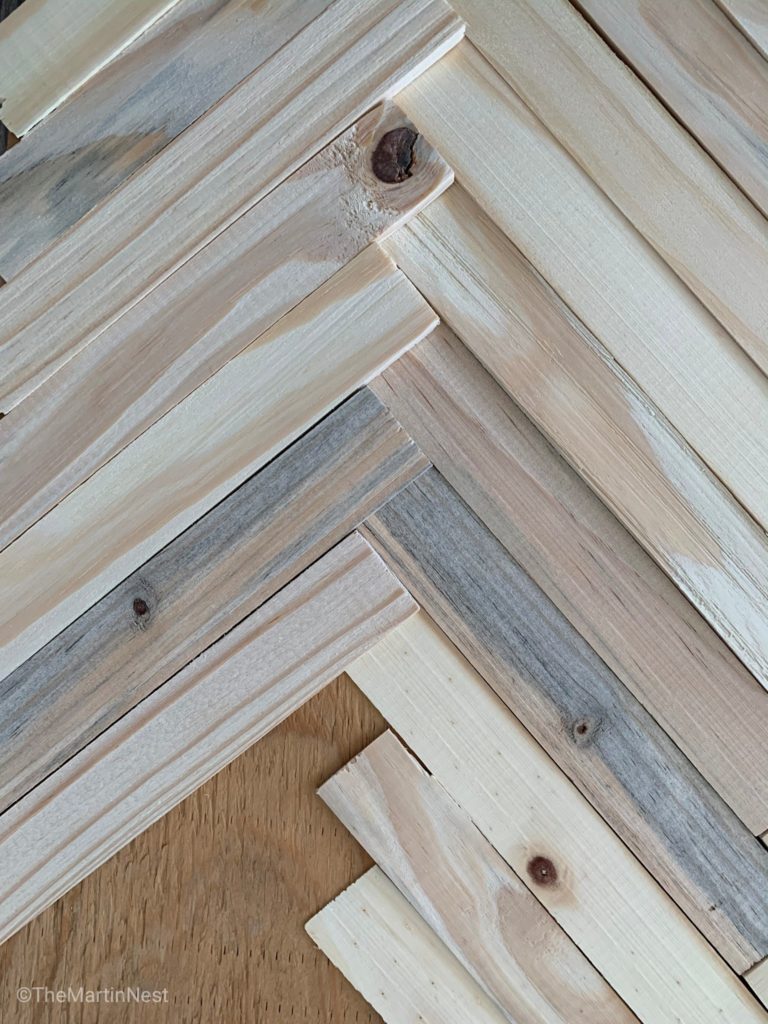
Decide on a pattern of your choice. Initially, I planned to go with a herringbone pattern like THIS
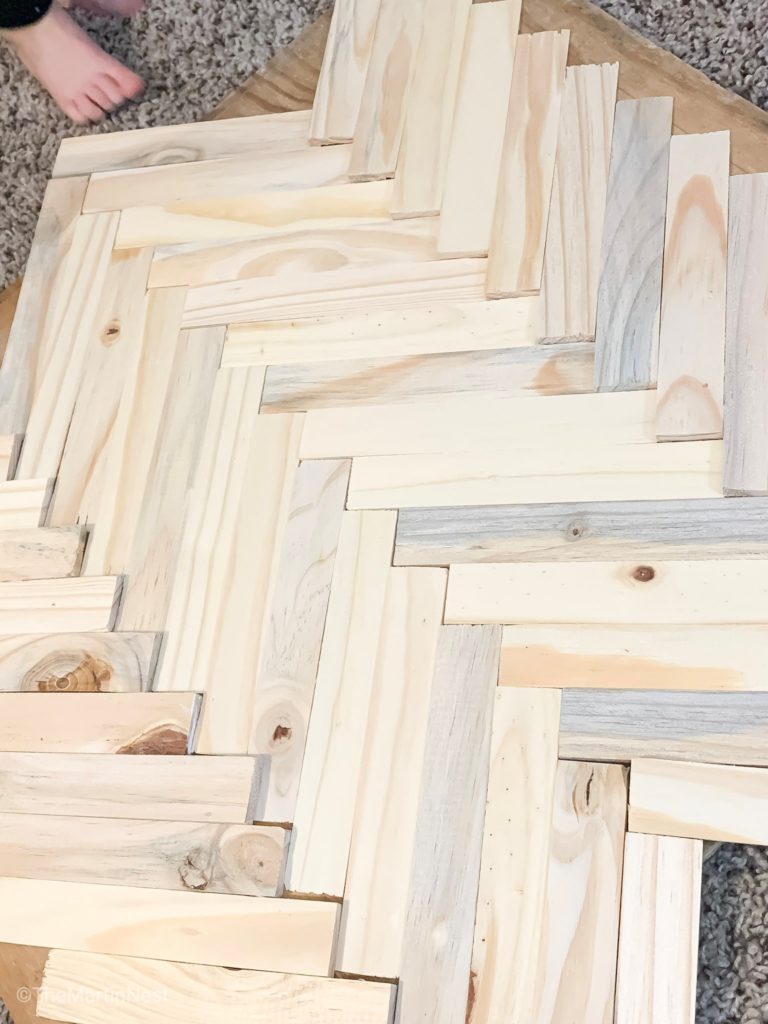
But eventually decided on something a little different. I tried to plan my design for the best fit of my wood shim length.
Glue down the shims
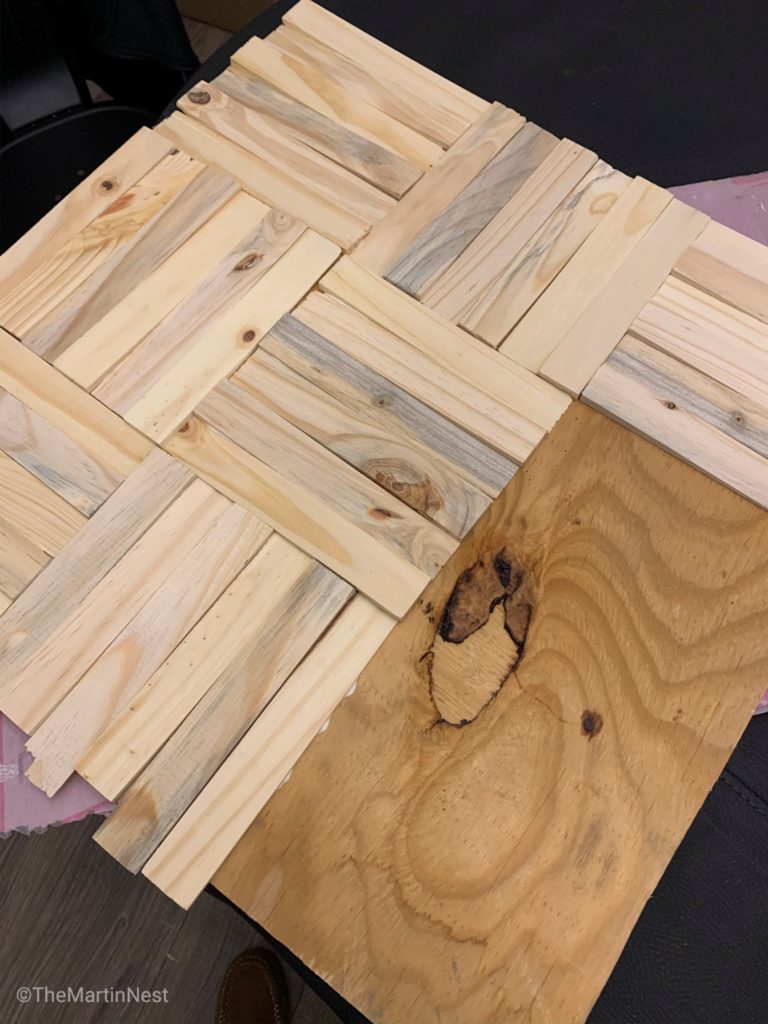
Once you’ve picked a pattern, it’s time to glue your shims down to the plywood backer board. I simply found the center of my board and glued each individual shim down in the pattern of choice.
Some alternative options here would be to use liquid nails or a nail gun. If using a nail gun, ensure that your backer board is thick enough, otherwise, your nail length may be too long.
Trim any Overhang
Trim any additional overhang from the edges so that the wood shims and plywood backer board have a clean flush edge on all four sides. I simply used a jigsaw on mine. The shims are thin and cut easily.
Frame
Framing the piece will hide the raw edges of the plywood and shims, giving the piece an overall more finished look.
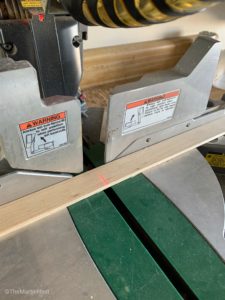
I used this thin lattice trim. and attached two opposite sides first, then measured for the other two lengths before cutting. I simply nailed these into the plywood using my nail gun, but you could easily hammer in a couple of tack nails or possibly even get away with just gluing.
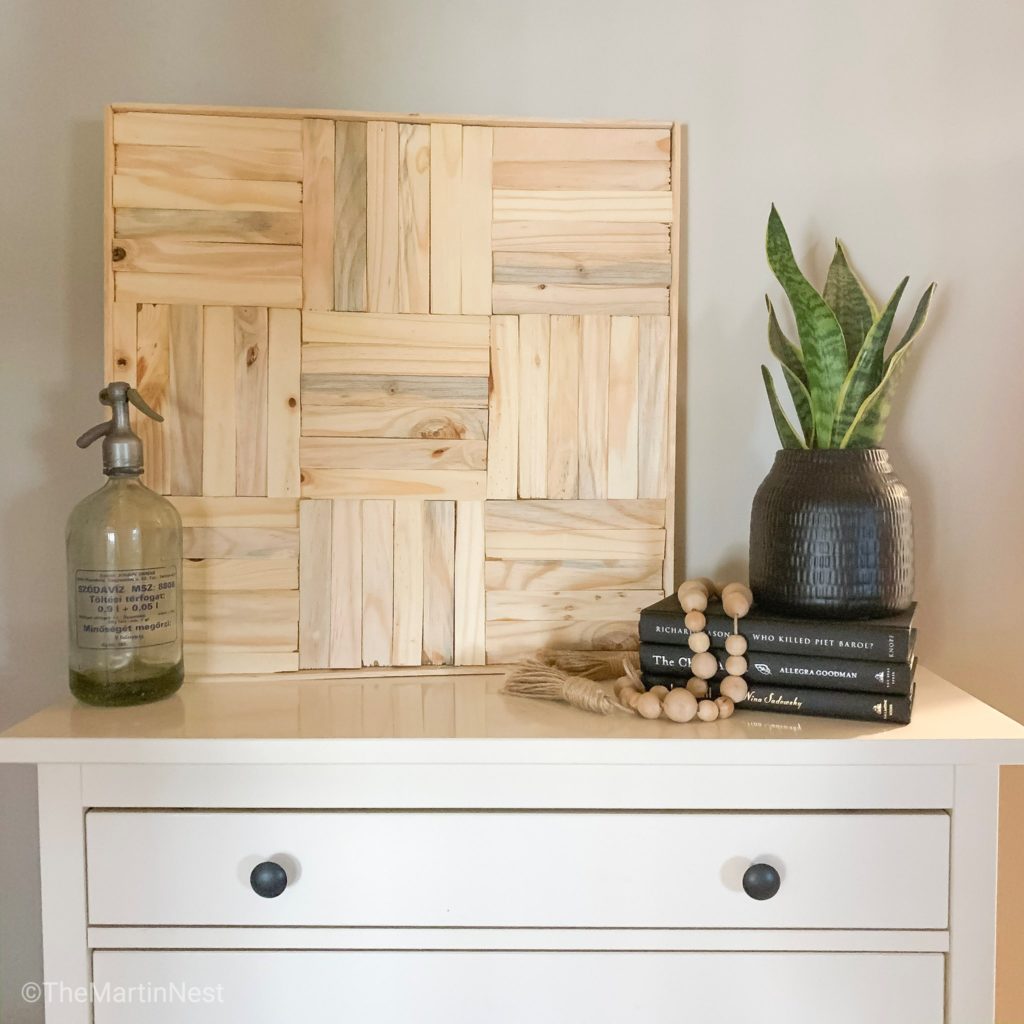
That’s it!! A super easy DIY project that you can complete in under an hour.
Quick Tips:
- You can trim the length of your wood shims for a cleaner look, but I left mine as is. I liked the layered look, and the texture it provided.
- You can customize this project by painting or staining the shims and frame.
- Most big box hardware stores will have pre-cut pieces of plywood in 2’ x 2’ and 2’ x 4’ sheets if you don’t have any scrap or aren’t comfortable cutting your own.
If you want to try this project out, don’t forget to PIN IT FOR LATER!
Leave a Reply