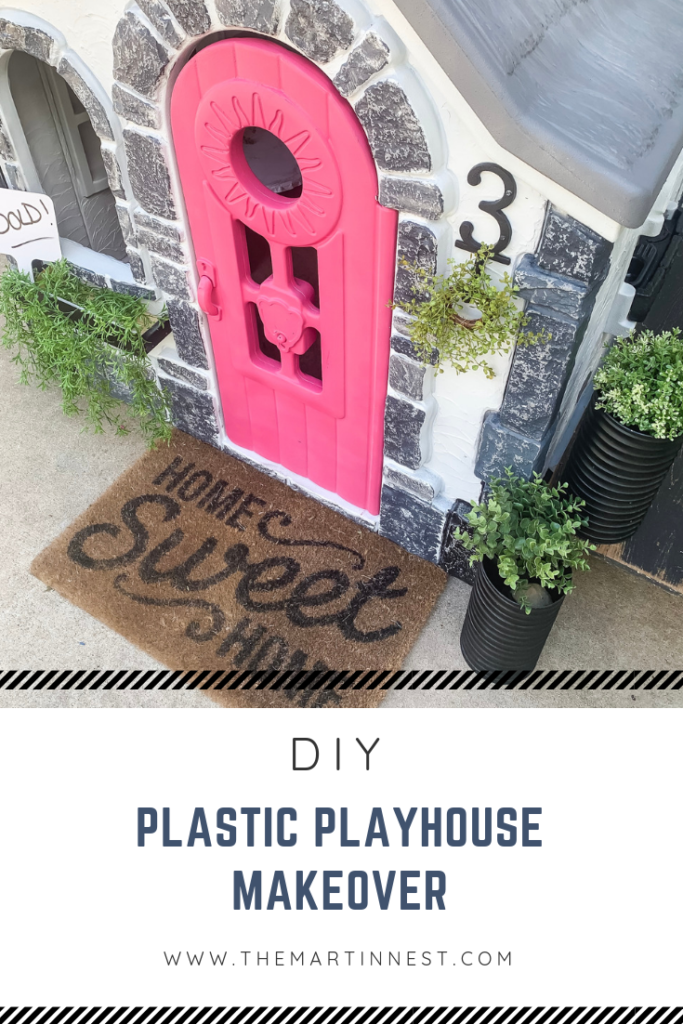
How to spray paint a plastic playhouse
This post will walk you through the steps I took for my DIY plastic playhouse makeover using spray paint.
Playhouse makeovers are not a new phenomenon. But I’m always impressed by the creativity that comes with each new project I come across. My mom had snagged this Step2 plastic playhouse on a swap page about 5 years ago. We kept it in our basement until we moved to our current home, therefore it was in excellent condition. (I love a good swap page before and after. You can check out my bleached dining room table project here.
It was a cute little cottage, but turning it into a more modern version had been on my list forever. When the amazing ladies at Lolly Jane Blog shared their own makeover I got the motivation I needed to finally tackle my own.
***Big thanks to Walmart for sponsoring this post! I have been monetarily compensated for my work, but all thoughts and opinions are my own. We only share what we love here, and as always, thank you for your support!***
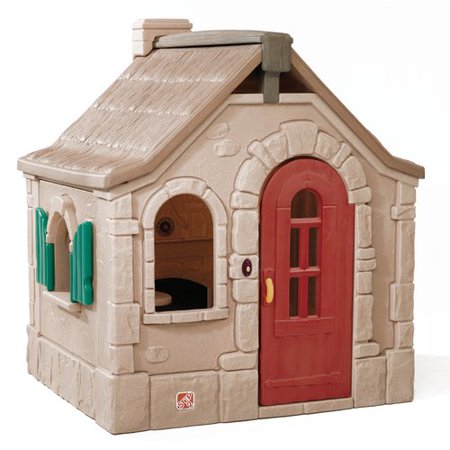
Here’s a stock photo of what I was working with BEFORE.
Prepping for Paint
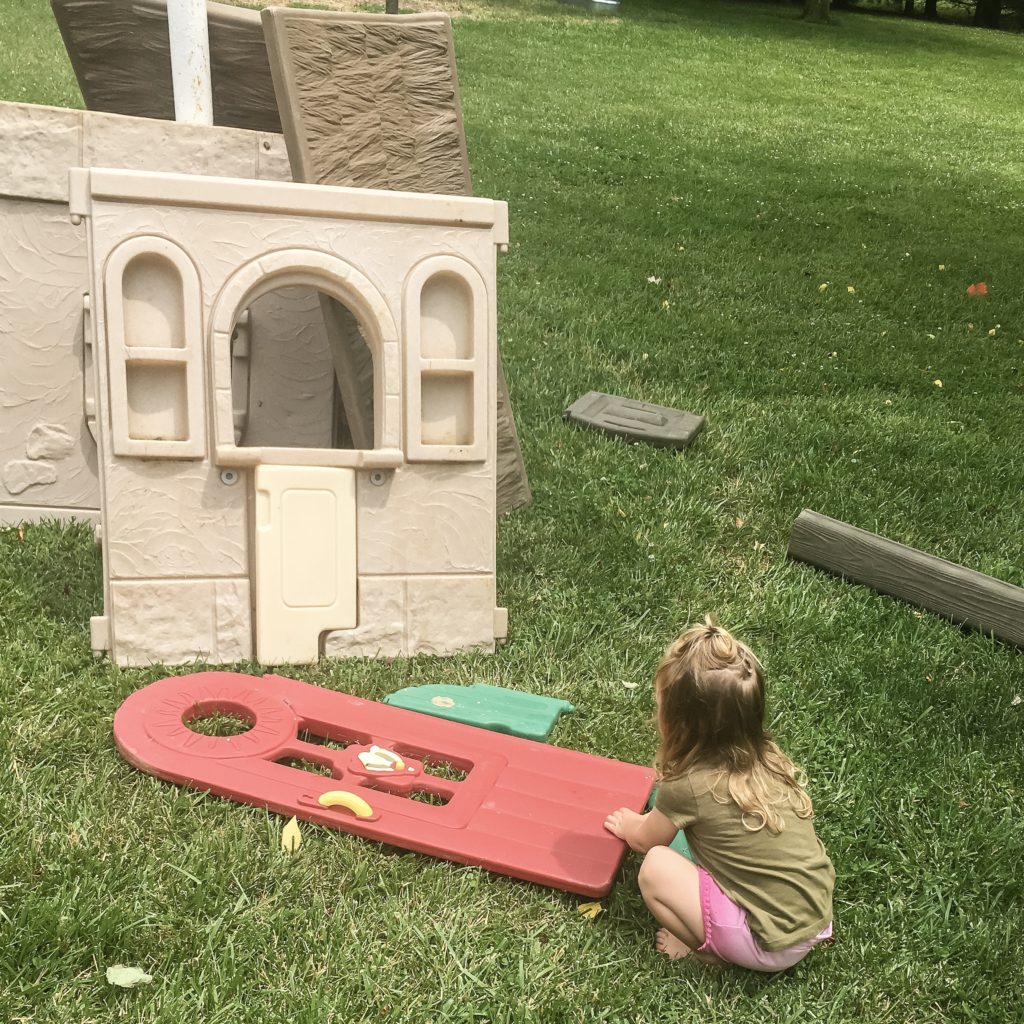
Our playhouse had been dissembled, and sitting out in the elements for quite a while. I gave everything a good scrub with soapy water, hosed it all off and made sure to let it dry completely before starting to paint.
Painting the playhouse
For the love of index fingers spend a few extra dollars on a spray paint trigger. I promise it will be the best investment you make, because you will be using a LOT of spray paint. Around 16 cans total in my case.
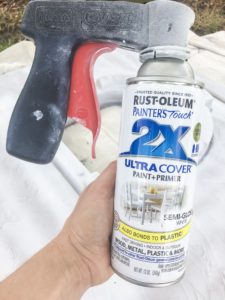
Second big piece of advice, purchase the correct type of spray paint. I used this Rustoleum Painter’s Touch 2X Ultra Cover paint and primer, all in semi-gloss finish. Make sure whatever you purchase says it will bond to plastic. I also coated mine with 2 coats of this plastic primer before painting with color just to be safe.
If you’re using a drop cloth make sure that it’s cloth. Plastic drop cloths can often stick to the plastic playhouse, and will peel off the paint after it has dried.
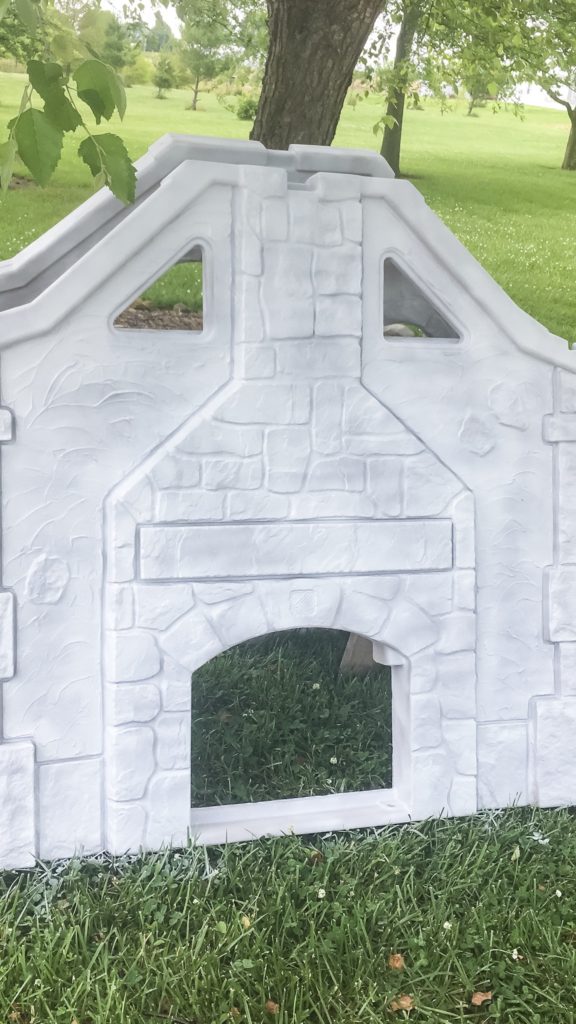
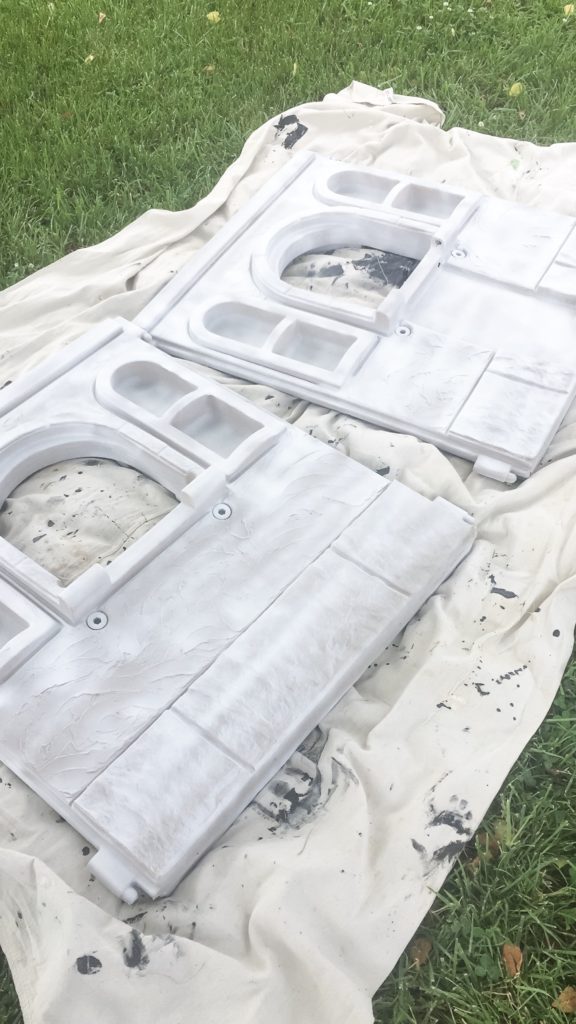
I applied 2 coats of primer to all surfaces followed by 2 coats of color. I also finished it off with 1-2 coats of clear matte sealer. This really is an easy project, but it can be time consuming. Allowing the surfaces to dry for at least 24 hours between layers is crucial for good adhesion. Factor in our irriational Midwest weather here in Illinois, and this project ended up taking me a solid week to finish.


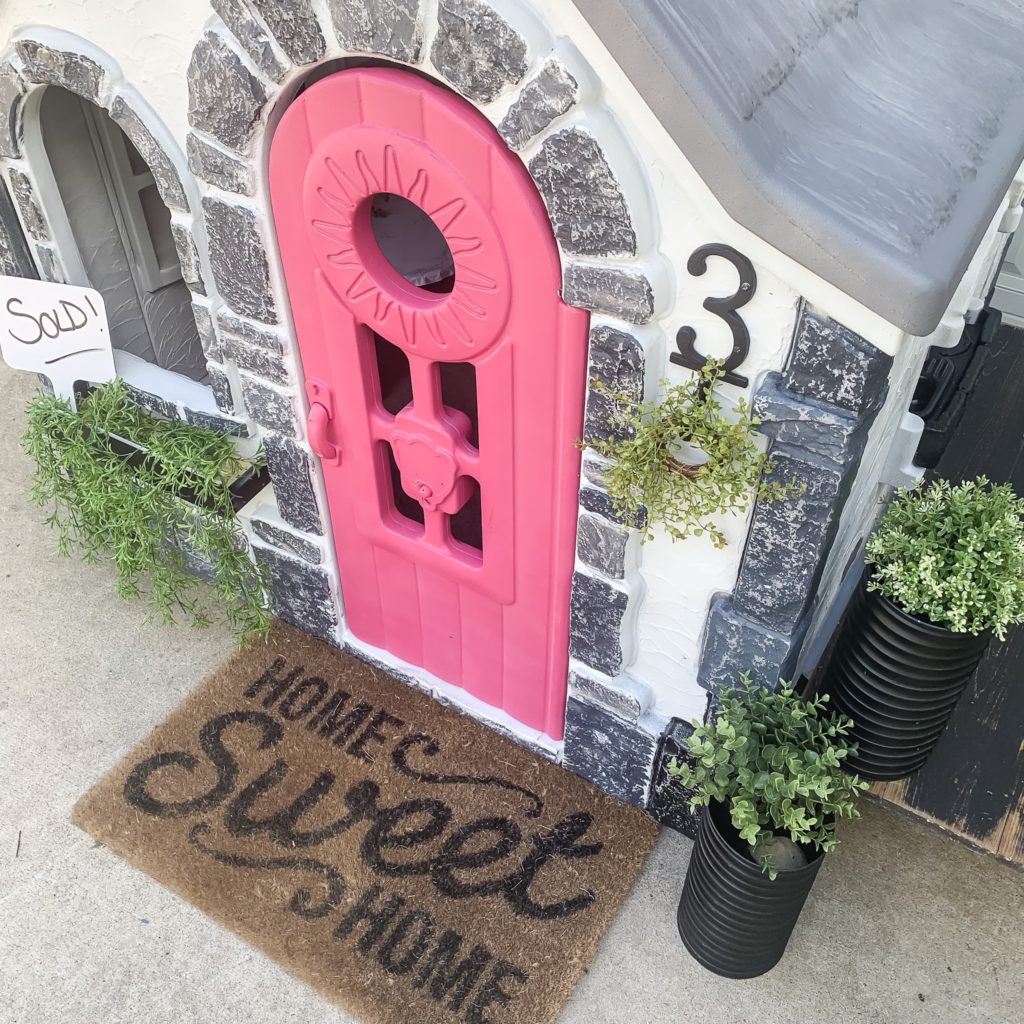
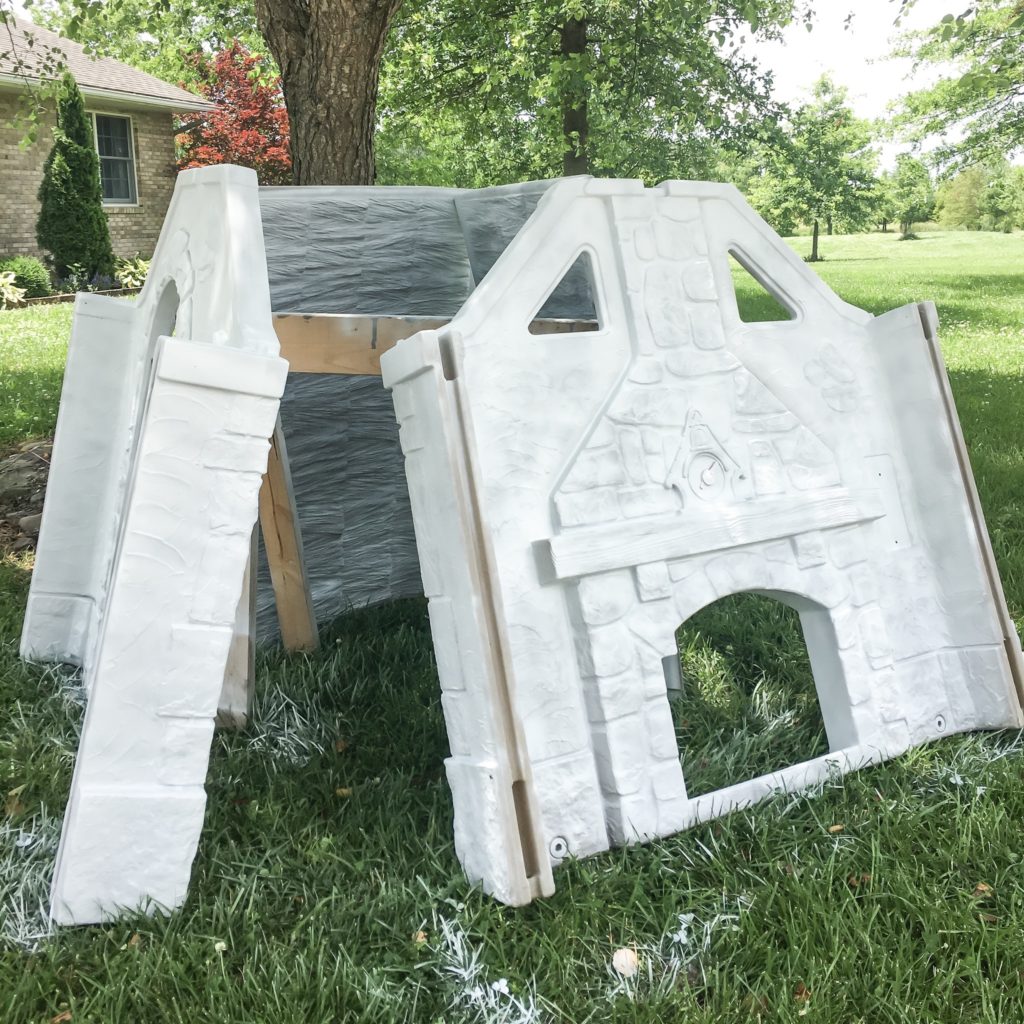
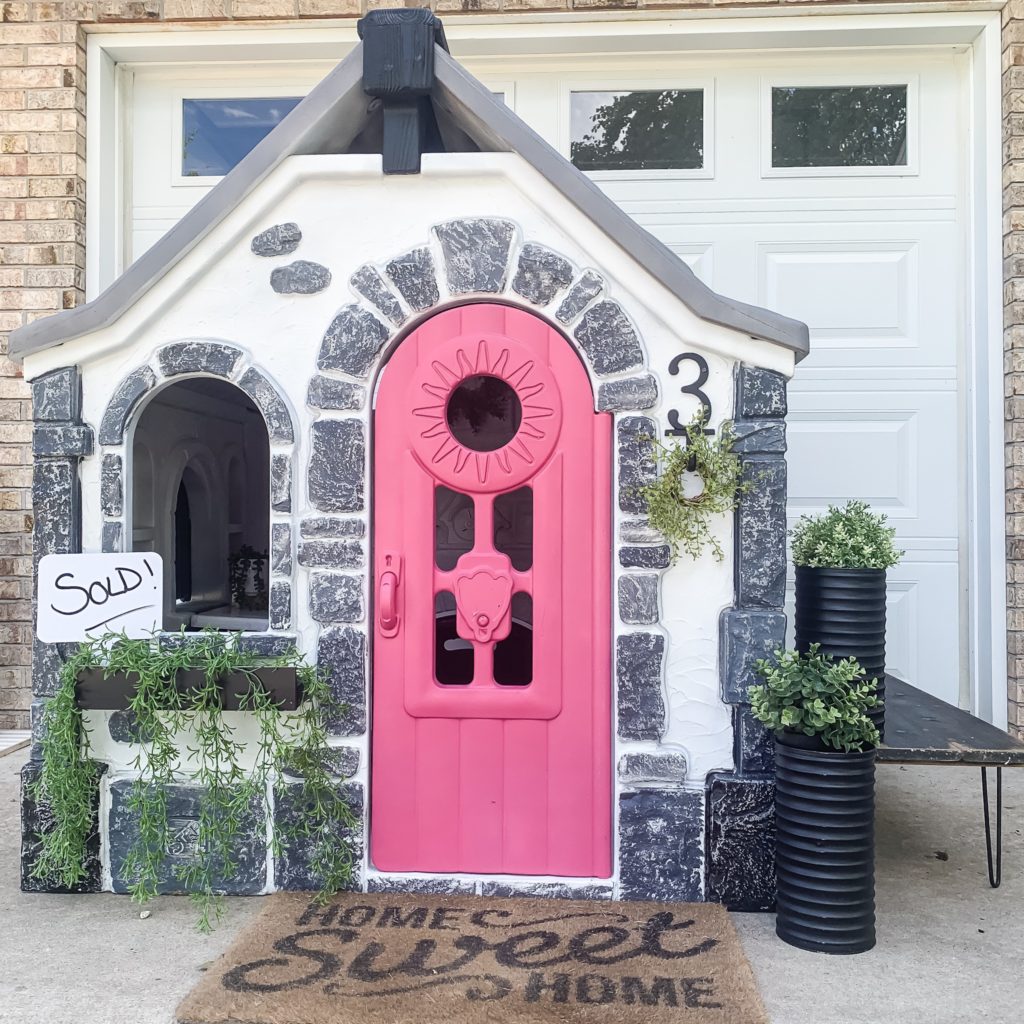
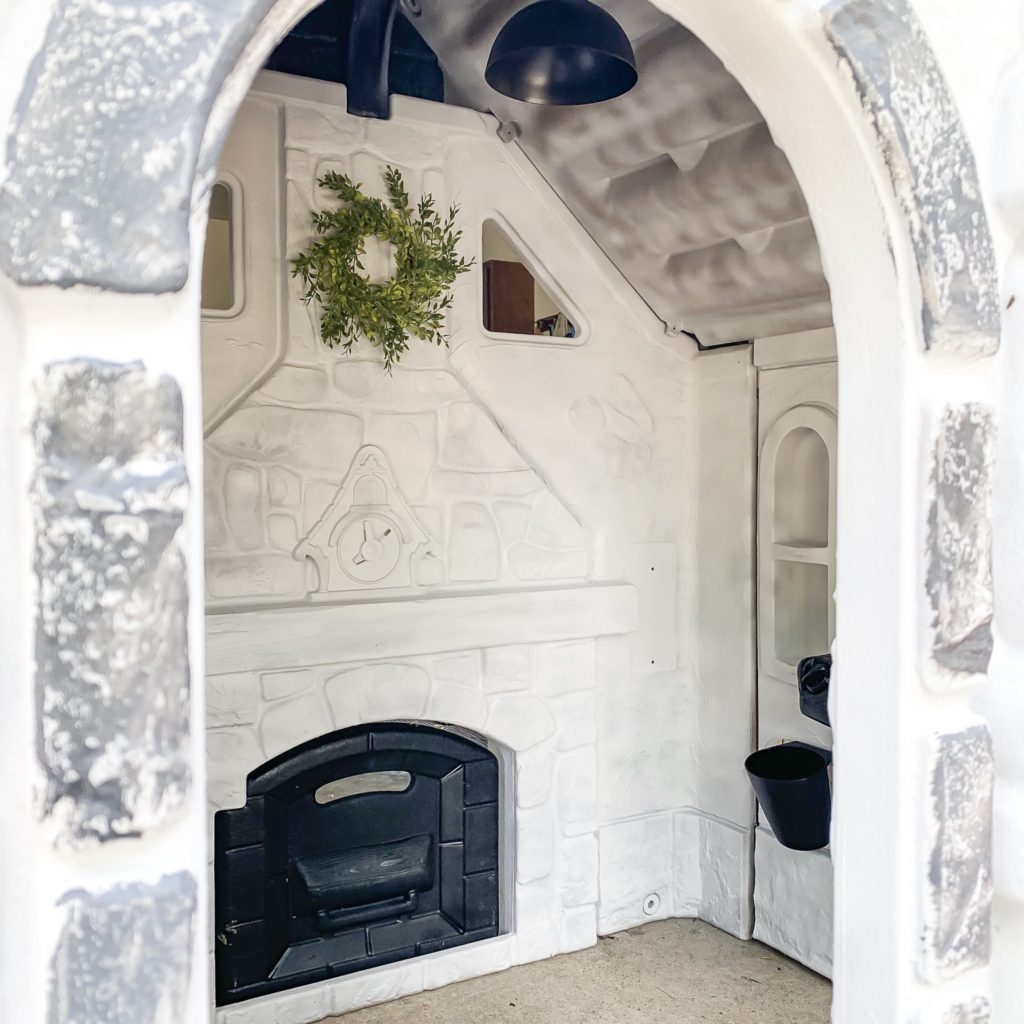
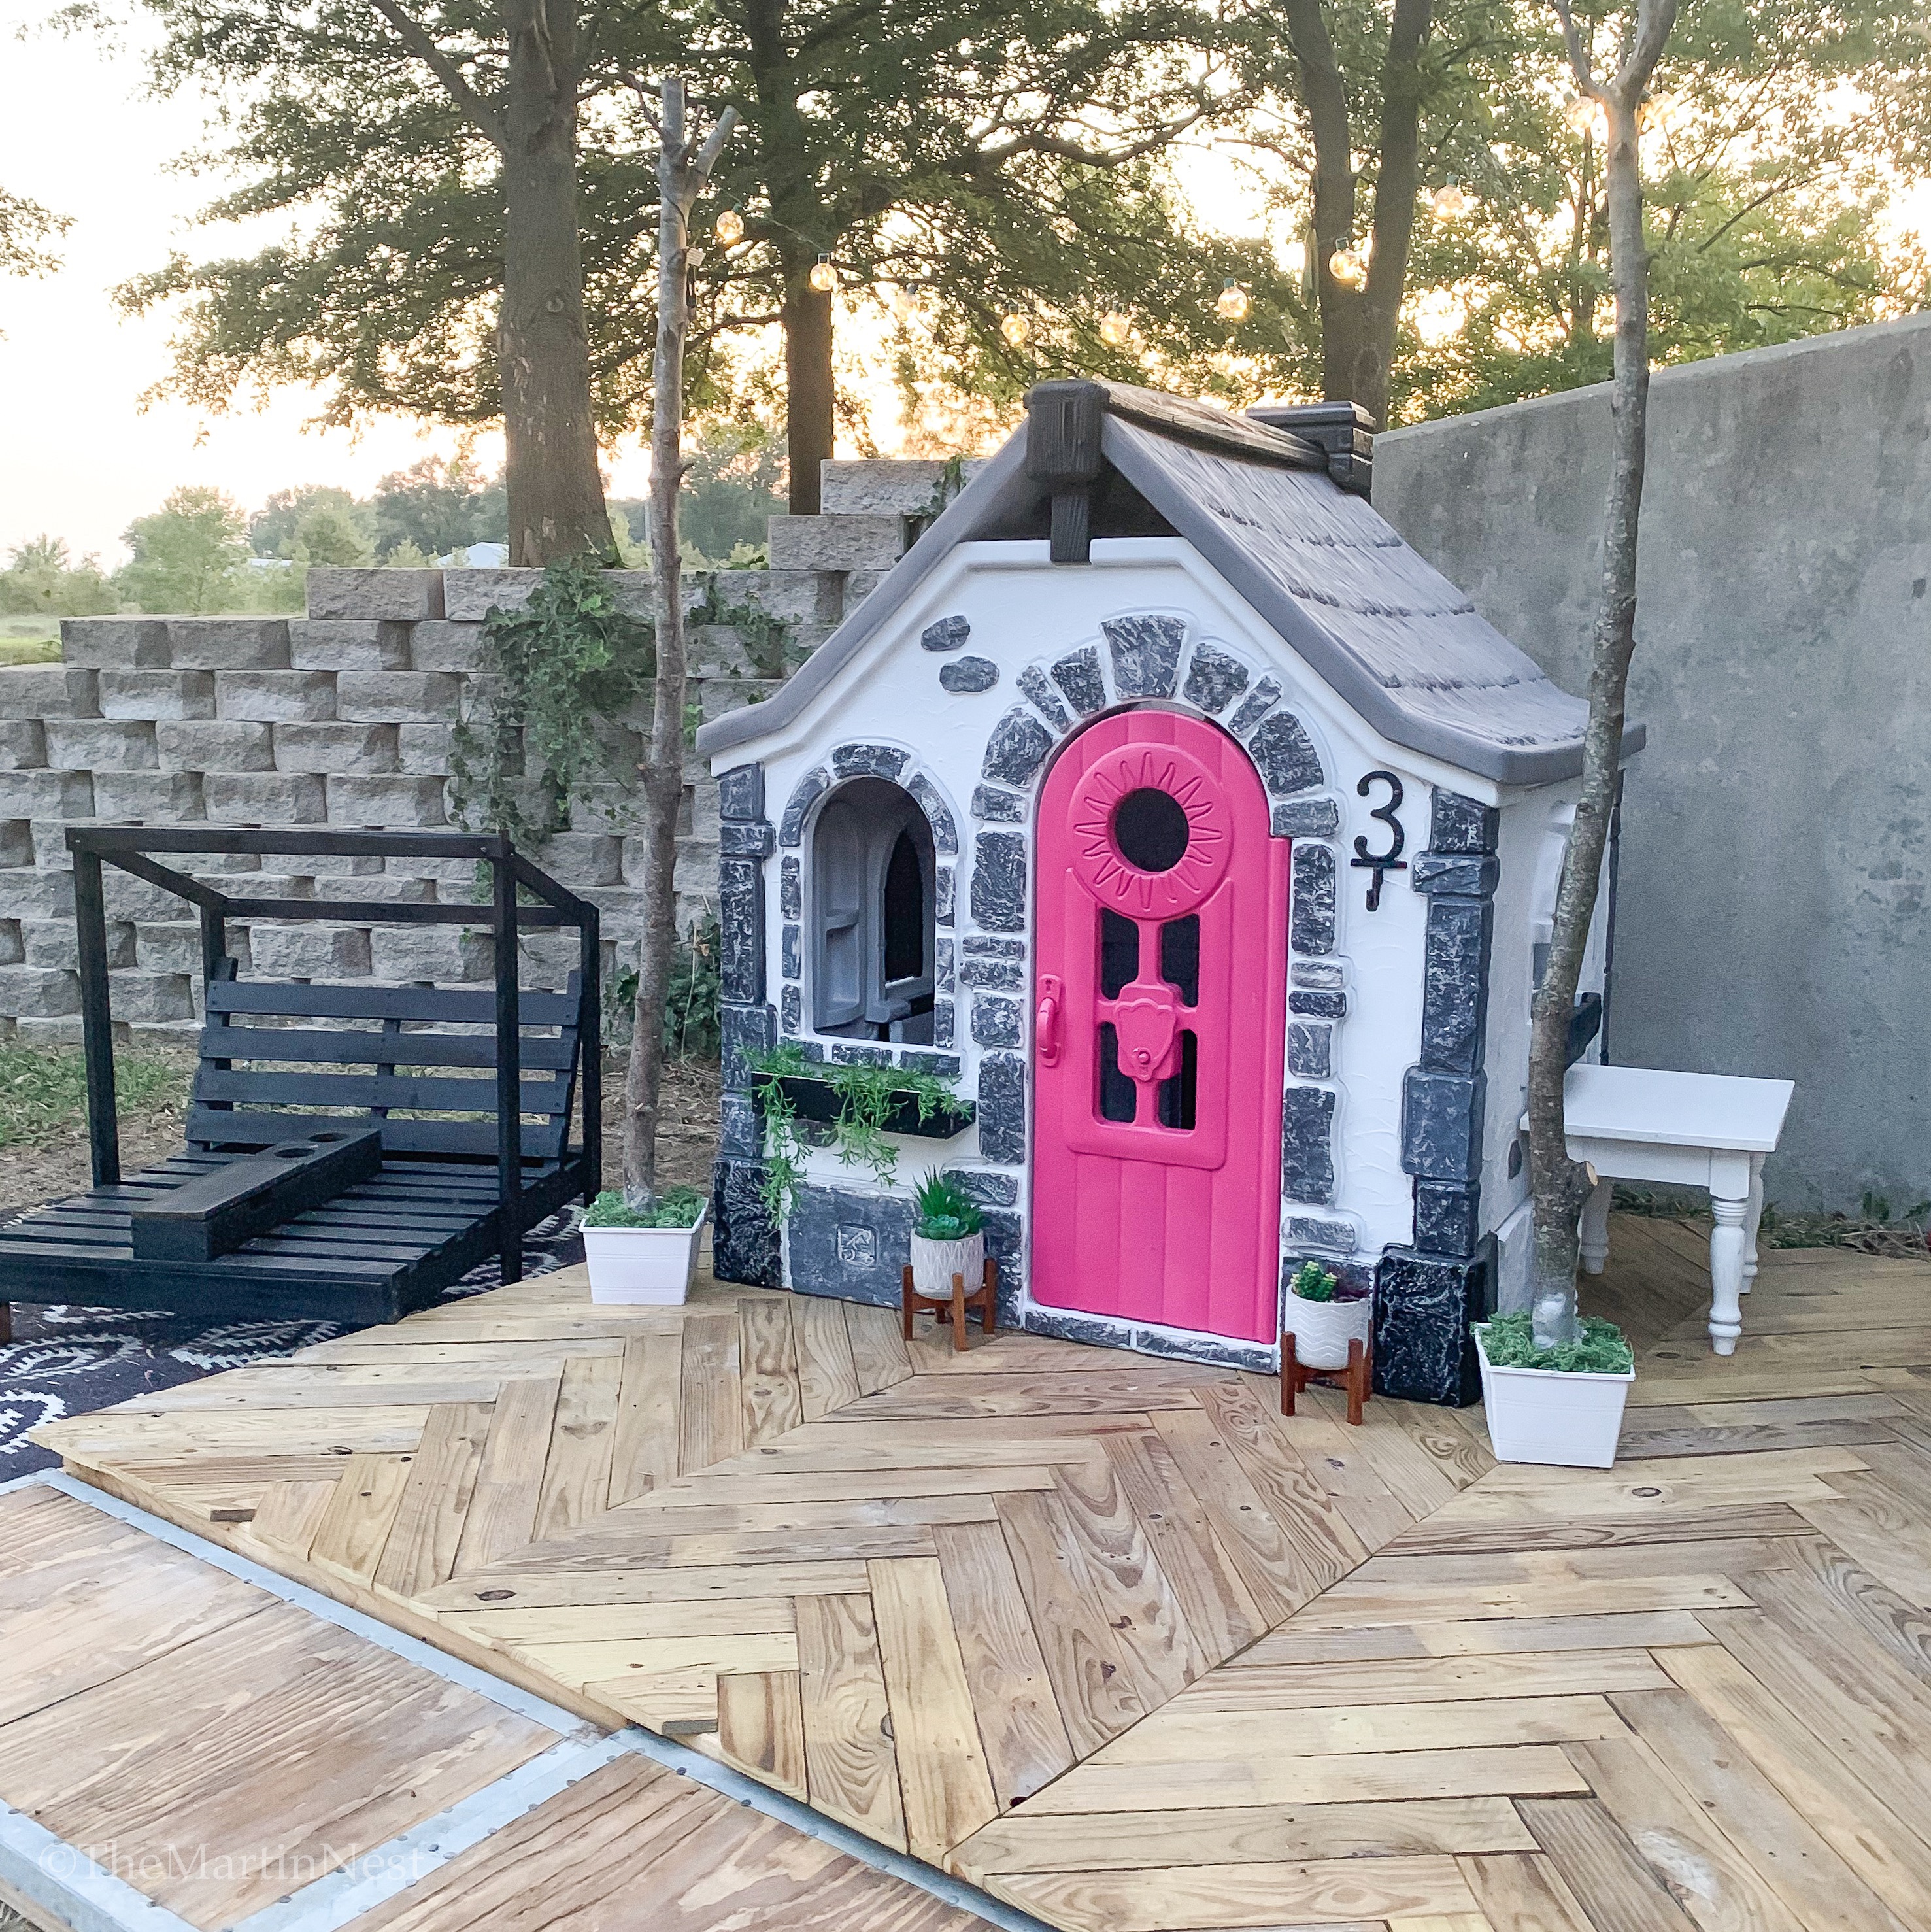
Plastic Playhouse Makeover – Painting exterior accents
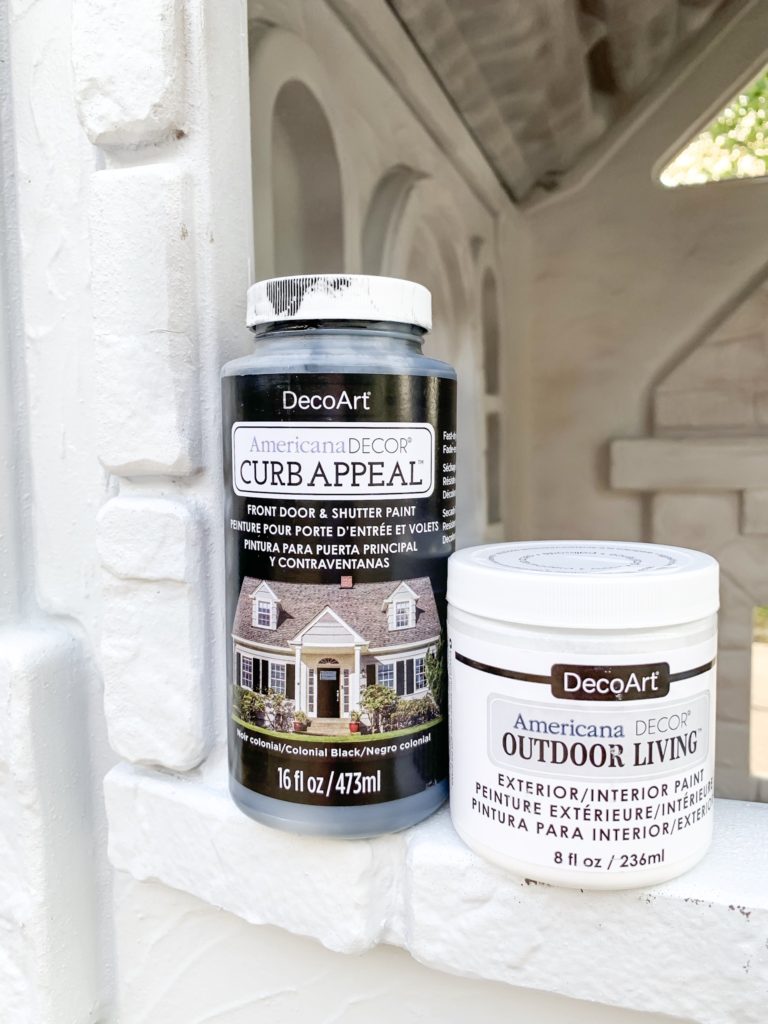
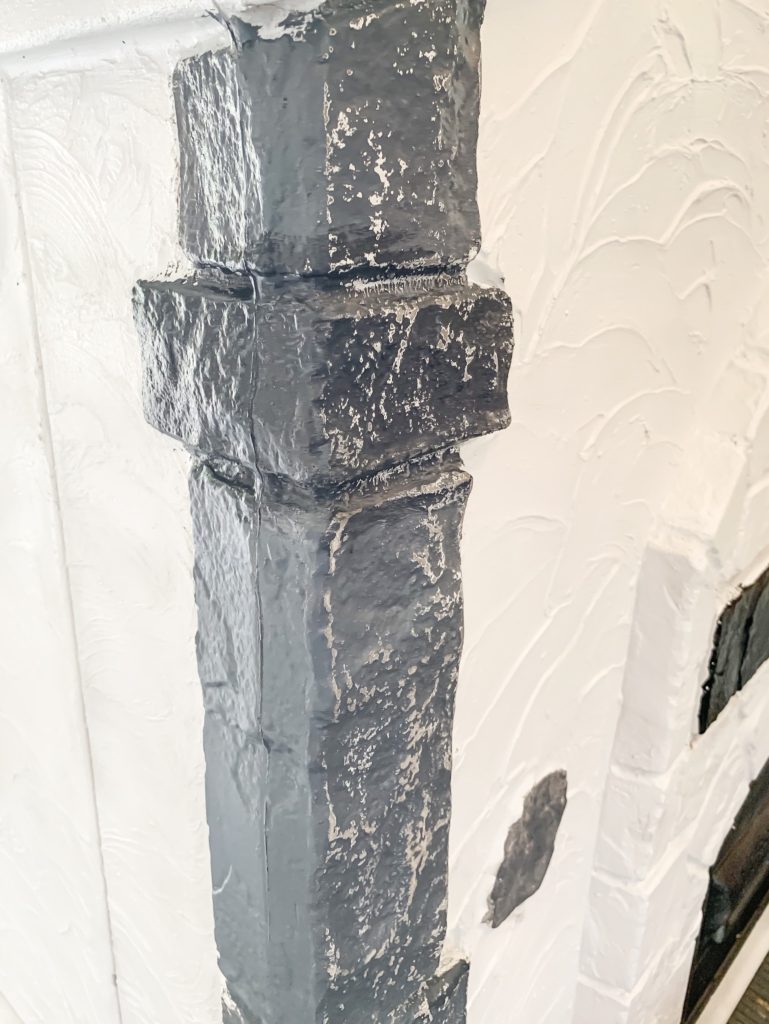
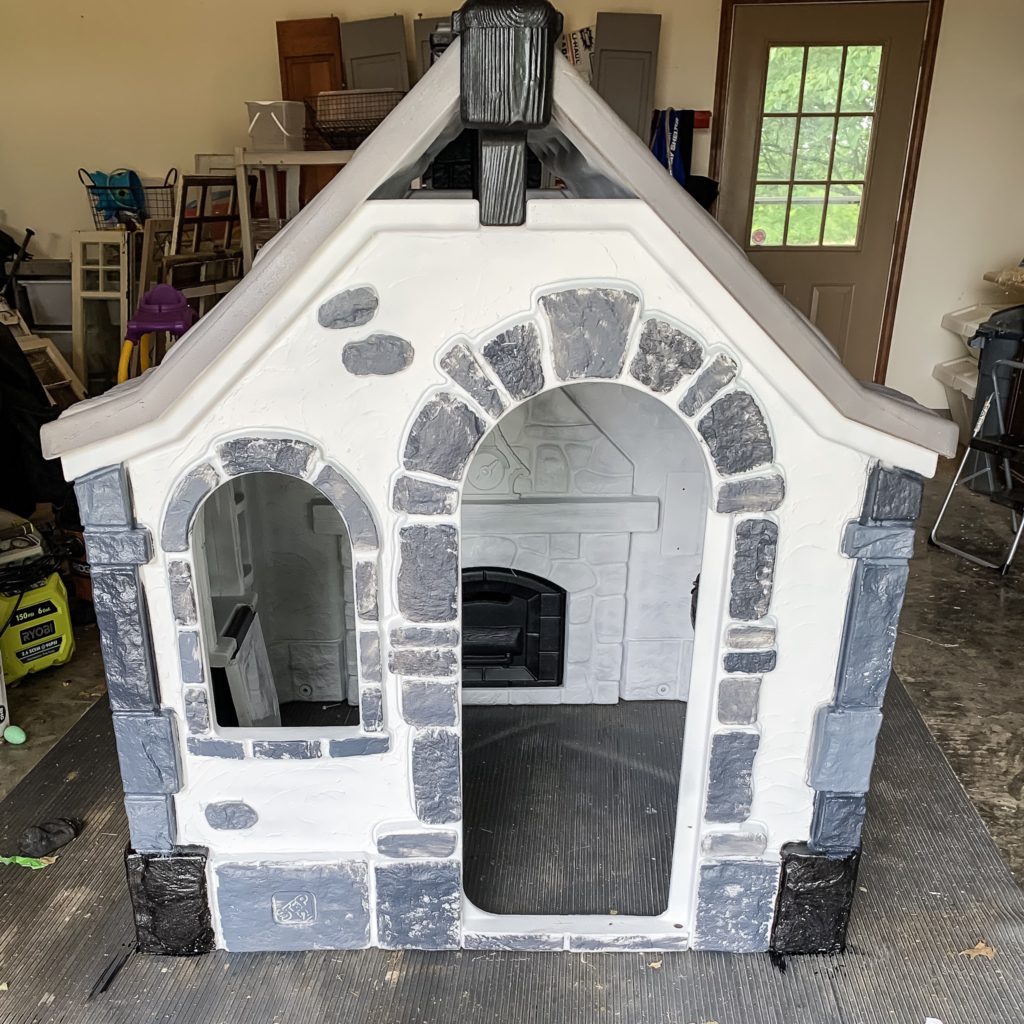
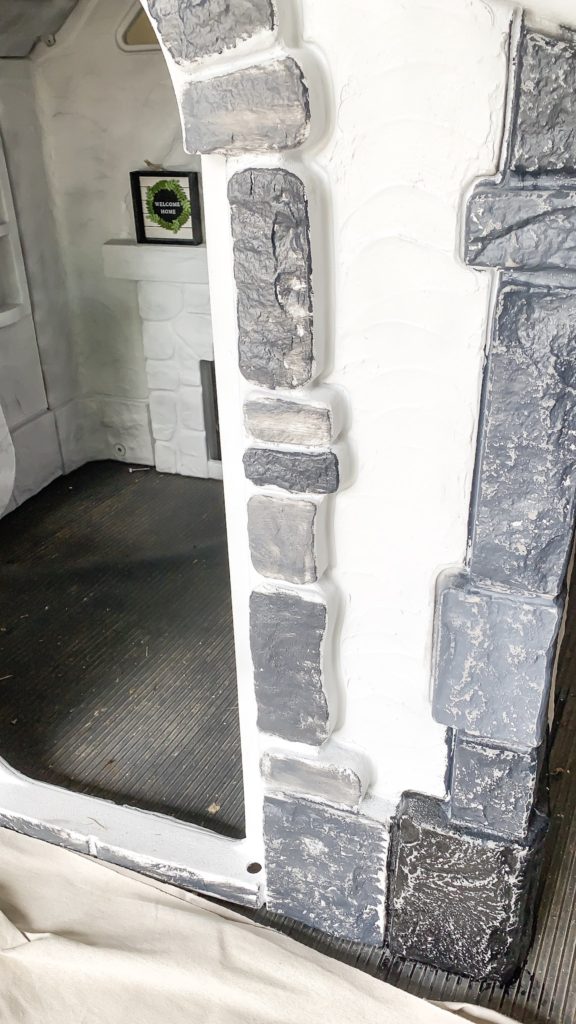
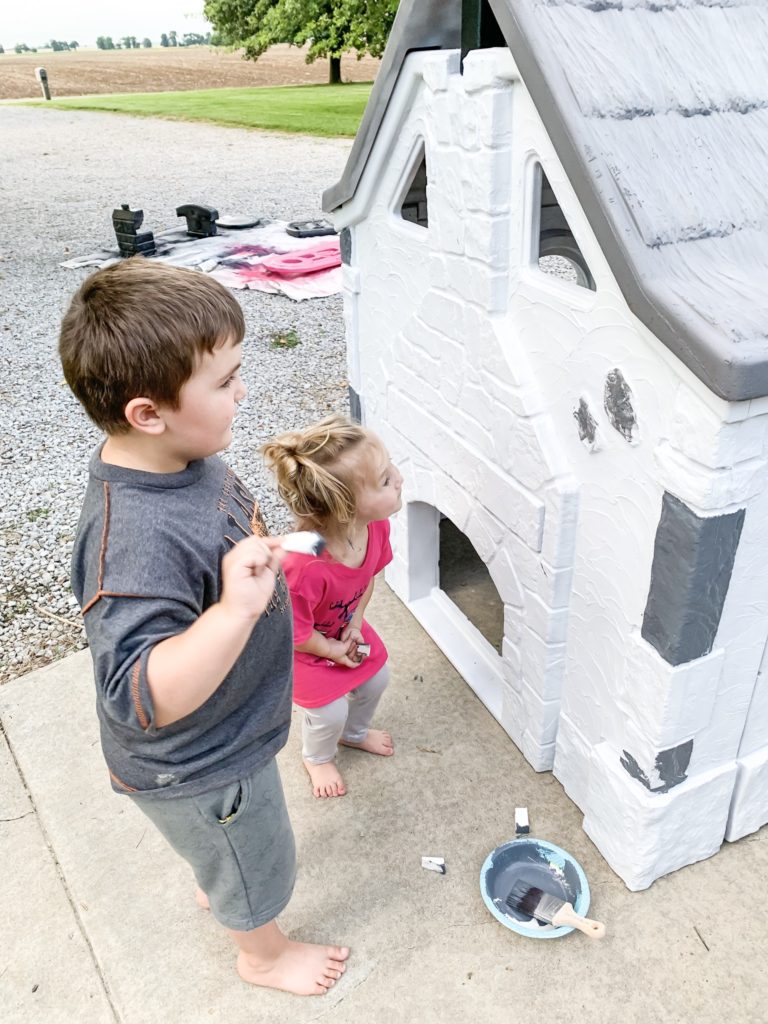
I could have left well enough alone at this point, but that’s not really how I roll. I wanted to add some contrast to the exterior stone work. This DecoArt curb appeal paint has held up wonderfully on two of my exterior doors. I’m hoping it will withstand the elements of being outside on the playhouse too. After finishing, the boldness was a little too much for me. I decided to sand it a bit for an aged/distressed look. You can see the comparison of before and after in the second image. (Side note: Utilize tiny little helpers at your own risk! haha!)
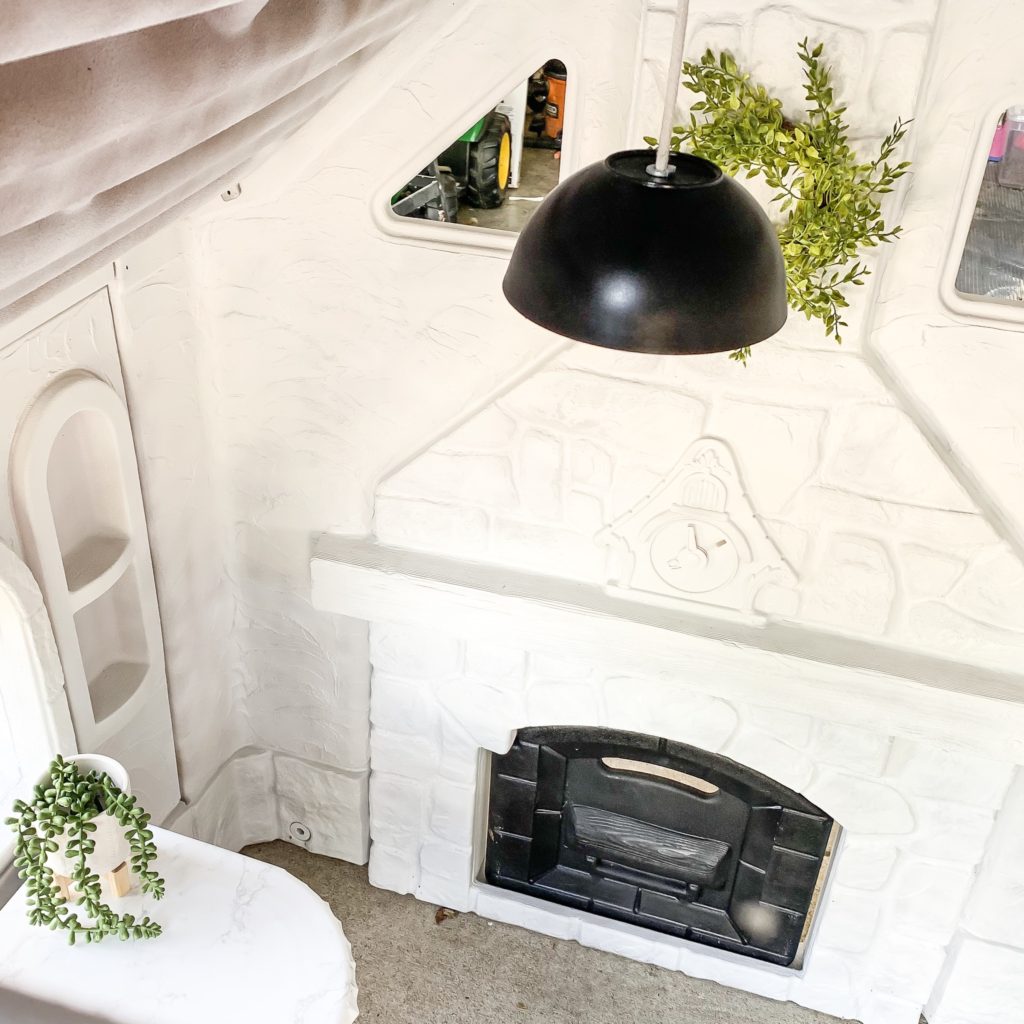
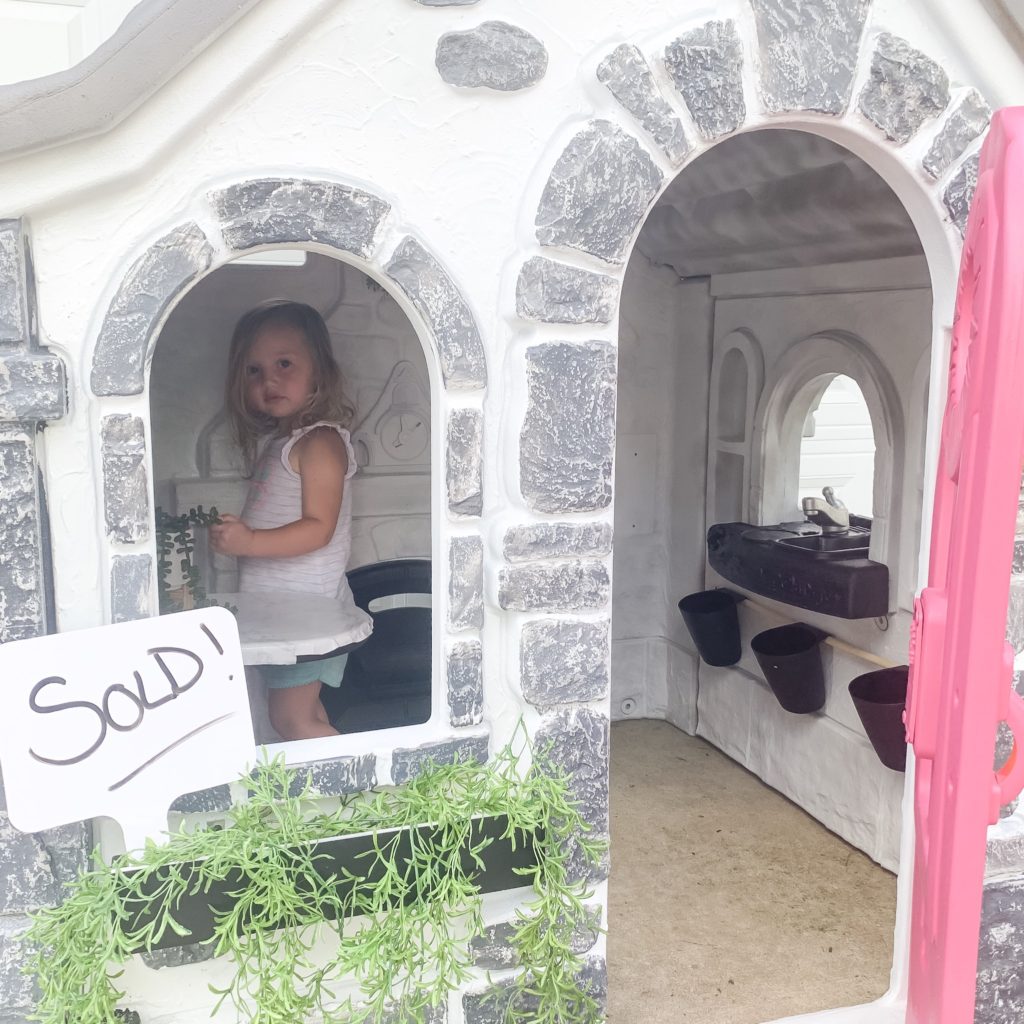
Plastic Playhouse Makeover – Finishing Touches
The distressing allowed some of the original brown to come through giving the stones a really natural appearance. Once everything was reassembled I gave it all another coat of clear sealer. I made sure to go over high traffic areas like the door and shutters 2-3 times. I can already tell that these areas will wear down quickly. But overall it’s such a fantastic improvement from the before!
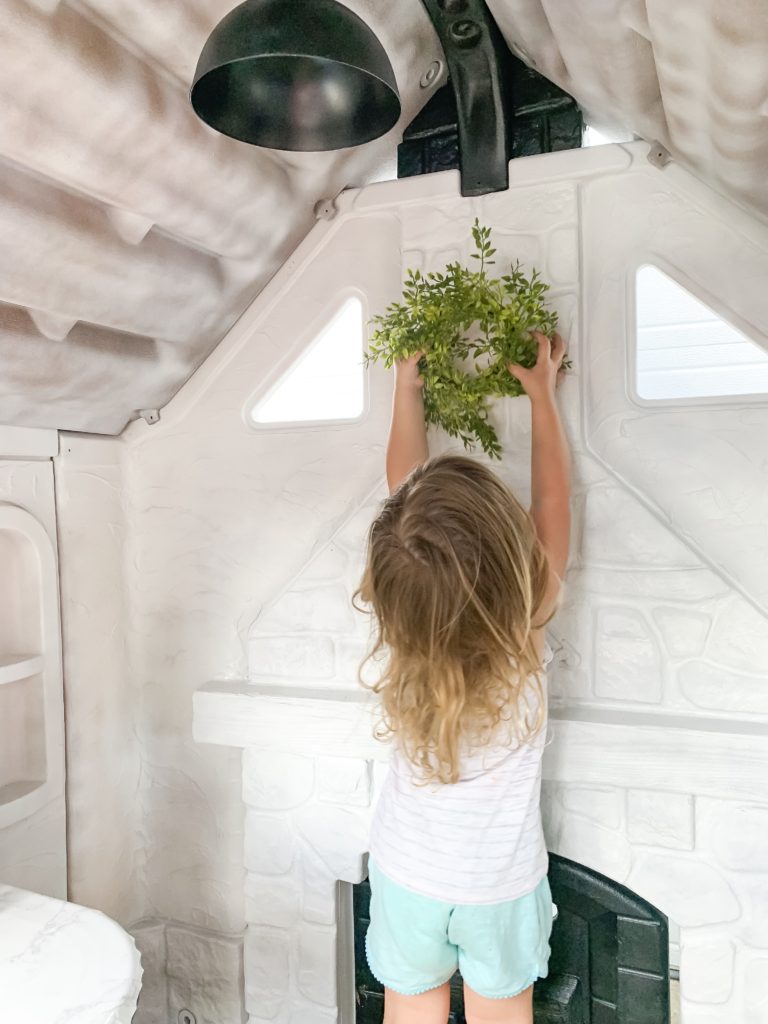
My little one’s reactions to the plastic playhouse makeover yotwere adorable. She even asked if she was going to get decorations! The apple doesn’t fall far you guys! I’ll be following this up soon with a second post on all the tiny little details. The details are my favorite.
I can’t wait to see her creativity thrive in this little space! Making over this plastic playhouse using spray paint will give this little house new life! And hopefully provide her with hours of fun!

Loving your playhouse makeover! And I bet your little bitty will have a blast playing house in there.
I’m really excited for the decoration and details post!
This is just wonderful! How has it held up? Anything you would do differently? How many cans of primer did you use? Thanks for posting such a great project!
Hi Jennifer! Thanks for checking it out! Our daughter loves it, and I might love it even more. We live in the Midwest so it was definitely been exposed to ALL the elements. The only places I’ve had an issue with are the roof, and it’s likely because I didn’t prime the roof. : / I ran out and got lazy, and just wanted to be done at that point. ; ) It’s obviously also the area that takes the most sun / run / snow abuse so that’s understandable. I can’t recall exactly, but I want to say maybe 6-8 cans of primer? I painted the inside walls as well so it took more. I tried to do two light coats of plastic primer on most surfaces.
What color did you use for the roof?