A step-by-step tutorial for how to build a massive LEGO wall with all the sensory benefits of vertical play.
This DIY tutorial will show you how to build a massive LEGO wall for your home. Sure to invite hours of fun with vertical building as well as tons of sensory benefits.

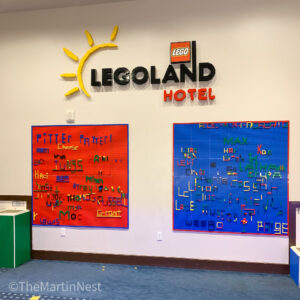
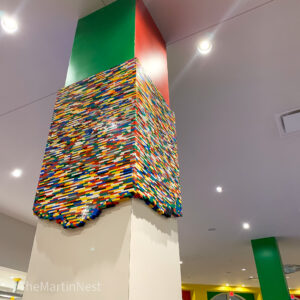
On a recent trip to Legoland Florida my kids were obsessed with these vertical building walls and columns that adorned the hotel lobby.
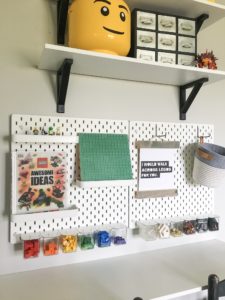
We have a variety of different LEGO workspaces in our homes for the kids to utilize like this IKEA Skadis Workstation. But I knew we needed to make this vertical LEGO wall concept a thing as well.
Check out this article that explains Why Kids Should Work on a Vertical Surface
***Big thanks to Walmart for sponsoring this post! I have been monetarily compensated for my work, but all thoughts and opinions are my own. We only share what we love here, and as always, thank you for your support!***
Read on for the step-by-step instructions on how I created this massive Lego Wall space in our home. As always, feel free to use this is a guide and modify the dimensions to best suit your own space.
Supplies
- 4 x 8 Sheet of Plywood
- I used ½”, in retrospect I should have used ¼” because this thing is HEAVY
- 1 x 2 scrap for the frame and french cleat
- Lego Baseplates
- -These are by far the best price I have found anywhere
- FUZE IT – Multiple tubes
- Caulk / Caulk Gun
- Wood Glue
- Paint / Stain of Choice
- Circular Saw
- Nail Gun
- Plastic Scraper
Prep Plywood Backer
Using the baseplates, determine the exact dimensions that you need your plywood backing to be. Mine ended up being slightly less than the 4 x 8 as the baseplate dimensions are approximately 10 x 10.
Using my favorite tool ever for cutting large sheets of plywood, I trimmed off the excess plywood edges to fit.
Cut & attach the french cleat
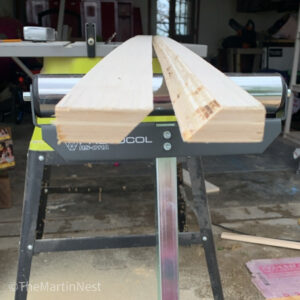
Because this was going to be so heavy I decided to hang it using a french cleat. French cleats are perfect for hanging heavy or bulky items flush against a wall. I made one by cutting a piece of scrap plywood on my table saw at a 45 degree angle.
Cut and attach additional framing pieces
In order to attach framing pieces to the sides, I needed to add a little bit of depth to the plywood board. I did this by adding more scrap plywood all the way around the outer edges. I attached with wood glue and my favorite cordless nail gun. In a later step you will see how this allows me to attach the frame around the sides. It also accommodates the depth of the french cleat to keep the LEGO wall hanging flat.
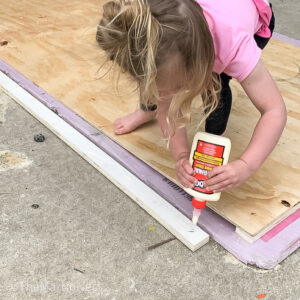
One the back pieces were in place I attached more scrap 1 x 2 to the sides to frame it out. I ran a bead of caulk all the way around the framing pieces where they met the plywood backer board. This just helps to give it a cleaner look.
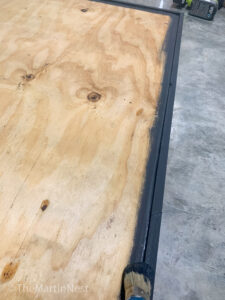
Once the caulk was dry I gave the outer frame quick coat of black paint.
Attach the baseplates
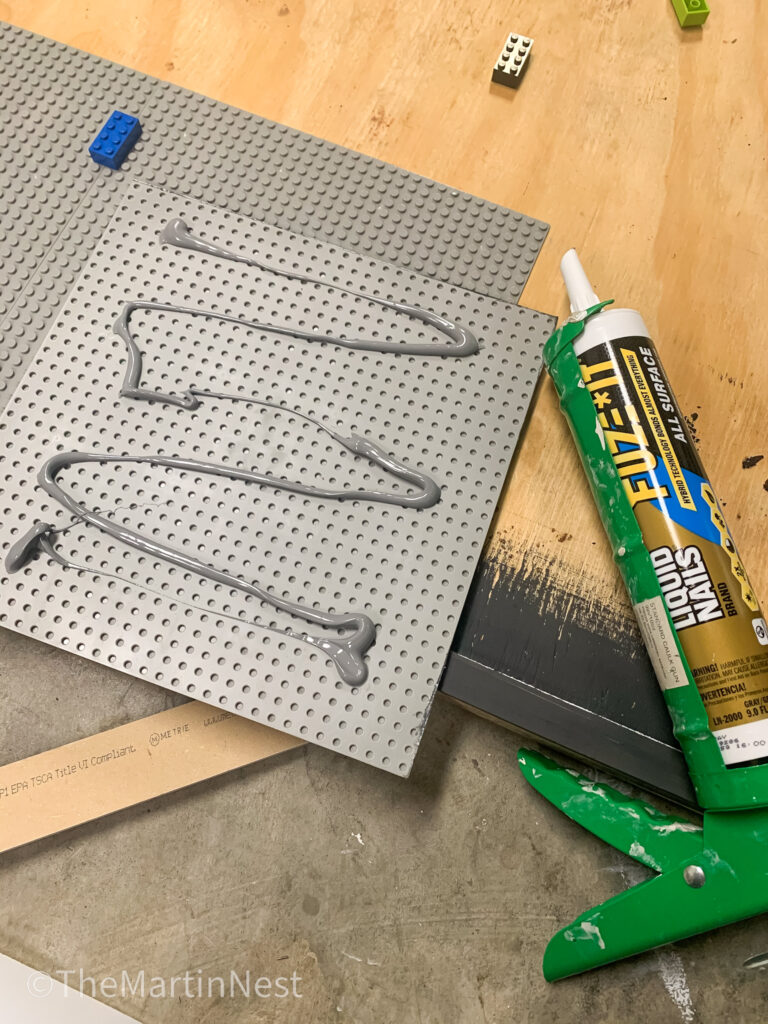
To attach the base plates I opted for this Fuze It all surface adhesive. I had good luck with it bonding quickly when building my DIY pantry shelves.
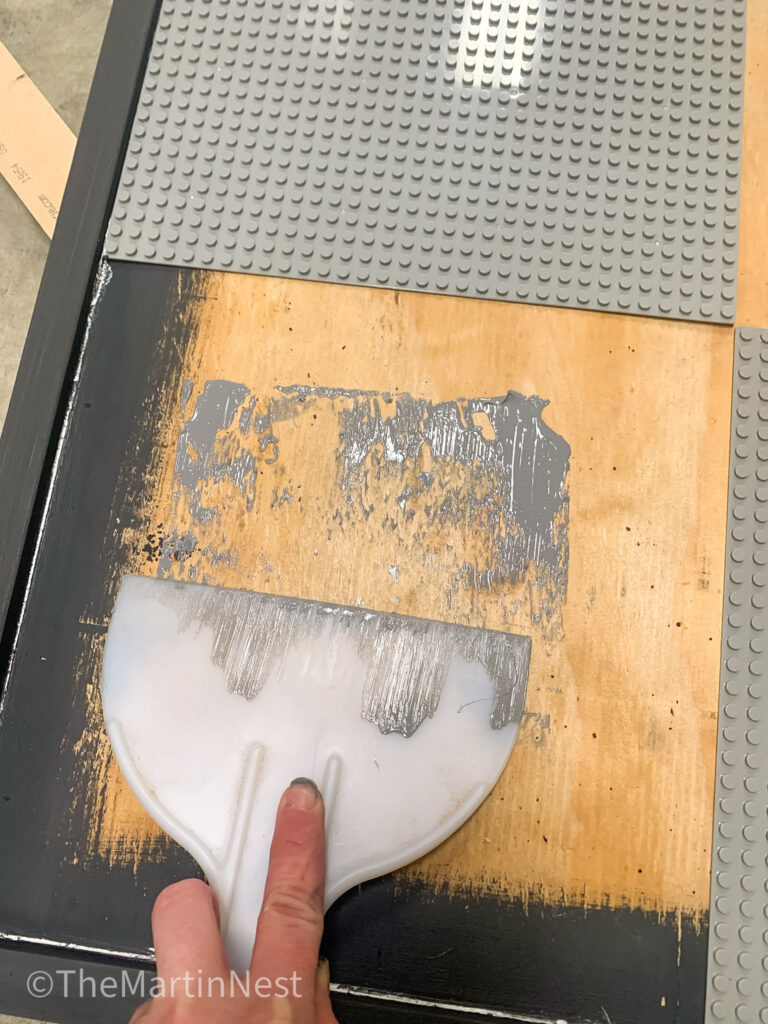
Using a caulk gun, I placed a generous amount of the adhesive onto the back of each plate. I used a plastic scraper to spread it out as even as possible across the plate. You want to cover as much surface area as possible to ensure a proper bond. I even scraped any excess off on the plywood board before putting the baseplate down.
Starting in a corner, work your way around. With each new baseplate you place down it helps to line then up by using Lego pieces. This way when your kiddos go to build their designs will lign up seamlessly from plate to plate. I was also sure to press each plate down firmly and hold in place for a few seconds.


Keep going until you’ve filled up your plywood backer. I would recommend leaving your surface flat for at least 24 hours to ensure a proper bond. I did not do this, but it might help to place some heavy objects on top.
Hang your massive LEGO wall
The French cleat that was created in step one needs to be attached directly into the wall studs for maximum support. One piece is attached to the wall and the other to the back of your plywood. Once both pieces are in place you simply lift the LEGO wall onto the wall cleat. You can check out this helpful video from Popular Woodworking.
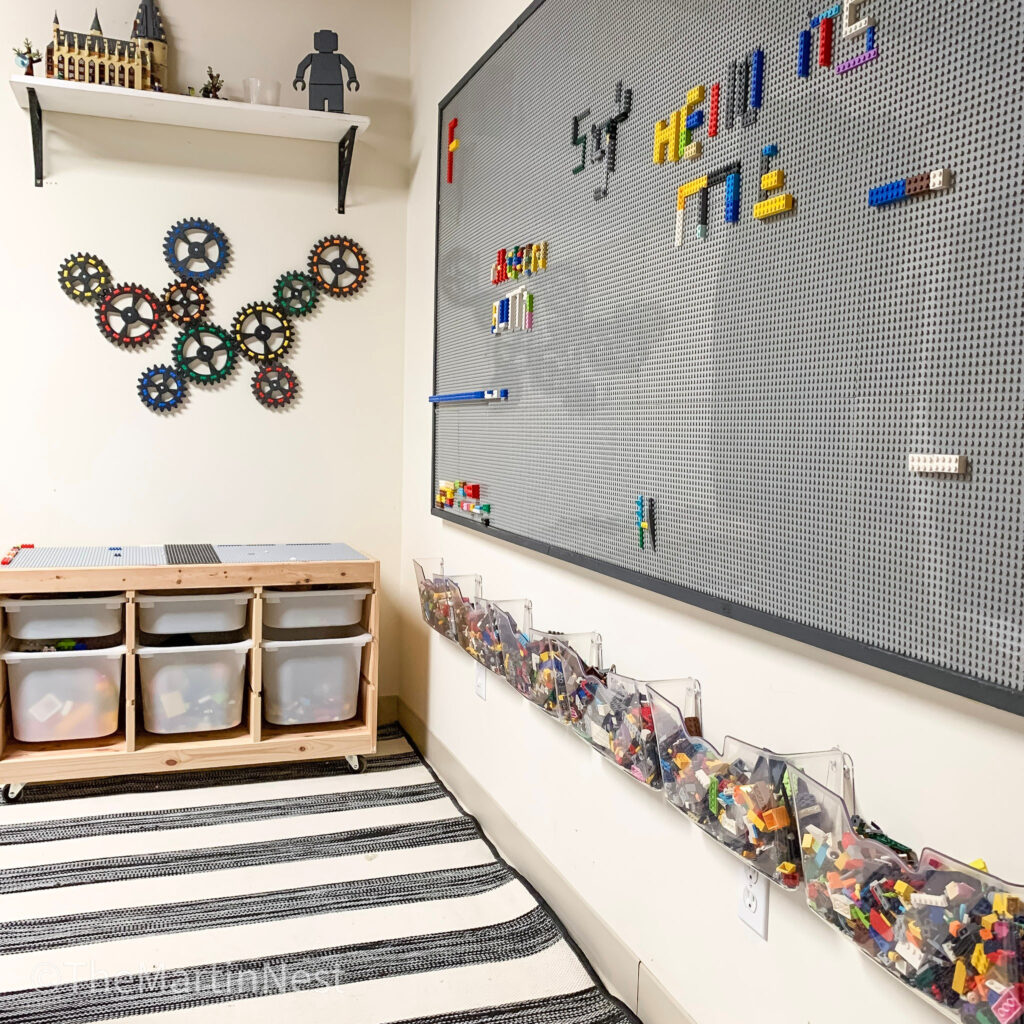
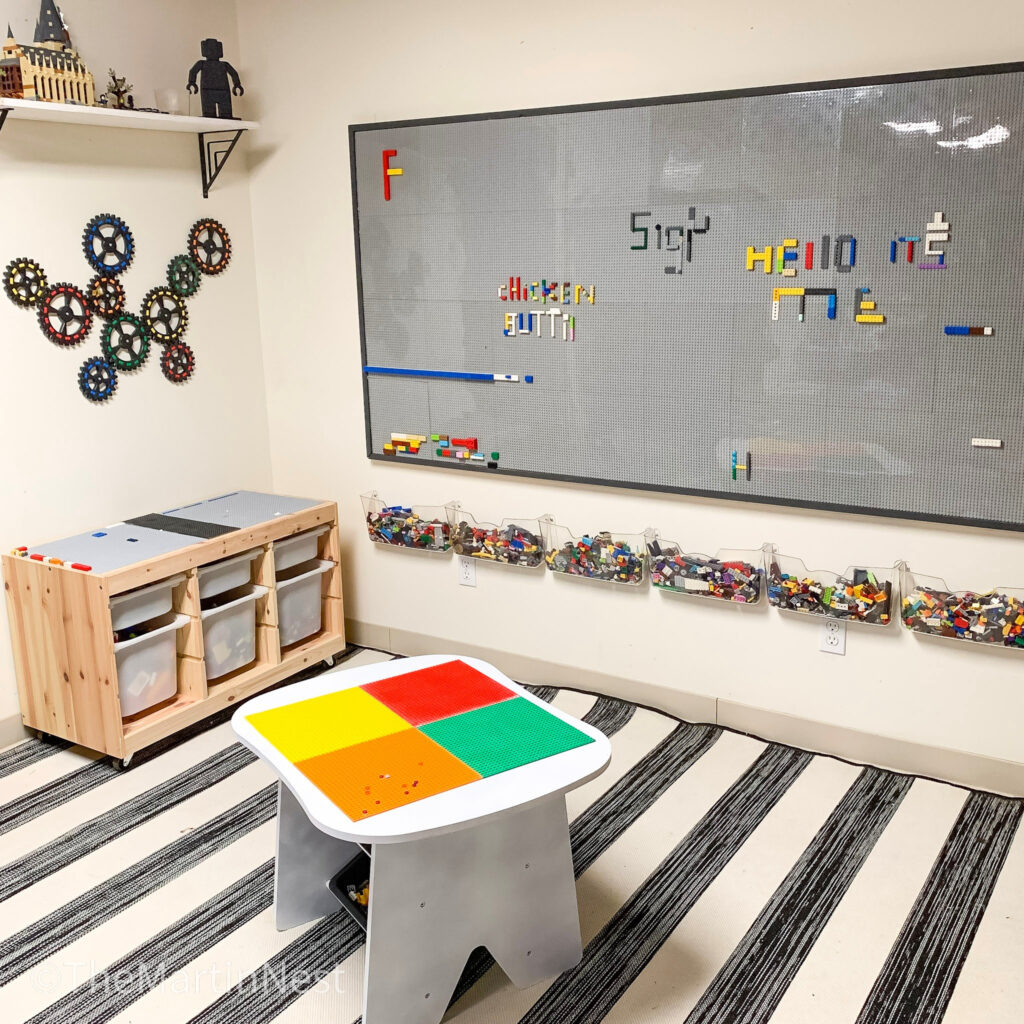
I added a few more details after this. The wall pockets are hung using wall anchors and bonding tape at the bottom to keep the LEGOs from falling out.
The LEGO wall gears from Go Figure Stands might just be my favorite accessory of the entire space!
Be sure to check out all of the accessory and storage details below.

Leave a Reply