How to get the french country look on a budget
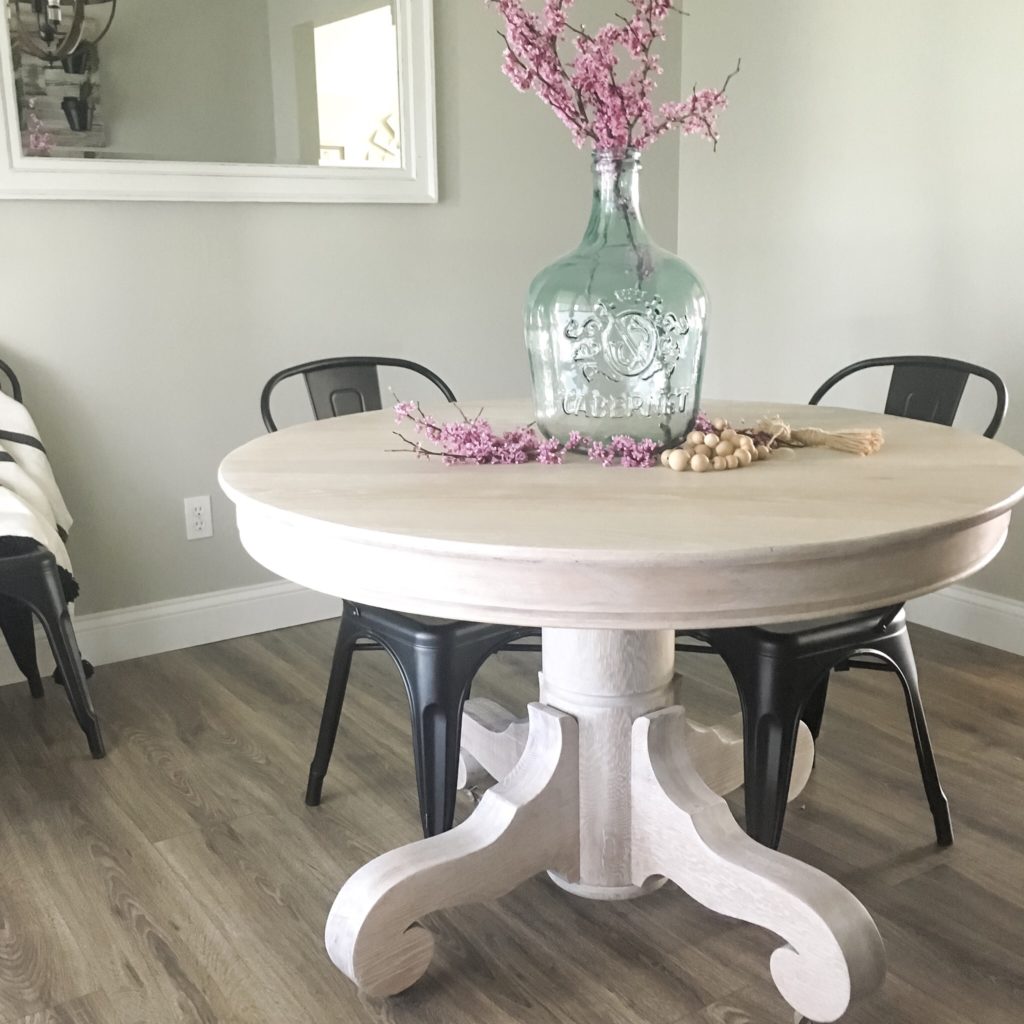
If you’re into DIY, but working on a budget then you NEED to be stalking Facebook marketplace and your local swap pages. I had been looking to change up the feel of our dining room decor, and really had my heart set on a round pedestal table with a gorgeous detailed base.
If you’ve looked into purchasing a dining table with any sort of character then you’re well aware they can cost a small fortune. Diligent stalking of the marketplace let me to this little gem for a cool $75. SOLD.
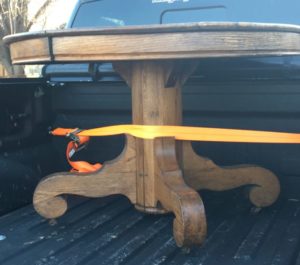
The top needed some SERIOUS work, but that base made my heart skip a beat. Having never stripped a piece of furniture in my life, I naturally chose to tackle this piece as my first project. I was aiming for a french country / bleached effect after falling in love with this table here by Natalie at My Vintage Porch.
Here’s a list of the supplies I used:
***Big thanks to Walmart for sponsoring this post! I have been monetarily compensated for my work, but all thoughts and opinions are my own. We only share what we love here, and as always, thank you for your support!***
- Citristrip
- Saran Wrap
- Stripping pads
- Plastic Scraper
- Old rags
- Drop cloth
- Sponges
- Gloves
- Bleach ( I used regular Clorox)
- Liming Wax
Stripping
I did my late night Pinterest browsing research and found that Citristrip would be the best option to limit the use of harsh smelly chemicals. I purchased both the liquid as well as the spray and got to work.
The table originally had a leaf that was now missing and a split base. I dismantled as much as I could to get access to the most surface area possible. I painted the Citristrip onto the top and base using an old chip brush, then used the spray can to get into any nooks and crannies. Multiple DIY-ers recommended covering the piece with saran wrap and letting it sit overnight.

I’ll spare you all of the gross details that followed, but what ensued next can only be described as sludge-a-palooza. I share more about the stripping process in my Instagram story highlights if you’d like to check it out, but in a nutshell these were my steps.
- Make sure you’re working in a well ventilated area and wear gloves
- Apply stripper, wrap in saran wrap, and wait 24 hours
- Scrape, scrape and scrape some more (use a plastic scraper as metal can damage)
- Scrub like crazy with a little water and a stripping pad
- Wipe with mineral spirits & let dry completely
- Once dry, sand to remove any excess varnish
Bleaching
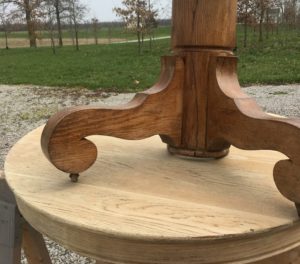
Once the wood had dried out I applied undiluted kitchen bleach directly to the surface. Be sure to wear thick gloves during this step and work outside if possible for proper ventilation. A sunny day is a plus so it dries quickly between coats. I wiped it on with an old sponge, and repeated the process six times until any dark or discolored spots had faded.
Finishing
After the bleaching process I made sure to do one final wipe down with water to neutralize the bleach. The bleach opens up the wood grain so a good sand down is a must. I sanded the surfaces with an orbital sander starting at 150 grit and working my way down to 220 until smooth.
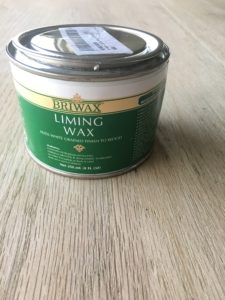
The final step was to apply Briwax Liming Wax. This fills in any of the open wood grain with a white color. It comes in a small can, but a little will go a long way. Just apply to the surfaces, let sit for 3-5 minutes, then use the cheesecloth to buff out.
A Diamond in the Rough
I knew there was a gorgeous table hiding underneath all of that varnish, but I definitely underestimated the amount of work it would take to uncover it. However, the end result was exactly what I had envisioned. It’s amazing what a LOT of elbow grease and patience can produce when you’re working within a budget.
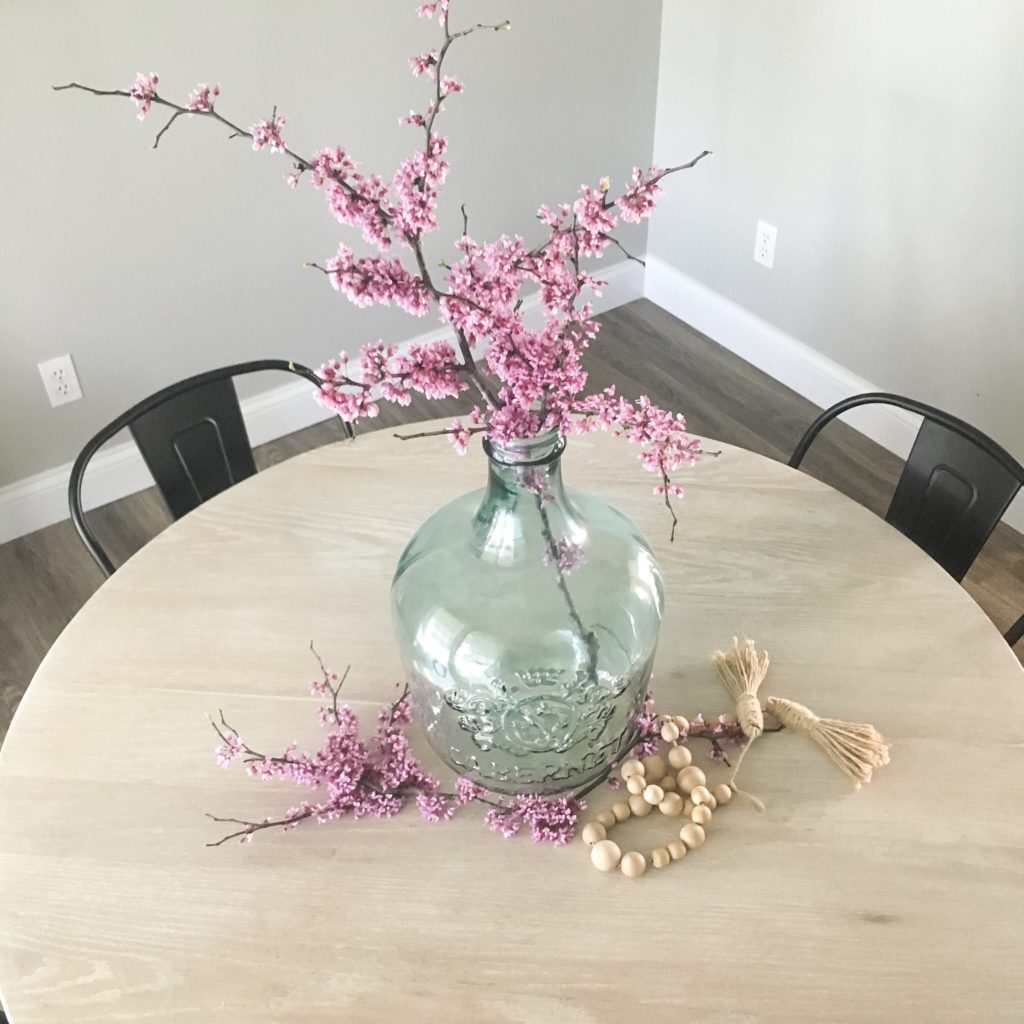


The whitewashed look of the table paired with these matte black dining chairs completes the perfect modern farmhouse look!
Be sure to follow along on Pinterest and PIN this image to your favorite board!
-Jessica

Leave a Reply