An easy no-prep DIY Tutorial for painting tile
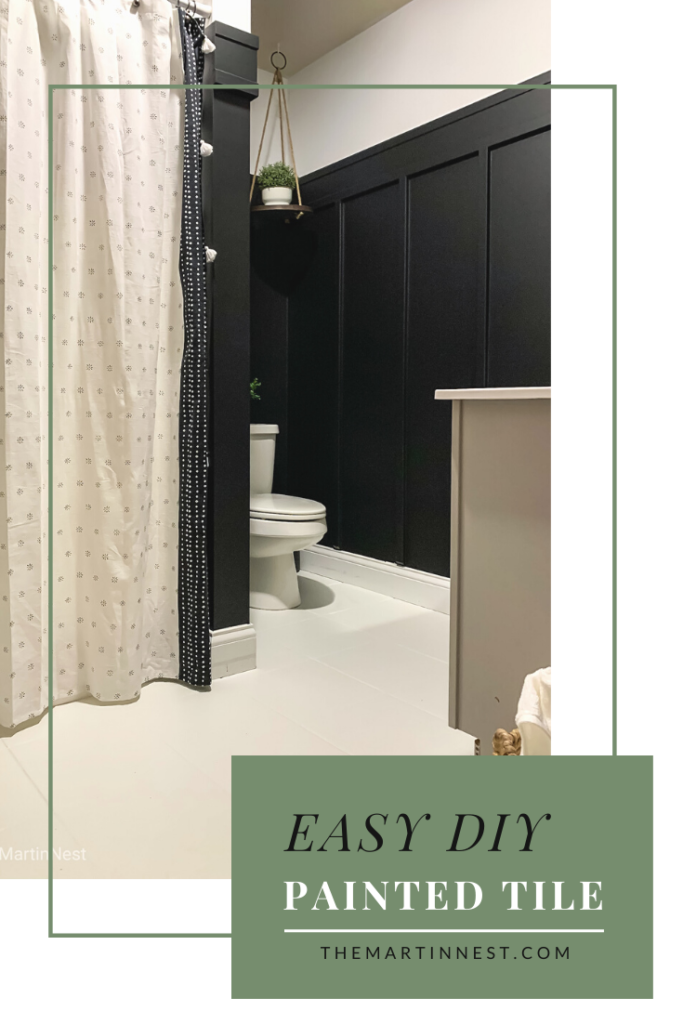
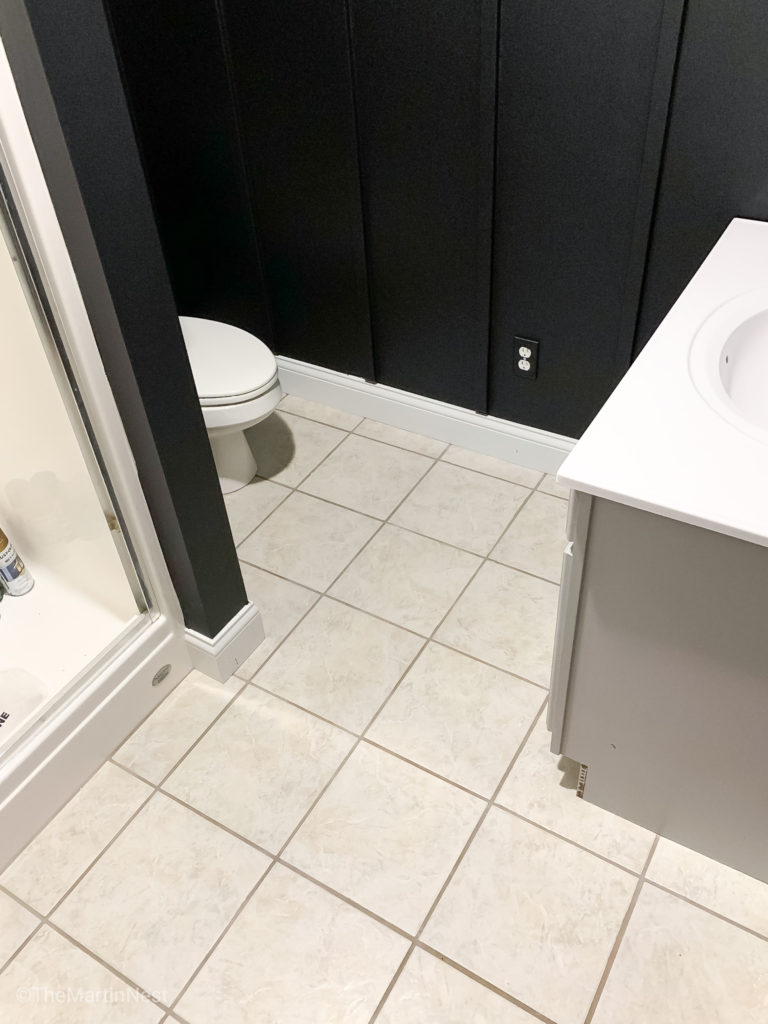
Bye bye builder beige, helllooo bright white tile! This easy DIY painted tile tutorial will show you how I transformed the tiles in my guest bathroom.
***Big thanks to Walmart for sponsoring this post! I have been monetarily compensated for my work, but all thoughts and opinions are my own. We only share what we love here, and as always, thank you for your support!***
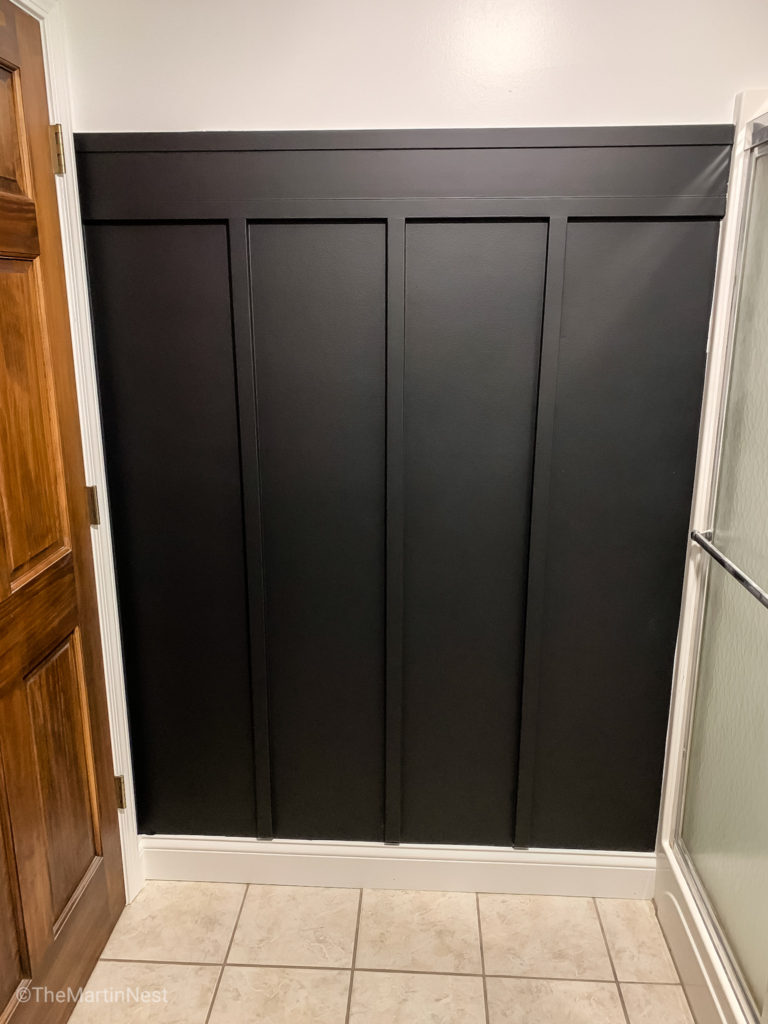
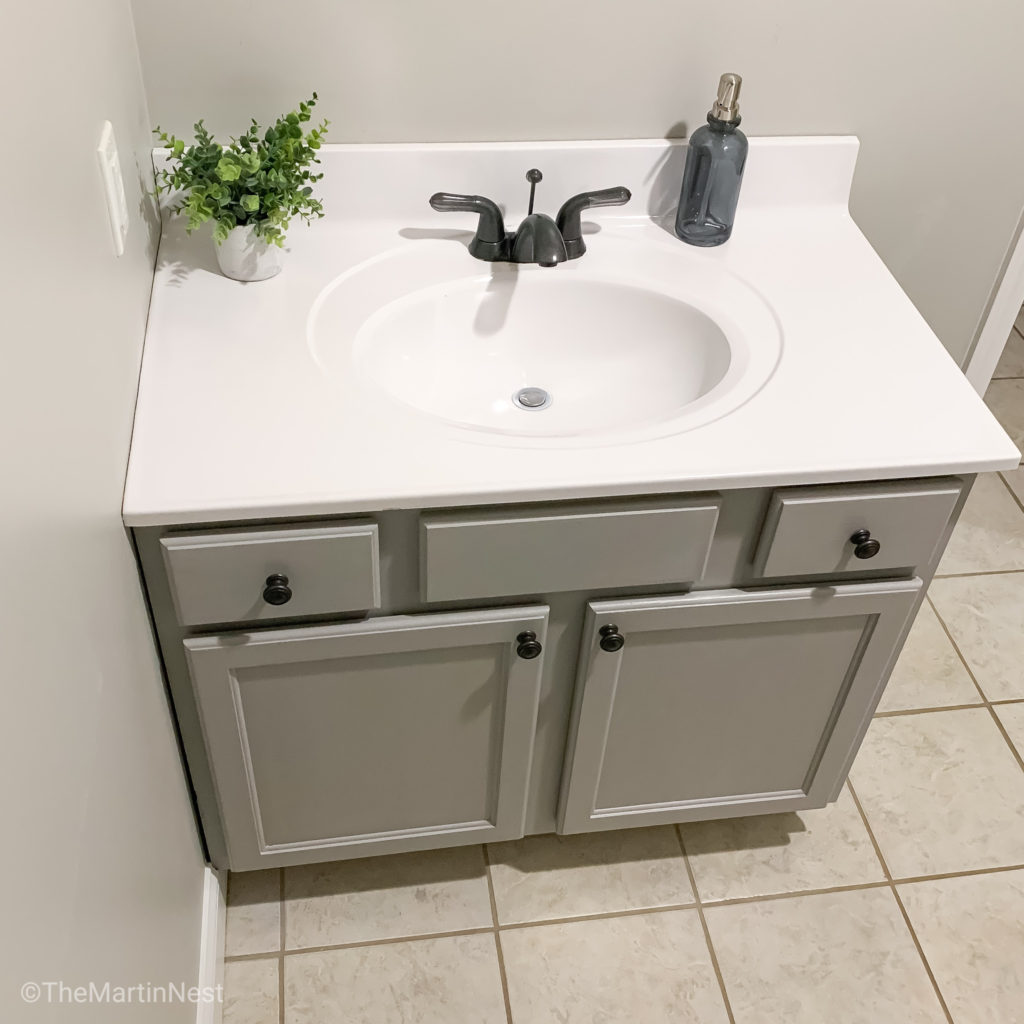
After painting the vanity, countertop and adding a DIY board and batten to my guest bathroom makeover, the builder beige tile just wasn’t blending well at all.
This particular tile also extends out into a large portion of our finished basement. Eventually, I would like to paint it all so I needed something that was made specifically for floors and could hold up to the traffic that comes through that space.
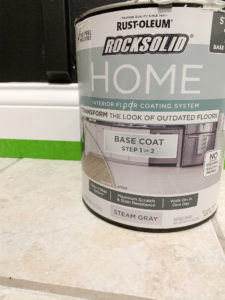
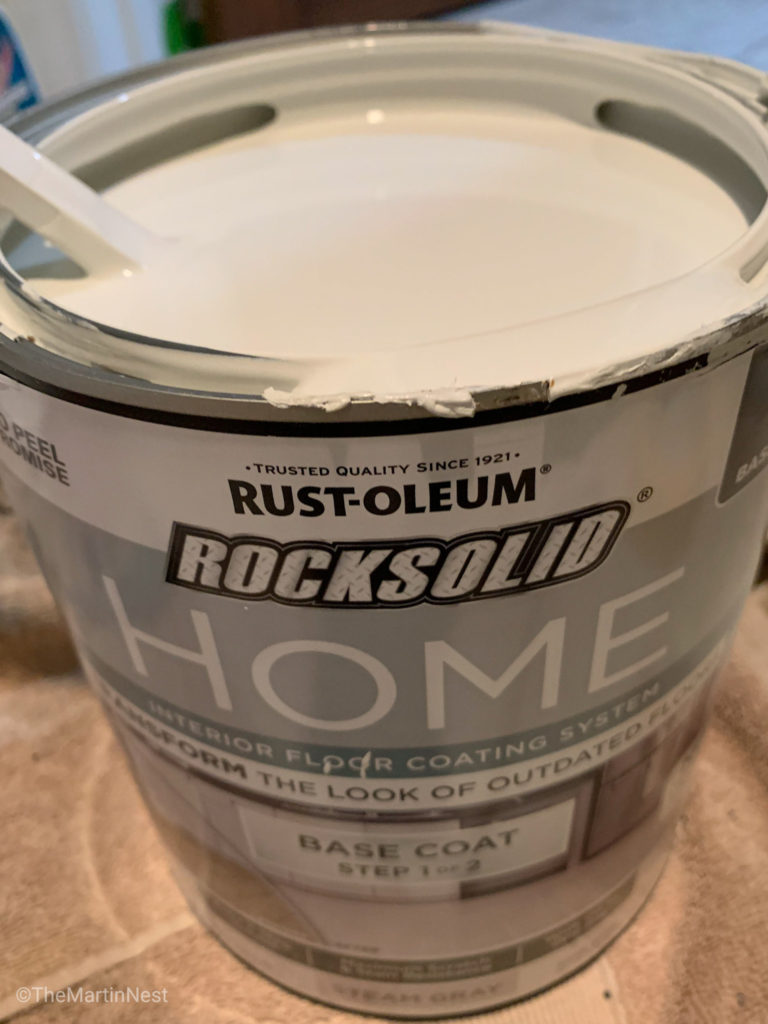
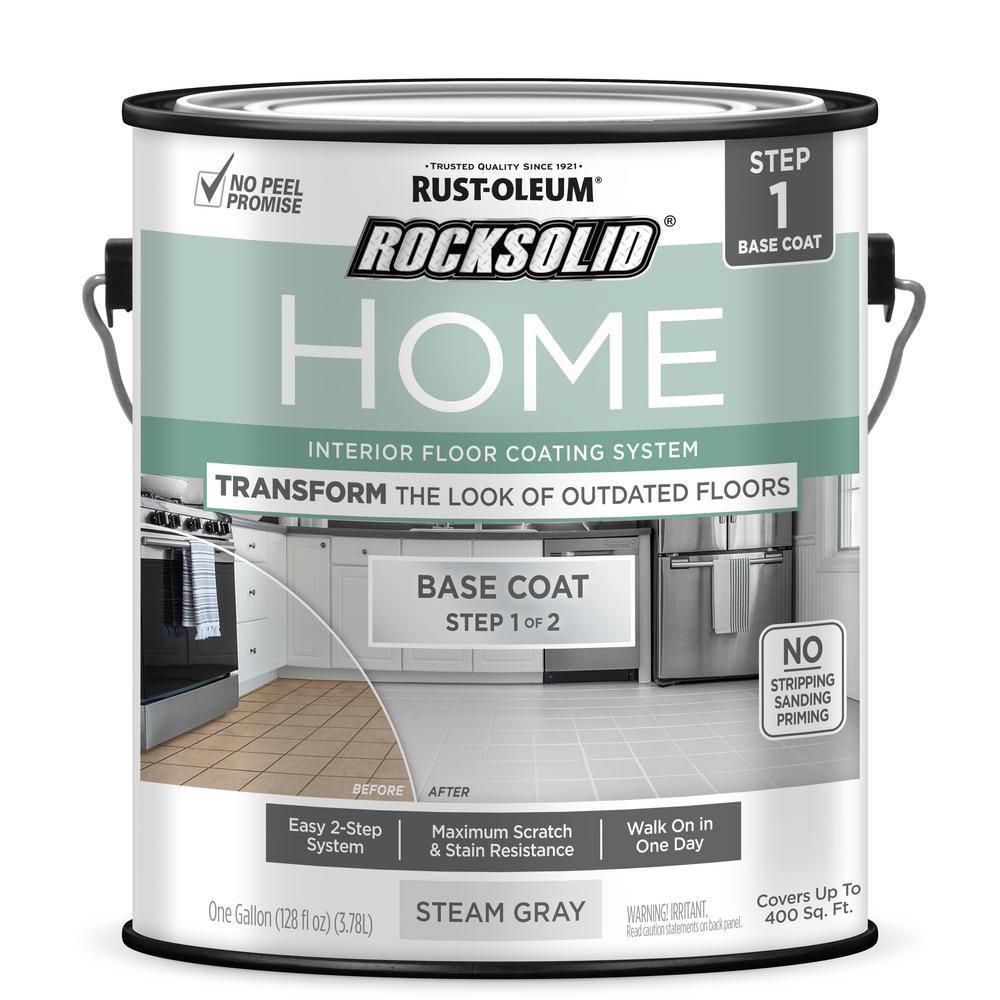
I was introduced to Rustoleum’s newest product for interior flooring at a conference I attended this summer. Rock Solid Home floor paint is perfect for covering vinyl, ceramic & porcelain tile, hardwood, laminate, and interior concrete.
Prep
This product will not cover any imperfections in your tile, so you’ll need to do any necessary repairs to the tile before using this product.
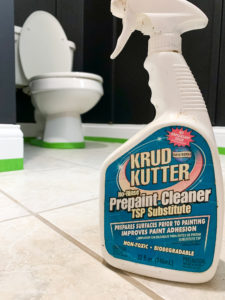
Give your floors a good cleaning. I simply sprayed on this pre-paint cleaner, wiped with a wet cloth then a dry. No prepping, stripping or sanding required. YES!
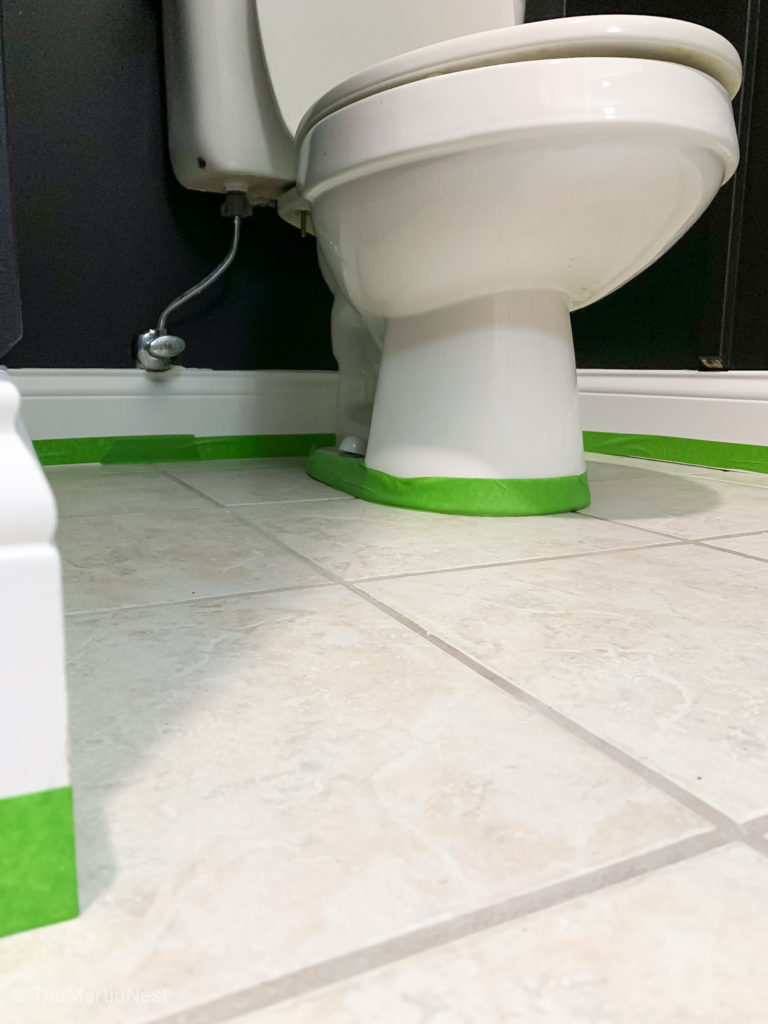
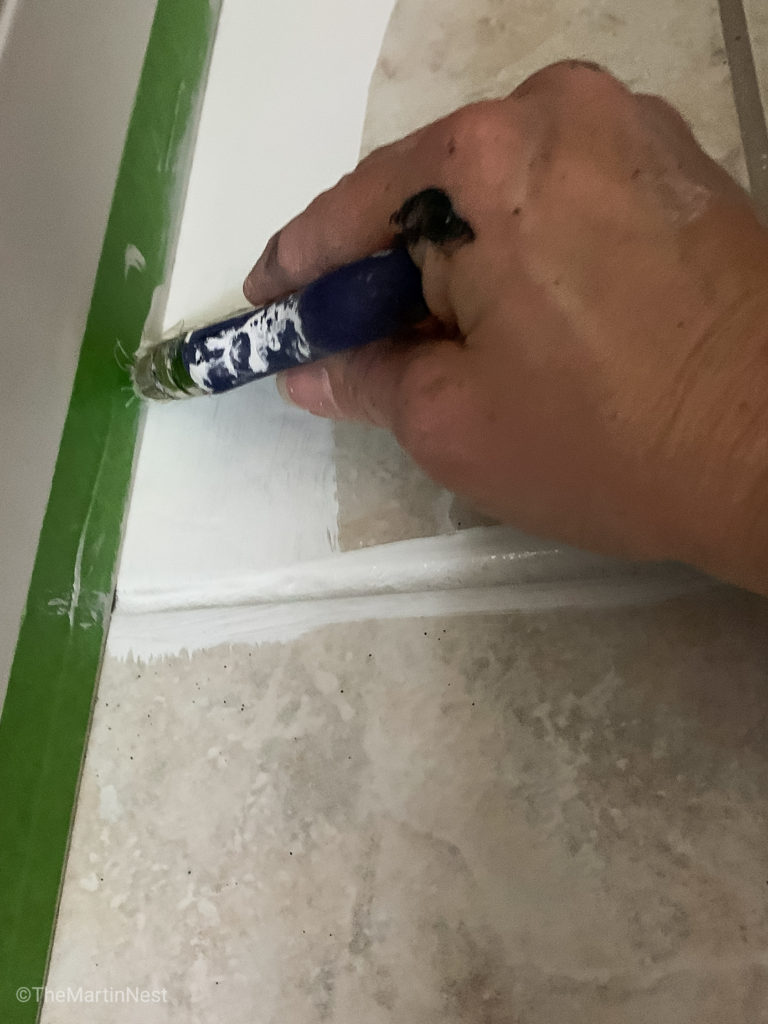
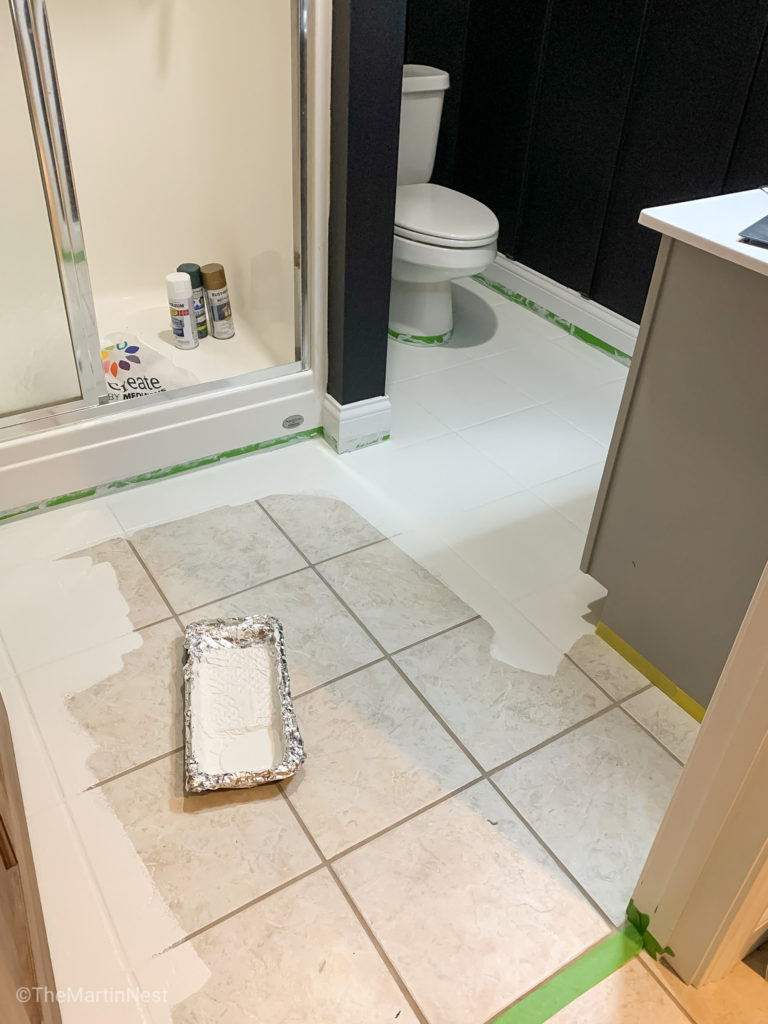
Unless you’re a paintbrush ninja, tape off around your baseboards, vanity and toilet base. You can use a razor blade to trim off any excess and get really close to the base.
Paint
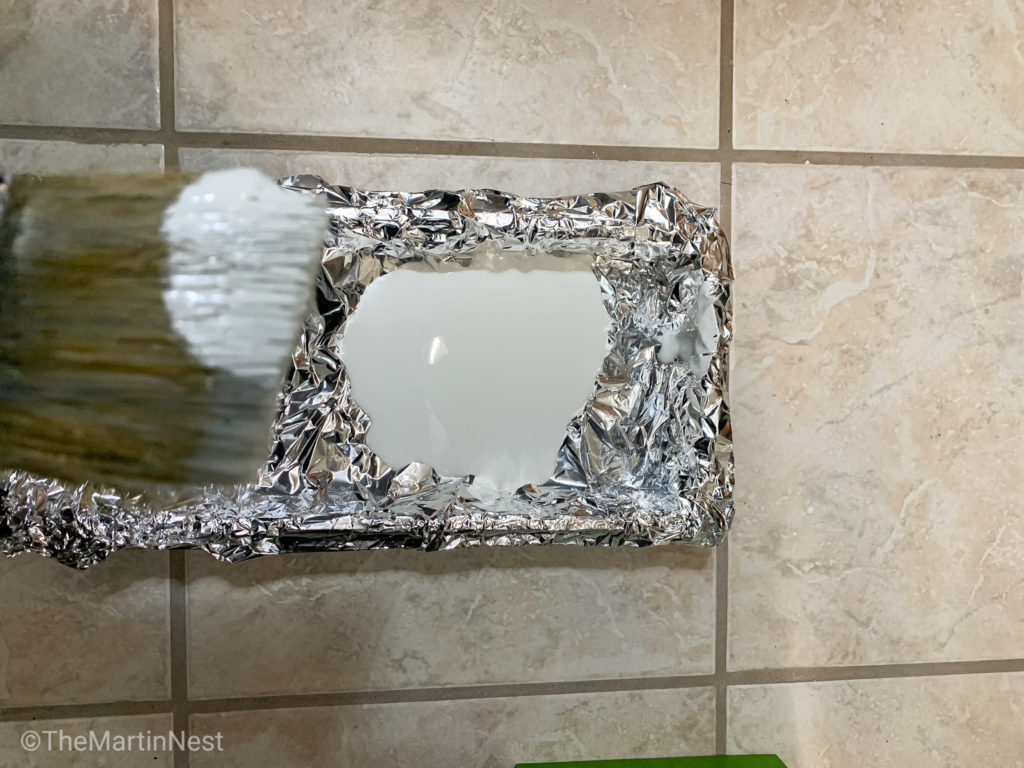
Open your paint and stir well to mix.
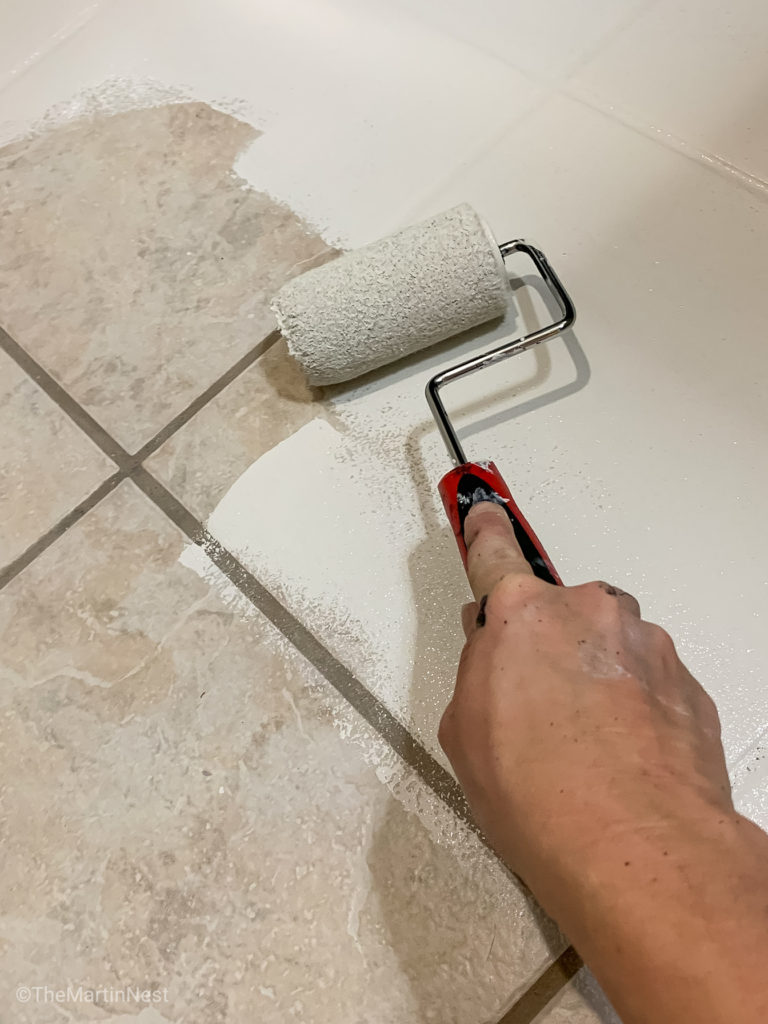
Working in 4’ x 4’ sections cut in around the edges using a trim brush and then smooth out with a good quality roller. Be sure not to apply it too thick. The product suggests only one coat is needed, but I personally did two thin coats.
Wait six hours after the first application before applying a second coat.
Using the same painting process you’ll need to apply the topcoat, available in both a matte and semi-gloss finish. The topcoat needs to dry for 24 hours before walking on the surface.

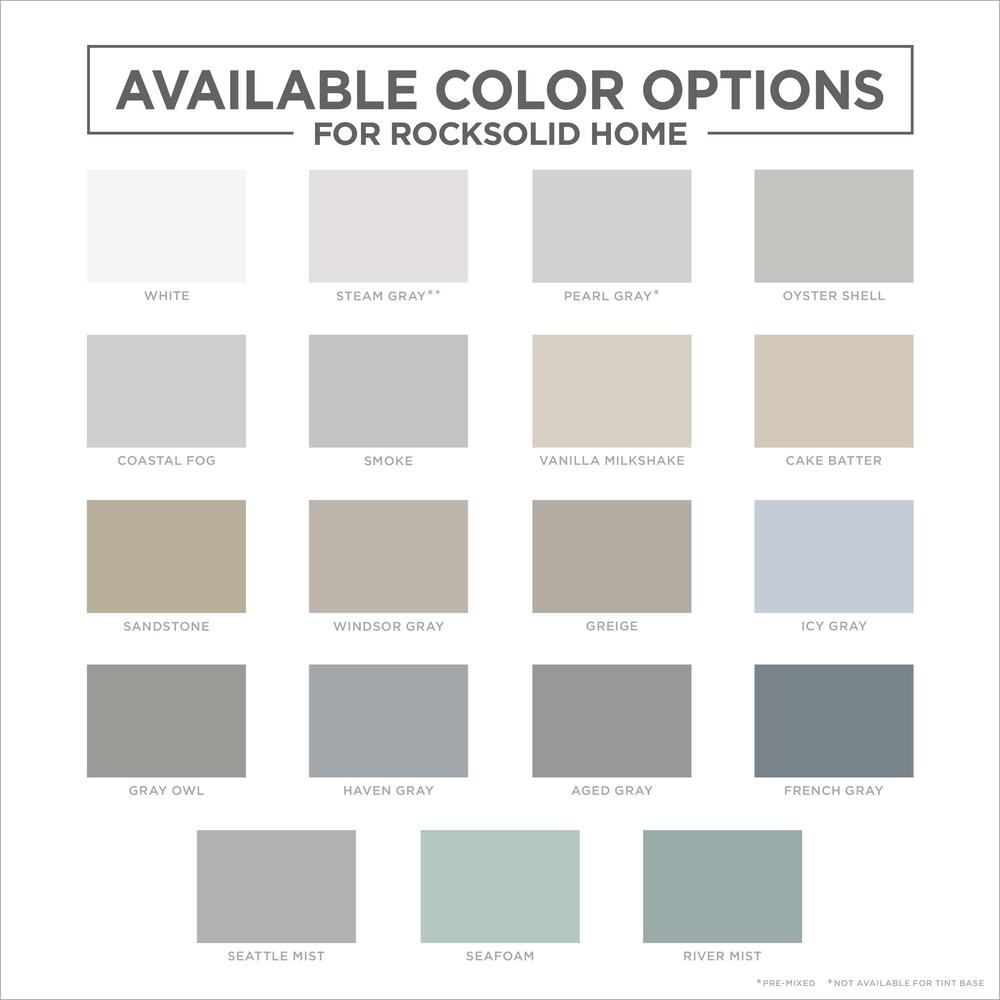
At the time of this post, you could only purchase the product from Home Depot. If you have a store local to you, it can be tinted to a variety of different colors.
I chose steam grey (a VERY light, almost white color) with a matte topcoat.
You guys, I was SHOCKED at how easy this product was to use. I had a coat of paint on and drying in this small space within 15 minutes. The odor was minimal, and it dries to the touch very quickly. For around $100 my floors look brand new, and I still have more than enough paint to finish the rest of the basement. We’ve been using the surface for almost a month now, and it’s holding up so well.

I think Rustoleum’s Rock Solid Home is the perfect solution to updating your flooring without a major renovation. You could tape off a pattern and paint a second color or use a stencil. Are you brave enough to paint your floors? I’d love for you to share, and don’t forget to Pin it for later!






Leave a Reply