I was tired of plain mirrors that made my walls look dull, but the option of buying them from fancy stores wasn’t in my budget.
Then an idea came to my mind, a diy mirror frame. It’s easy to make, doesn’t require fancy tools or special skills, and the result will be whatever you want.
But how to do it? What are the dos and don’ts? Let’s get into it.
Things to Consider Before Making a Mirror Frame
Before we start the process, it’s important to be aware of some crucial points that directly impact a mirror diy frame.
Skipping this can lead to wasted materials and poor results.
Mirror Size and Weight
The size and weight of the mirror decide how strong the frame needs to be. A heavy mirror needs a thicker, sturdier frame.
I never get this wrong, as it can cause the frame to crack or break.
Bathroom Moisture Exposure
Bathrooms have a lot of steam and moisture. When I make a diy bathroom mirror frame, I pick materials that won’t warp or rot easily.
Frame Thickness
The thickness of the frame affects both the look and the strength.
A very thin frame may not hold the mirror securely, whereas a thicker frame provides more support and makes the finished piece look more put-together.
Wall-Mounted vs Hanging Mirrors
Always think about how my mirror will be displayed before building the frame. Wall-mounted mirrors need strong anchors and proper hardware. Hanging mirrors need sturdy wire or hooks.
Never skip sealing the wood before putting it in the bathroom. Unsealed wood soaks up moisture fast. It warps, swells, and falls apart within months.
Different Materials You Can Use for a DIY Mirror Frame
The right material is one of the most important steps in this whole process.
The chosen material affects how long the frame lasts, how it looks, and how well it holds up in tough conditions.
1. Wood
Wood is the best choice for a mirror frame diy project.
I find it easy to cut, sand, and paint. However, raw wood absorbs moisture quickly, so it must be sealed.
The estimated cost is $10–$30, depending on the wood type and size.
My go-to picks are pine or poplar wood. They’re affordable, easy to work with, and take paint really well. They are affordable, easy to work with, and take paint really well.
2. MDF (Medium Density Fiberboard)
MDF is smooth, affordable, and great for painting, and costs $8 – $20 per sheet.
It gives a very clean finish. However, it is not good with moisture. MDF swells and degrades rapidly when exposed to water.
If you are making a diy bathroom mirror frame, always coat it with sealant first.
Always use moisture-resistant MDF, often labeled as “MR MDF.” It handles bathroom conditions much better than standard MDF.
3. PVC Trim
Go with PVC trim when moisture is your biggest concern, and it usually costs around $15–$35 per length.
It doesn’t rot, warp, or swell in wet spaces.
It’s lightweight and easy to cut. But it can look a little plain. A little extra effort goes into making it look stylish, but it’s worth it.
Pick cellular PVC trim boards. They are more rigid and hold screws better than regular PVC options.
4. Metal
Metal frames look sharp and modern. They are strong and durable.
Metal handles moisture well but can rust if the coating gets scratched. If I go with metal, I make sure it has a rust-resistant coating or finish.
Its estimated cost is $20 – $50, depending on metal type.
Supplies Required
Frankly speaking, there’s no need to spend a lot to get started. Most of these items are at the local hardware store or online for very reasonable prices
| Tools | Materials |
|---|---|
| Miter Saw / Hand Saw | Wood / PVC Trim Board |
| Measuring Tape | Wood Glue |
| Sandpaper 120 & 220 grit | Finishing Nails |
| Paintbrush | Primer & Paint / Stain |
| Clamps | Waterproof Sealant |
| Drill & Drill Bits | Mirror Adhesive / Clips |
How to Make a DIY Mirror Frame at Home?
Once you understand the right supplies, materials, and what to look out for, the actual building part will be the easiest step.
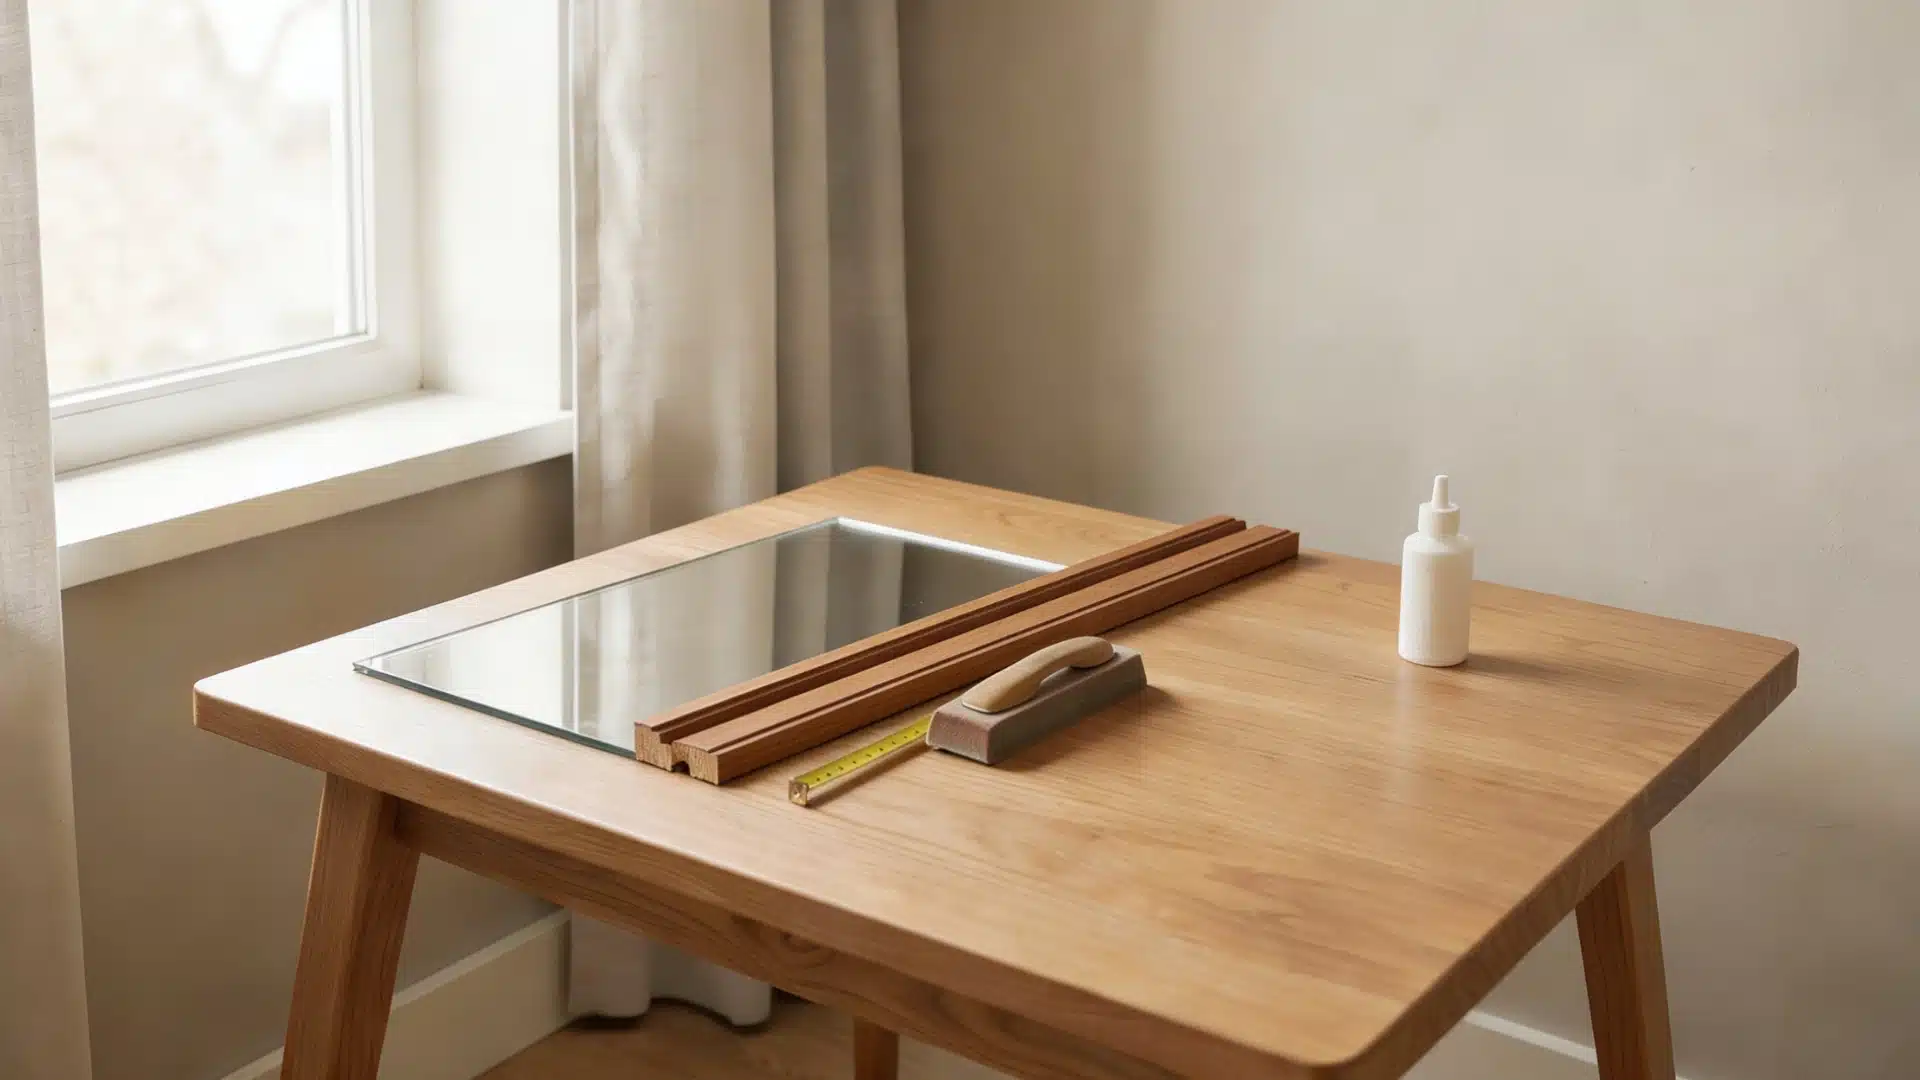
Step 1: Measure the Mirror
Start by carefully measuring all four sides of the mirror with a tape measure and writing down the measurements.
Add about half an inch on each side for the frame overlap.
My rule is to measure twice before cutting anything. That one habit has saved me from a lot of wasted material and frustration.
Never eyeball your measurements. Even a small gap of a few millimetres can make your frame look uneven and unprofessional.
Step 2: Choose and Cut Frame Pieces
Once you have the measurements, mark them on the chosen material.
I cut each piece carefully using a miter saw or hand saw. For clean corner joints, cut each end at a 45-degree angle.
Always clamp your material down before cutting. A moving piece can cause uneven cuts or even injuries.
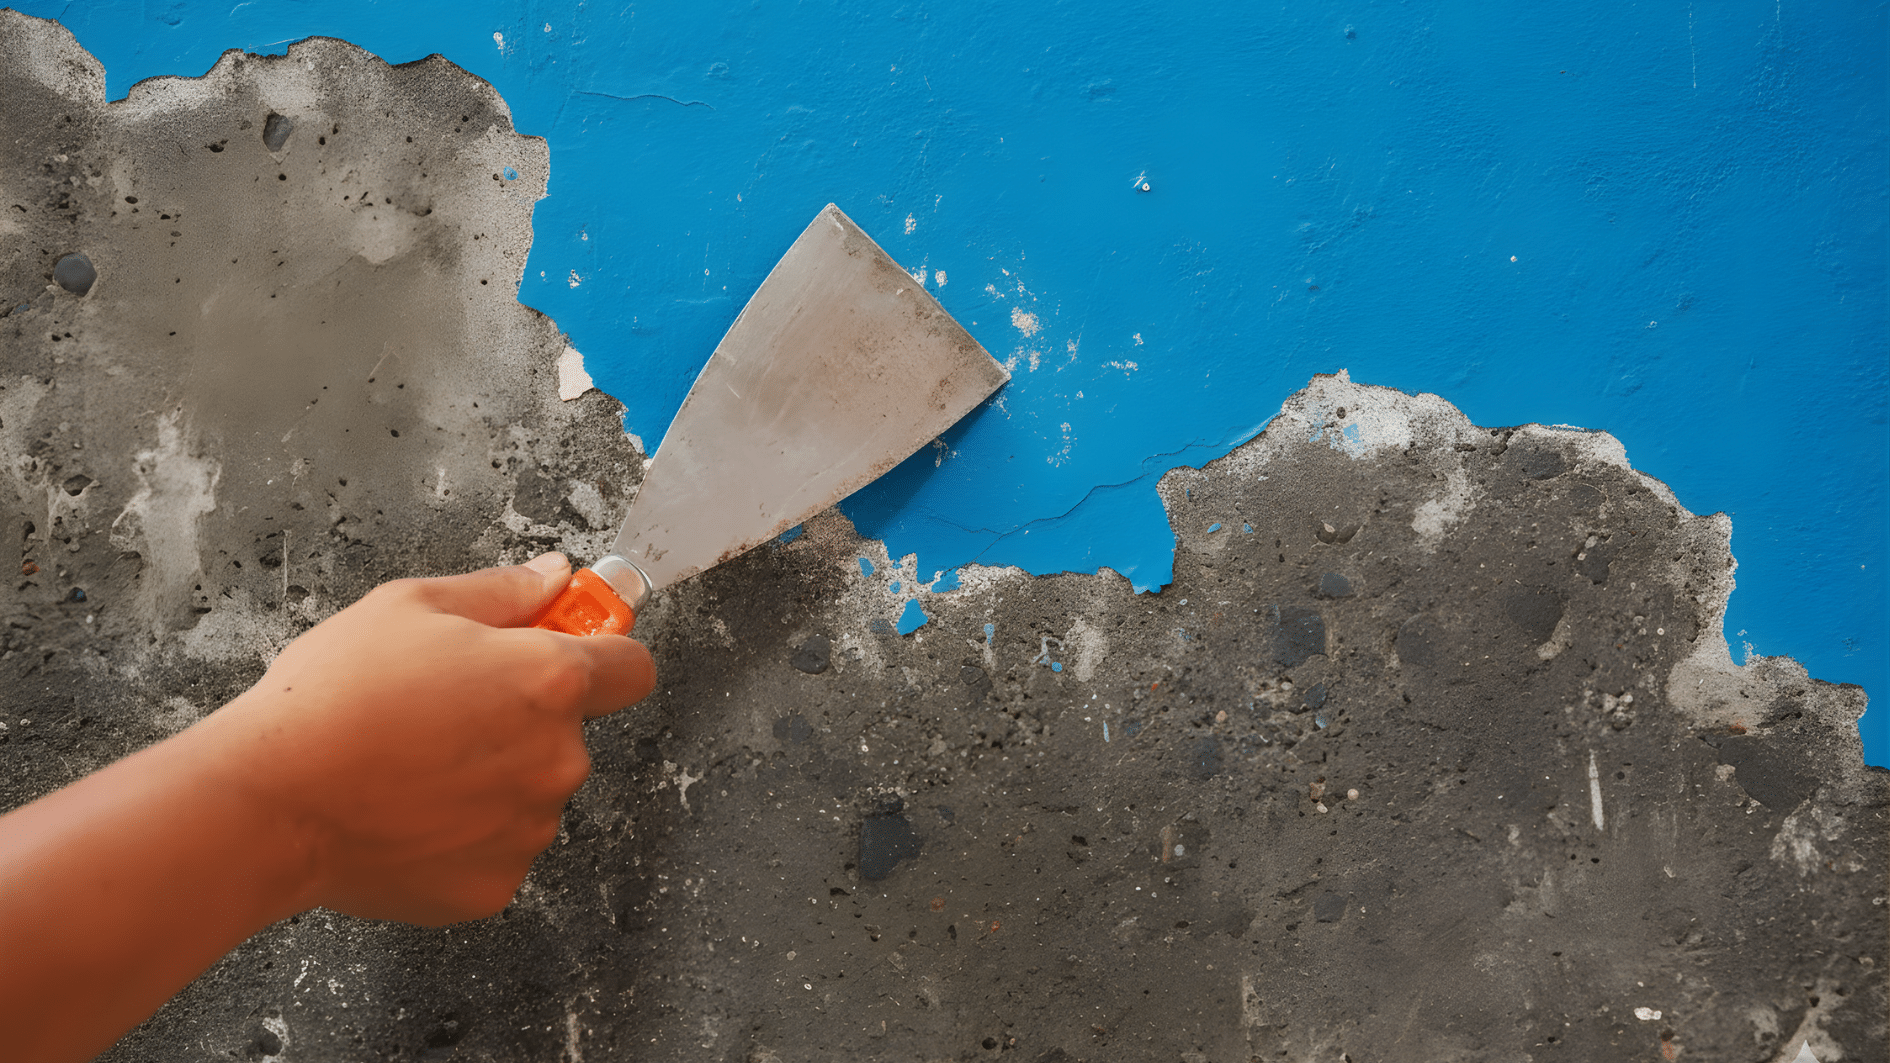
Step 3: Sand and Prep the Surface
After cutting, run sandpaper over every piece.
Start with 120-grit sandpaper to smooth out rough edges, and then go over it again with 220-grit for a fine finish.
Wipe off all dust with a clean cloth. A well-sanded surface helps paint or stain stick much better and look smoother.
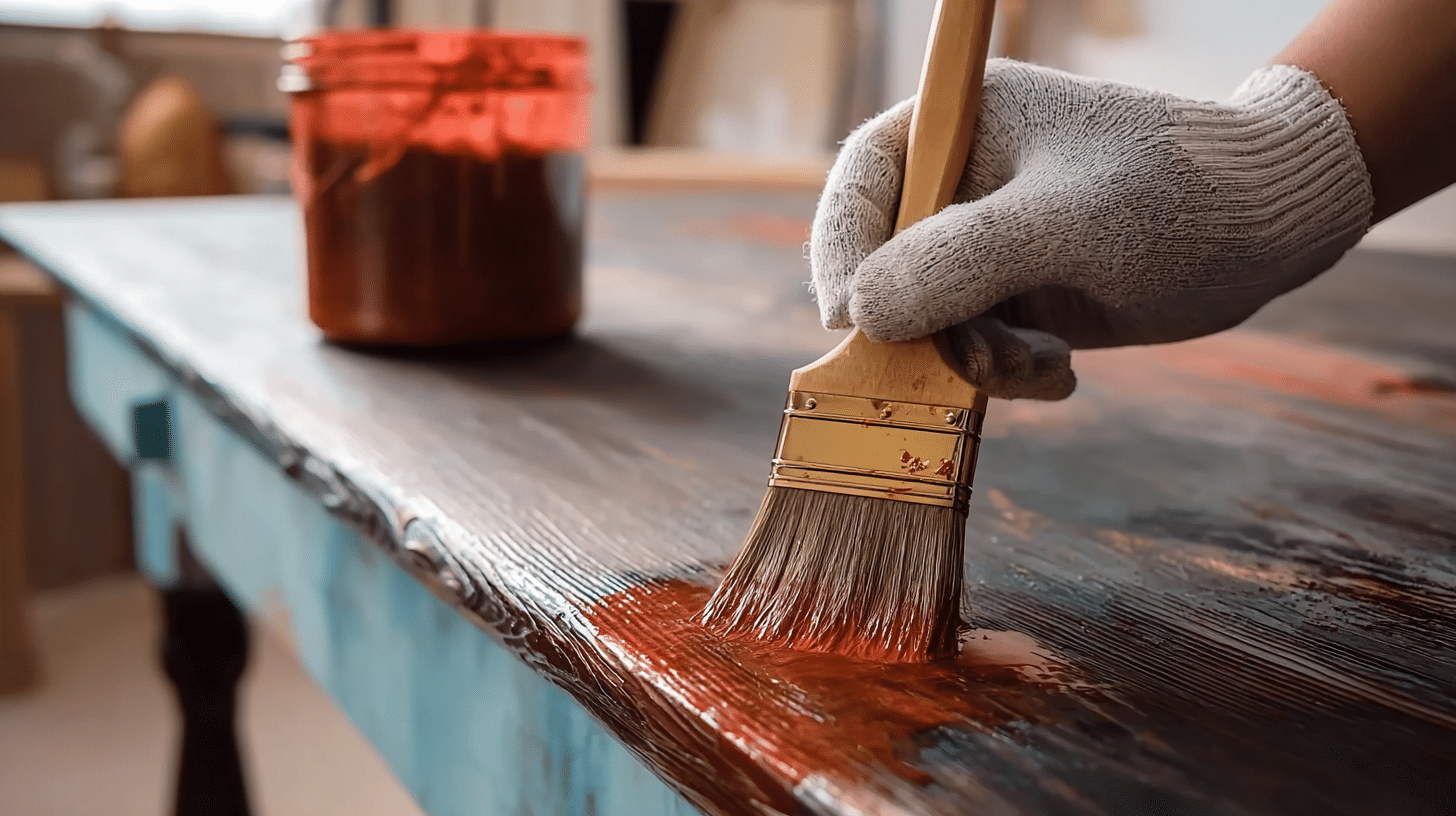
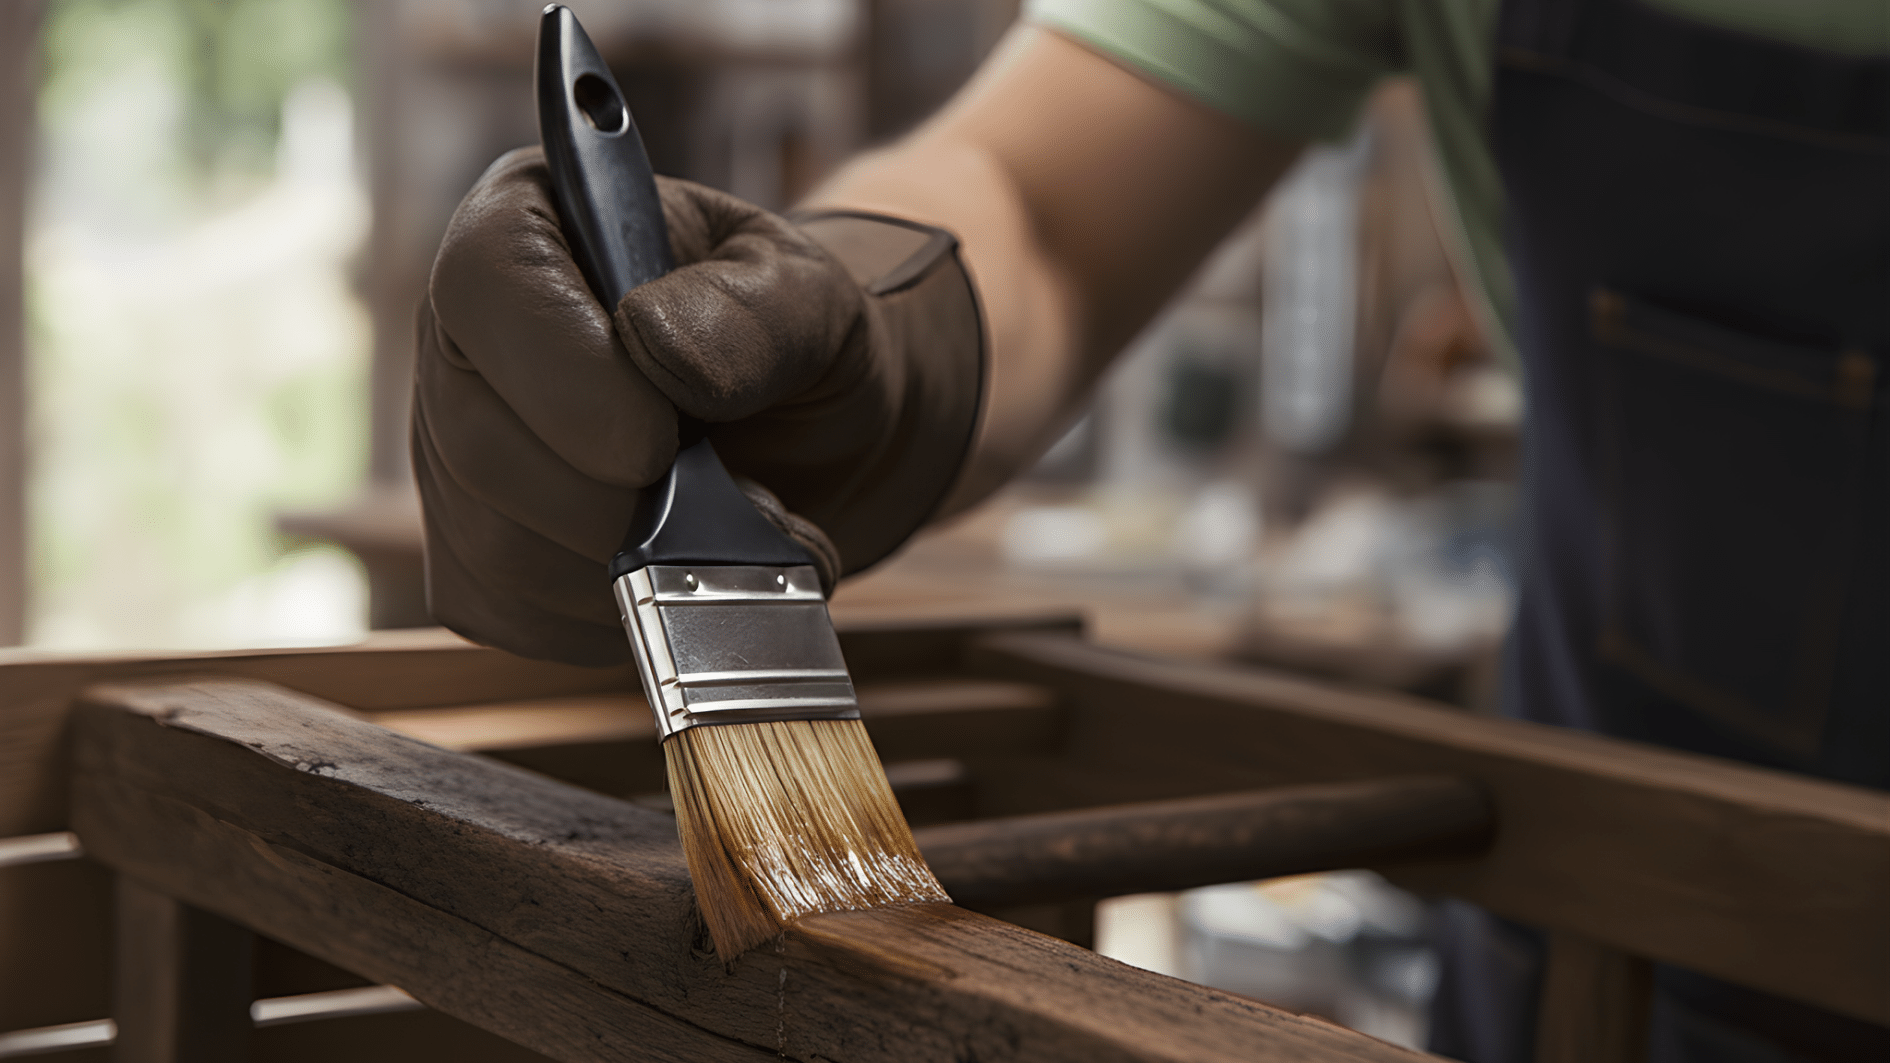
Step 4: Paint or Stain the Frame
Before painting, I apply a coat of primer first.
Let it dry fully before adding paint or stain, and use smooth, even strokes with the brush. Two thin coats always look better than one thick coat.
Always pick a color that matches the room for a clean, finished look.
Step 5: Attach the Frame Securely
Once the paint is fully dry, start assembling the frame.
Apply wood glue to each corner joint, press the pieces firmly together, and use clamps to hold everything in place while it dries.
And finally, reinforce each corner with finishing nails, and let the glue dry for at least 24 hours.
Step 6: Seal Edges for Bathrooms
This step is especially important for a diy bathroom mirror frame.
I run a thin line of waterproof sealant along all the edges where the frame meets the mirror. This keeps moisture from sneaking in behind the frame.
Smooth it out with my finger for a neat finish, and let it cure completely before hanging.
Never skip sealing the back edges of the frame. Moisture gets in from behind too, and that’s where most frames start to rot or warp first.
Can You Frame an Unframed Mirror?
Yes, you can.
The simplest way to do it is by using a ready-made mirror framing kit. These kits come with pre-cut frame pieces, adhesive strips, and all the hardware you need.
You just measure your mirror, cut the pieces to size, and stick them on.
No special tools required. Most kits work on any flat, unframed mirror, including bathroom mirrors.
Affordable mirror kits are easy to find online. They come in many styles, so it’s easy to find one that fits the look you’re going for.
Ideas to Customize Your DIY Mirror Frame
One of my favorite parts about DIY projects is the freedom to customize.
And I get it done without having the need to spend big to get a look that feels expensive. Just a few simple extra steps and it’s done.
1. Rustic Farmhouse Frame
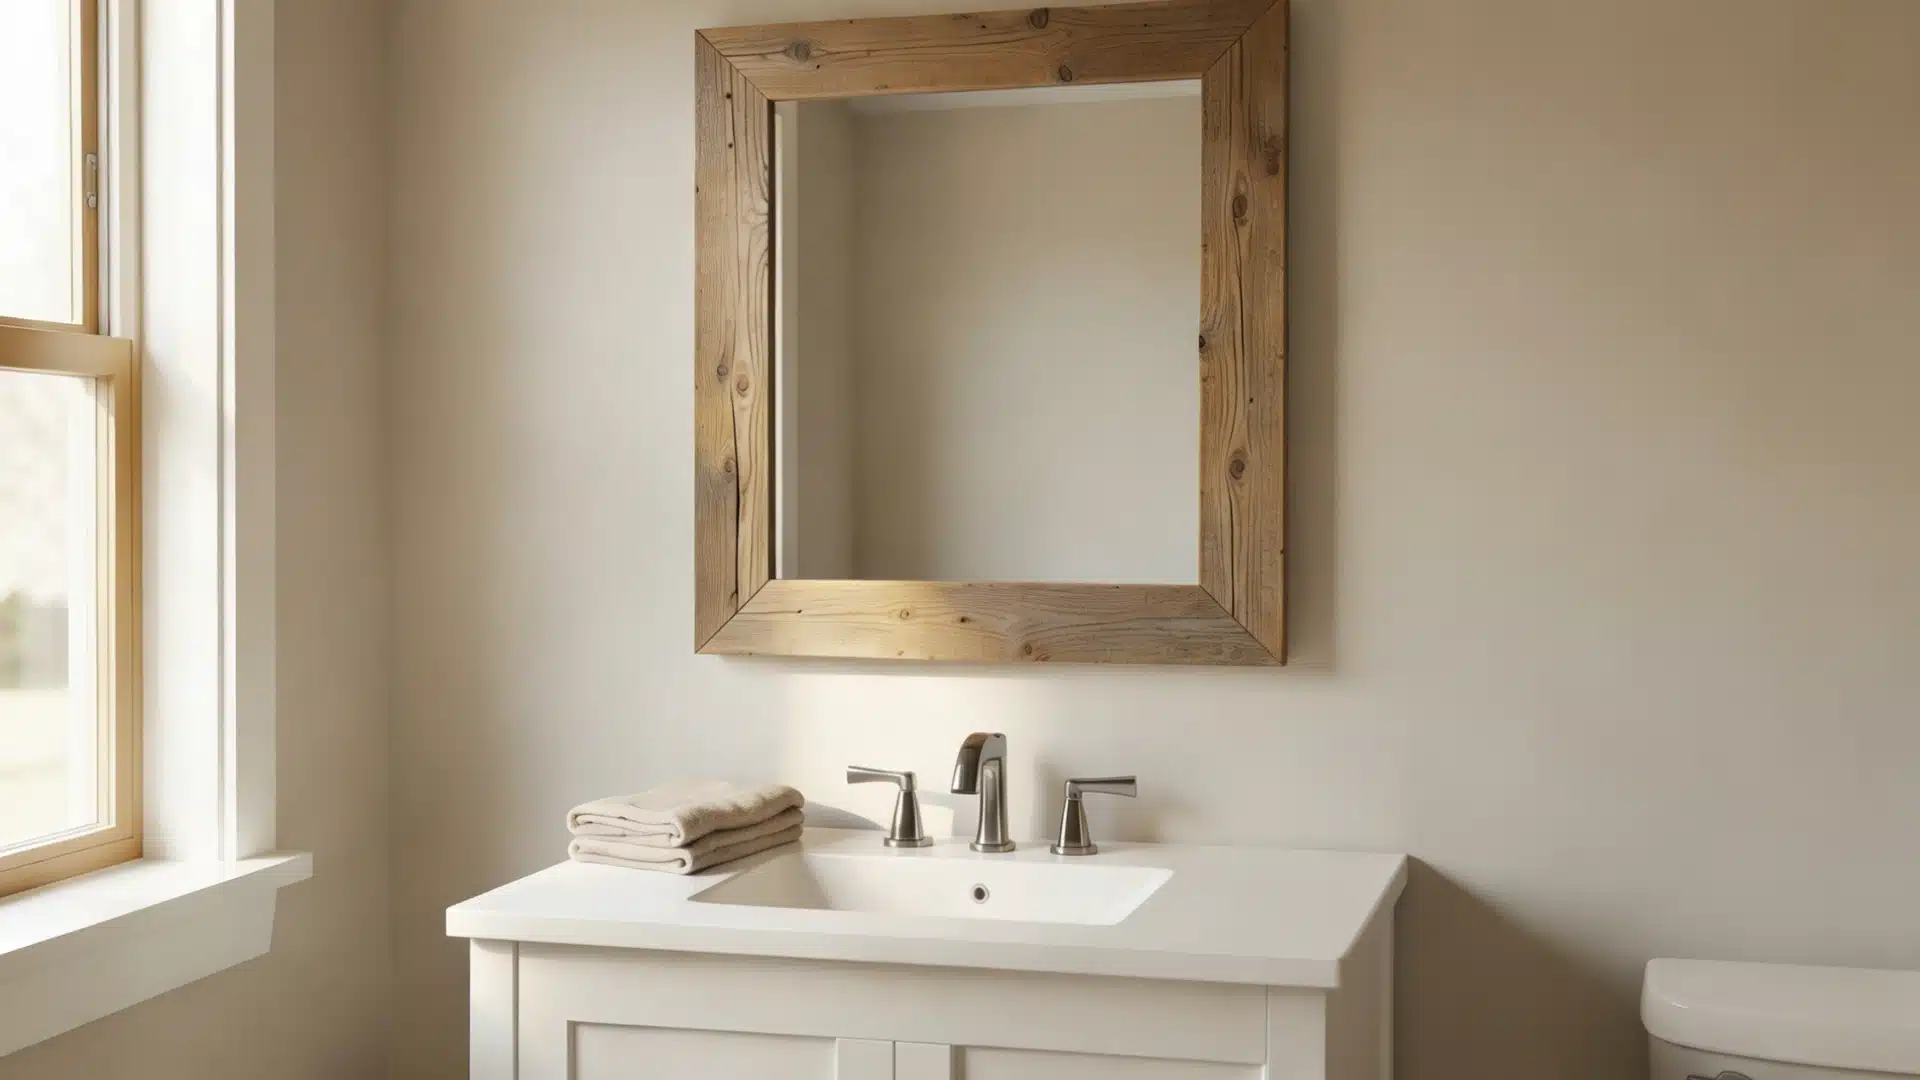
To make this, sand the edges unevenly on purpose to create a worn-out, old-wood look.
By using a dark walnut stain for a warm finish, and adding a thin rope trim around the border for a nice rustic touch.
This style looks best in a bathroom or bedroom with wooden furniture and low lighting.
2. Modern Black Frame
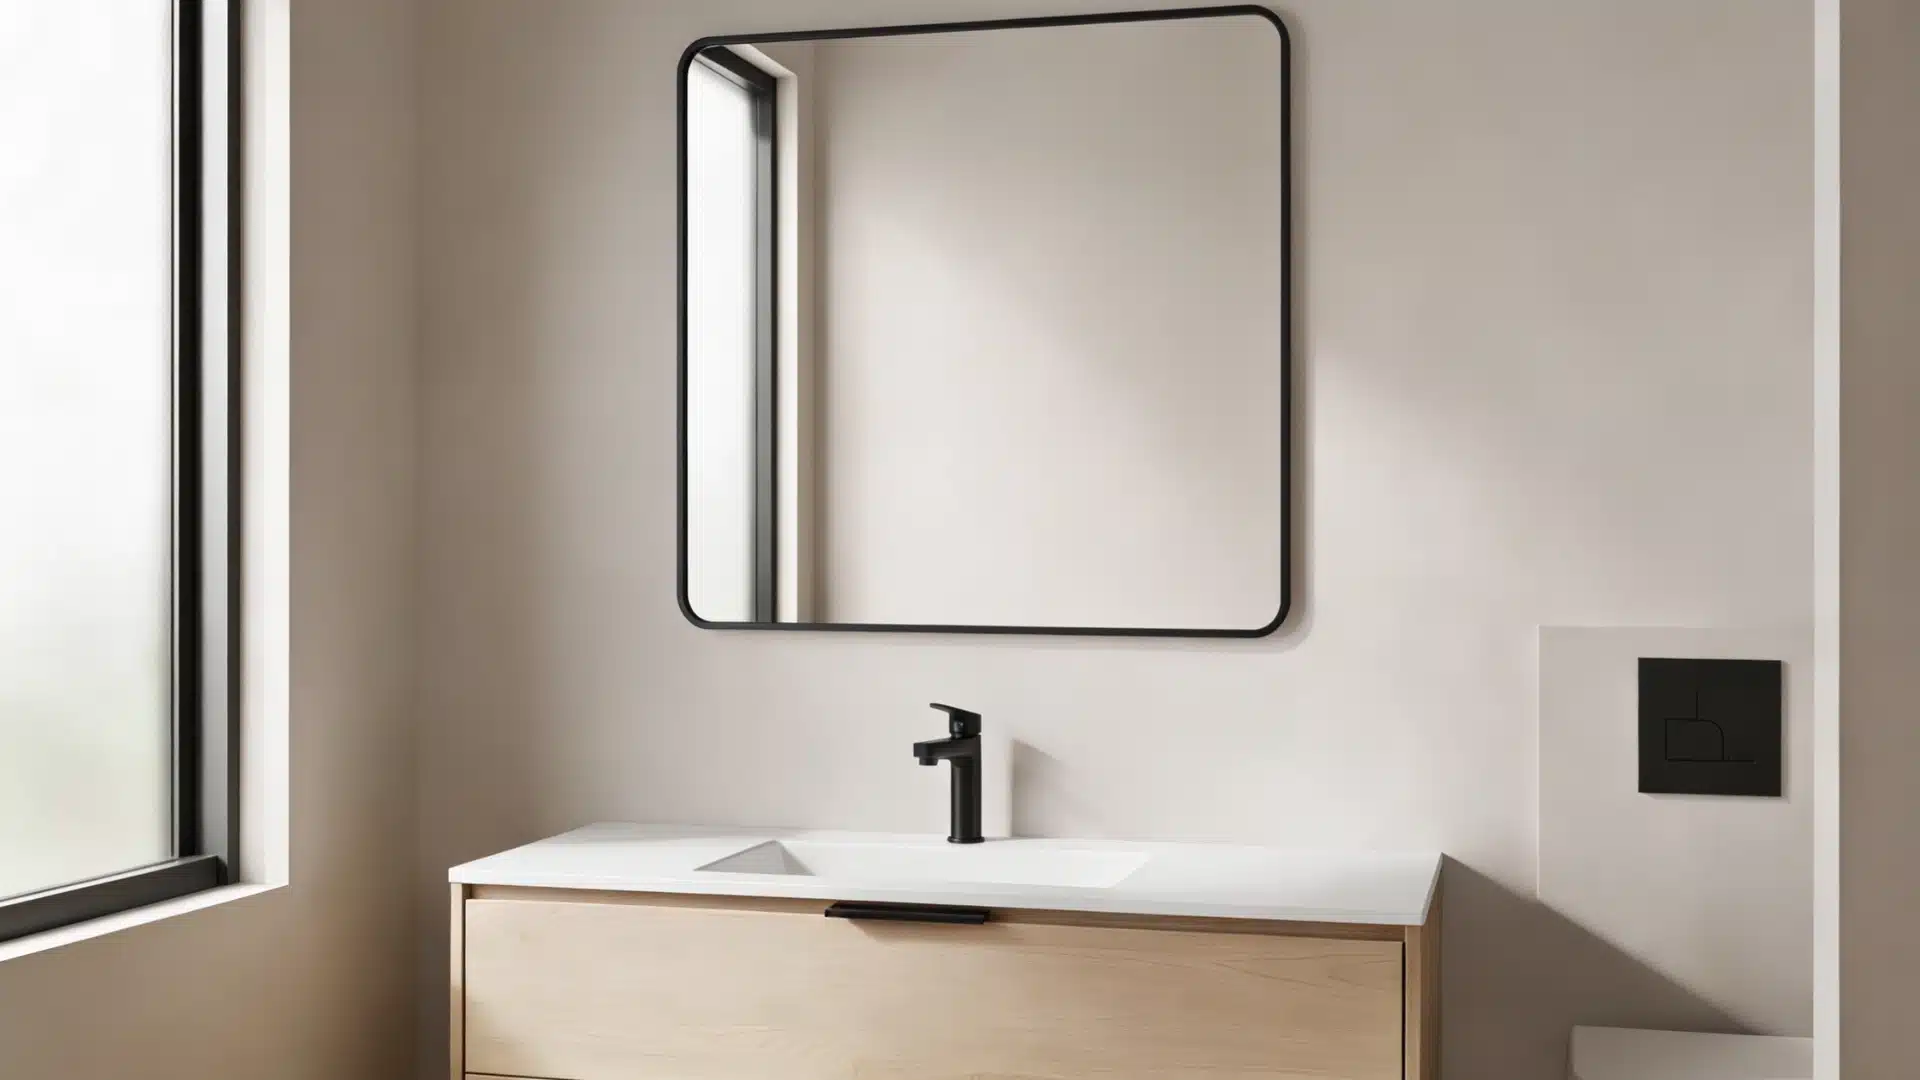
Paint the frame matte black for a sharp, clean look.
By using painter’s tape to get perfectly straight edges. It works great with white or grey bathroom walls.
This one fits perfectly in a minimalist bathroom or a home office with a clean, simple setup.
3. Arched Frame Look
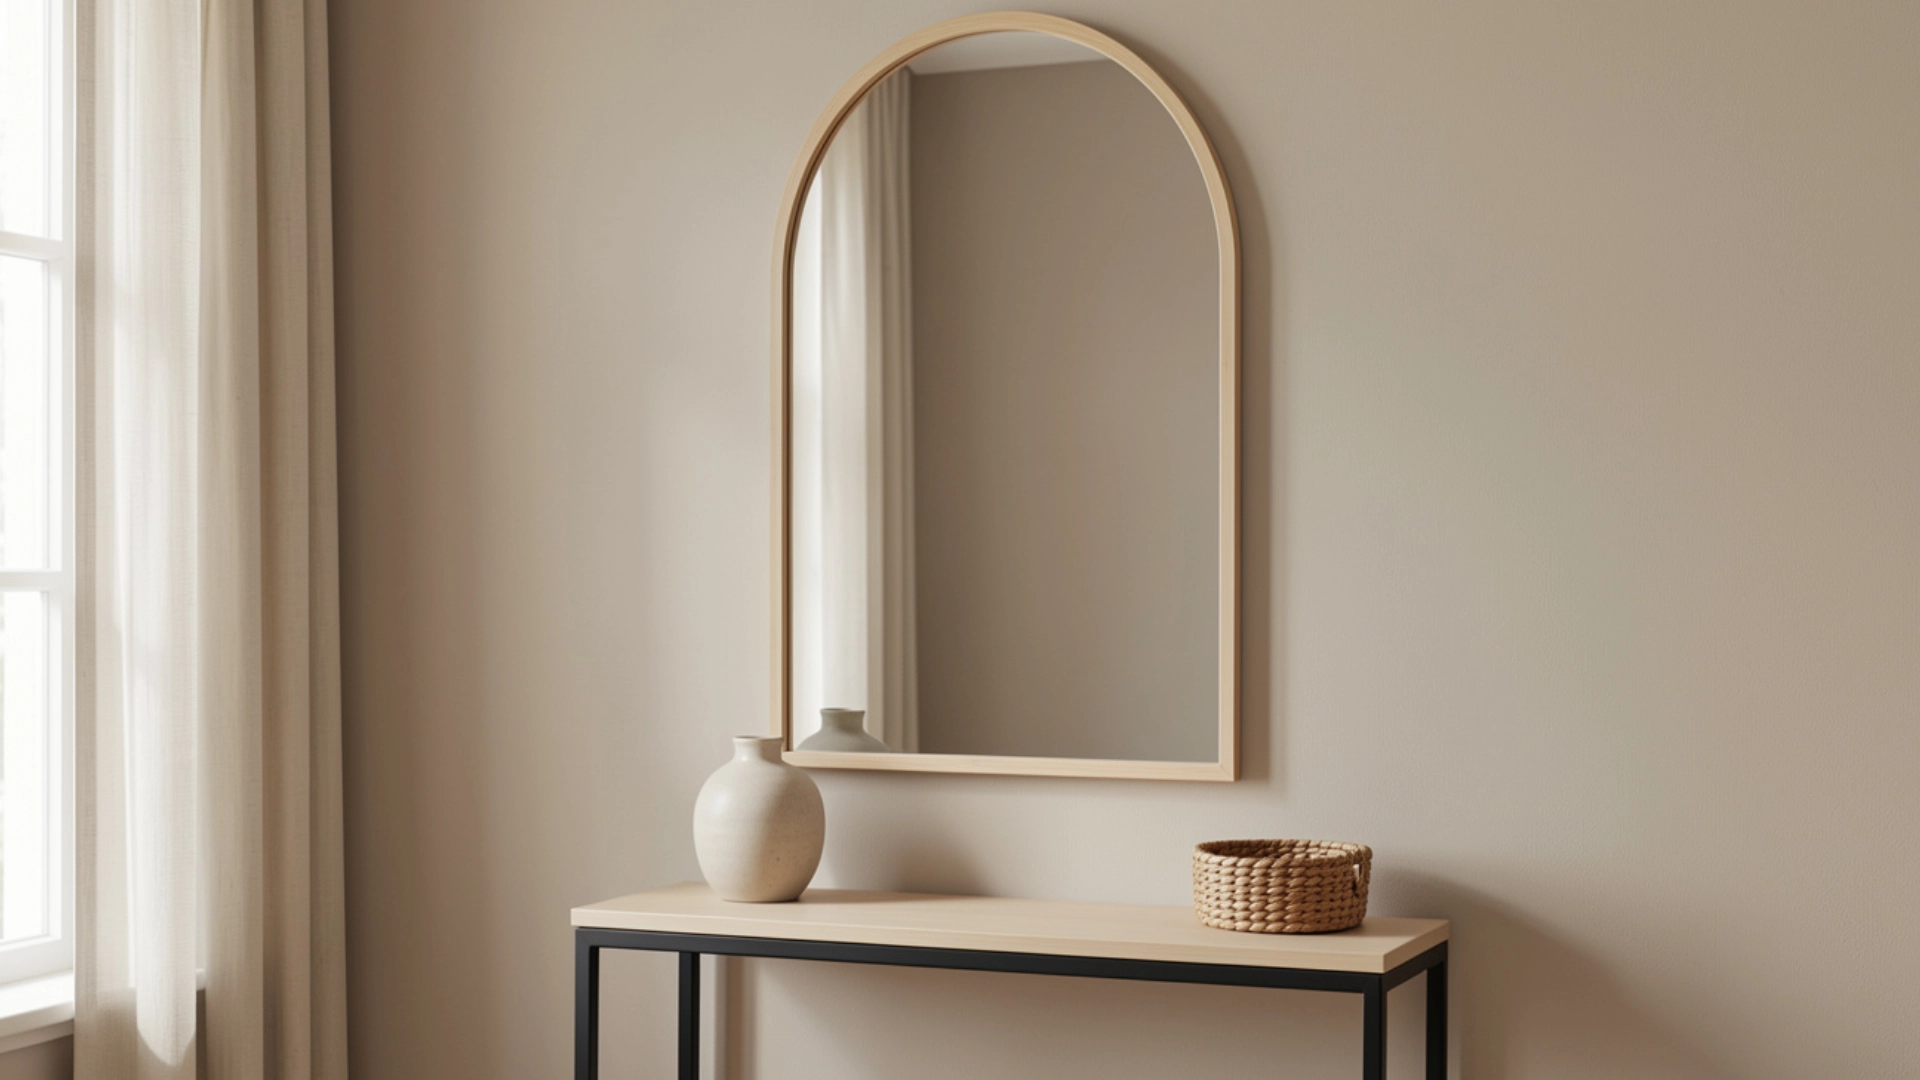
Cut the top piece of the frame into a gentle curve using a jigsaw, and sand the curved edge smooth before painting.
This small change makes a big difference in style.
You can hang this one above a bathroom vanity or in an entryway, where it can be the first thing people notice.
4. LED Backlit Frame
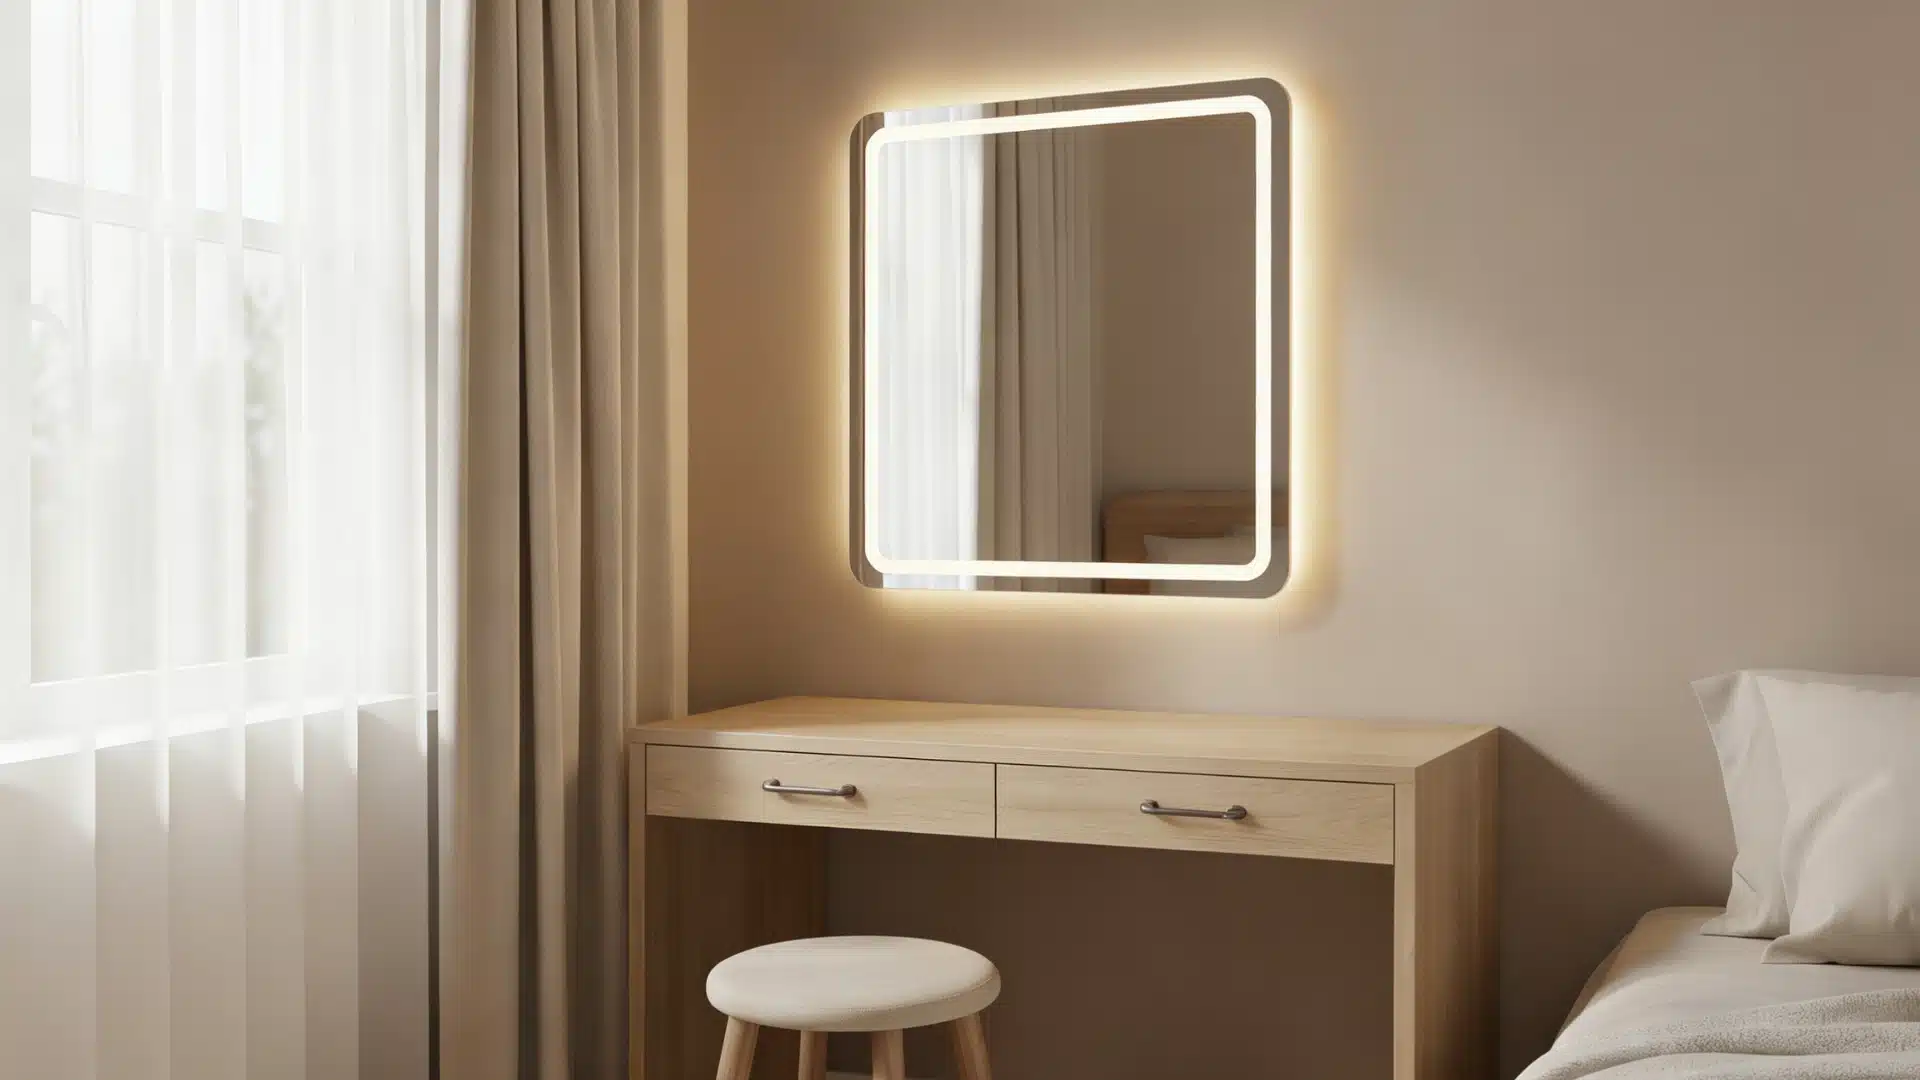
Stick an LED strip light along the inner back edge of the frame and connect it to a small power adapter.
The light glows softly around the mirror. It looks stylish and also works well as bathroom lighting.
This works best in a dimly lit bathroom or a bedroom vanity corner.
Don’t stick the LED strip directly onto bare wood without testing the placement first. Do a dry run with the strip before peeling off the adhesive backing.
Final Thoughts
Making adiy mirror frame at home is one of the smartest and most satisfying projects I’ve taken on.
It fits the budget, matches my style, and gives my space a completely fresh look.
From rustic farmhouse finishes to modern black frames, the options are truly in my hands.
Don’t be afraid to try different ideas and make it your own. Just follow the steps, avoid the errors, and have fun with it.
Frequently Asked Questions (FAQs)
1. Is it Cheaper to Frame a Mirror Myself?
Yes! A DIY mirror frame costs $30 to $60 on average. A store-bought framed mirror can cost three to four times more.
2. What is a Mirror Without a Frame Called?
It’s called an unframed mirror or a frameless mirror. These are common in bathrooms and modern-style homes.
3. Where Not to Put a Mirror in the House?
Avoid placing mirrors directly facing your bed, opposite a cluttered area, or facing the front door.