Make a big statement in a small space using this cheap and easy board and batten tutorial
If you’re looking to make a big statement in a room with a small budget, a DIY board and batten wall treatment is the perfect solution.
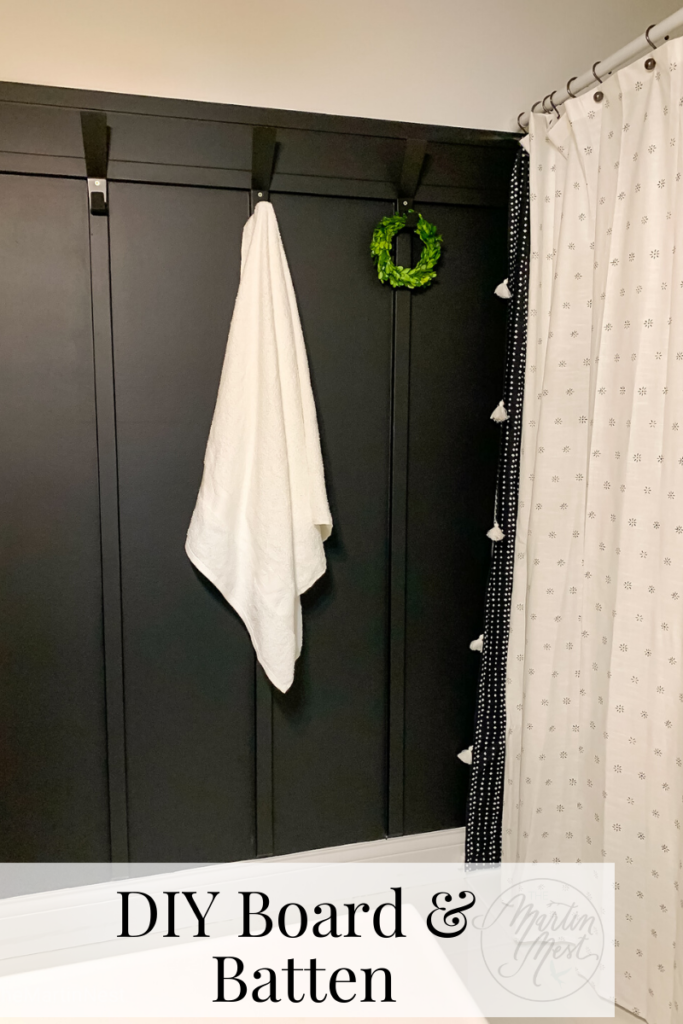
So far in this guest bathroom makeover I’ve painted the vanity & transformed the countertop for under $5!
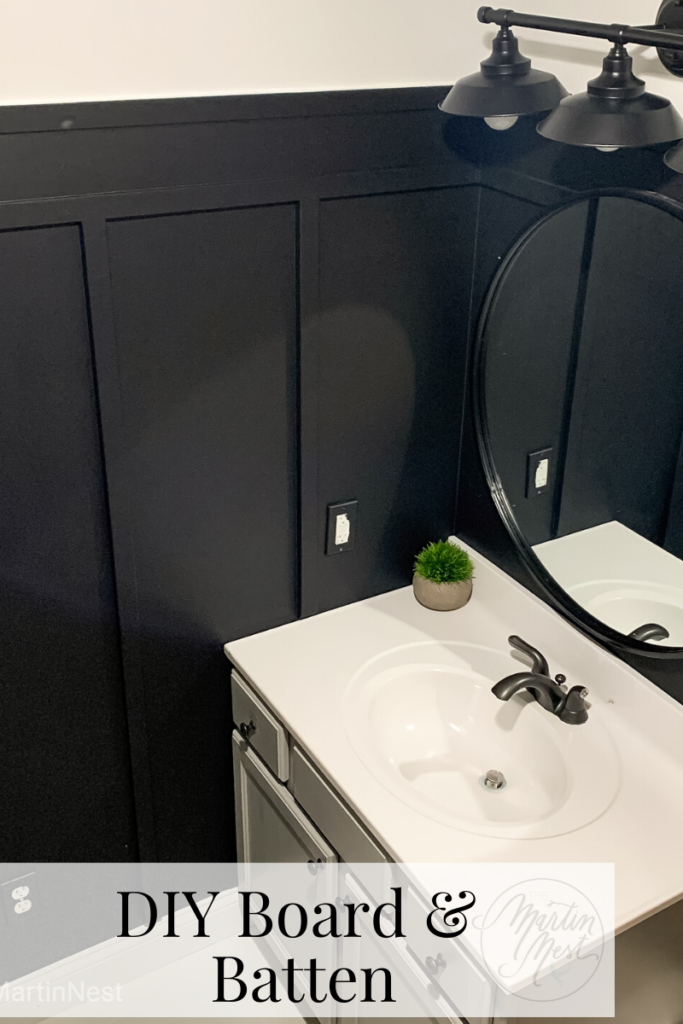
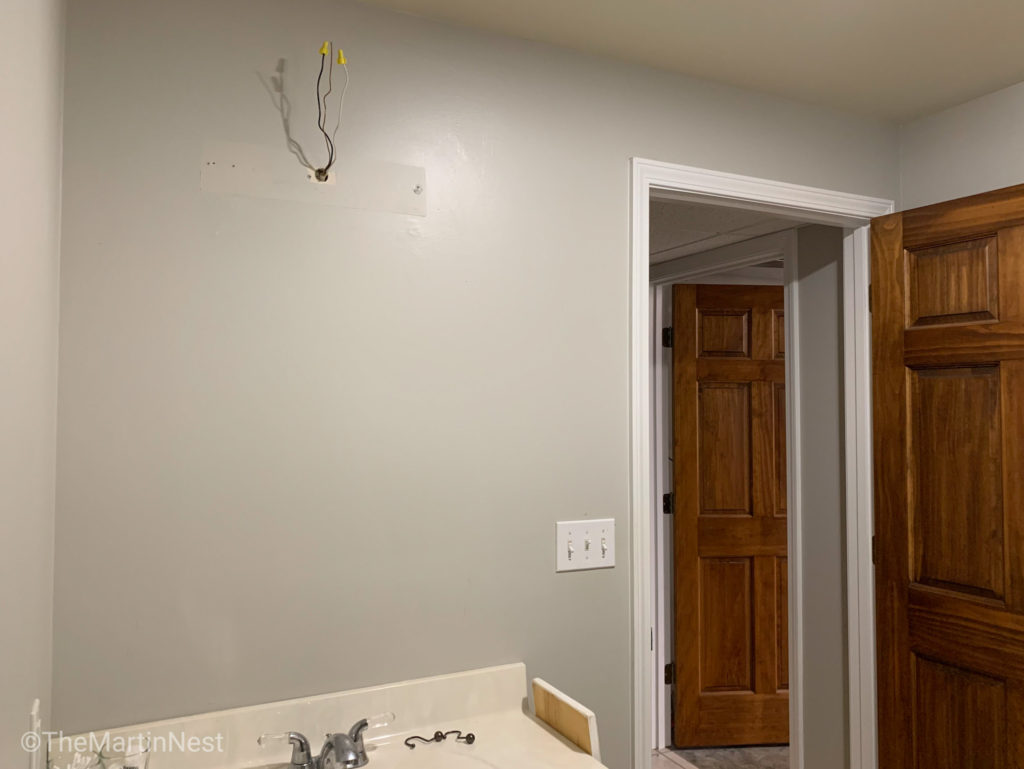
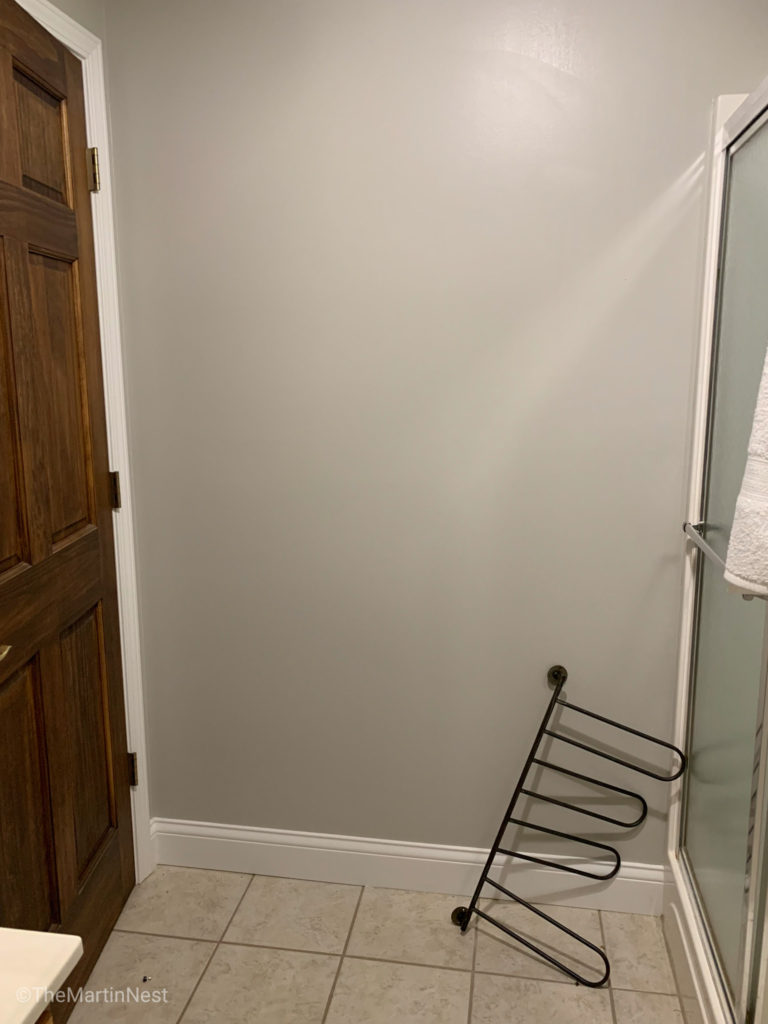
This space is small, with not a lot of room for decor or shelving. I knew a DIY Board and Batten would be perfect to draw the eye up in this small space and dress it up on a budget.
This tutorial will show you how I created a DIY Board and Batten wall treatment in my guest bathroom.
Materials
***Big thanks to Walmart for sponsoring this post! I have been monetarily compensated for my work, but all thoughts and opinions are my own. We only share what we love here, and as always, thank you for your support!***
- Tape Measure
- Stud Finder
- Material of choice (Wood or MDF)
- Miter saw
- A hand saw and miter box would work here if you have a simple pattern.
- Nail Gun
- Wood Filler
- Caulk & Gun
- Sandpaper / Sander
- Dust Cloths
Plan
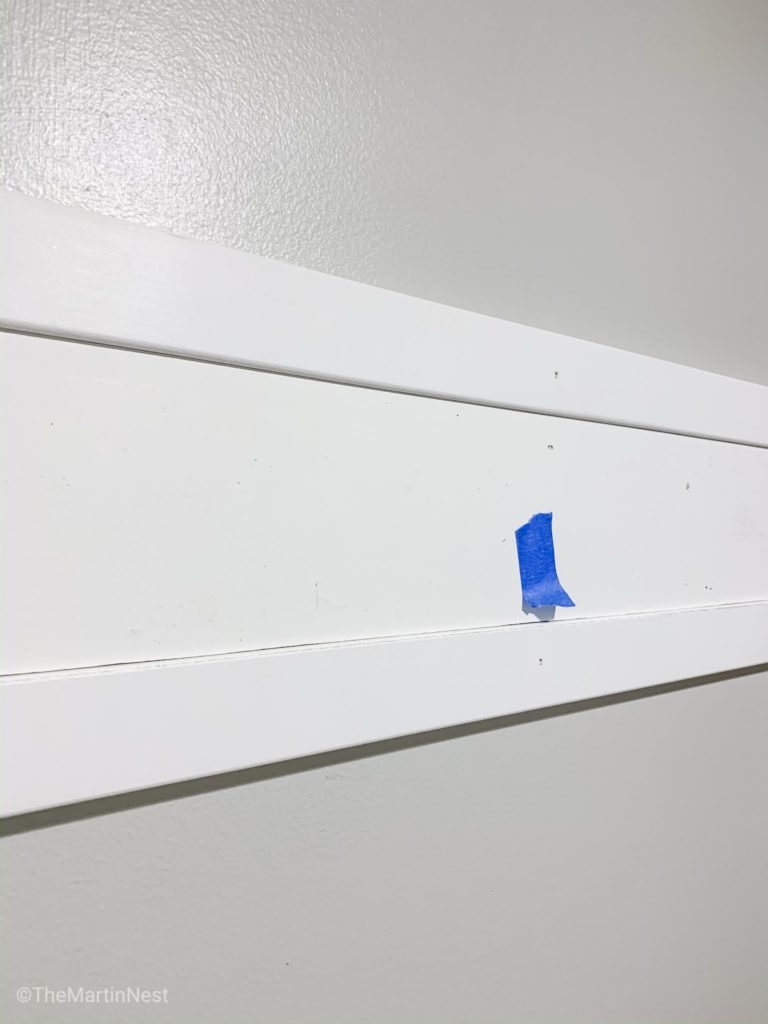
Decide on a pattern before making any cuts or purchasing materials. It may help for you to mark a pattern out using painter’s tape or sketching it out beforehand.
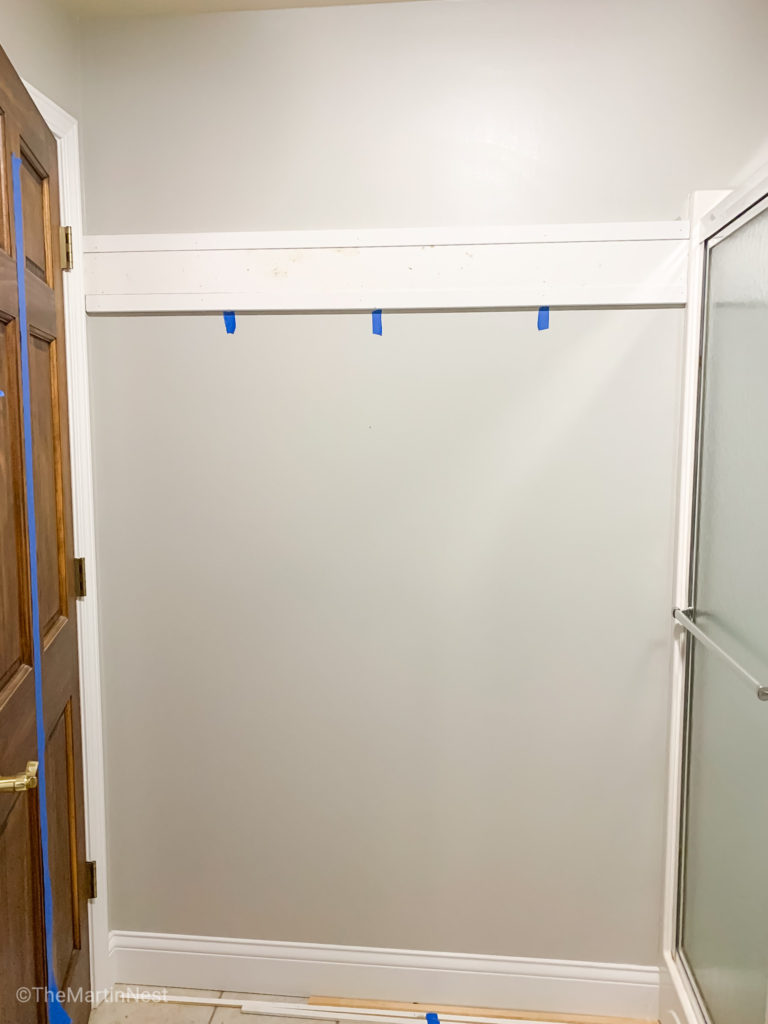
If you’re using a heavier material, it’s good if you can line your pattern up with the studs in the wall. This is my favorite stud finder. Perfect placement every time and under $10.
I used some scrap shiplap I had leftover from this project combined with some budget-friendly MDF trim from the local hardware store.
I cut my scrap boards to the width of each wall length using a miter saw. After marking the studs, I leveled the boards with the top at 6 feet tall and nailed them into the studs using a nail gun.
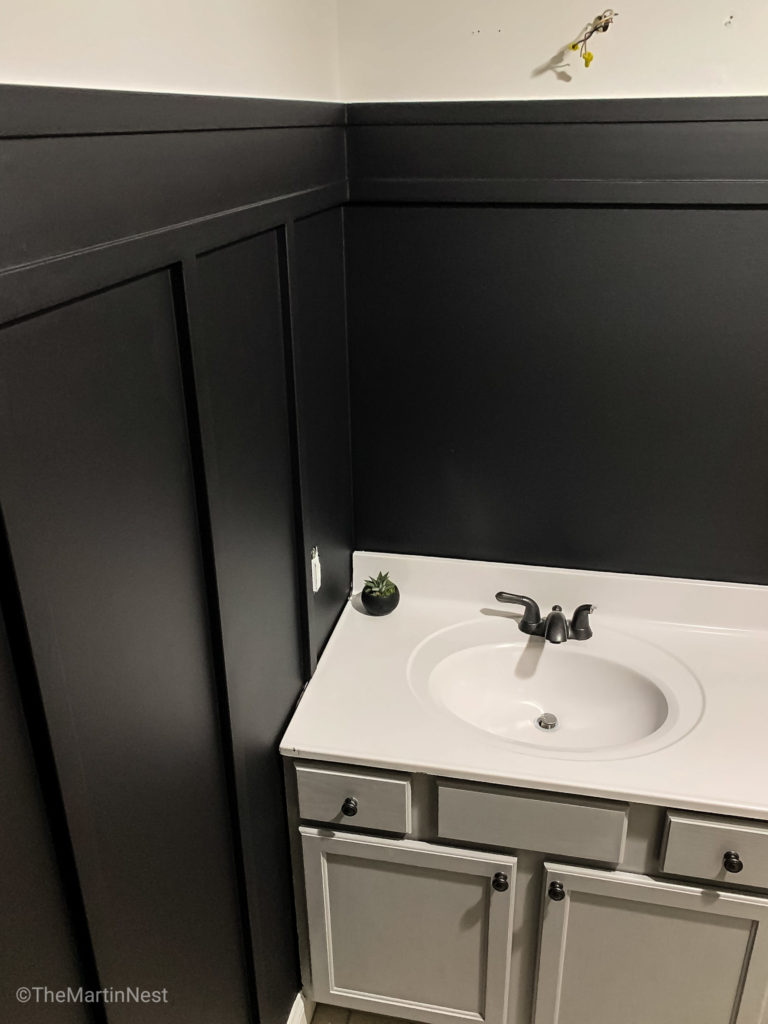
Once this was done I repeated the process on the top and bottom of this board using the 1 x 2 MDF.
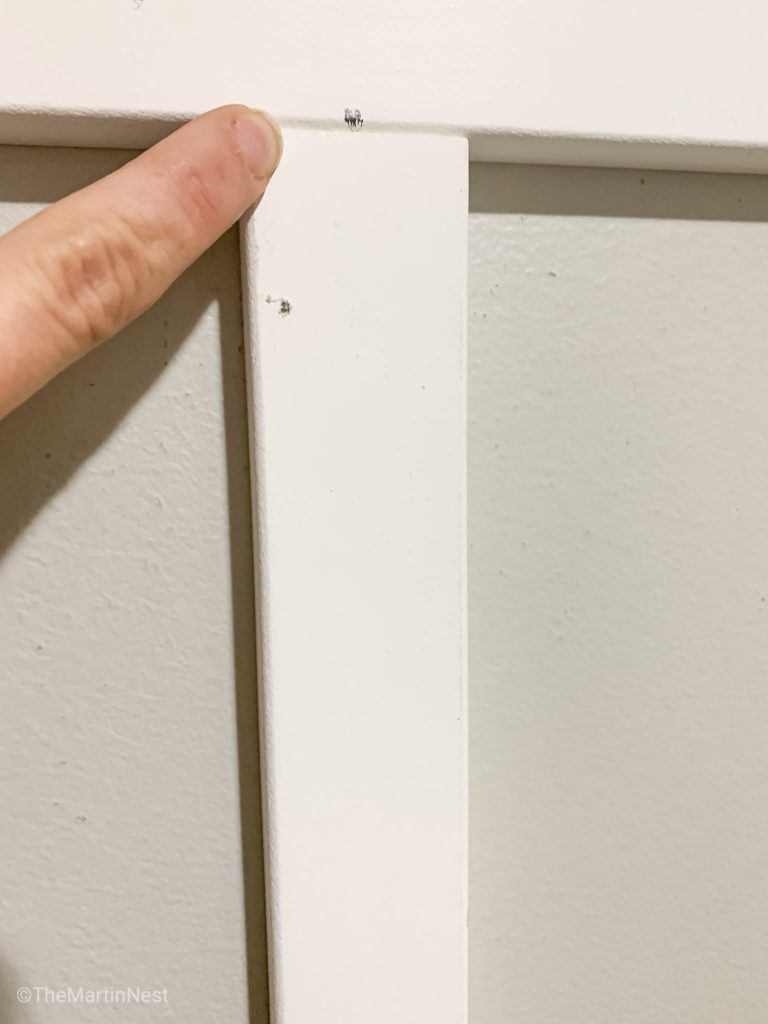
The 1 x 2 is slightly thicker than the scrap wood, so it added a bit of depth and dimension to the pattern, but also allowed my vertically placed boards to line up flush with the trim.
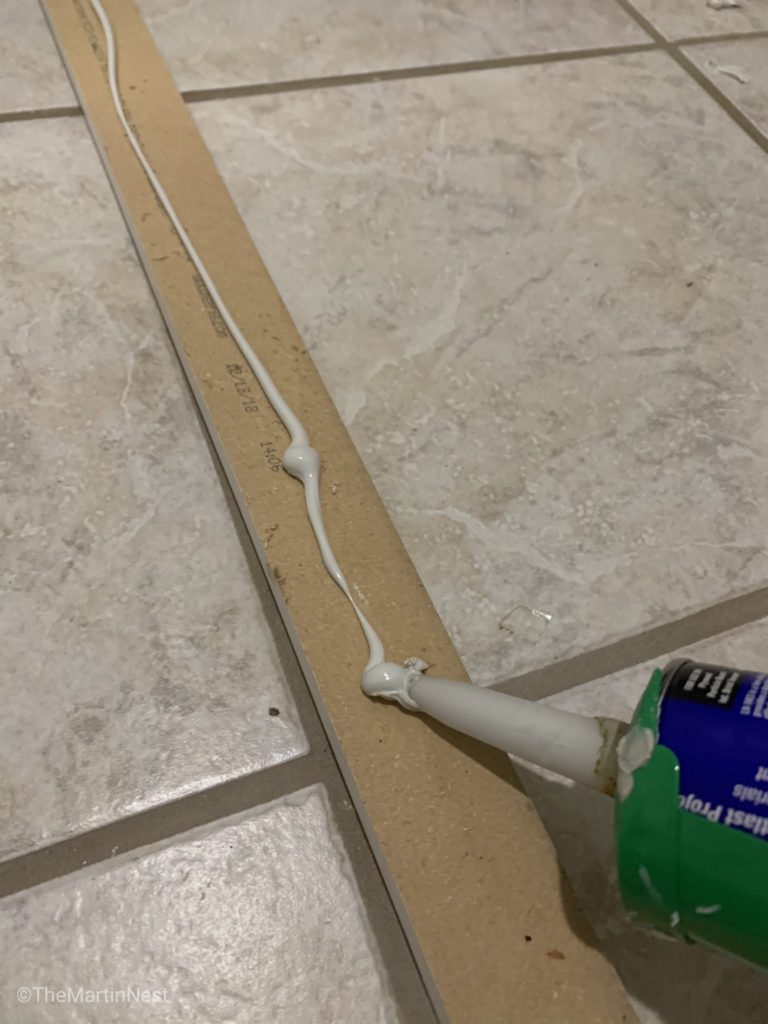
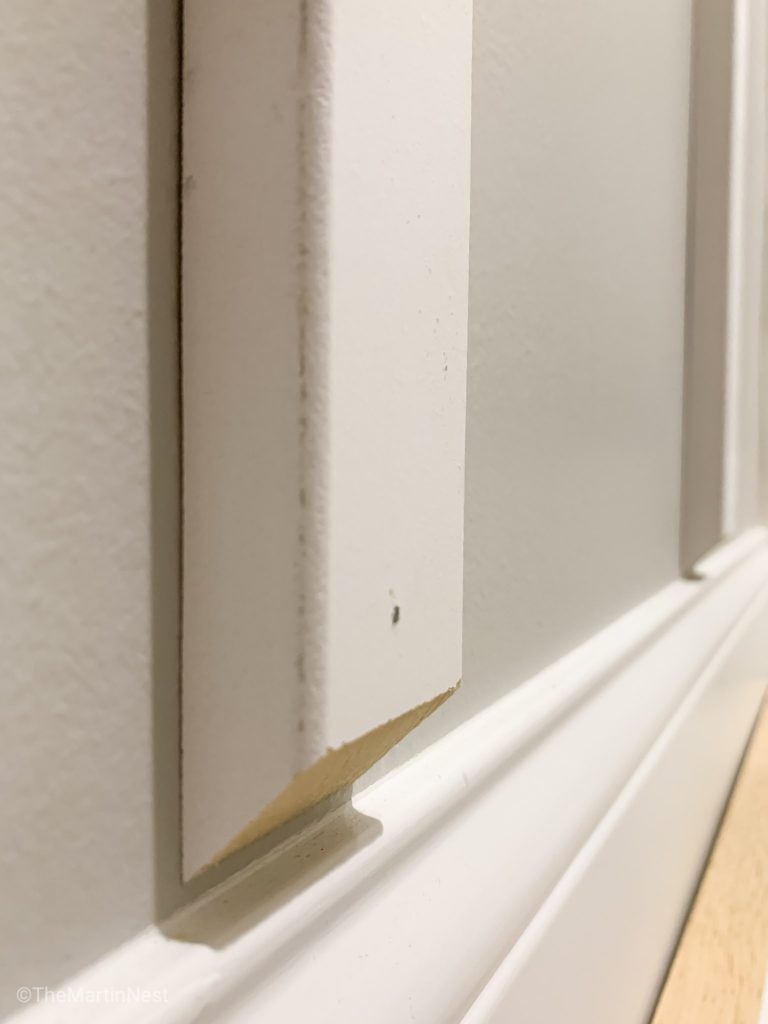
The vertical boards were placed using a bit of liquid nails and the nail gun. I chose not to remove my baseboards for this project, and opted for a 45 degree cut on the bottom of the battens to minimize the overhang.
After the pattern was in place I used wood filler to cover any nail holes and seams between the wood. Once that dried I sanded down smooth with 220 grit sandpaper.
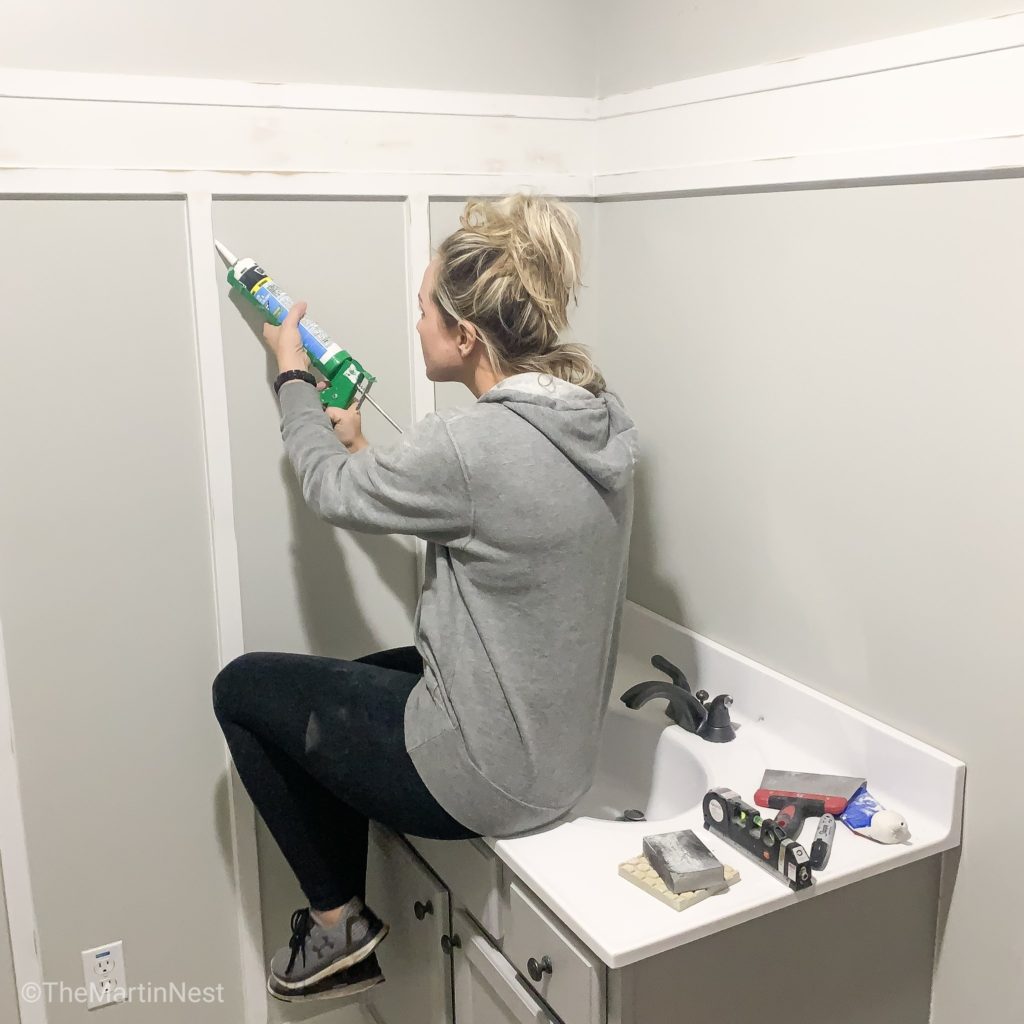
After that, I caulked all of the seams using a white wall and trim caulk. These two steps are time-consuming, but if done right, it will give your project a more polished and professional look.
The next step is to paint! I used a paint & primer combo, but prime first if needed.
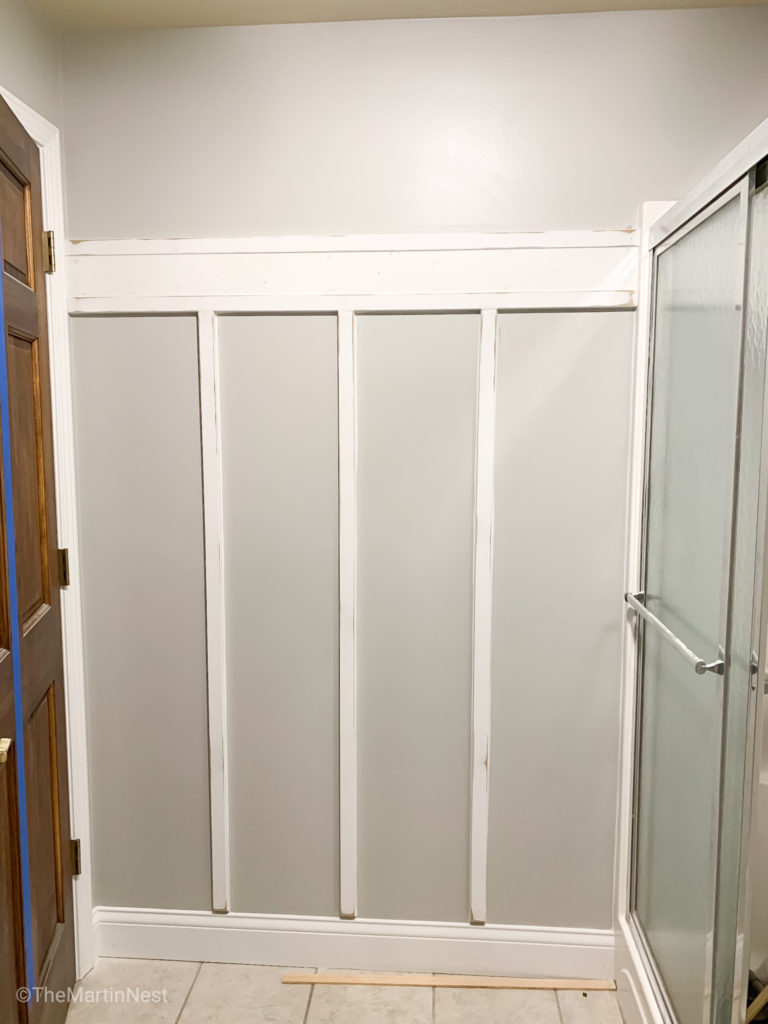
Tape off if you’re messy like me, cut in your trim areas, and paint larger surface areas with a good quality roller.


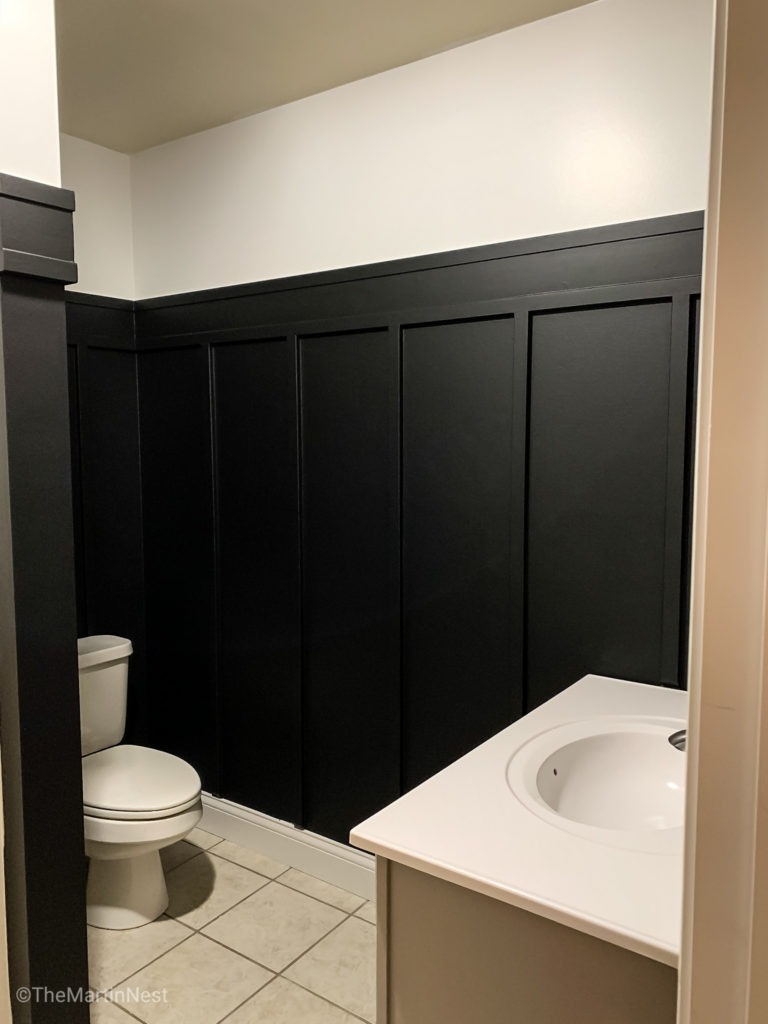
I used leftover paint from various projects. Sherwin Williams Tricorn Black in a flat finish for the lower half and Pure White for the Top.
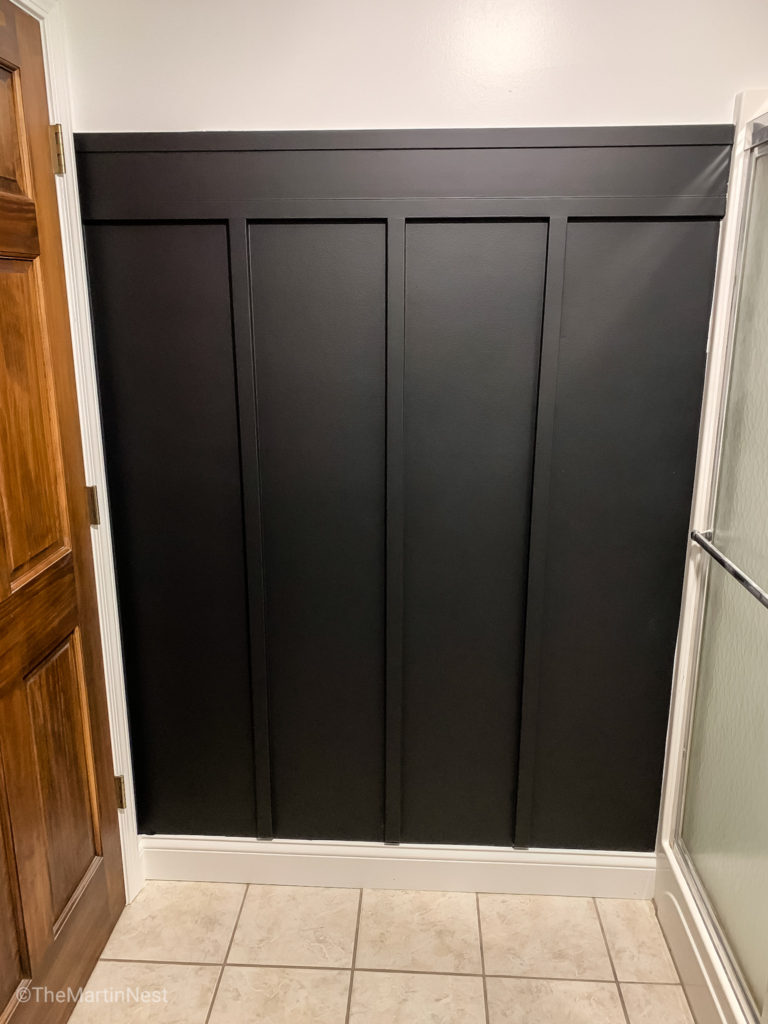
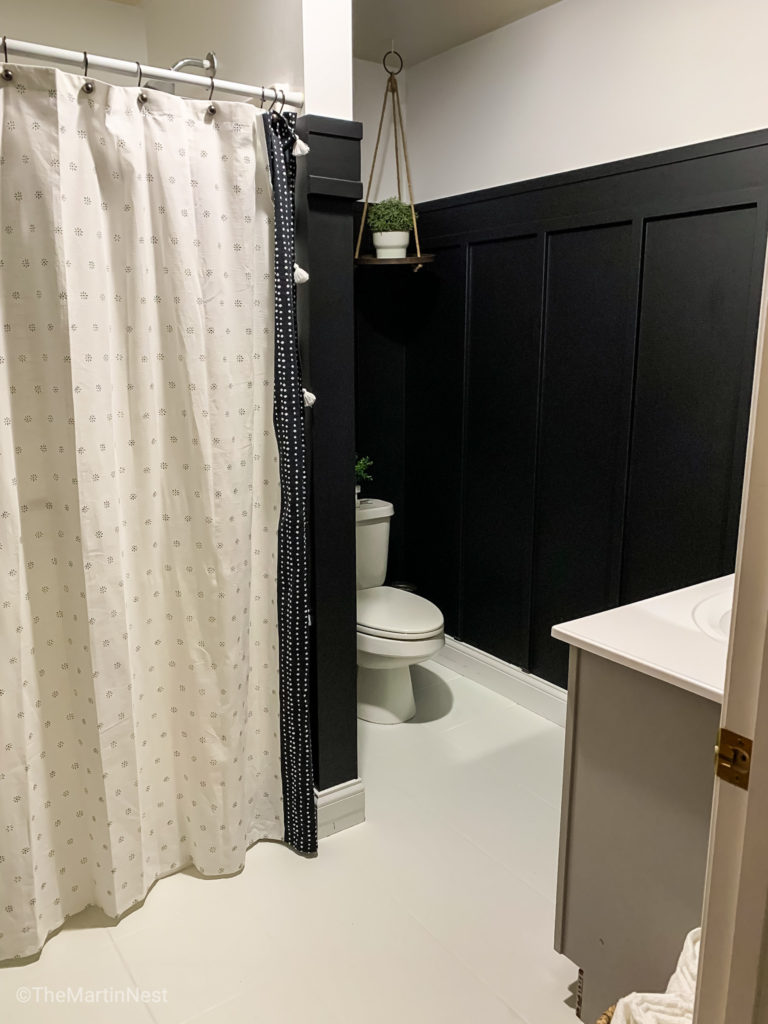
I love how the taller black trim draws your eye upwards, and helps this tiny room appear a little larger.
SHOP THE POST
Stay tuned for the final step in this guest bathroom makeover. Painted tile floors! And if you love this post…..



Leave a Reply