Wood projects can transform any space. But choosing the right paint matters.
Many crafters wonder if standard acrylic paint on wood will hold up over time. The good news? Acrylics work beautifully on wooden surfaces when applied correctly.
This guide walks through everything needed to create lasting, vibrant wood paintings.
From surface prep to final sealing, these techniques ensure professional results.
Ready to start painting? Let’s get into it.
Does Acrylic Paint Work on Wood?
Yes, acrylic paint works well on wood. It’s one of the best choices for wooden surfaces.
Acrylics bond strongly to wood fibers and create a durable finish. The paint dries quickly, which means less waiting between coats.
Cleanup is simple since acrylics are water-based. Wood is porous and absorbs paint easily. Acrylics soak into the surface, creating a strong bond that prevents peeling.
Temperature changes don’t affect the paint much either.
The answer to whether acrylic paint works on wood is clear. With proper preparation, acrylics deliver beautiful results.
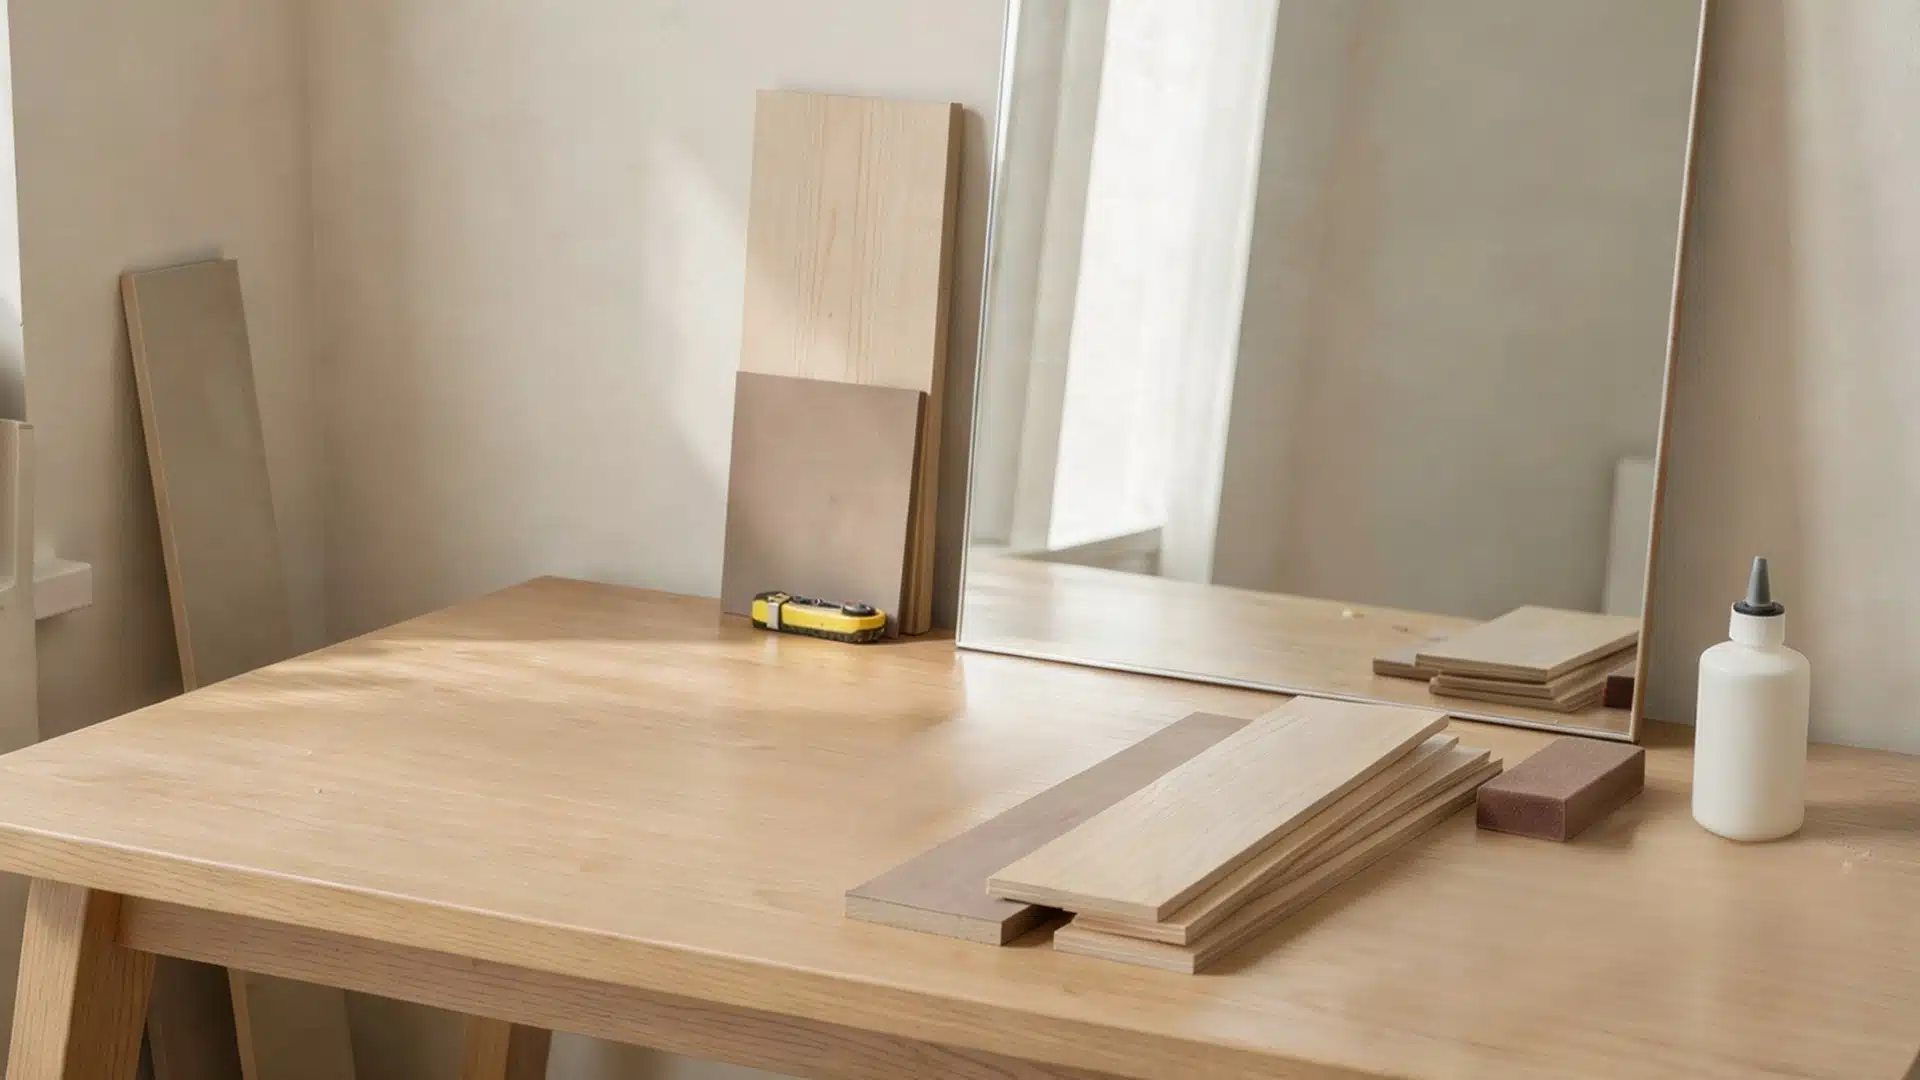
Which Type of Wood Can I Use to Paint On?
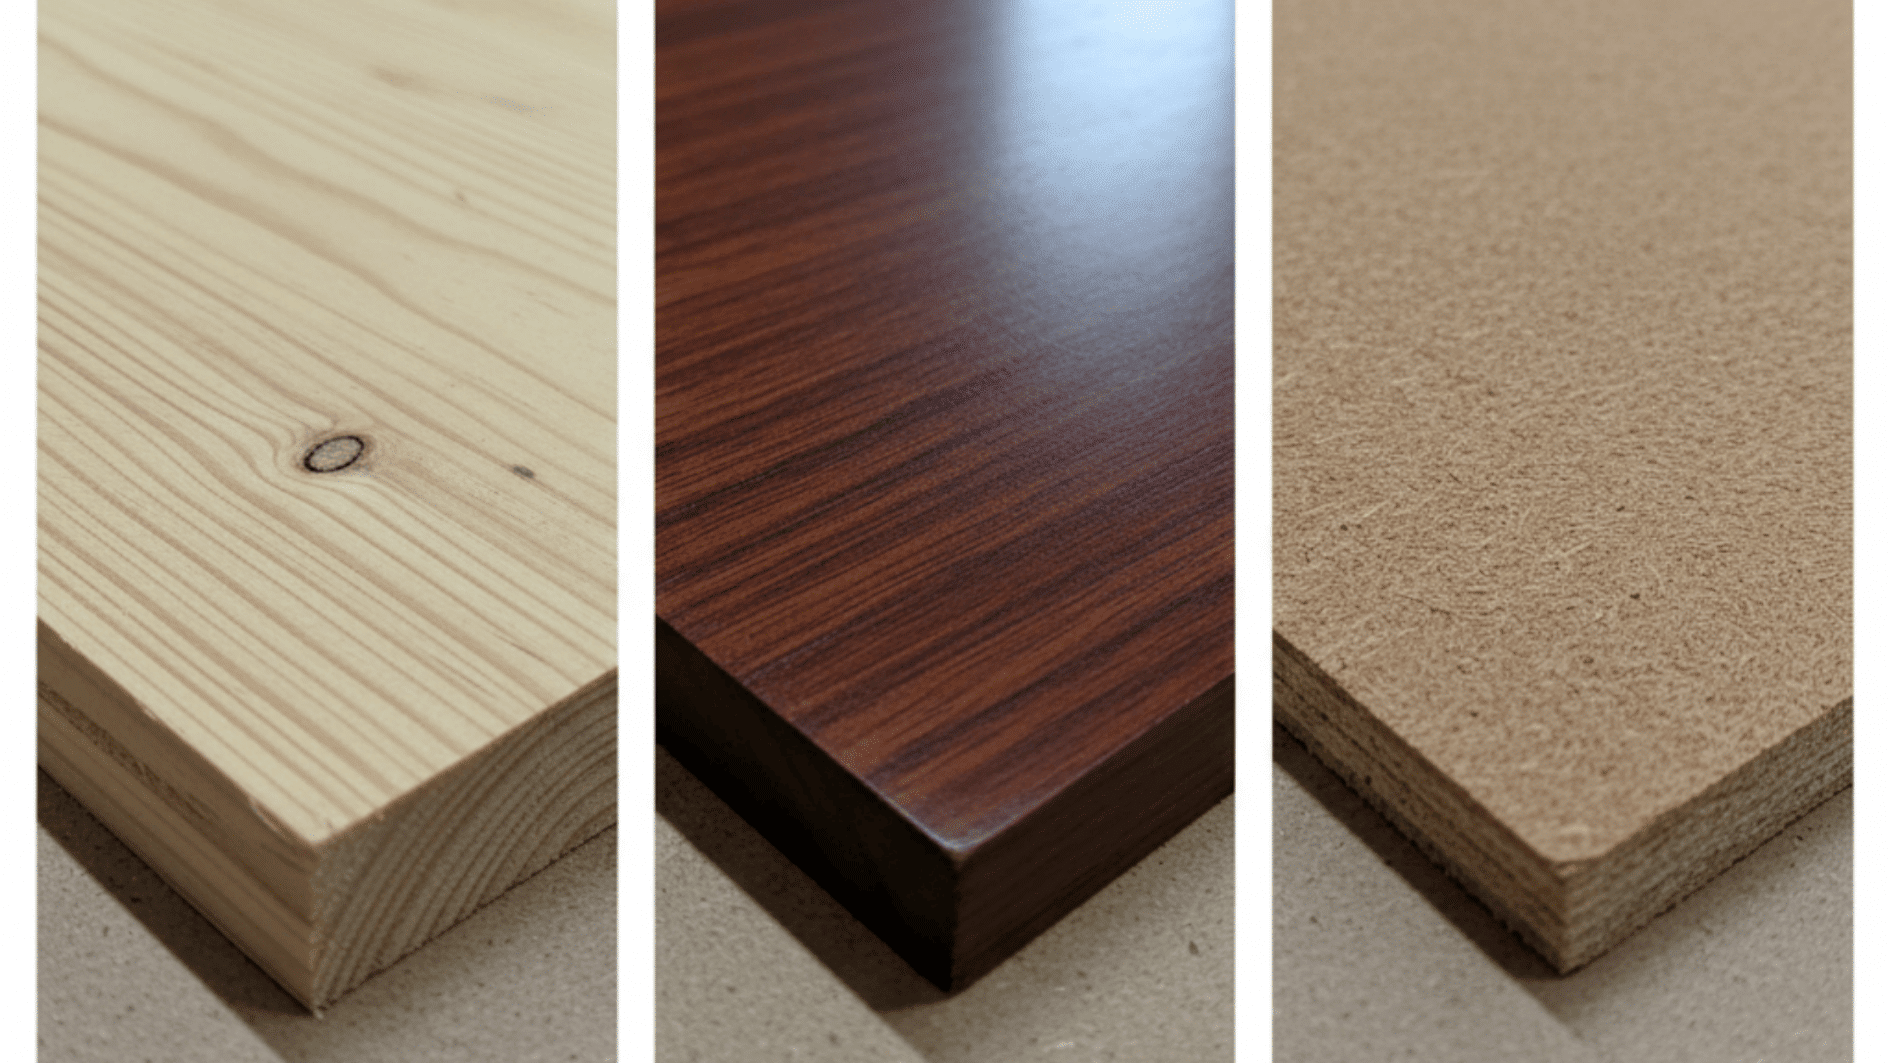
Most wood types accept acrylic paint well. But some work better than others.
Softwoods
Pine is the most popular choice. It’s affordable and easy to find at any hardware store. Cedar works great for outdoor projects.
Its natural oils help resist moisture. Fir and spruce are lighter options perfect for craft projects.
Hardwoods
Oak offers a beautiful grain pattern. The texture shows through thin paint layers, adding character. Maple provides a smoother finish.
Birch is another excellent hardwood. It’s less expensive than oak or maple but still delivers quality results.
Plywood and MDF
Plywood works fine for budget projects. C
hoose sanded plywood for smoother results. MDF (medium-density fiberboard) has no grain at all.
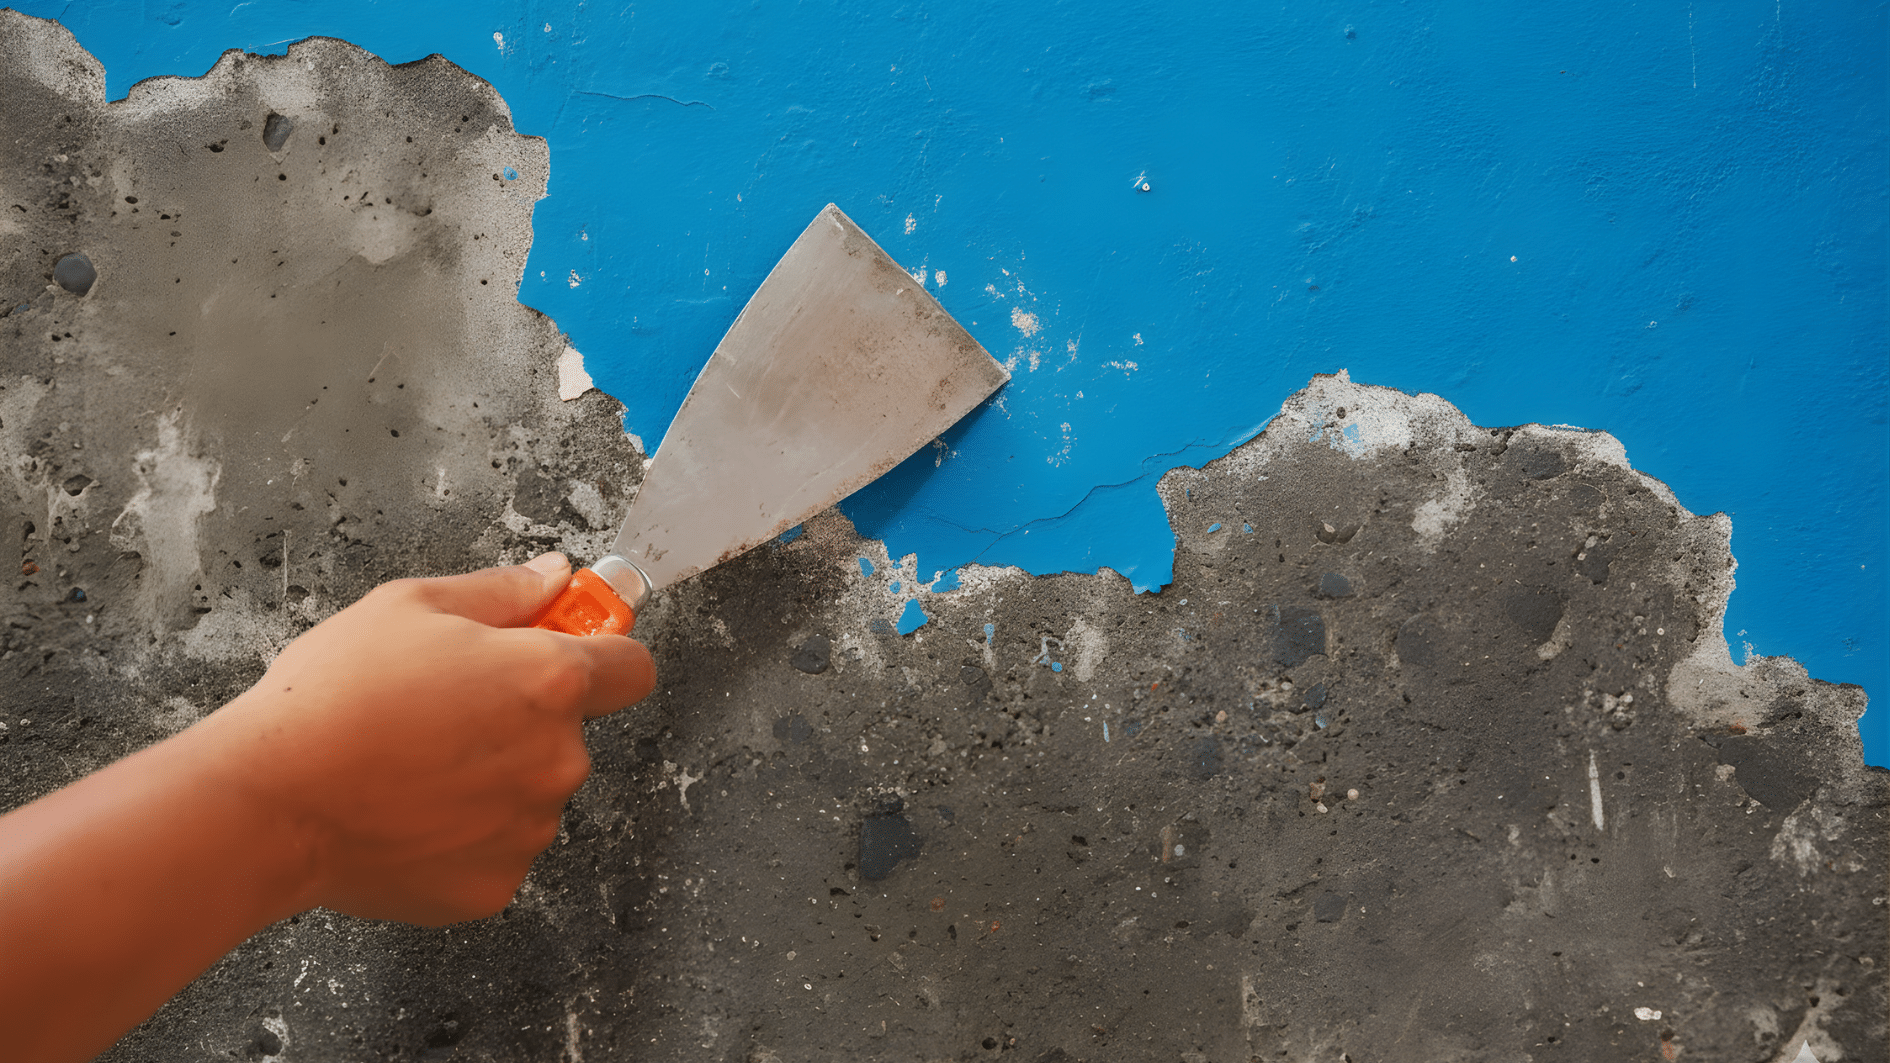
Avoid treated or varnished wood. The coating blocks paint adhesion. If you must use finished wood, sanding becomes essential. Raw, unfinished wood always gives the best results.
Why Wood Needs Preparation Before Using Acrylic Paint?
Raw wood isn’t always ready for paint. Preparation makes the difference between a project that lasts and one that flakes off.
Wood has natural oils, dust, and rough spots that prevent paint from sticking.
Sanding opens up the wood grain. Knots and cracks need filling, or they’ll bleed through paint. Priming seals the wood and stops it from absorbing too much paint.
Properties of a Suitable Wooden Surface
- Smooth texture with no splinters or rough patches
- Clean and free from dust, grease, or old finishes
- Completely dry with no moisture content
- Filled cracks and sealed knots
- Light sanding marks for better paint grip
Proper prep work sets the foundation for stunning results. Next comes the actual painting process and what materials you’ll need.
Using Acrylic Paint on Wood: (step-by-step)
Painting wood with acrylics isn’t complicated. Following these steps ensures a professional finish every time.
Materials You’ll Need
Gathering the right acrylic paint for wood and other supplies beforehand keeps the process smooth
- Acrylic paints
- Primer or gesso
- Paintbrushes (various sizes)
- Sandpaper (medium and fine grit)
- Clean cloth
- Sealer or varnish
Quality materials produce better results. But beginners can start with basic supplies and upgrade later.
Prepare Wood for Acrylic Paint
Preparation takes time but pays off in the final result. Skipping these steps leads to poor paint adhesion and finish.
Step 1: Sand the Surface
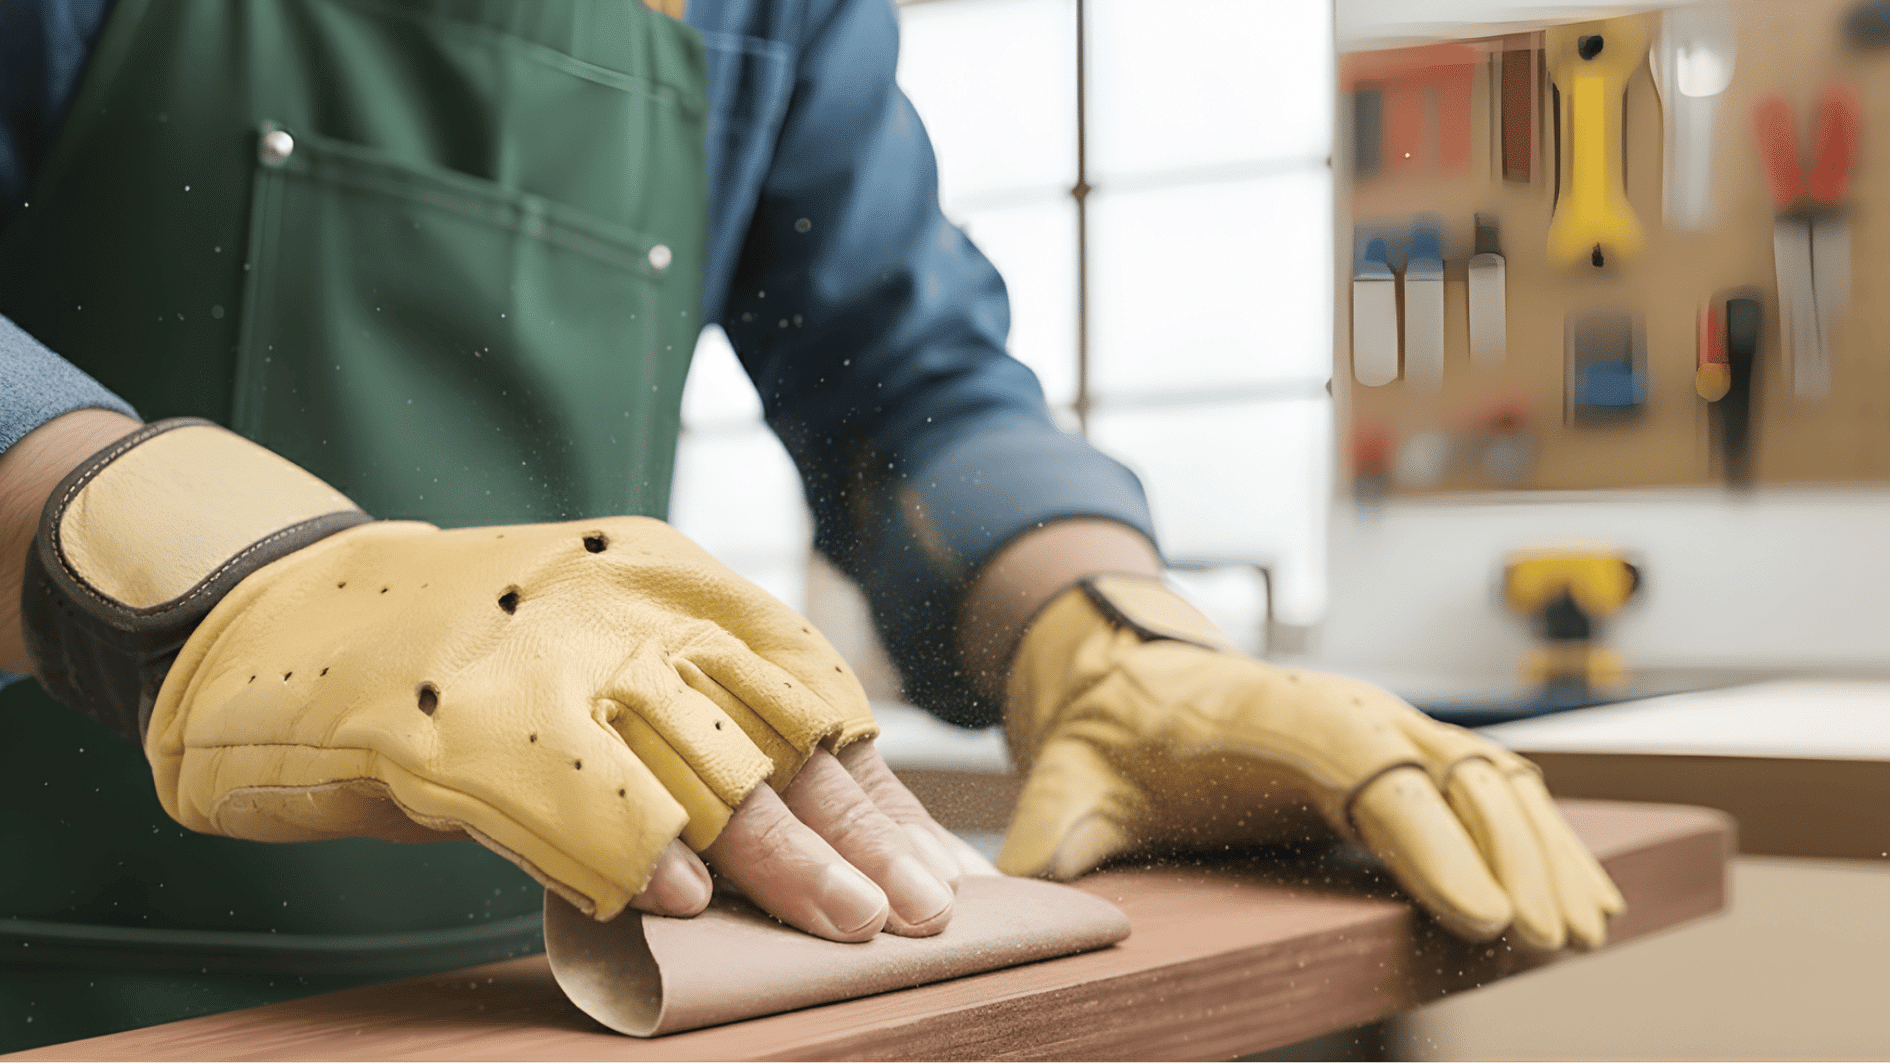
Start with medium-grit sandpaper. Sand in the direction of the wood grain.
This smooths rough spots and removes old finishes. Switch to fine-grit sandpaper for the final pass.
Step 2: Clean Thoroughly
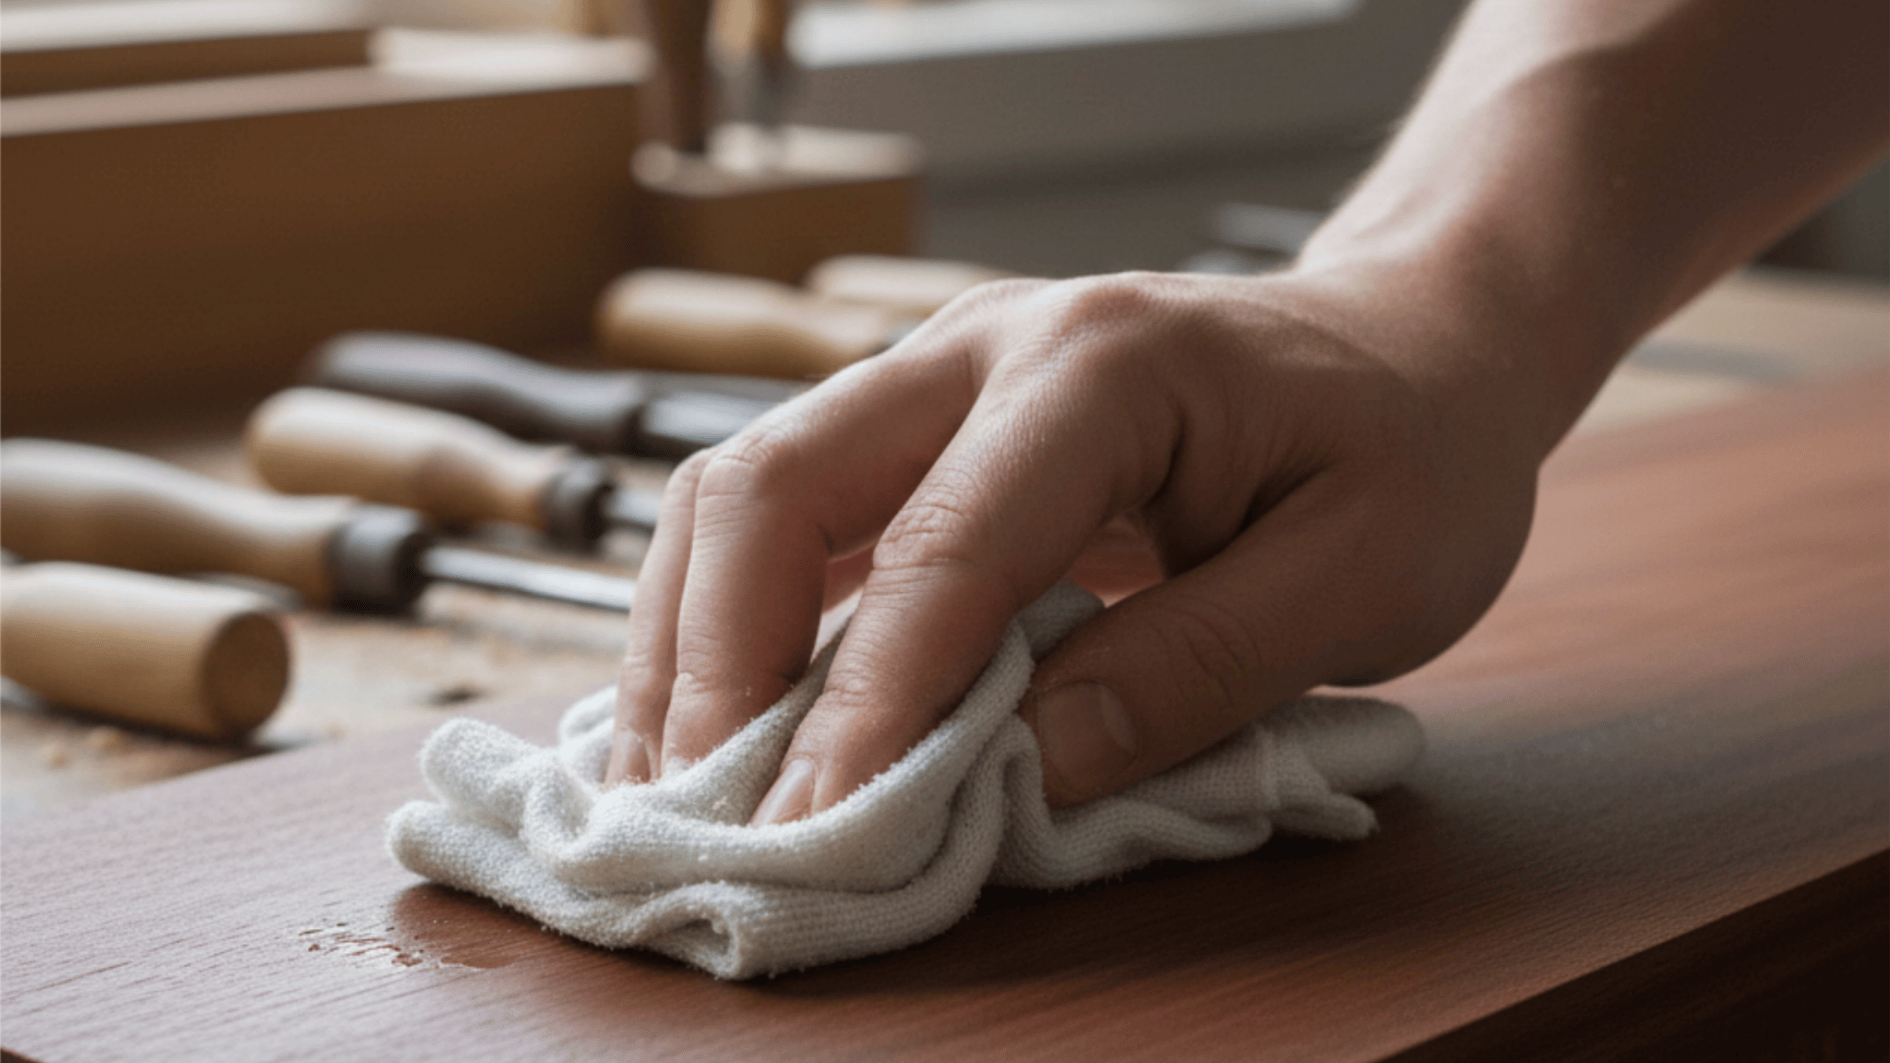
Dust settles everywhere during sanding. Wipe the surface with a damp cloth. Let it dry completely before moving forward.
A tack cloth works best for removing fine particles. Any leftover dust creates bumps under the paint.
Step 3: Fill Imperfections
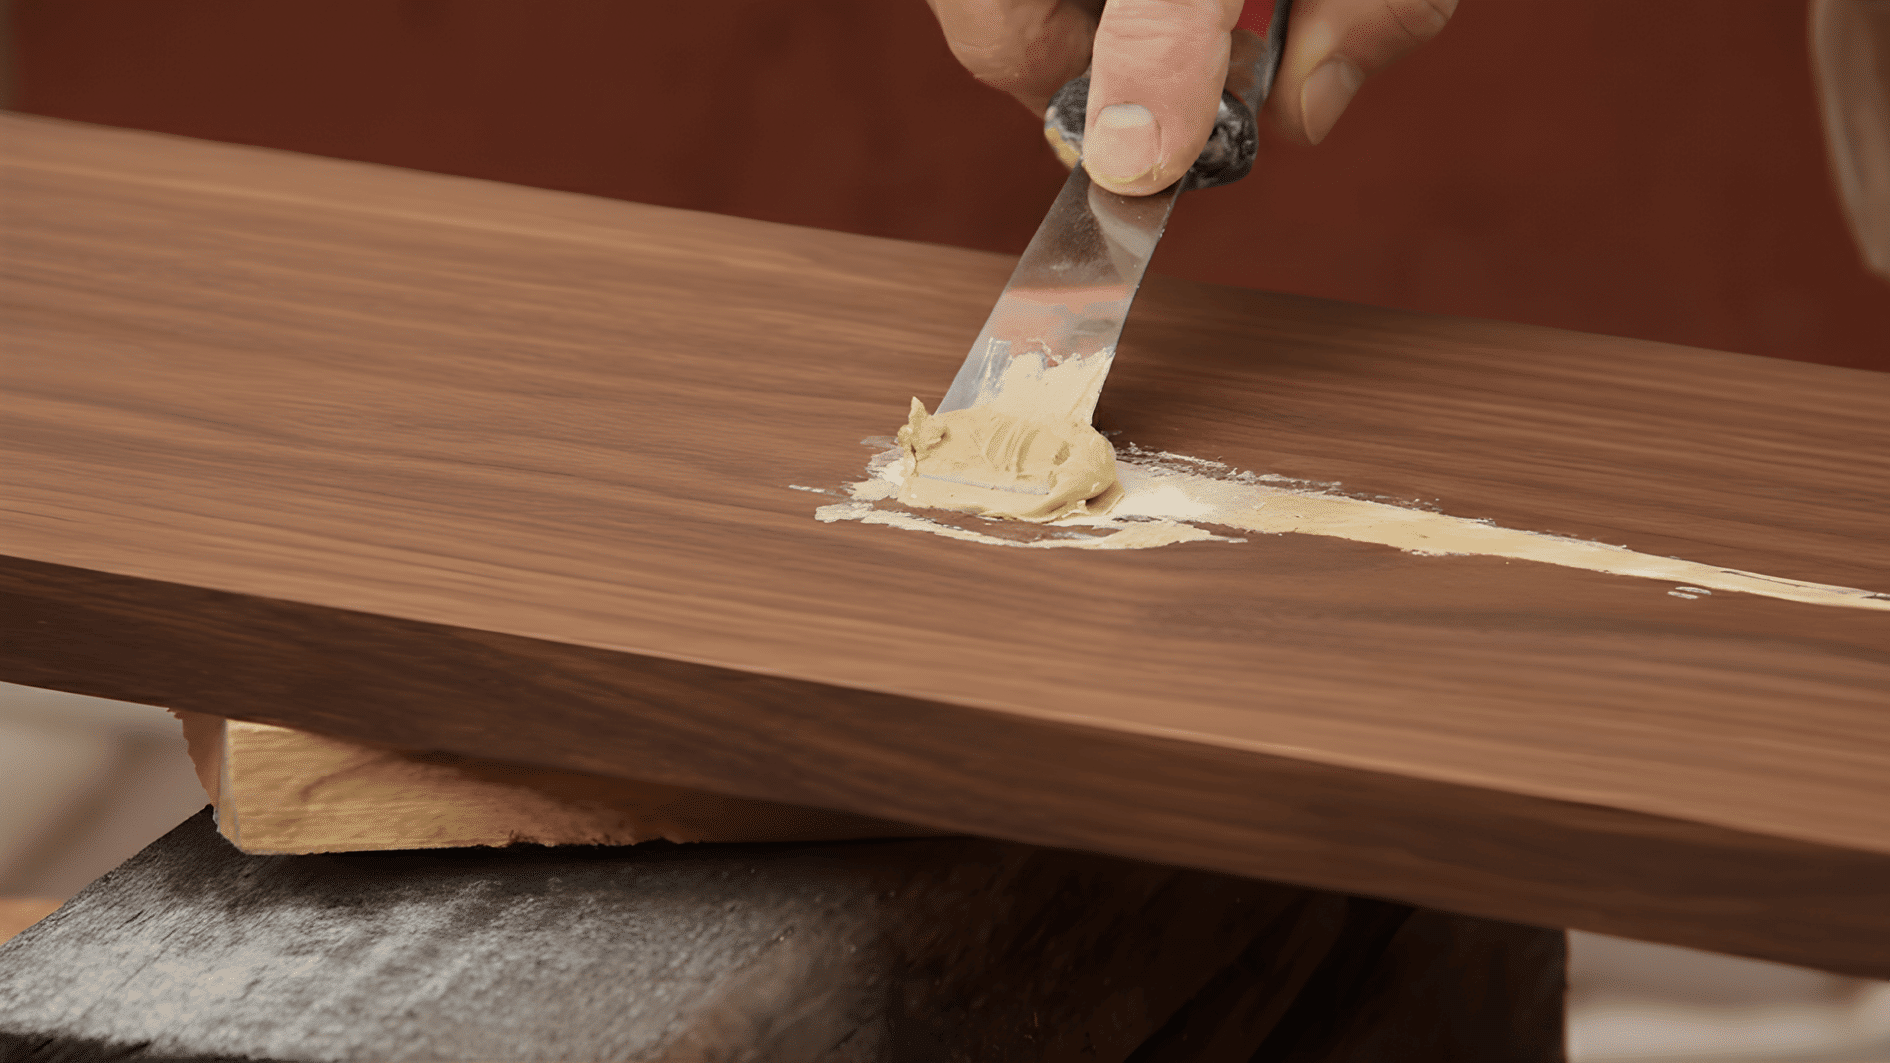
Check for cracks, holes, or gaps. Apply wood filler to these spots. Let it dry according to package directions. Sand the filled areas until smooth and flush with the surface.
Step 4: Apply Primer
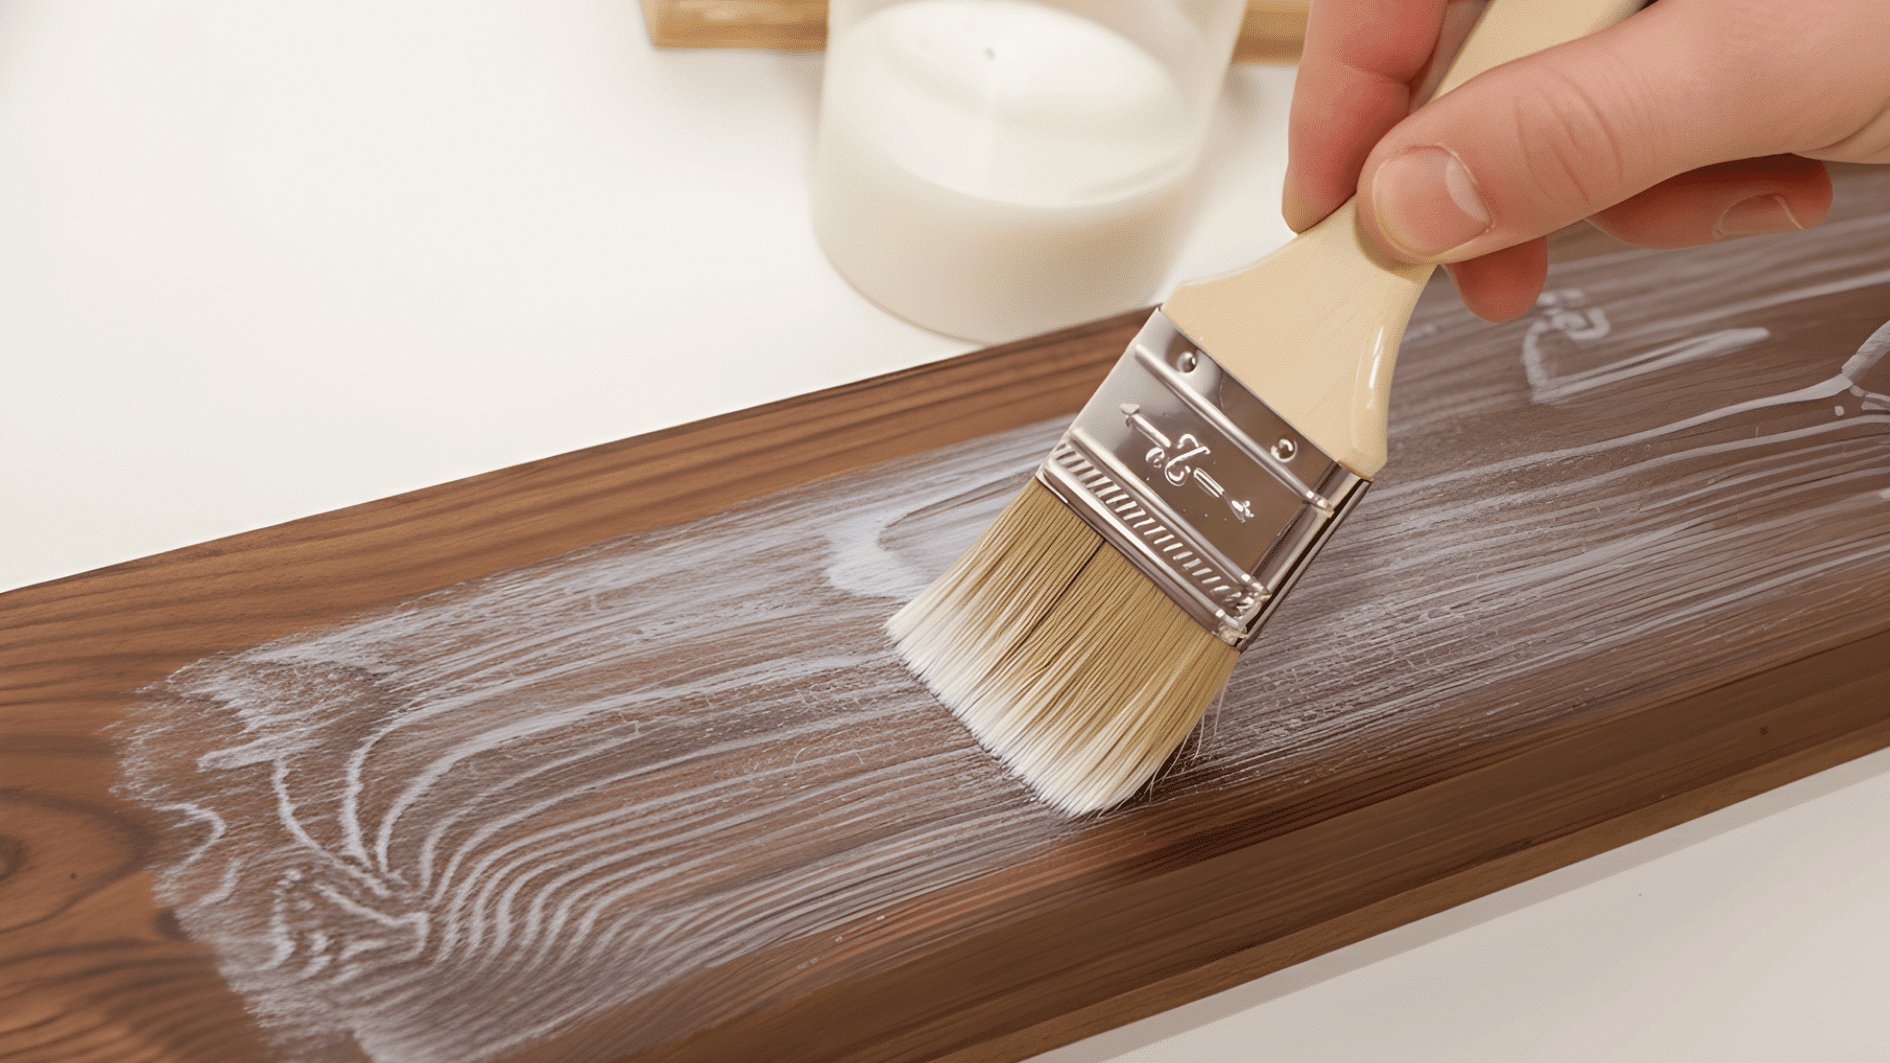
Brush on a thin coat of primer. This seals the wood and creates an even base. Let it dry for at least an hour. Sand lightly between coats if applying multiple primer layers.
The surface should feel smooth and look uniform. Now it’s ready for color.
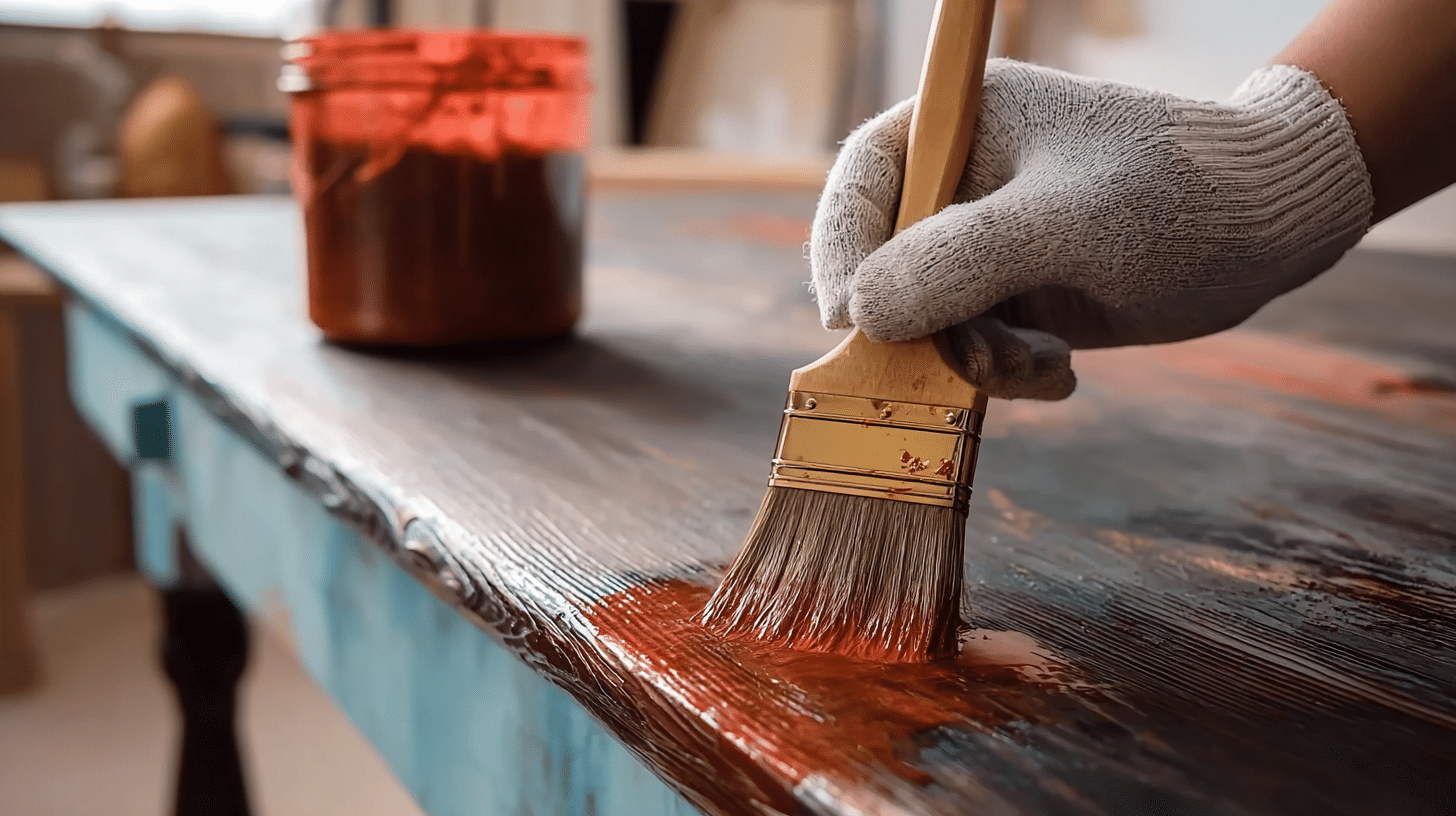
How to Apply Acrylic Paint on Wood
The actual painting process requires patience and technique. Rushing leads to uneven coverage and longer drying times.
Choose Your Brush: Flat brushes work well for large areas, while round brushes handle details better. Start with a medium-sized brush for general coverage.
First Coat Application: Apply thin, even strokes following the wood grain. Let it dry for 20 to 30 minutes.
Second Coat: Most projects need at least two coats since wood grain may show through one layer. Apply the second coat the same way as the first.
Multiple thin coats beat one thick coat every time. They dry faster and create a smoother finish.
Finishing Your Artwork
Wait 24 hours for the paint to cure fully. Apply a thin sealer coat in your preferred finish. Let it dry for two hours, then add a second coat for protection.
Proper finishing protects against damage. But indoor and outdoor wood pieces need different care approaches.
Acrylic Paint for Indoor vs Outdoor Wood
Indoor and outdoor wood projects face different challenges. Choosing the right acrylic paint for wood in each setting ensures longevity.
| Aspect | Indoor Wood | Outdoor Wood |
|---|---|---|
| Paint Type | Standard acrylic paint works fine | Use exterior-grade acrylics with UV protection |
| Primer | One coat of basic primer | Two coats of exterior primer are recommended |
| Sealer | Matte or satin finish sealer | Waterproof polyurethane or outdoor varnish |
| Coats Needed | 2-3 coats of paint | 3-4 coats for weather resistance |
| Sealer Coats | 1-2 protective coats | 3-4 coats for full weatherproofing |
| Maintenance | Minimal upkeep needed | Annual touch-ups and resealing are required |
Outdoor wood needs extra protection from rain, sun, and temperature swings.
Indoor pieces require less maintenance but still benefit from proper sealing. Understanding these differences helps projects last longer.
Do’s and Don’ts
Following best practices saves time and prevents common mistakes. These guidelines help create professional results.
Do’s
Do sand between coats: Light sanding creates better adhesion for the next layer. It smooths out any bumps or brush marks.
Do work in a well-ventilated area: Fresh air speeds up drying time. It also reduces paint fumes, making the process more comfortable.
Do clean brushes immediately: Acrylic paint dries fast and ruins brushes if left to harden.
Do apply thin layers: Multiple thin coats always beat one thick coat. They dry evenly and prevent cracking.
Do test colors first: Try painting on a scrap piece of wood before committing to the project. Colors look different once dried.
Don’ts
Don’t skip primer: Raw wood soaks up paint unevenly without it. Primer saves paint and improves color vibrancy.
Don’t paint damp wood: Moisture trapped under paint causes bubbling and peeling. Always ensure wood is completely dry first.
Don’t rush drying time: Adding another coat too soon smears the previous layer.
Don’t use old, dried-out paint: Clumpy paint creates streaky, uneven coverage. Fresh paint spreads smoothly and looks better.
These simple rules make a big difference in final results. A few extra tips can take projects to the next level.
A Quick Recap of Acrylic Paint on Wood
So, does acrylic paint work on wood? Absolutely Yes.
Proper preparation makes all the difference. Sand the surface, apply primer, and use thin coats for best results.
Indoor pieces need basic sealing, while outdoor wood requires weatherproof protection. Remember to let each layer dry completely.
Avoid common mistakes like skipping primer or rushing the process.
With these techniques, any wooden surface transforms into stunning art.