Looking for fresh ways to change your blank walls?
Most people stare at empty walls every day. They want change but feel stuck.
Buying expensive art isn’t always an option. Store-bought pieces can feel generic and impersonal.
Creating beautiful wall decor doesn’t require a huge budget or professional skills. With simple materials and a bit of creativity, anyone can craft stunning pieces that reflect their personality.
This article shares practical DIY wall decor ideas that actually work.
What Makes DIY Wall Decor so Popular Today?
People love DIY wall decor for several reasons. It saves money compared to store-bought art.
Making pieces at home costs much less than buying from galleries or stores.
Personalization matters too. DIY projects let people express their unique style. No two handmade pieces look exactly the same.
Why More People Choose DIY:
- Budget-friendly materials
- Custom sizes and colors
- Satisfaction from creating something
- Reuse old materials
- Easy tutorials available online
Quick Tips Before You Start Any DIY Wall Project
Starting a wall decor project requires some planning. These simple tips help avoid common mistakes and save time.
- Measure your wall space: Know the exact dimensions before creating anything
- Gather all materials first: Nothing’s worse than stopping mid-project for missing supplies
- Test on small surfaces: Try techniques on cardboard before working on final pieces
- Check wall type: Different walls need different hanging methods
- Start with easy projects: Build confidence before trying complex designs
- Keep tools organized: Have scissors, glue, and tape within reach
Good preparation makes the actual creating part much easier and more fun.
Simple & Beginner-Friendly DIY Wall Art Ideas
These projects require minimal skills and basic supplies. Perfect for first-timers.
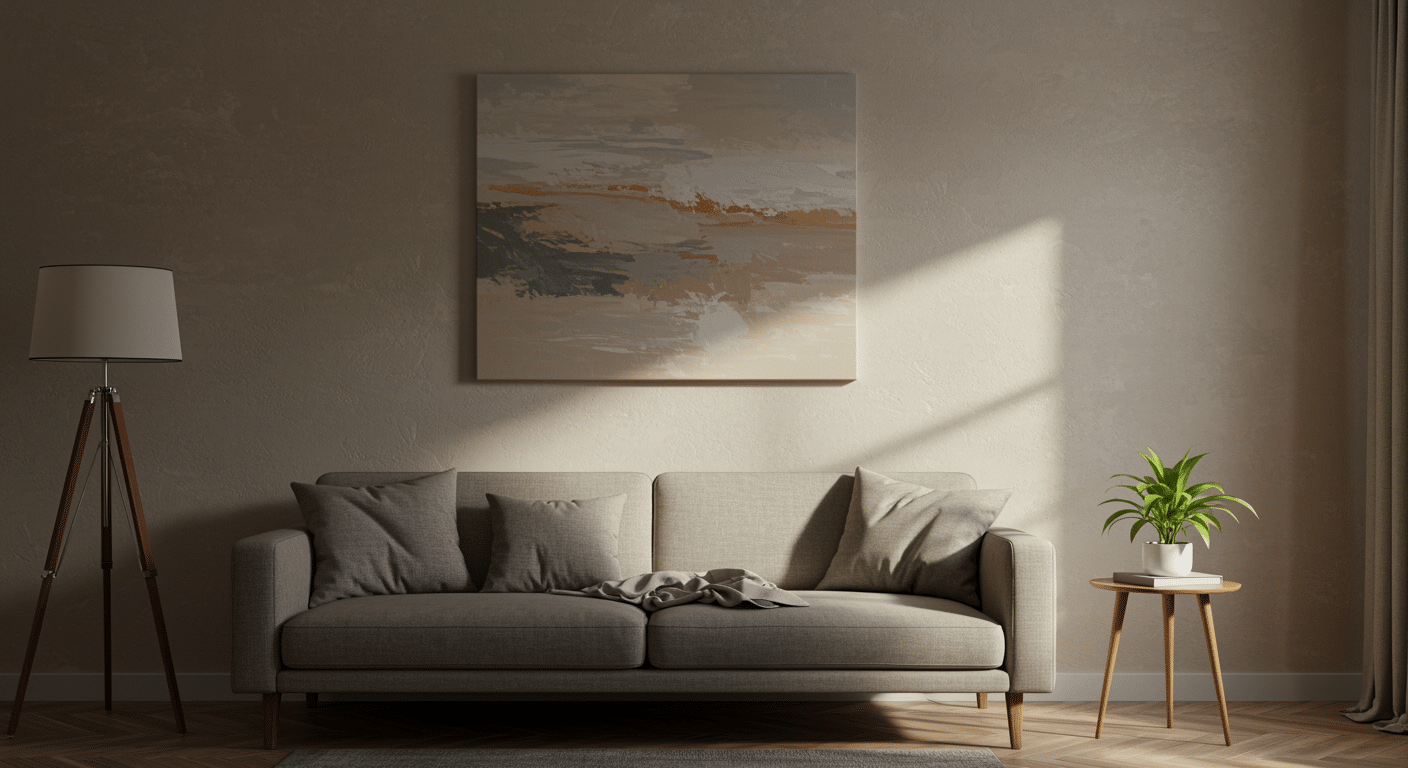
1. Painted Canvas Art
Materials required:
- Canvas
- Acrylic paints
- Paintbrushes
Step-by-Step Instructions: Pick any colors that match your room. Use acrylic paints on a blank canvas. Try stripes, dots, or abstract shapes. No artistic talent needed.
Let each layer dry before adding the next one. Frame it or hang it as is.
Budget Range: $10-$20
Use painter’s tape to create clean lines between colors. Remove the tape while the paint is still slightly wet for the best results.
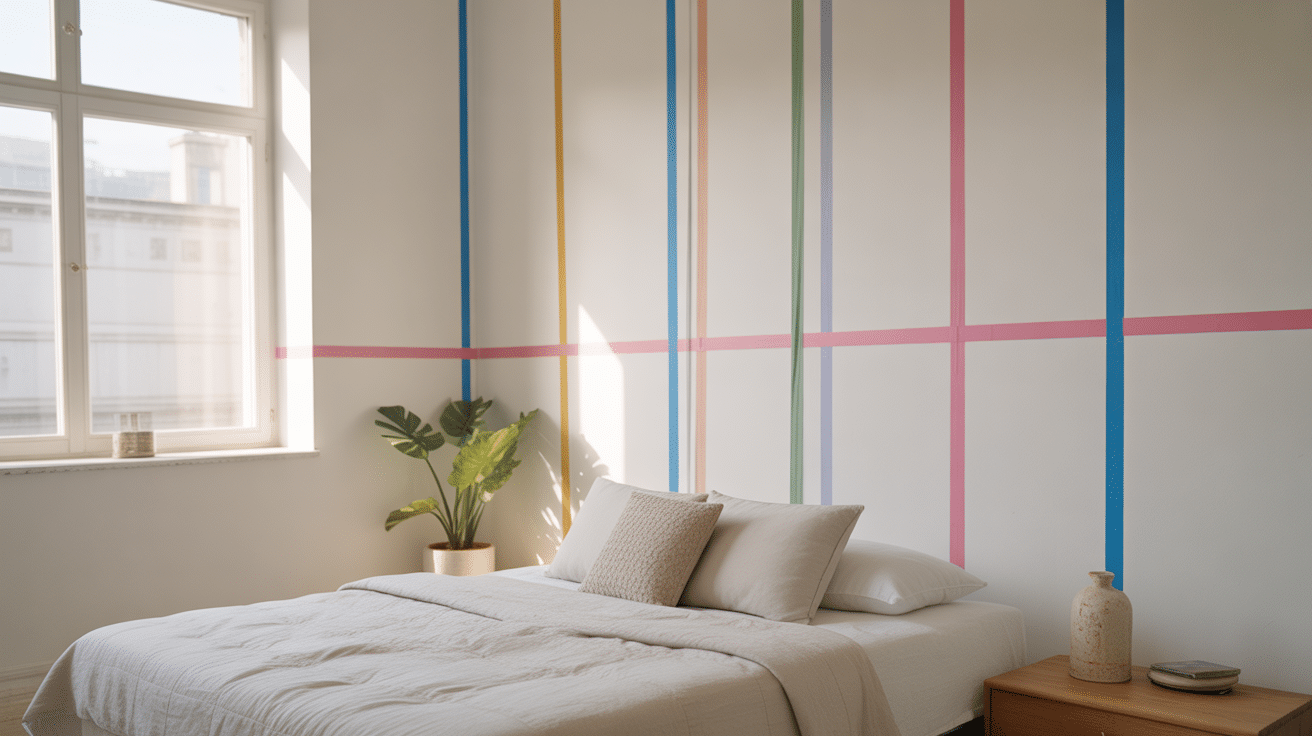
2. Washi Tape Designs
Materials required:
- Washi tape
- Ruler
Step-by-Step Instructions: Washi tape sticks and peels easily without damaging walls. Create geometric patterns directly on the wall. Make a grid, chevron, or mountain design.
Use different colors for visual interest, you can change the design whenever you want.
Budget Range: $5-$15
Test the tape on a small hidden area first. Some wall paints may peel off when removing the tape.
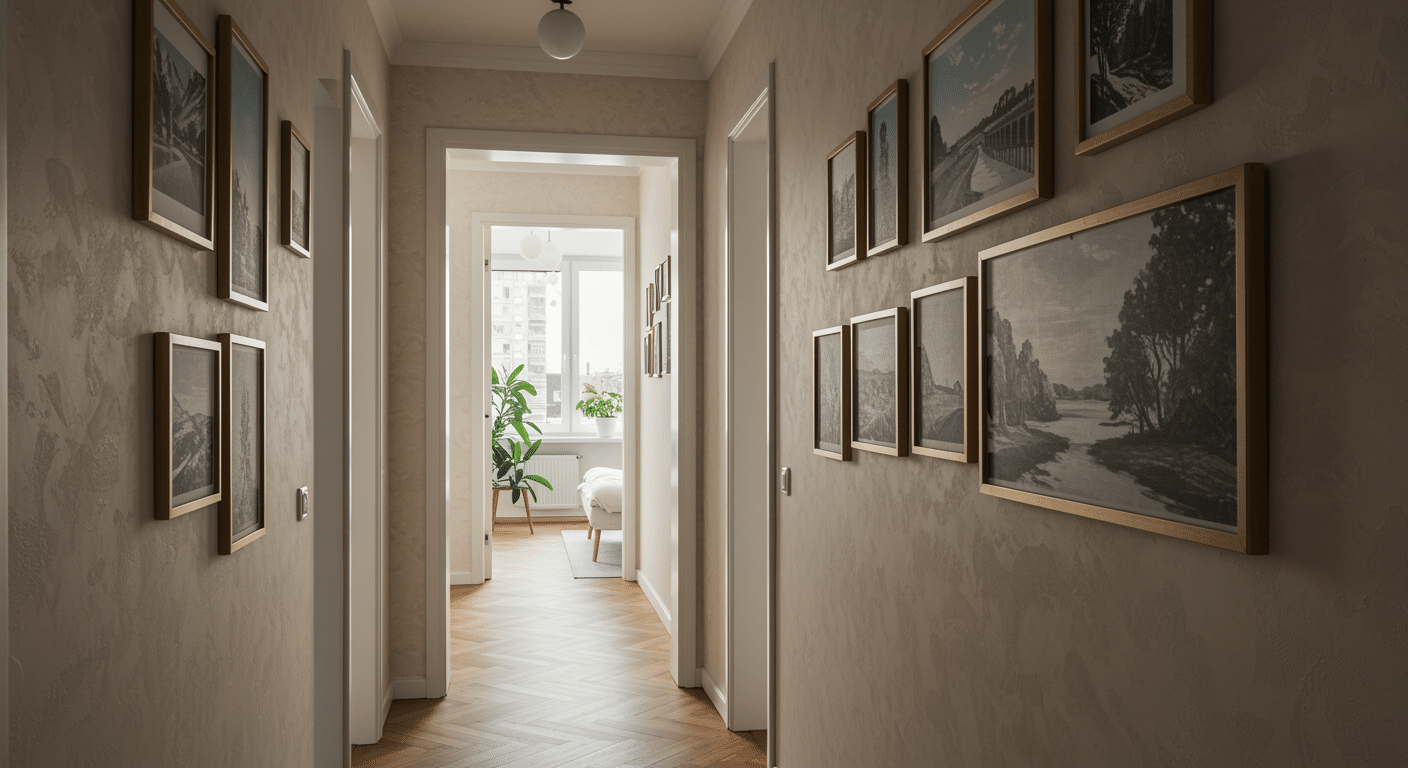
3. Paintings Grid Wall
Materials required:
- Printed photos
- Adhesive strips
- Level
Step-by-Step Instructions: Print your favorite posters in the same size. Frame them and arrange in a grid pattern using small nails or adhesive strips. Keep spacing equal between each photo.
Black and white photos create a classic look.
Budget Range: $15-$30
Lay out your grid on the floor first. Take a photo of the arrangement to reference when hanging.
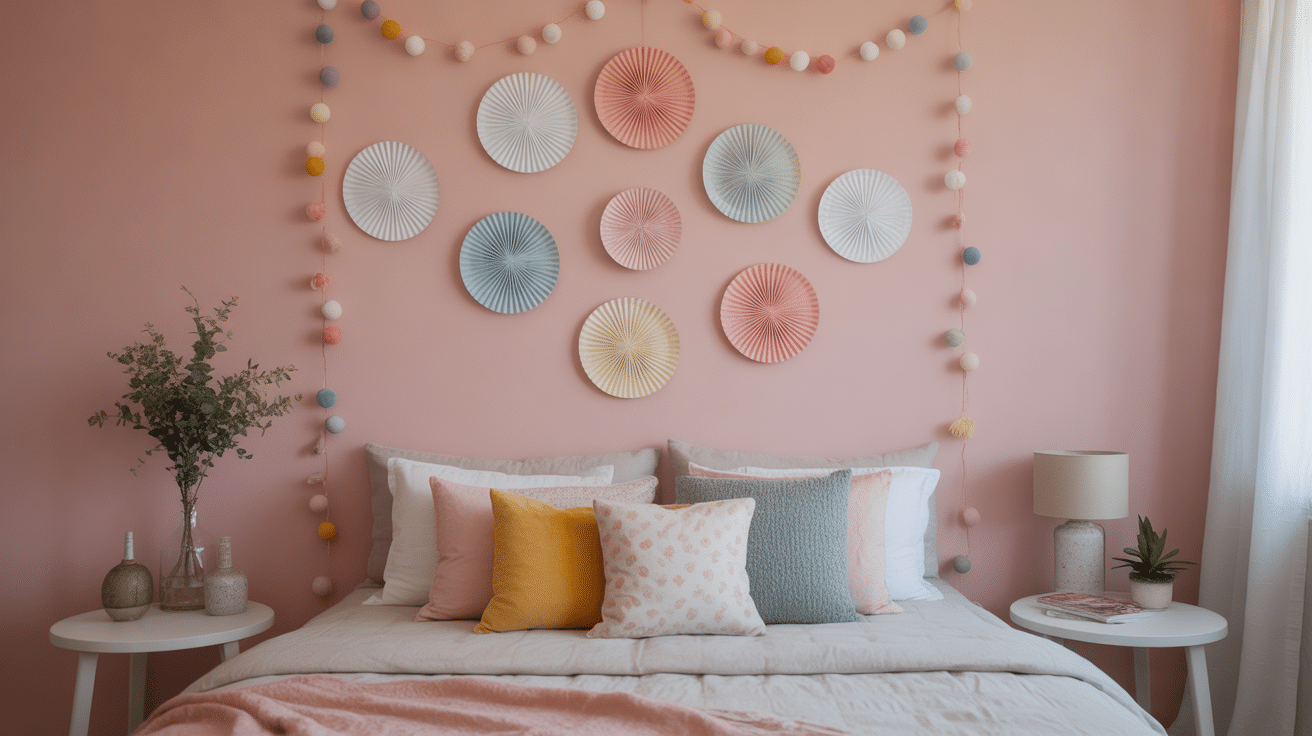
4. Paper Flowers Wall Decor
Materials required:
- Paper
- Paint
- Glue
- Canvas board
Step-by-Step Instructions: Fold Paper Into Flower Shapes and paint them in bright colors if required, or you can use coloured sheets as well. Attach them to the walls. Hang the finished piece at different angles.
Budget Range: $8-$15
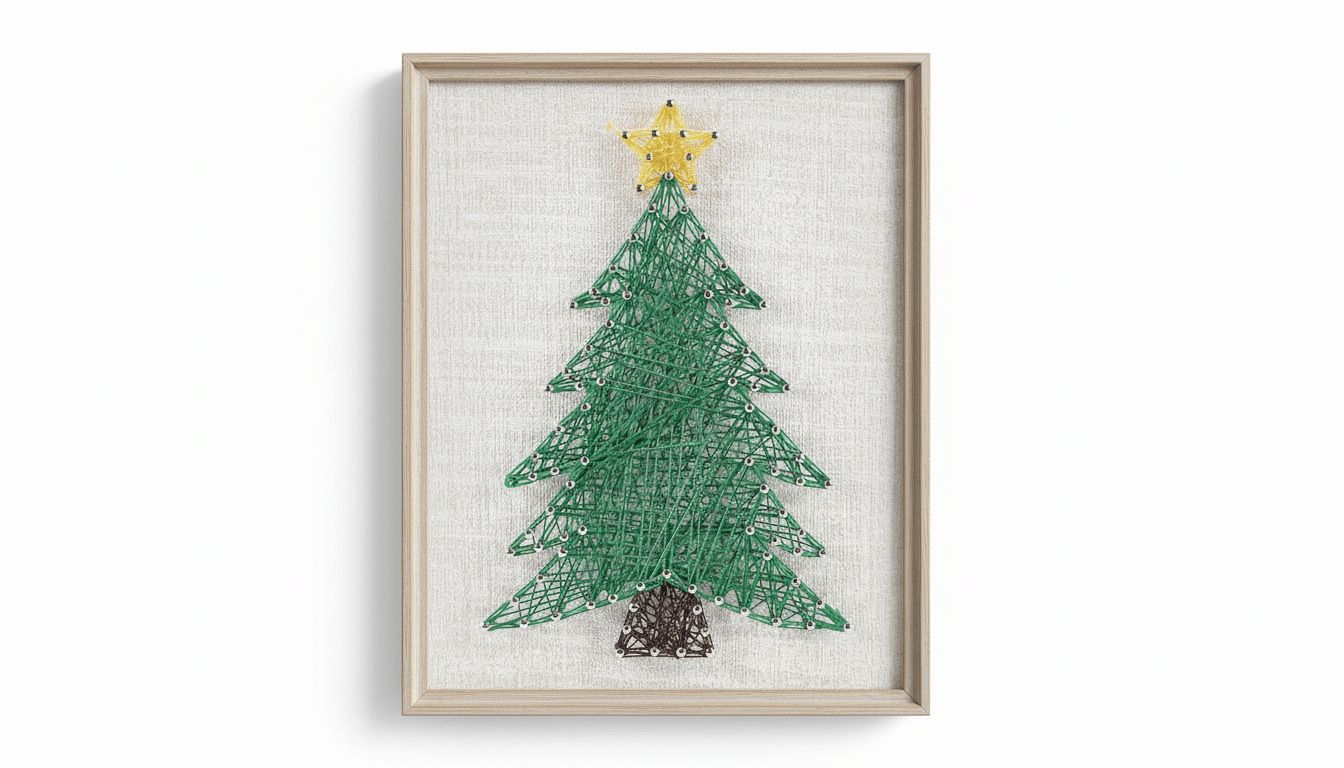
5. String Art
Materials required:
- Wooden board
- Small nails
- Colored string
- Hammer
Step-by-Step Instructions: Hammer small nails into a wooden board in a pattern. Wrap colored string or yarn around the nails to create shapes.
Try simple designs like hearts, stars, or initials. The string creates the outline and fills the space.
Budget Range: $12-$25
Print your design on paper and tape it to the board. Hammer nails through the paper, then tear it away.
Nature-Inspired DIY Wall Decor
Bring the outdoors inside with these natural material projects.
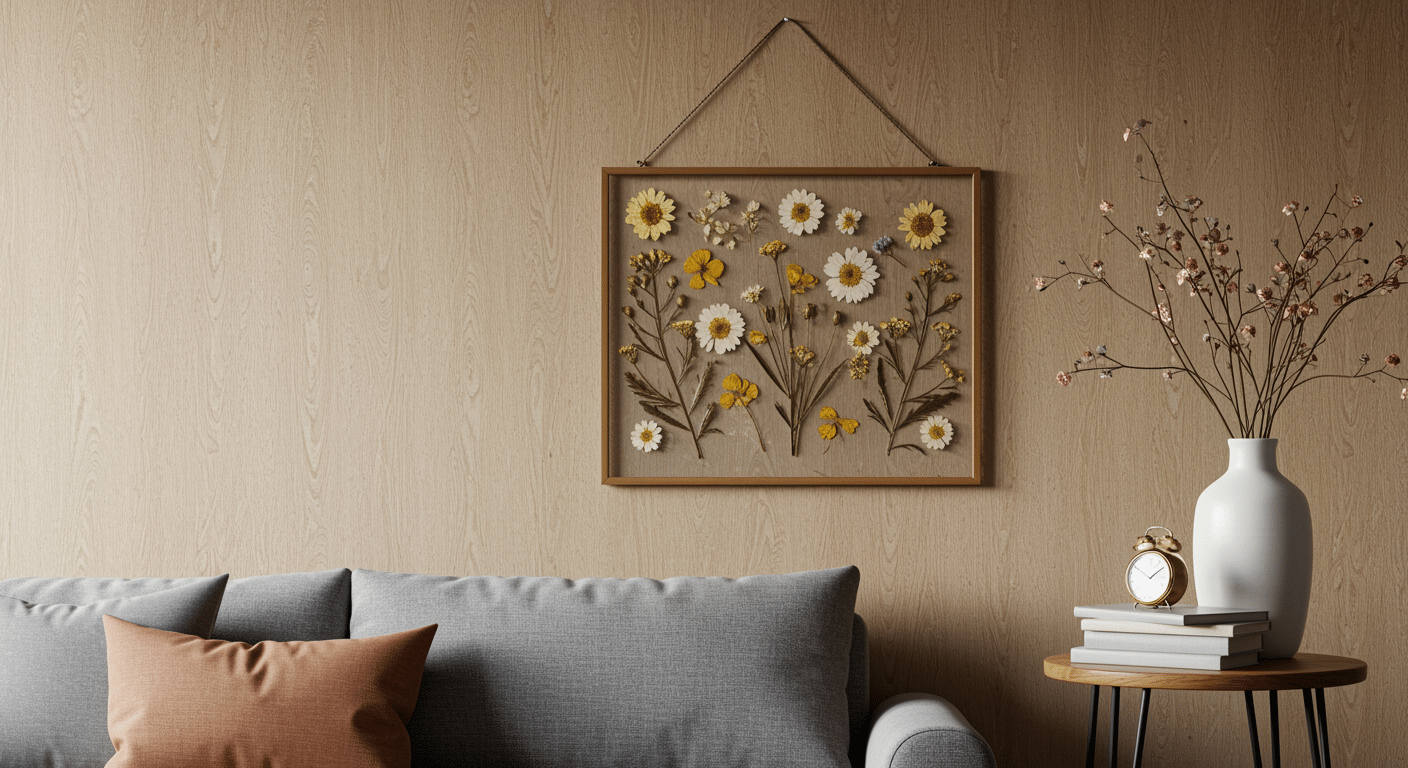
6. Pressed Flower Frame
Materials required:
- Fresh flowers
- Heavy books
- Frame with glass
Step-by-Step Instructions: Collect flowers and press them between heavy books for two weeks. Once flat and dry, arrange them inside the glass frame.
Seal with glass to protect the flowers.
Budget Range: $10-$20
Pick flowers on a dry day. Moisture can cause mold during the pressing process.
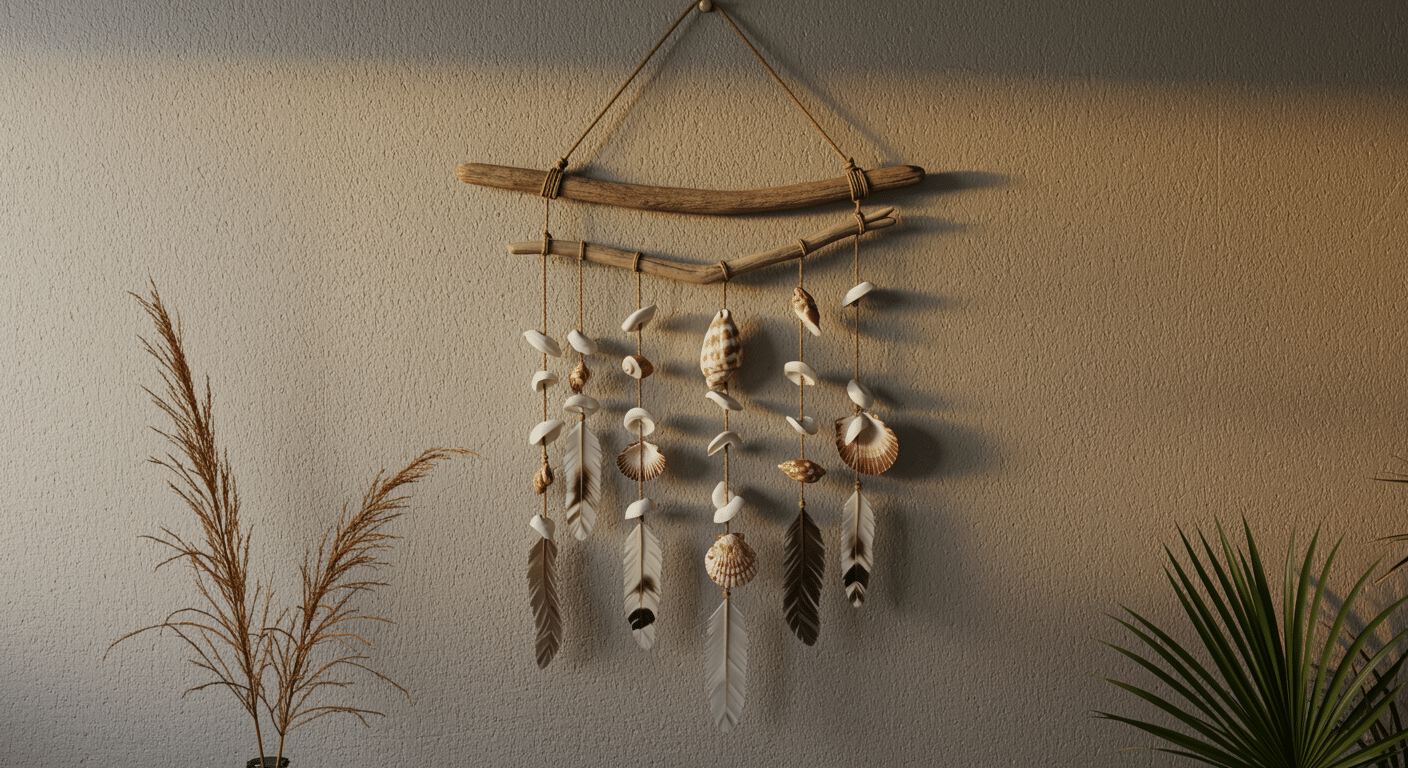
7. Driftwood Wall Hanging
Materials required:
- Driftwood pieces
- Twine
- Shells or beads
Step-by-Step Instructions: Find driftwood pieces at the beach or craft stores. Tie them together horizontally with twine or rope, and hang shells, beads, or feathers from the bottom.
Mount on the wall with a single hook.
Budget Range: $8-$18
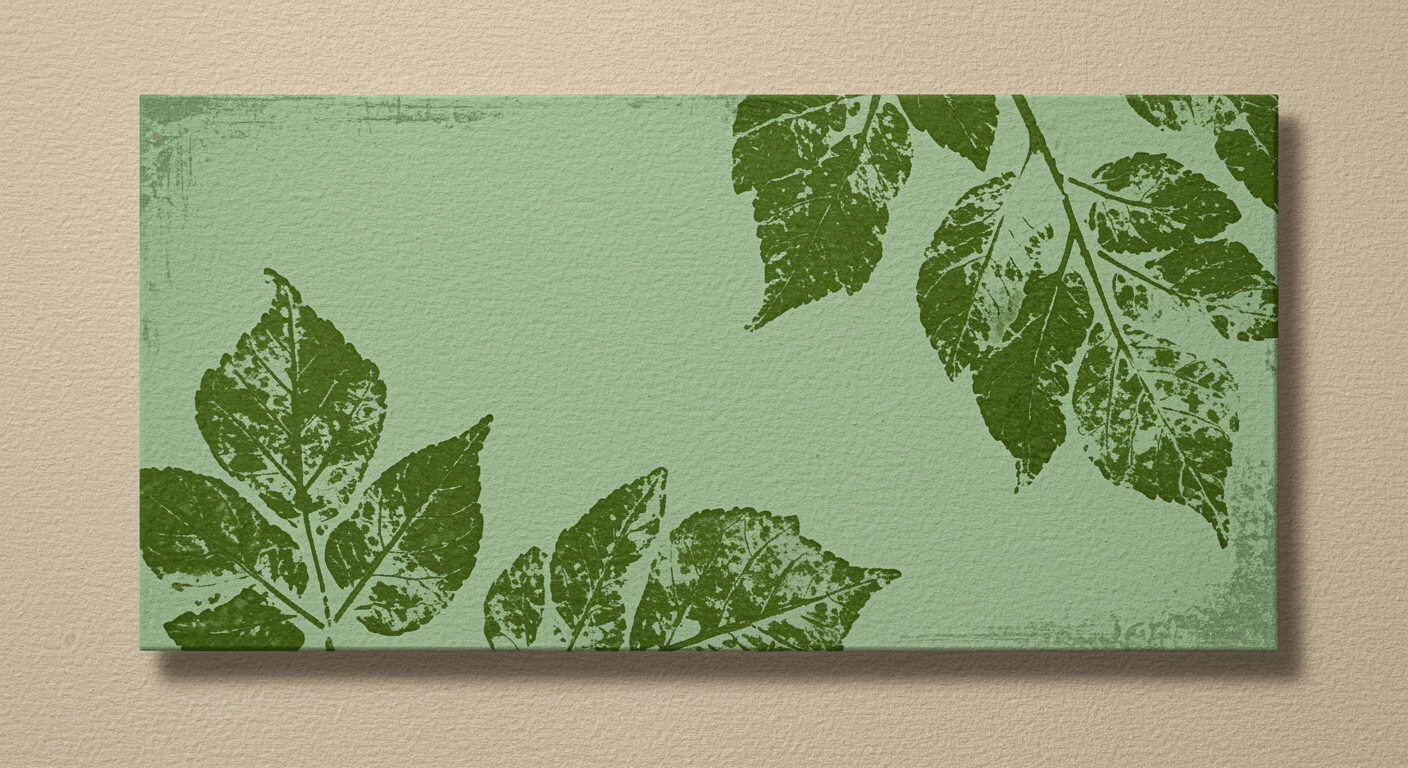
8. Leaf Print Canvas
Materials required:
- Fresh leaves
- Acrylic paint
- Canvas
Step-by-Step Instructions: Collect leaves with interesting shapes. Paint one side with acrylic paint. Press the painted side onto the canvas.
Lift carefully to reveal the print. Repeat with different leaves and colors.
Budget Range: $10-$18
Use a brayer or rolling pin over the back of the leaf. This creates a more even print with better detail.
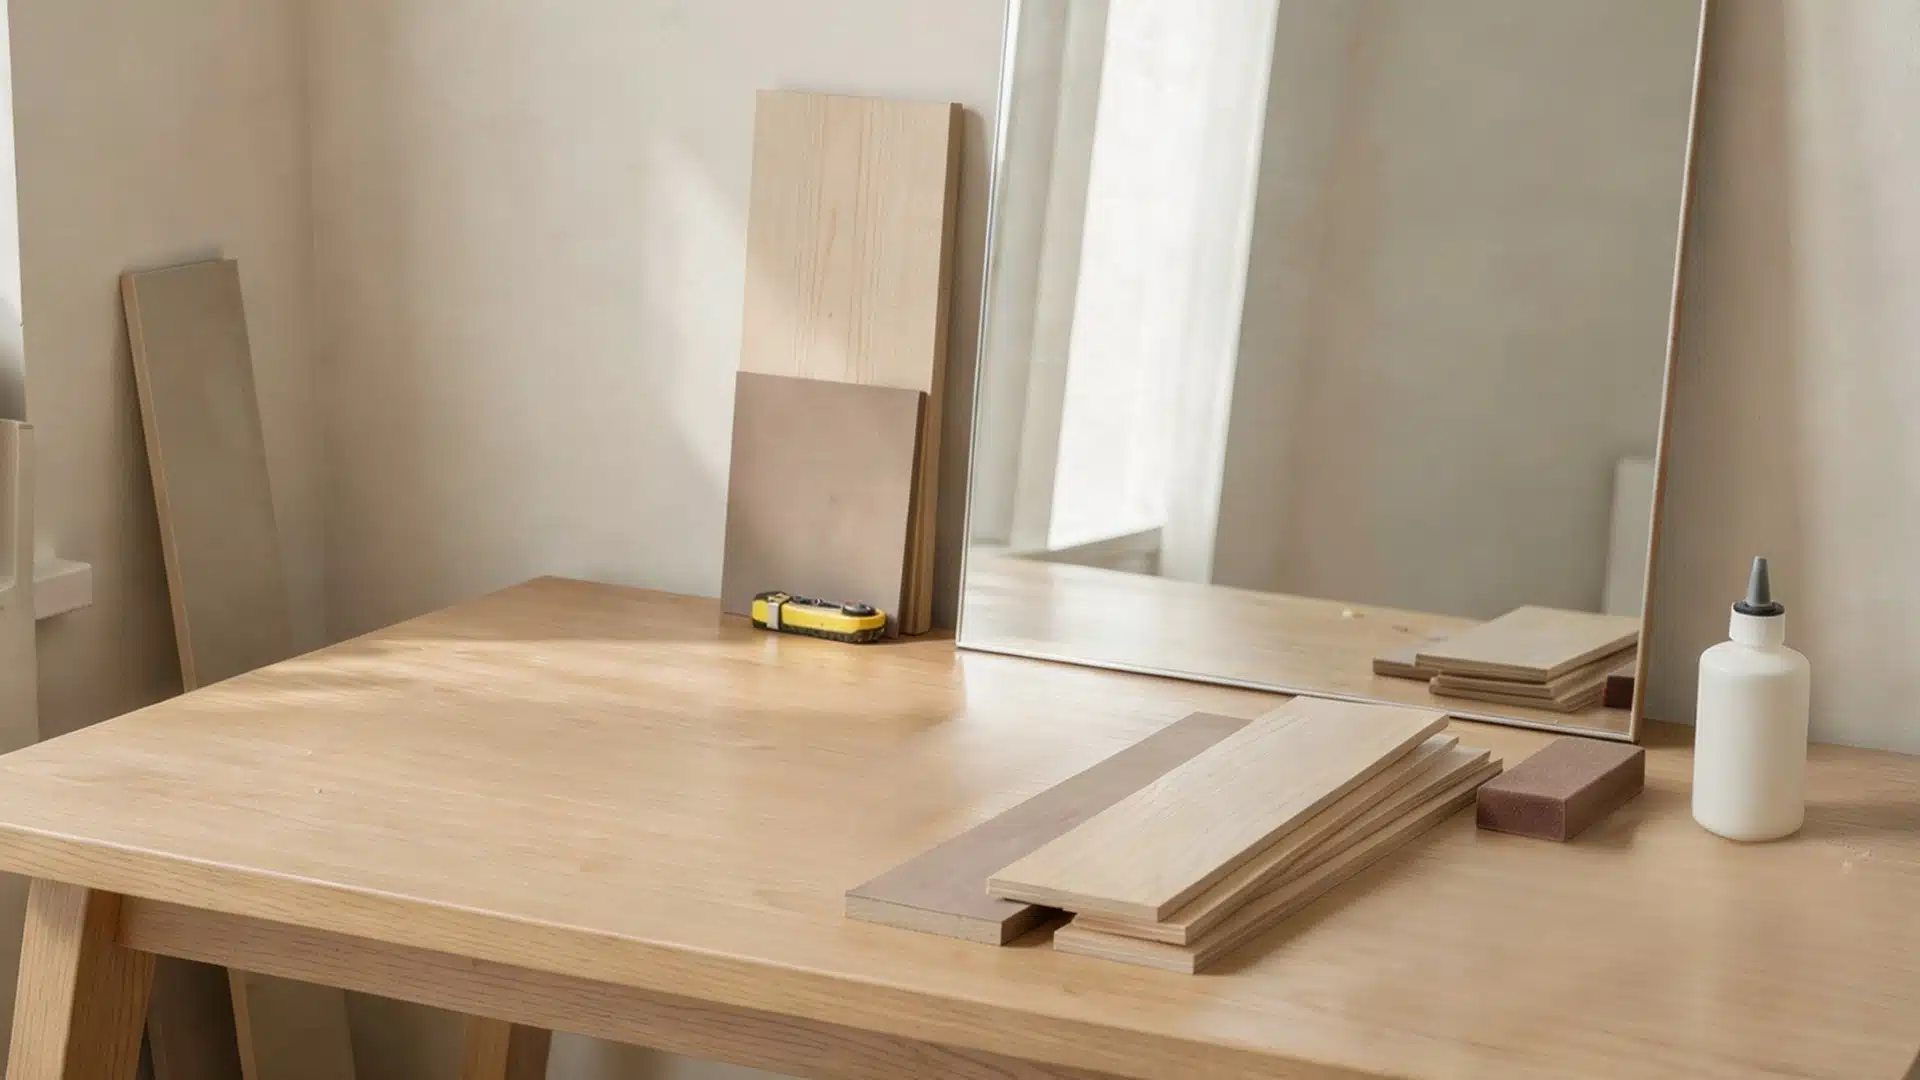
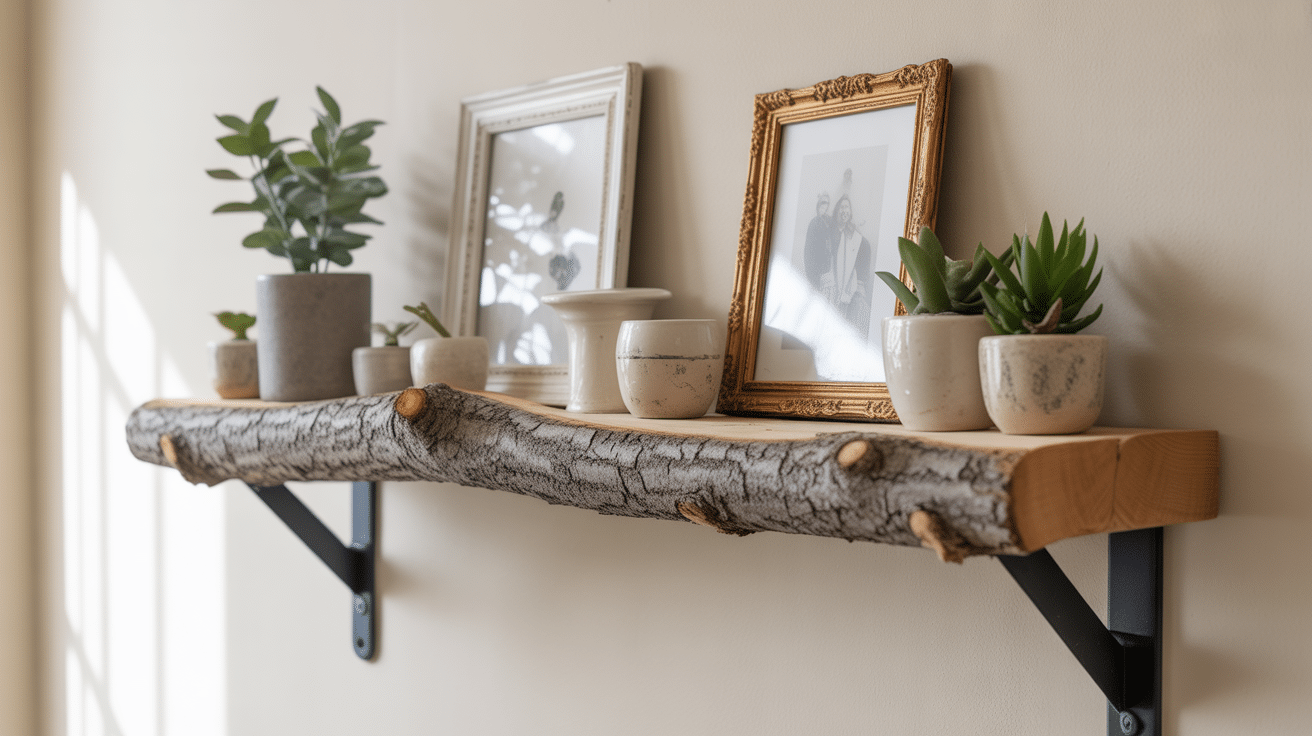
9. Branch Display Shelf
Materials required:
- Tree branch
- Sandpaper
- Wall brackets
- Screws
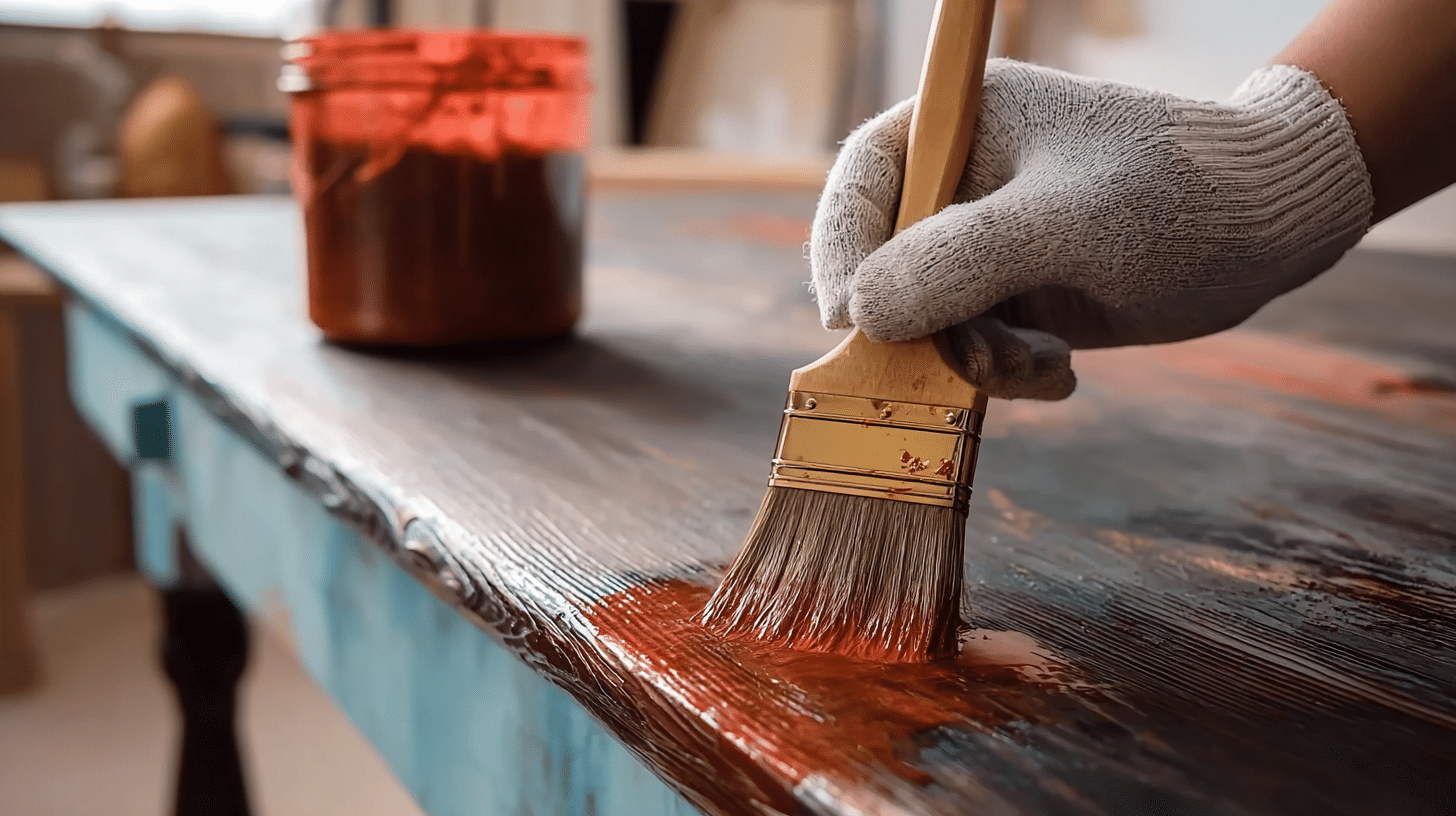
Step-by-Step Instructions: Find a sturdy branch with an interesting shape, sand it smooth and seal with varnish. Mount it horizontally on the wall with brackets.
Use it to display small plants, photos, or trinkets.
Budget Range: $15-$30
Choose branches that are completely dry. Green wood will warp and crack as it dries indoors.
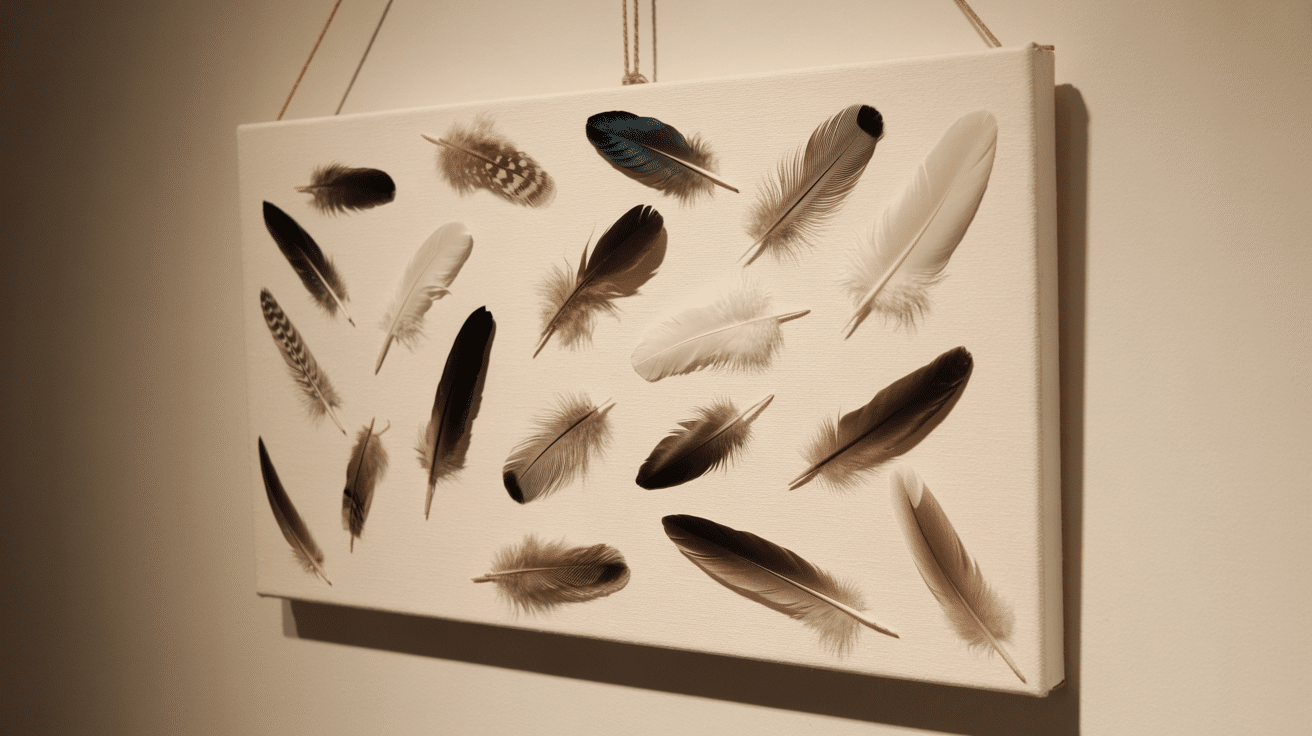
10. Feather Wall Art
Materials required:
- Feathers
- Canvas
- Hot glue gun
- Paint
Step-by-Step Instructions: Arrange real or craft feathers on a canvas. Glue them down securely.
Paint the background a complementary color or leave it plain after it has dried add a coat of clear sealant to protect everything.
Budget Range: $12-$22
Statement Wall Decor Ideas
These projects create bold focal points in any room.
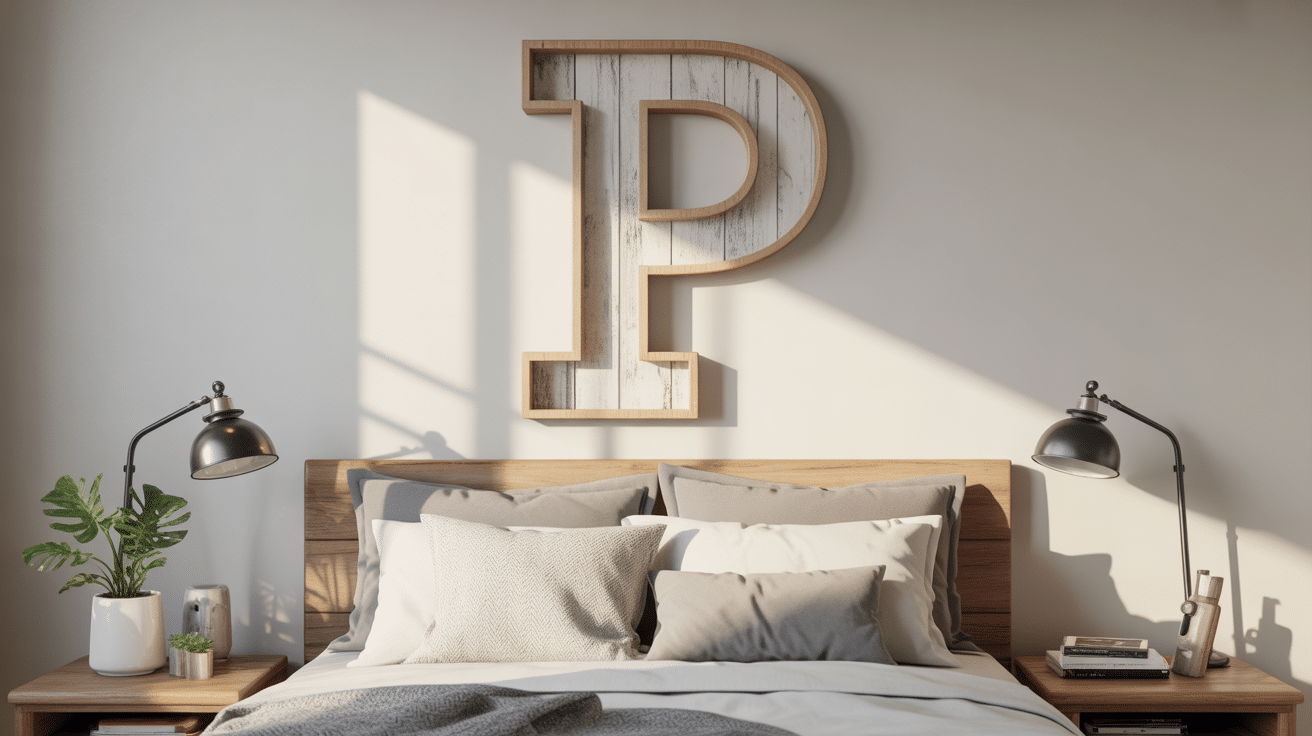
11. Large Letter Monogram
Materials required:
- Large wooden letter
- Paint or fabric
- Glue
Step-by-Step Instructions: Buy or cut a large letter from wood or cardboard.
Cover it with fabric, paint, or decorative paper and add embellishments like buttons or gems as per your choice. Hang it above a bed or couch.
Budget Range: $15-$28
12. Oversized Clock Face
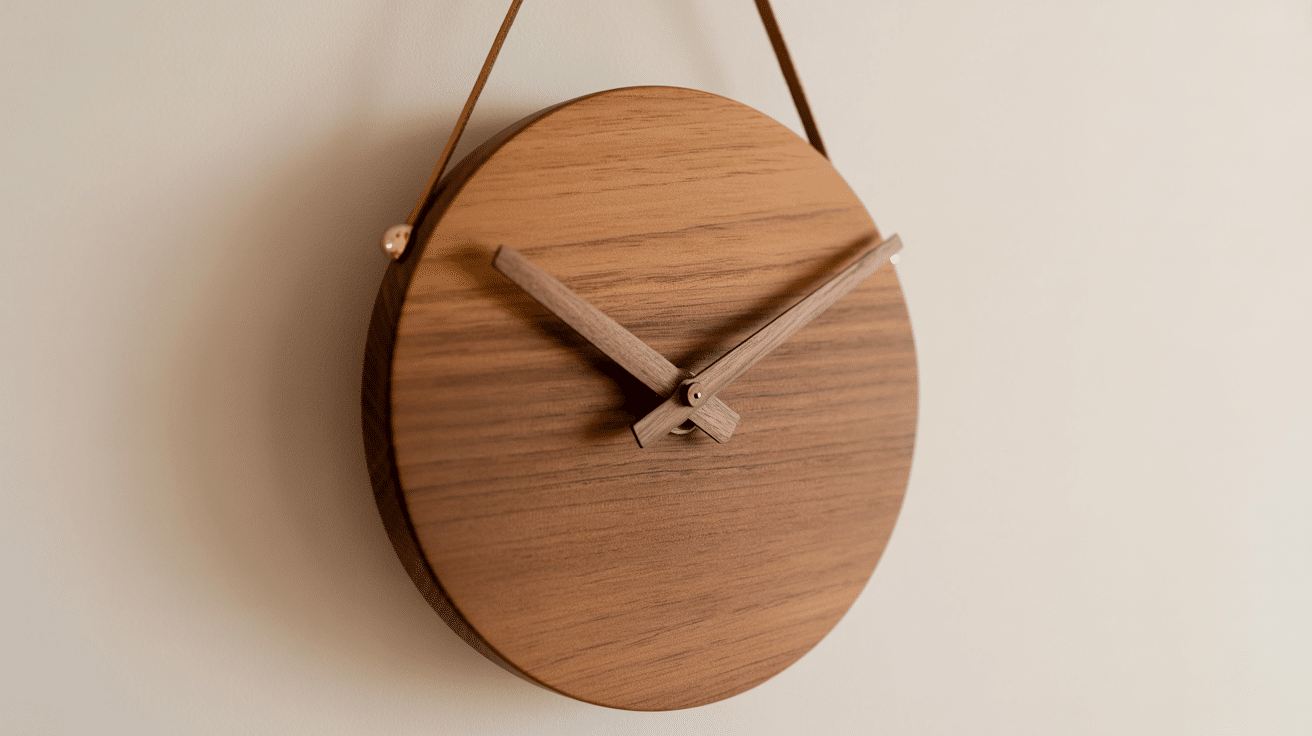
Materials required:
- Large canvas
- Paint
- Clock hands
Step-by-Step Instructions: Paint a large circle on canvas or wood. Attach clock hands in the center. No actual clock mechanism is needed for it, as it is purely decorative.
Budget Range: $18-$30
Use a string tied to a pencil as a compass. This creates a perfect circle without special tools.
13. Hanging Photo Display
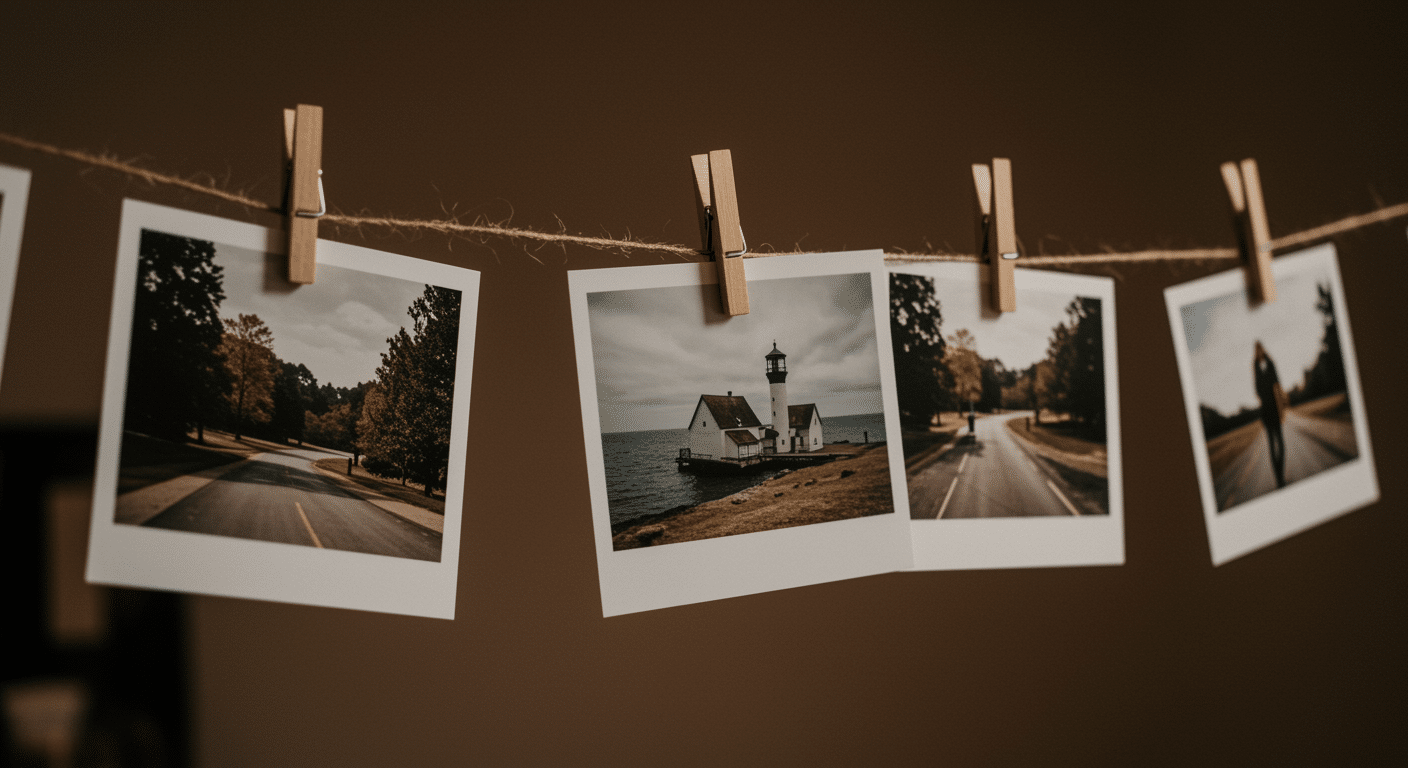
Materials required:
- String or twine
- Wooden clothespins
- Photos
- Two small nails
Step-by-Step Instructions: String twine between two nails on the wall. Clip photos to the string with clothespinsand change photos whenever you want. Great for displaying current favorites.
Budget Range: $8-$15
Use mini LED string lights instead of plain twine. This adds soft lighting and extra charm.
14. Macrame Wall Hanging
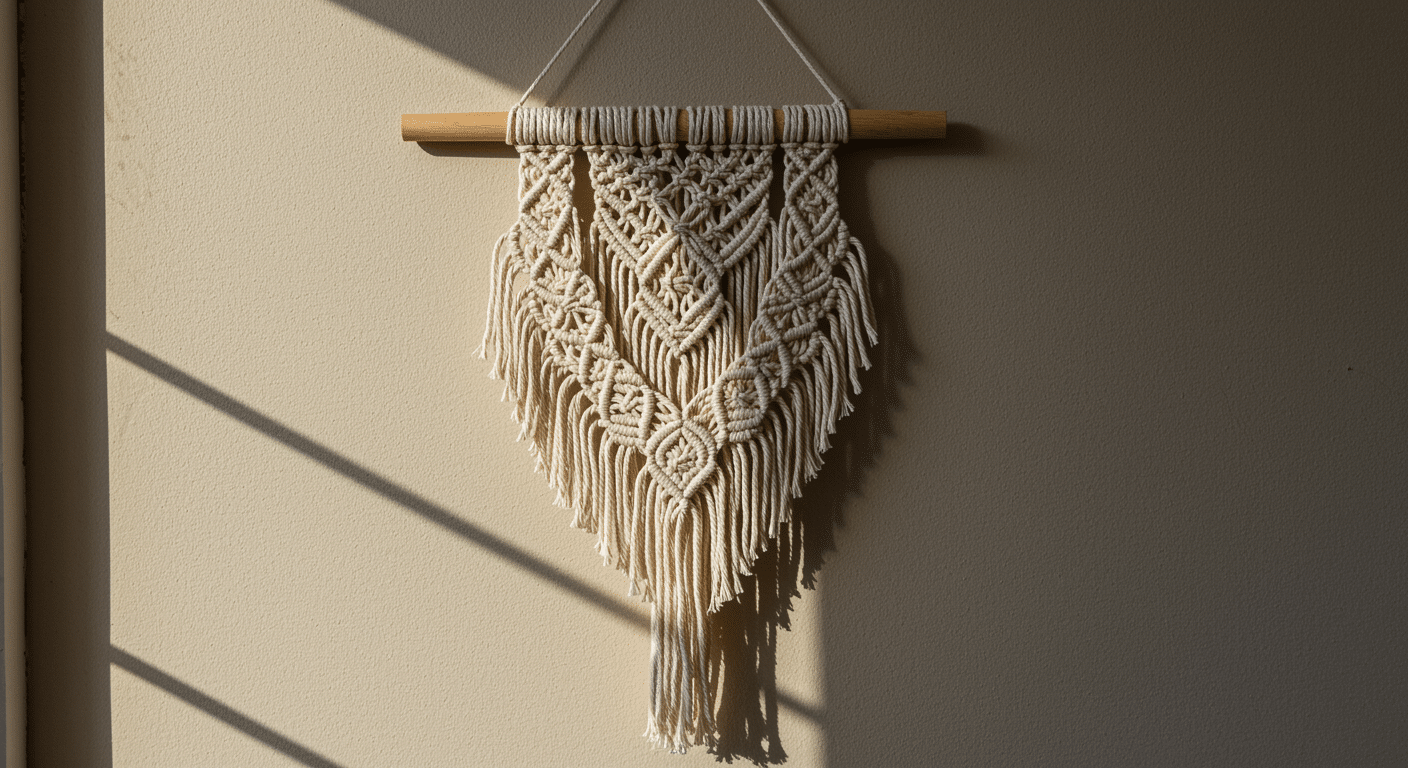
Materials required:
- Macrame cord
- Wooden dowel
- Scissors
Step-by-Step Instructions: Learn basic macrame knots from online tutorials. Create a simple pattern hanging from a dowel rod. Start with square knots and spiral patterns. These are easiest for beginners.
Keep tension consistent as you tie knots. Loose knots look messy while tight ones create clean lines.
Budget Range: $15-$25
15. Plate Wall Display
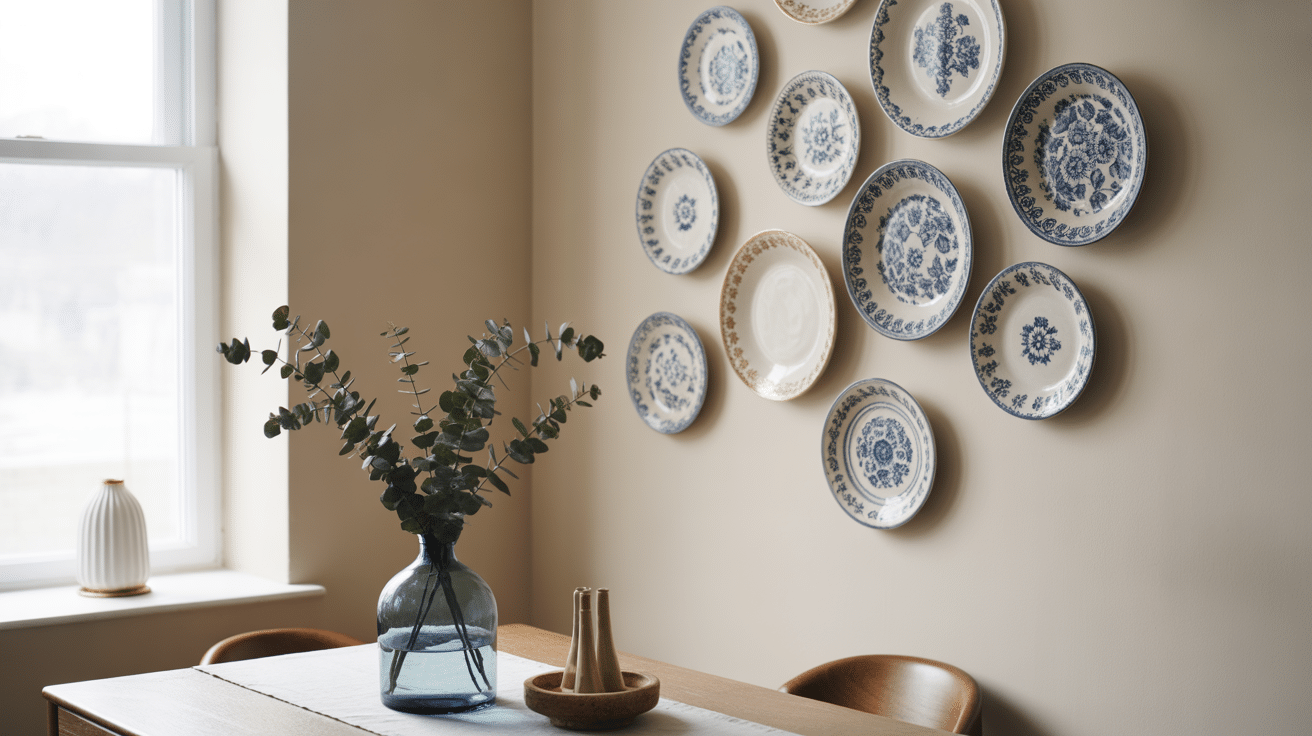
Materials required:
- Decorative plates
- Plate hangers
- Pencil for marking
Step-by-Step Instructions: Arrange plates on the floor until you find a layout you like. Mark positions on the wall with a pencil.
Attach plate hangers and hang each plate. Mix sizes and patterns for interest.
Budget Range: $20-$40
Use paper plate templates taped to the wall first. This lets you perfect the arrangement without making holes.
Creative Upcycled Wall Decor
Turn old items into new wall art. Save money and reduce waste.
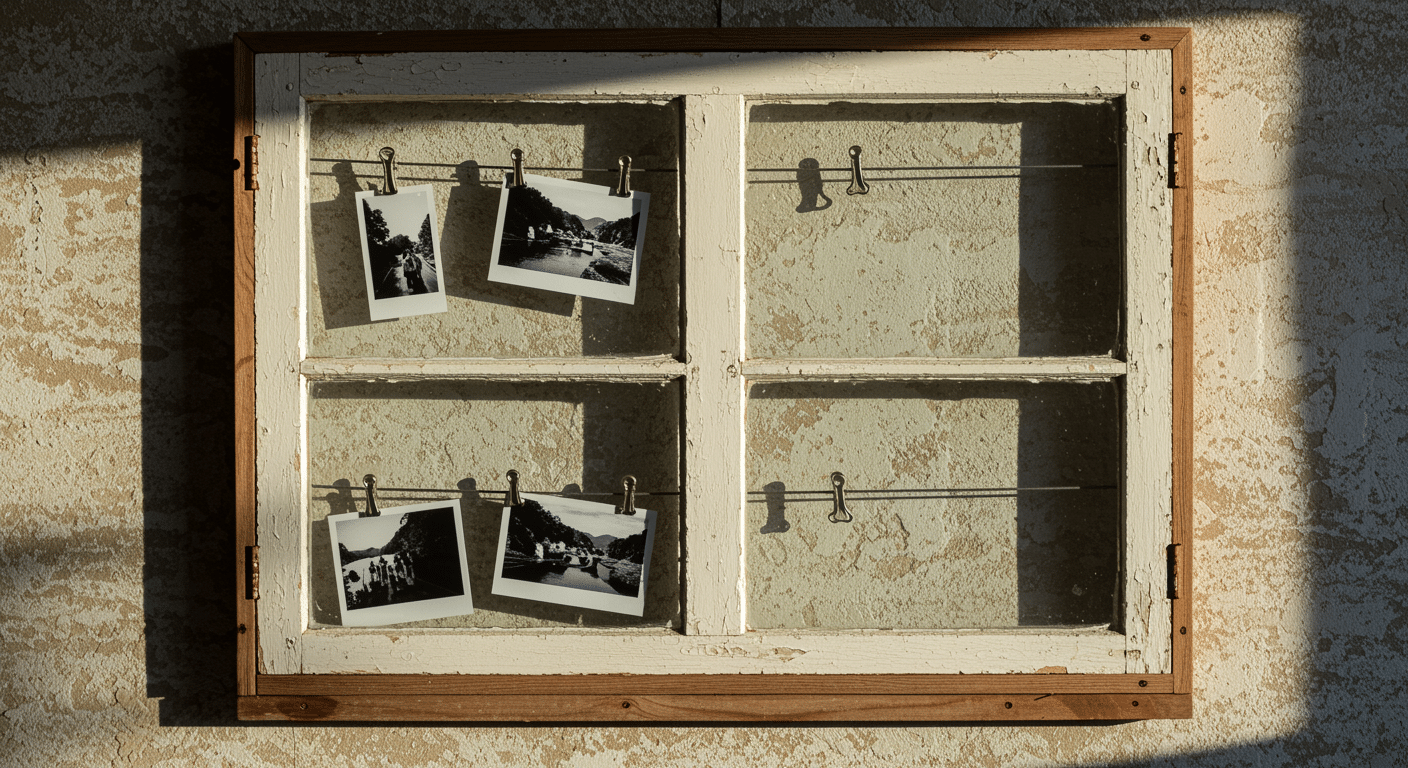
16. Vintage Window Frame
Materials required:
- Old window frame
- Clothespins
- Wall anchors
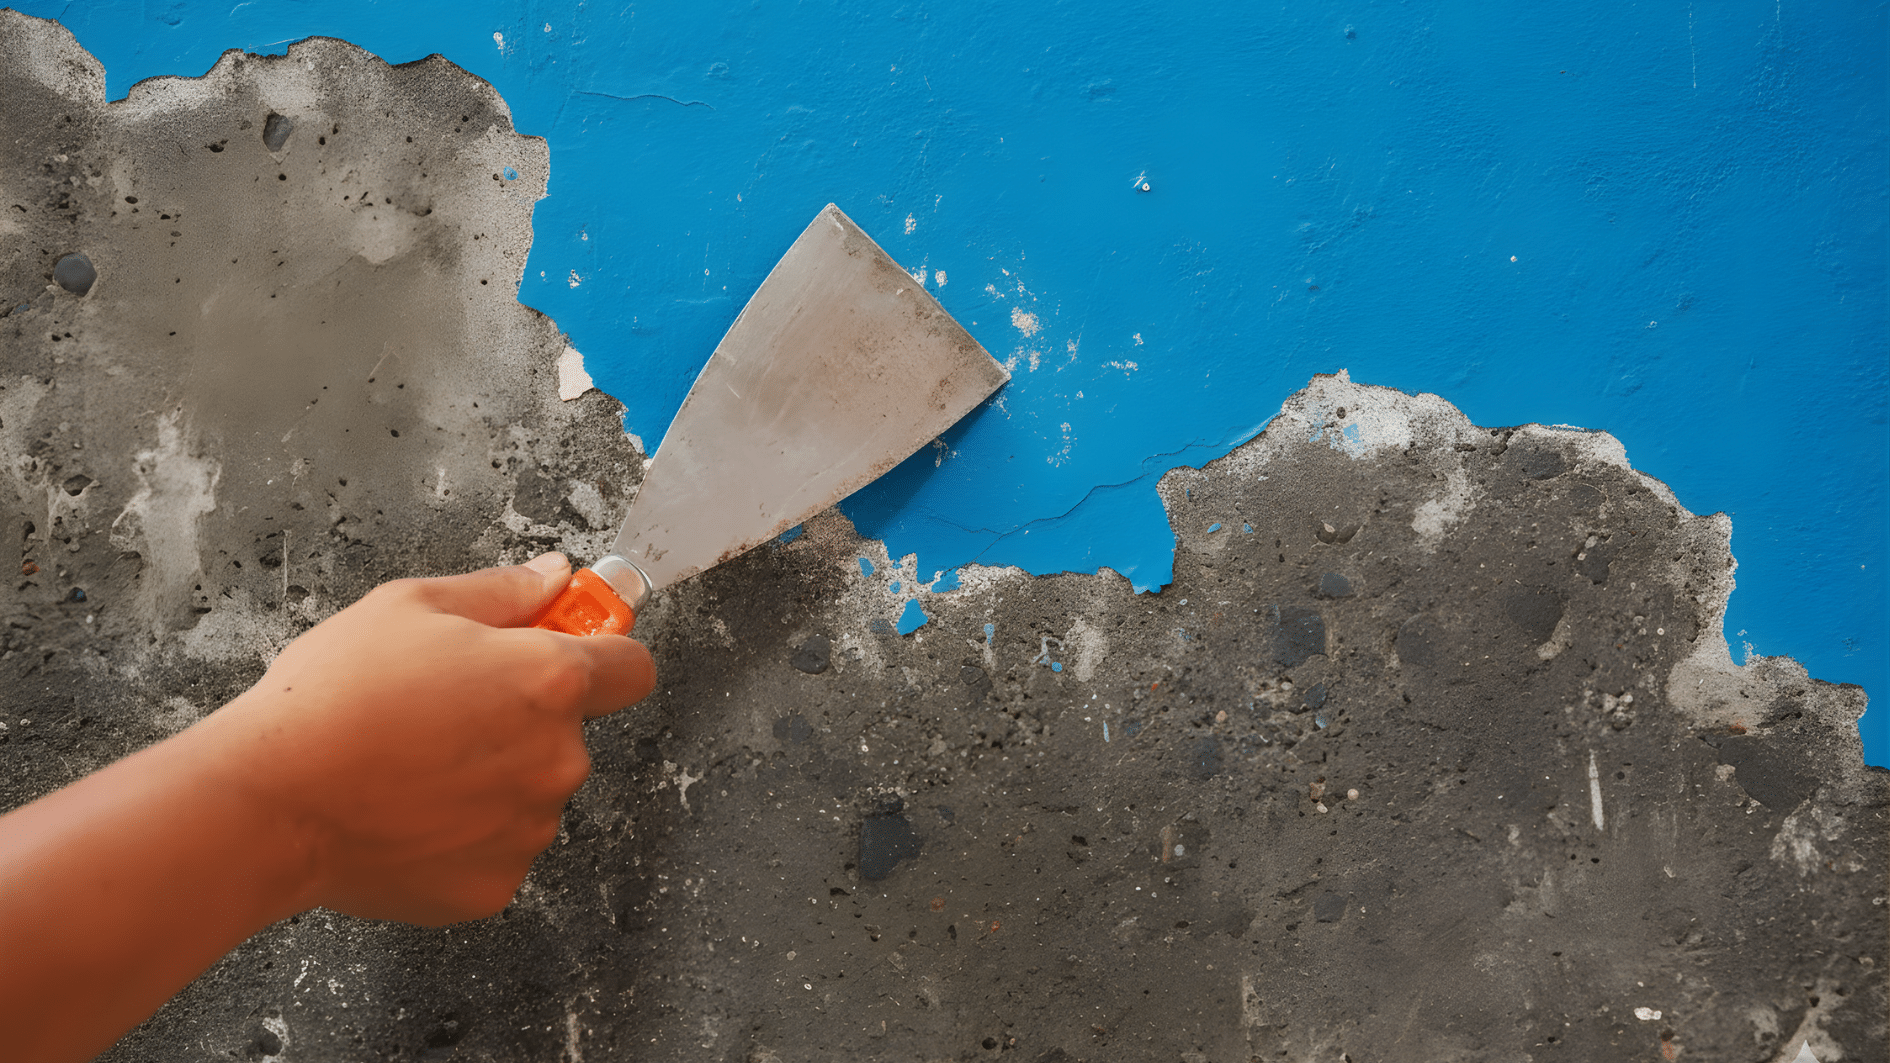
Step-by-Step Instructions: Find an old window frame at thrift stores. Clean it thoroughly. Replace the glass with chicken wire or leave it empty.
Use clothespins to attach photos or notes. Hang with strong wall anchors.
Budget Range: $10-$25
Remove old paint with a heat gun if desired. Or leave it for authentic vintage character.
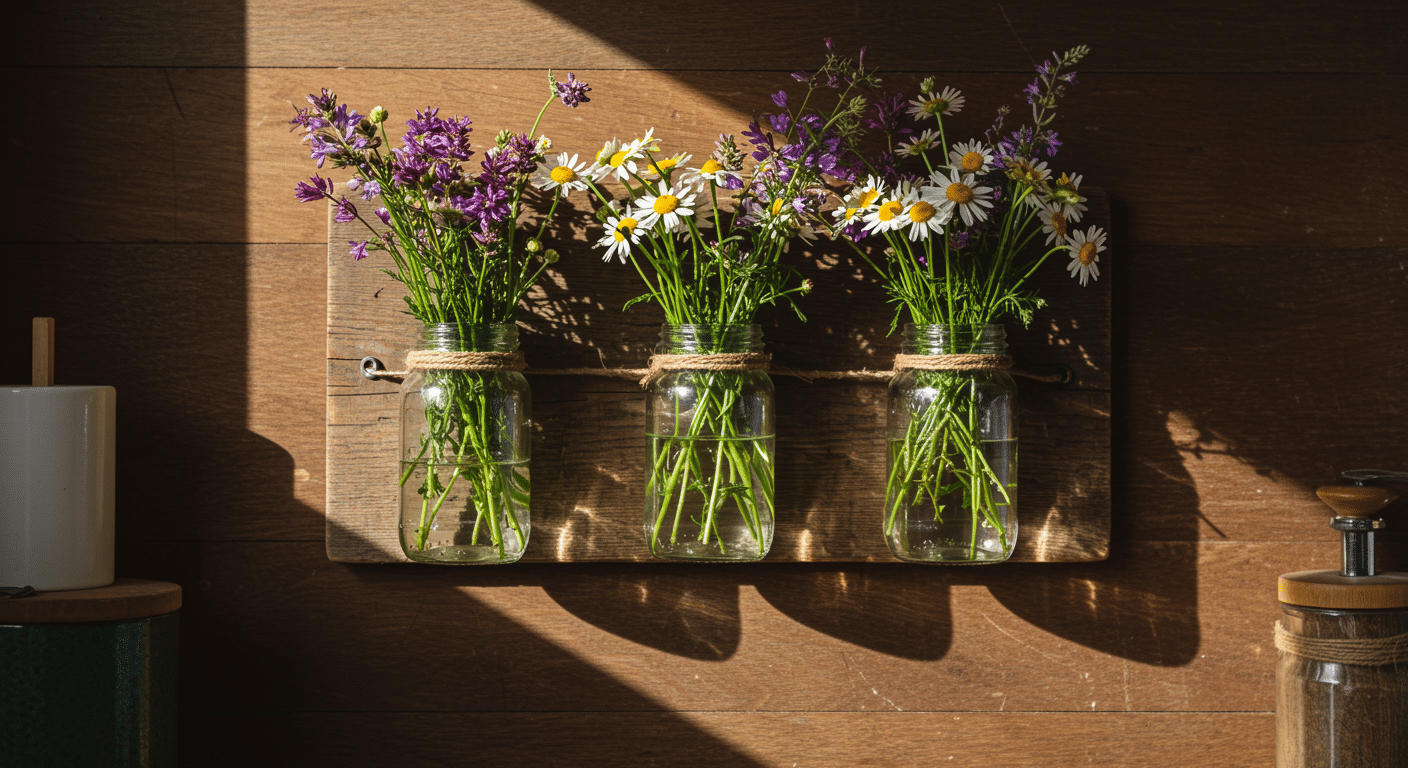
17. Mason Jar Wall Vases
Materials required:
- Mason jars
- Thin rope
- Wooden board
- Screws
Step-by-Step Instructions: Attach pipe clamps to a wooden board. Slide jars into the clamps and tighten. Mount the board on the wall.
Budget Range: $18-$35
Fill jars with fresh or fake flowers. Change them with the seasons.
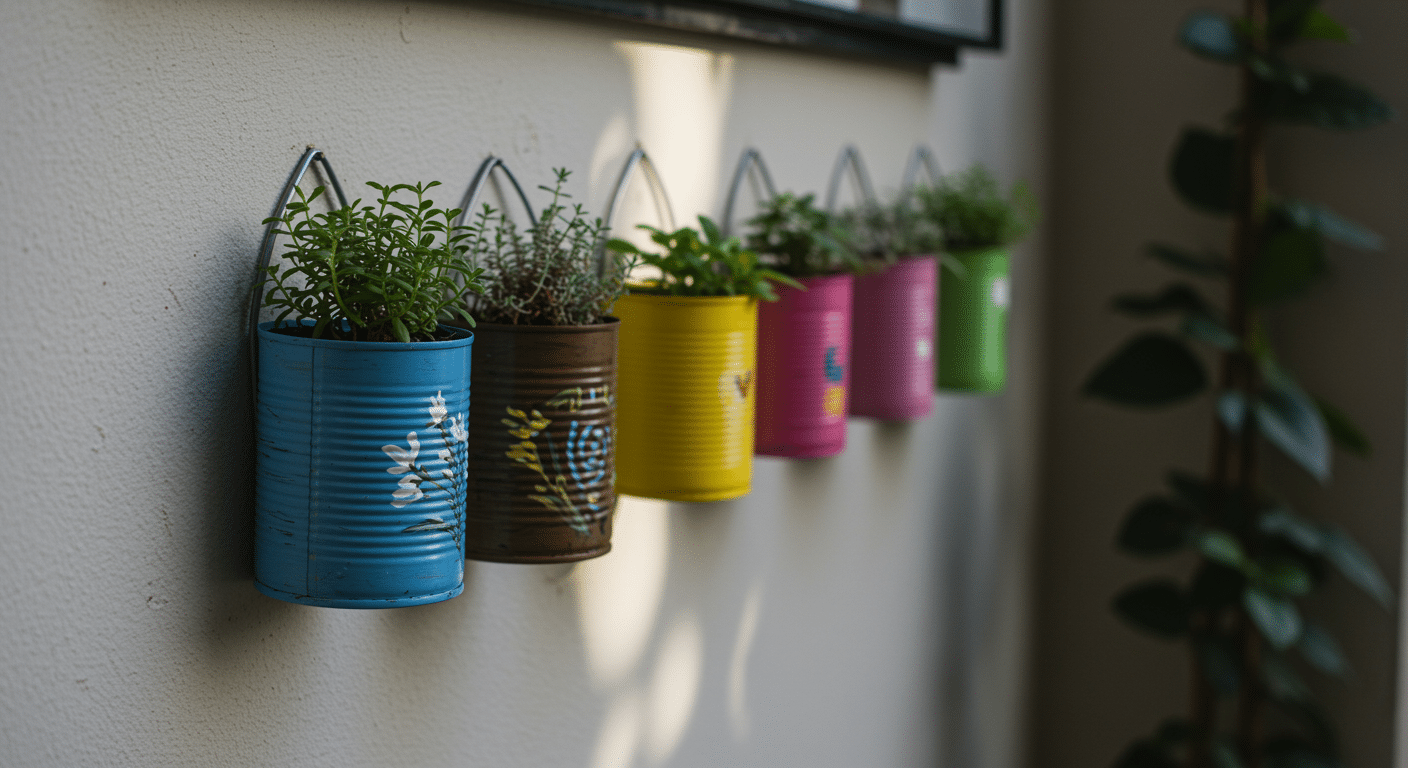
18. Tin Can Planters
Materials required:
- Empty tin cans
- Paint
- Wooden board
- Small plants
Step-by-Step Instructions: Clean empty tin cans and remove labels. Paint them in coordinating colors. Punch drainage holes in the bottom.
Mount on a board and add small plants. Hang the entire board on the wall.
Budget Range: $15-$30
File down sharp edges after cutting. This prevents cuts when handling or watering plants.
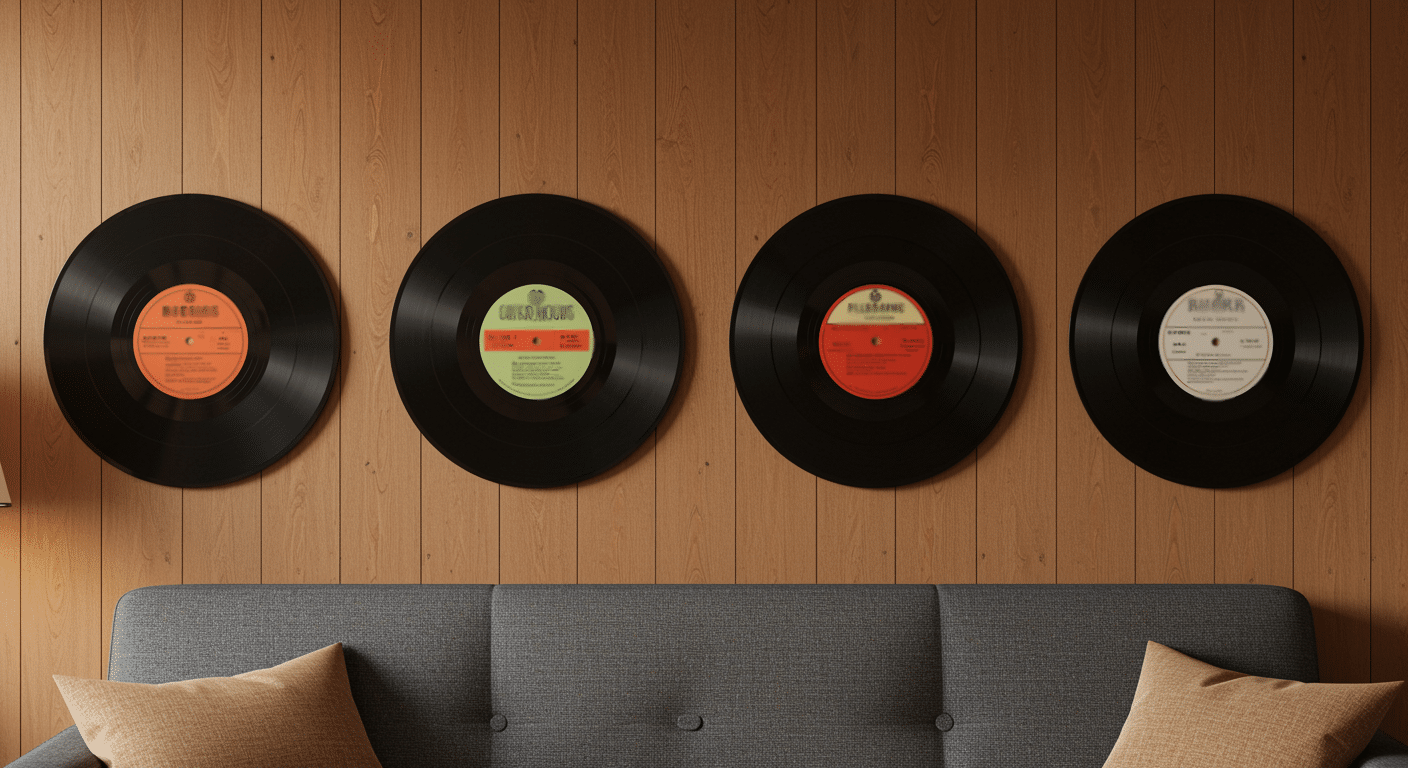
19. Vinyl Record Wall Display
Materials required:
- Old vinyl records
- Paint pens
- Adhesive hooks
Step-by-Step Instructions: Old records become instant retro decor. Heat them slightly to bend into bowl shapes. Or keep them flat and paint designs on them.
Hang in a cluster for maximum impact.
Budget Range: $10-$20
20. Sweater Wall Pocket
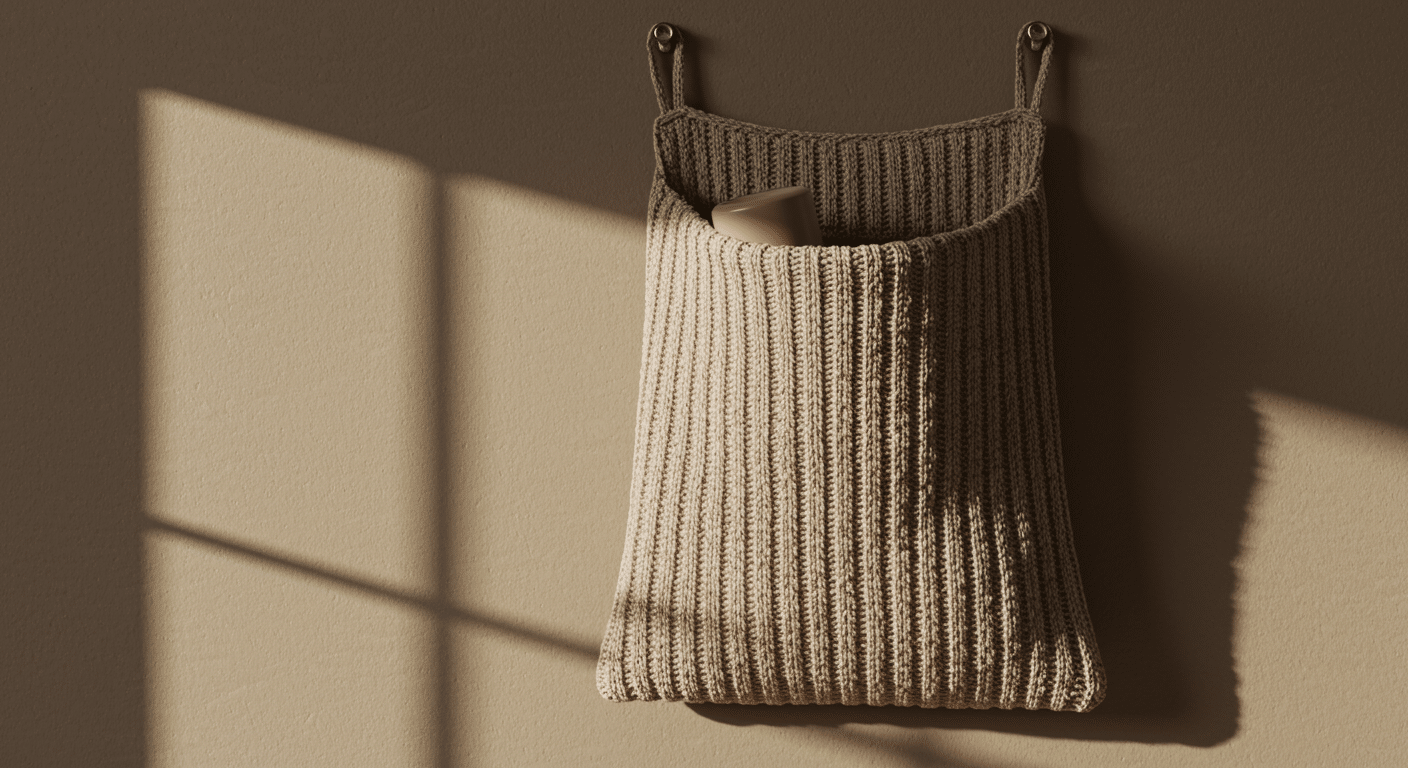
Materials required:
- Old sweater
- Scissors
- Needle and thread
- Dowel rod
Step-by-Step Instructions: Cut a rectangle from an old sweater. Fold the bottom up to create a pocket and sew the sides. Thread a dowel through the top and hang. Use the pocket to store mail or small items.
Budget Range: $5-$12
Choose sweaters with interesting patterns or cable knits. The texture adds visual appeal.
Functional DIY Wall Decor
These pieces look good and serve a purpose.
21. Command Center Board
Materials required:
- Corkboard or foam board
- Fabric
- Stapler or glue
Step-by-Step Instructions: Cover a board with fabric and secure it on the back. Add ribbon in a crisscross pattern on the front.
Tuck notes, photos, and reminders under the ribbons. Perfect for staying organized.
Budget Range: $15-$28
22. Jewelry Display Frame
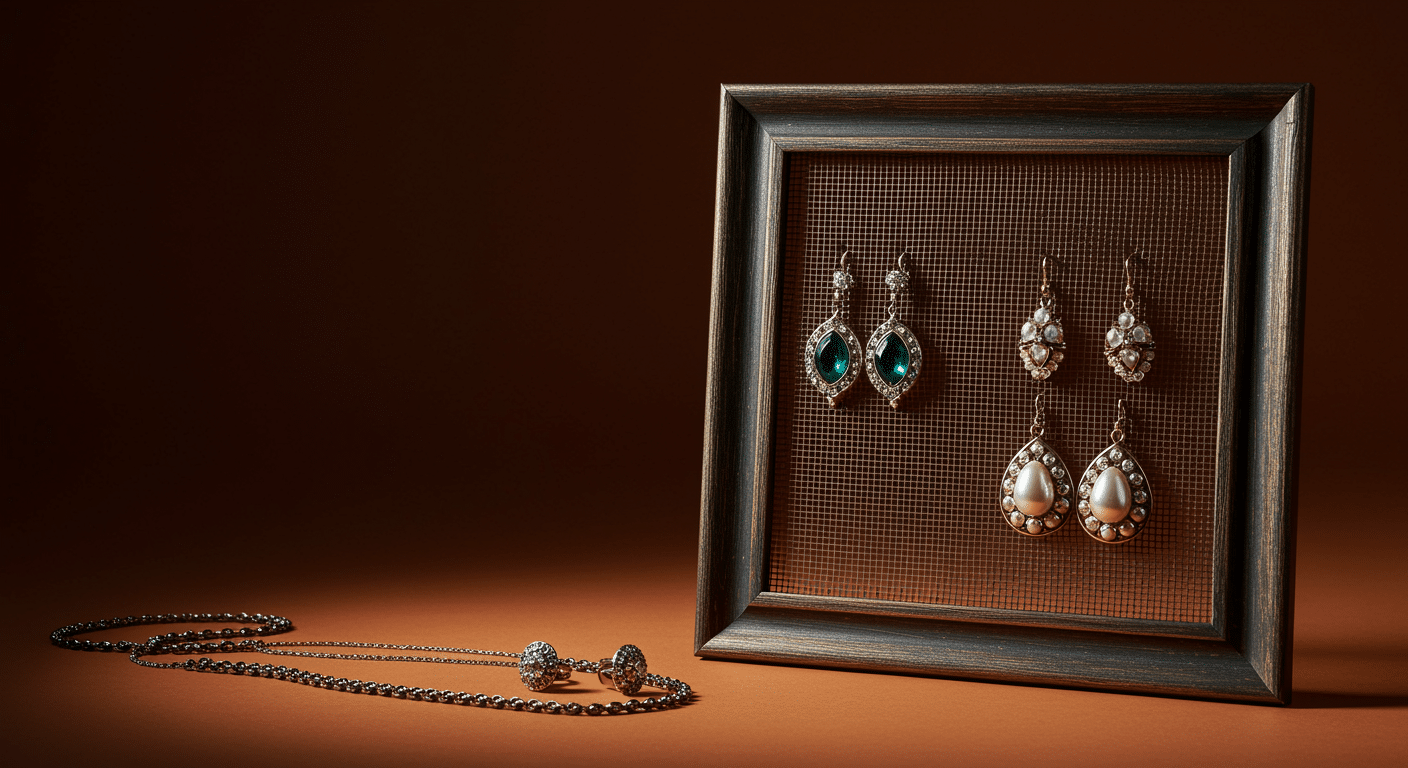
Materials required:
- Empty picture frame
- Window screen or mesh
- Stapler
- Paint
Step-by-Step Instructions: Remove the glass from the frame. Staple the window screen to the back opening of the frame. Paint the frame any color of your choice.
Hang earrings and necklaces on the screen; it keeps jewelry visible and tangle-free.
Budget Range: $12-$22
23. Floating Rope Shelves
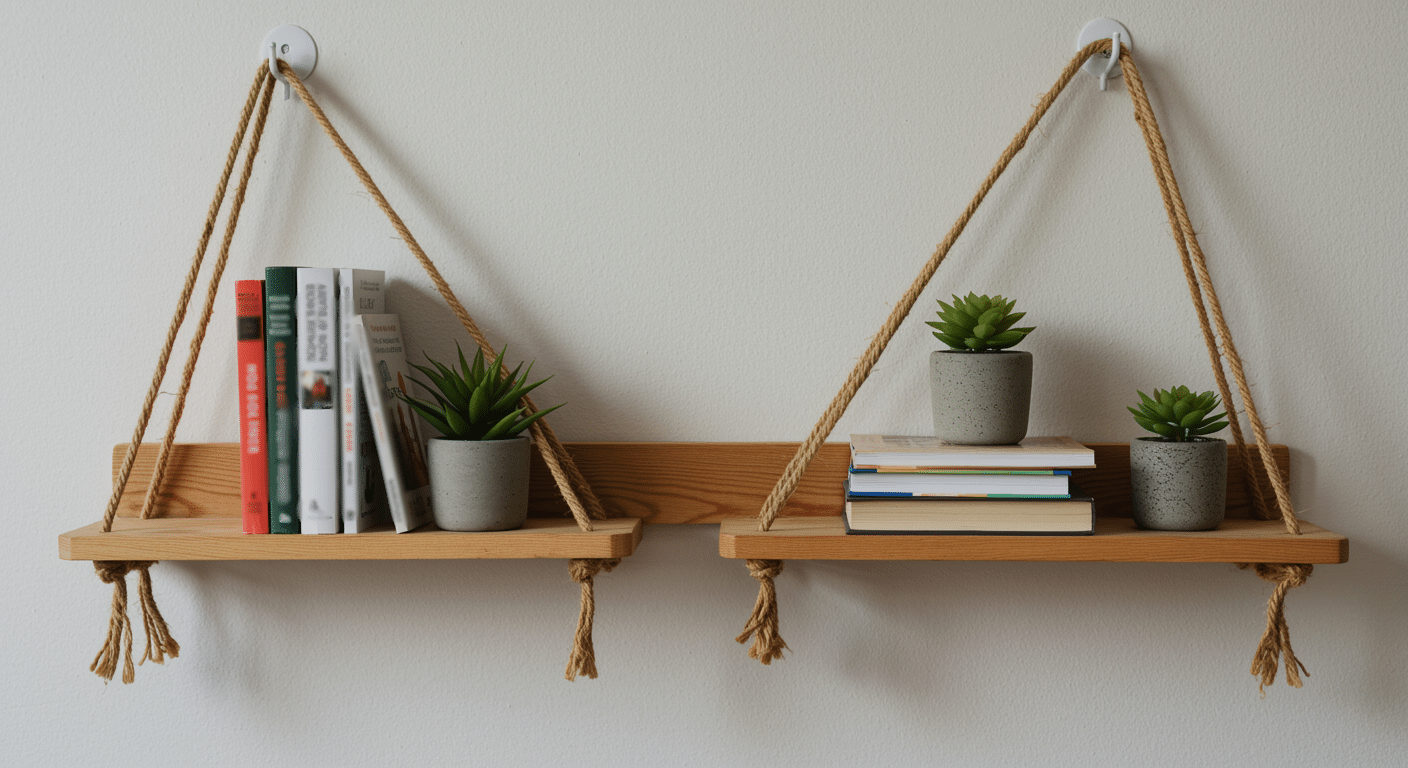
Materials required:
- Wooden boards
- Thick rope
- Ceiling hooks
Step-by-Step Instructions: Cut wooden boards to the desired length. Drill holes in each corner. Thread a thick rope through the holes and knot underneath.
Hang from ceiling hooks or wall brackets, use for books or plants.
Budget Range: $20-$35
Seal knots with hot glue to prevent them from coming undone. This keeps shelves stable and secure.
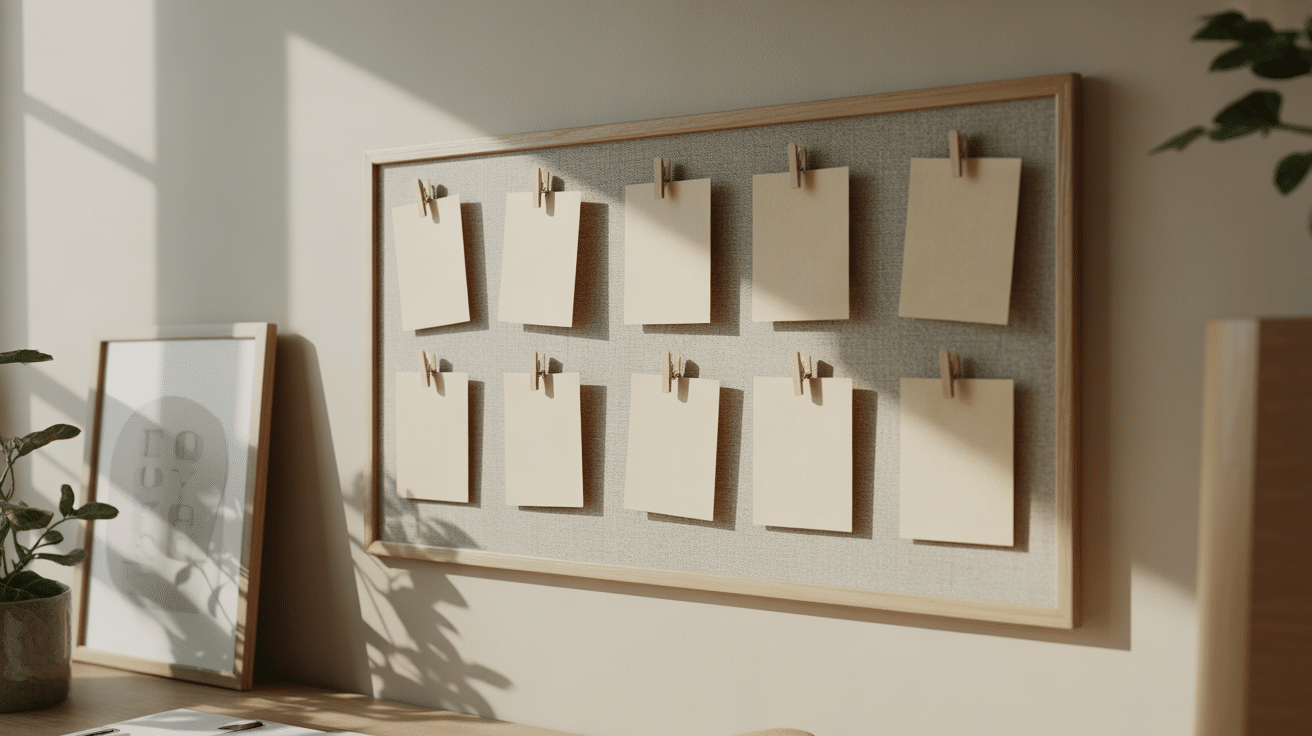
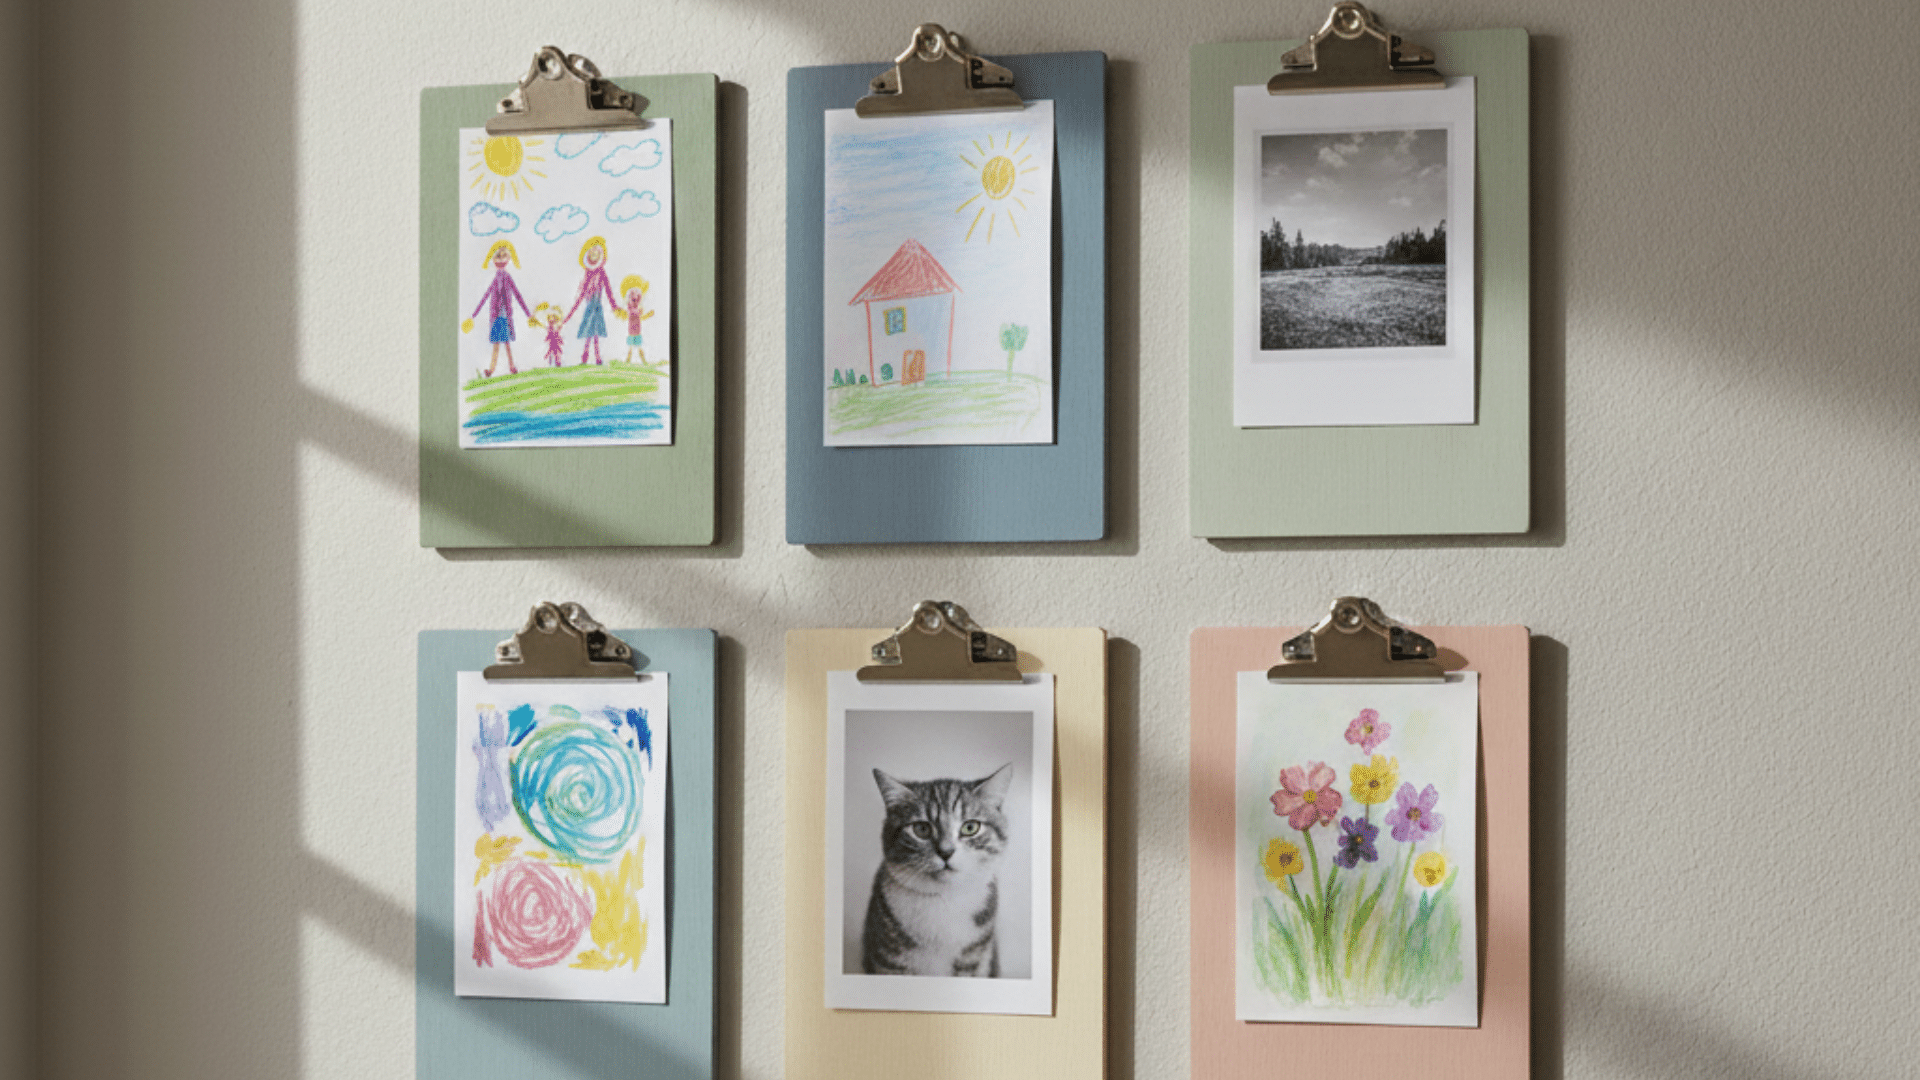
24. Clipboard Photo Display
Materials required:
- Wooden clipboards
- Paint
- Wall anchors
- Photos or artwork
Step-by-Step Instructions: Paint clipboards in coordinating colors. Mount them on the wall in a group. Clip photos or kids’ artwork to each one.
Swap out displayed items easily whenever you want something new.
Budget Range: $15-$30
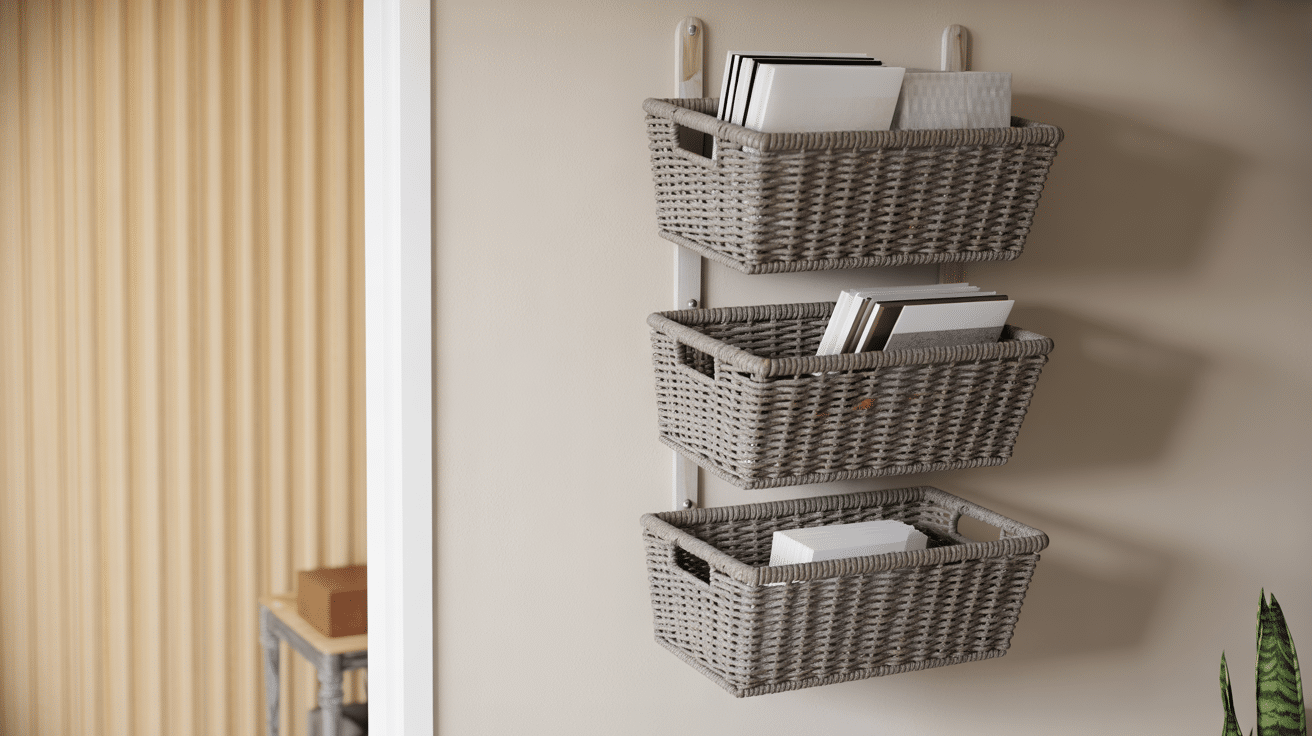
25. Mail Sorting Wall Station
Materials required:
- Three small baskets
- Wall mounting brackets
Step-by-Step Instructions: Label baskets as “To Do,” “To File,” and “To Read.” Mount them vertically on the wall. Sort incoming mail immediately into the right basket; this helps in preventing paper piles.
Budget Range: $20-$35
Add a small basket at the bottom for outgoing mail. This creates a complete mail system.
How to Make Your DIY Wall Decor Look Professional
Creating wall decor is one thing. Making it look store-bought is another. These tips help anyone achieve professional results.
Use Quality Materials and Tools
Invest in decent paint, brushes, and adhesives instead of the cheapest options. Quality materials work better.
They create results that last longer and look more professional.
Measure and Plan Everything
Think through the entire project first. Measure your space carefully. Double-check all measurements before cutting or drilling. Mistakes are hard to fix later.
Pay Attention to Details
Finish edges neatly and sand rough spots on wood projects. U
se painter’s tape for sharp paint linesand remove it while the paint is still slightly wet for the best results.
Choose Cohesive Colors and Balance
Pick three to five colors that work together. Test them before committing. Step back and look at your arrangement, adjusting spacing until it feels balanced.
Take Your Time and Seal Your Work
Let each layer dry completely. Follow drying times on product labels.
Protect finished pieces with clear sealant applied in thin coats to prevent fading and damage.
Hide Hardware and Mind the Scale
Use picture hanging strips or paint nail heads to match your wall color.
Fill two-thirds to three-quarters of available wall space and keep consistent spacing between multiple pieces for a polished look.
Final Thoughts
DIY wall decor transforms empty spaces into personal statements.
These projects prove that beautiful walls don’t require big budgets or advanced skills. Just simple materials and a bit of creativity.
Start with one easy project today. Pick something that excites you.