Create these simple DIY mini log slice trees for a cheap and easy holiday display

When piecing together my holiday decor I like to combine budget friendly DIY projects (like this acts of kindness advent calendar) with sentimental pieces we’ve collected over the years.
I created these DIY mini log slice trees for free by using wood and evergreen clippings from our backyard and a few basic DIY tools in under 30 minutes.
Keep reading to learn how to make your own!
Supplies
- Old logs or birch branches from your local craft store
- Power drill and a drill bit slightly smaller than the size of your branch clippings.
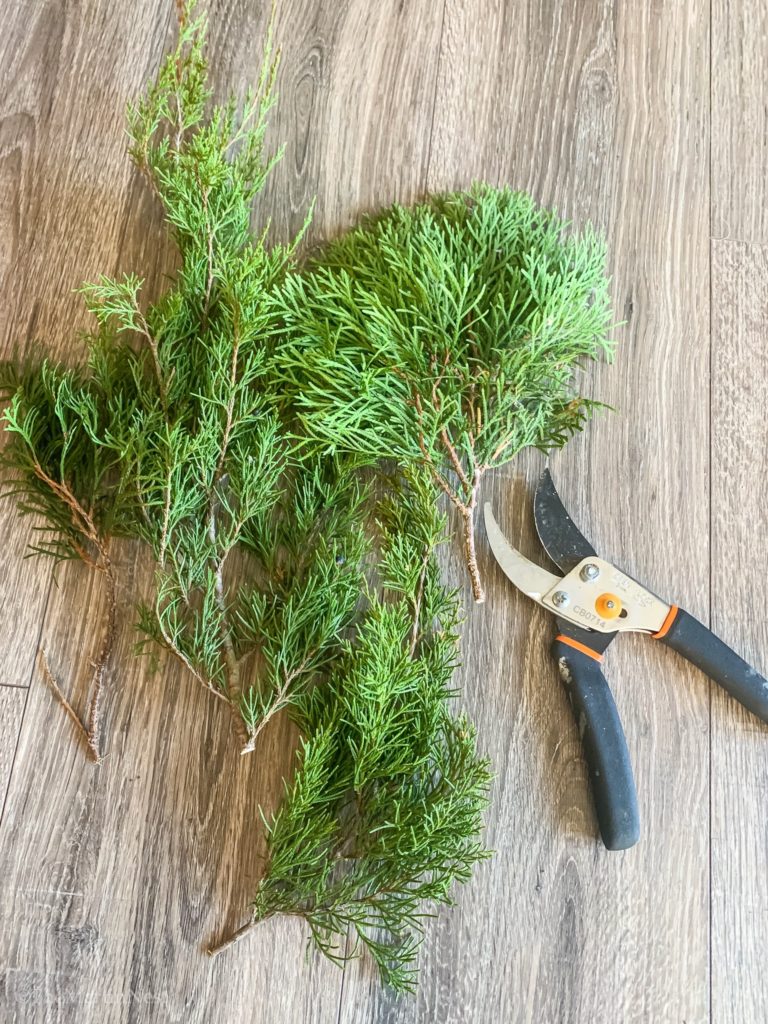
- Evergreen clippings. I used pine, juniper and cypress.
Assembly
Using a chop saw or hand saw, cut your logs or branches into your preferred heights. Make sure to wear appropriate protective gear, especially when using a power saw. Old wood can be unpredictable when cutting, so you must use caution.
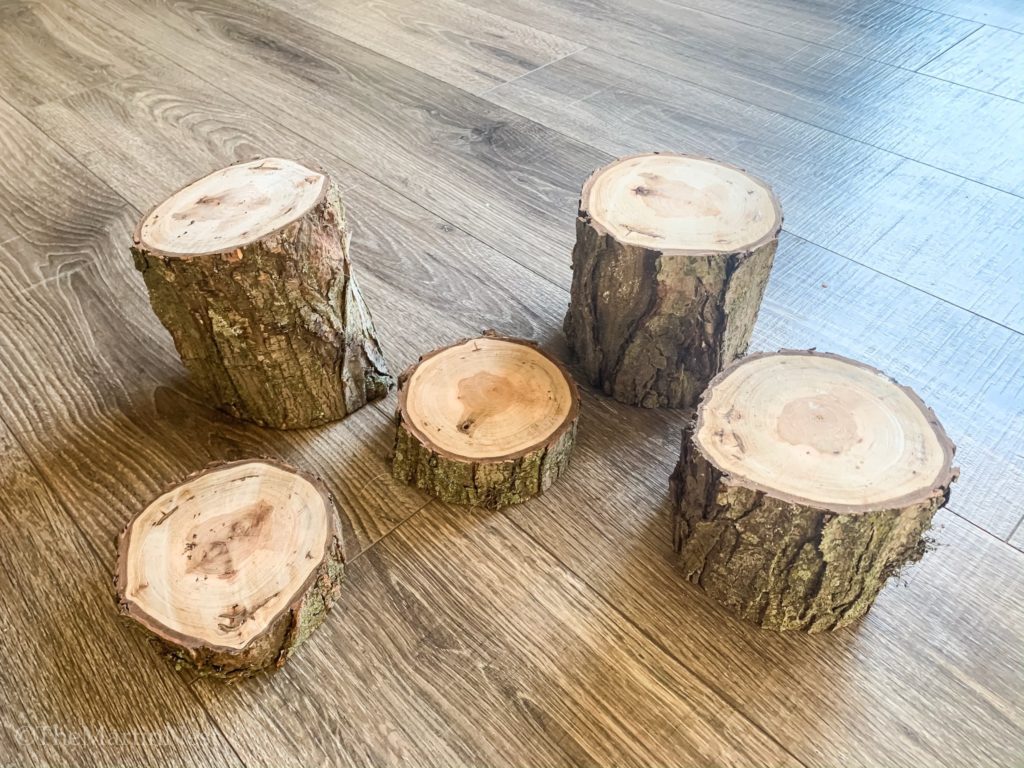
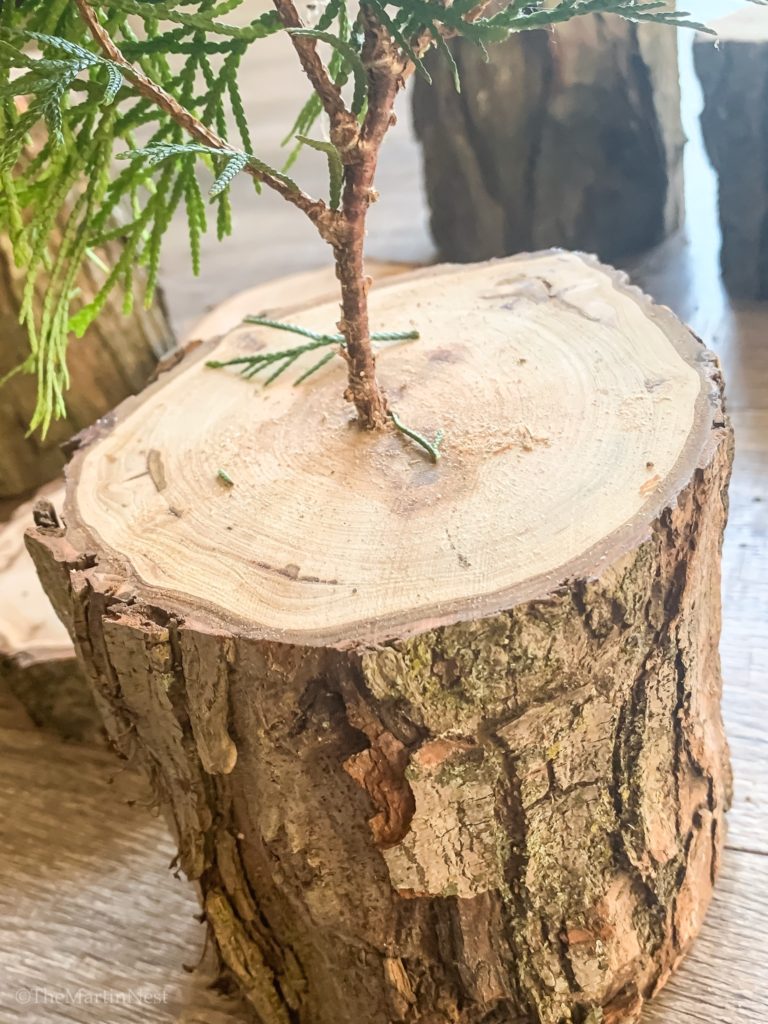
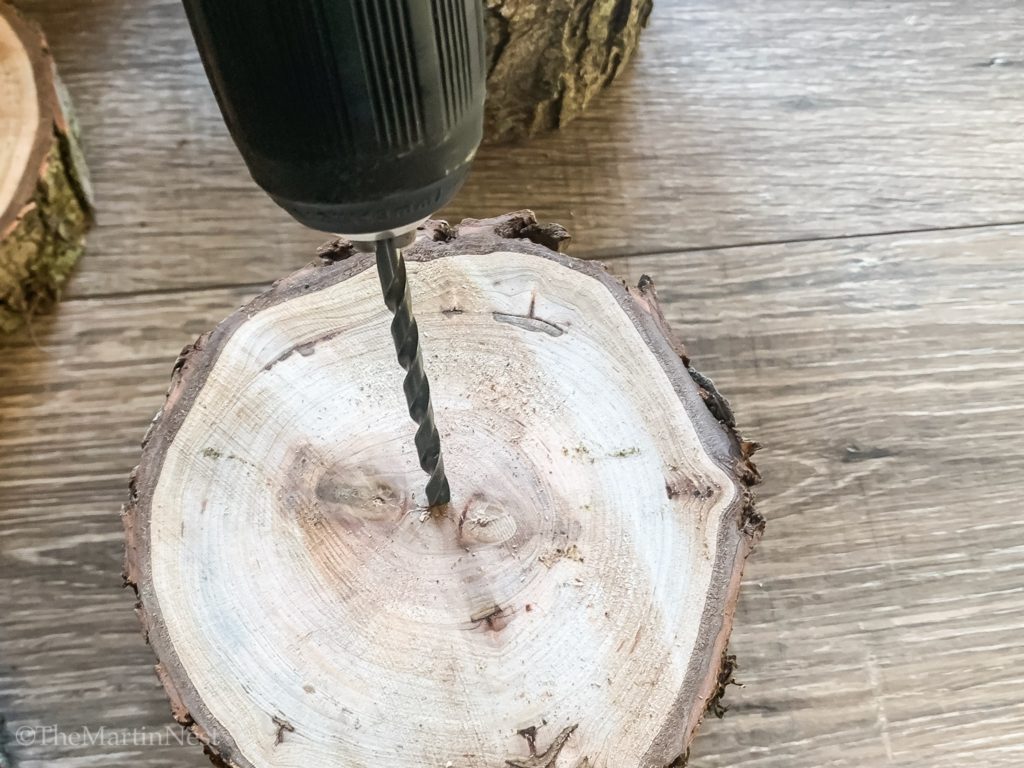
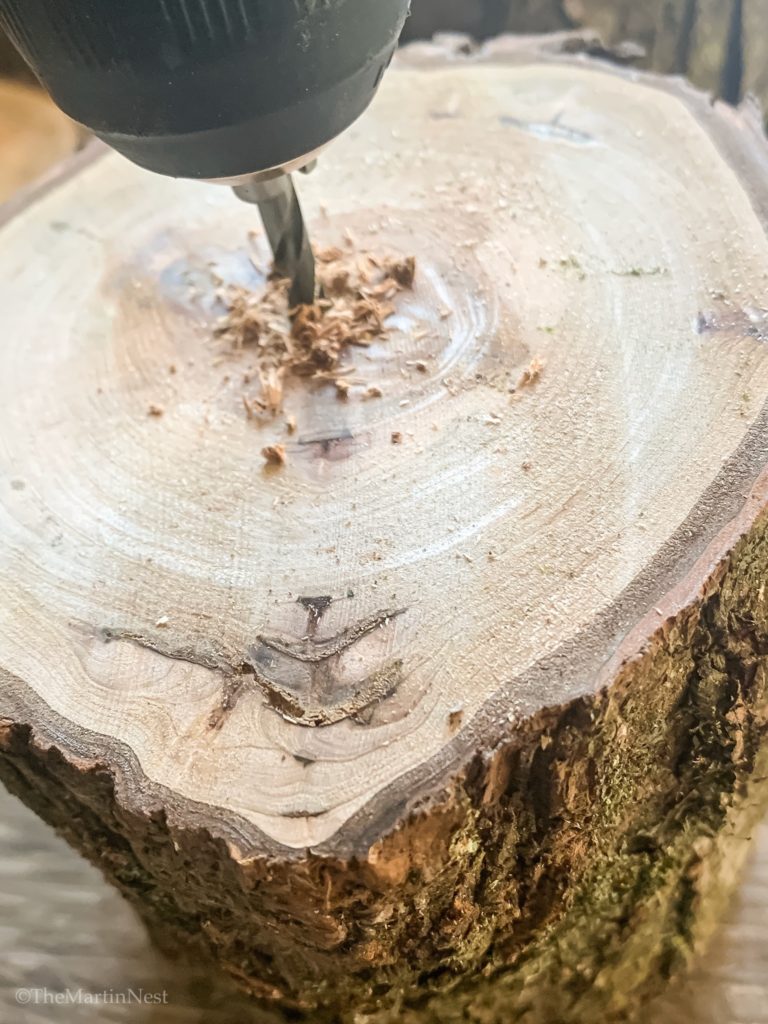
Using the power drill and bit, pre-drill a hole into the center of each of your log cuts .
Shake off the excess sawdust and insert your clippings! Mine fit well enough without needing any extra stabilizing, but you can use some hot glue if needed.
I created a tiny forest display with mine, but these would be so cute as a single tree or small collection of three.
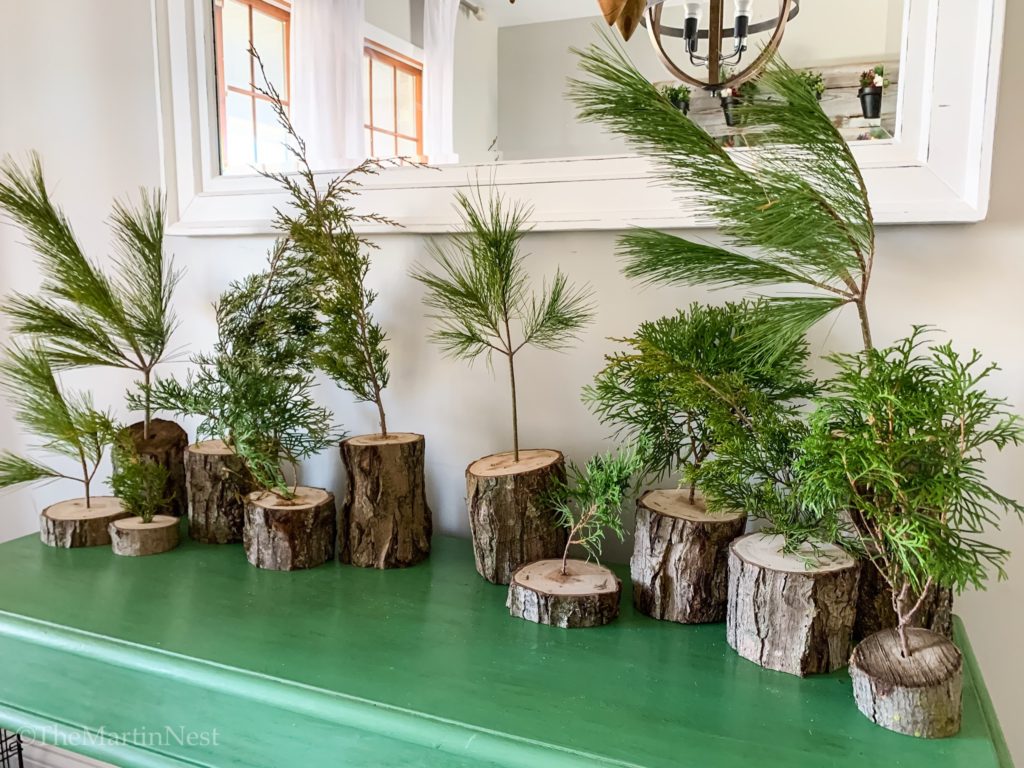
These DIY mini log slice trees are by far the simplest holiday DIY project I’ve tackled yet, and even better that they were free to me! If this is something you’d love tackle be sure to


Leave a Reply