Installing window film can feel tricky, especially when you’re trying to avoid bubbles, creases, or uneven edges.
Many people worry about getting it wrong and wasting time and money on a botched job. But the thing is, window film installation doesn’t have to be complicated or stressful.
With the right approach and a few simple techniques, anyone can achieve professional-looking results at home.
This blog breaks down the entire process into clear, manageable steps, covering everything from surface prep to final touches.
By the end, you’ll have all the know-how needed to change your windows with confidence and ease.
Window Film 101 – What to Know Before You Begin
Before starting your project, it helps to understand what window film actually is and how it works.
Window film is a thin, adhesive-backed layer that sticks to glass surfaces.
The film typically has two sides: one with adhesive and another with a protective liner you’ll peel off during installation.
Most films require a wet application, meaning you’ll spray soapy water to help position them correctly, and knowing your film type matters, as installation steps can vary slightly.
Reading the manufacturer’s instructions first saves headaches later and ensures you’re using the right techniques for your specific product.
Supplies Needed
Getting your supplies together beforehand makes the installation process smoother and faster. Most of these items are household basics or available at hardware stores.
Having everything within reach means you won’t need to stop mid-project to hunt for tools.
| Item | Purpose |
|---|---|
| Window film | The main material you’ll apply to the glass |
| Spray bottle | For applying a soapy water solution during installation |
| Mild dish soap | Mixed with water to create the application solution |
| Squeegee | Removes water and air bubbles from under the film |
| Utility knife or razor blade | Trims excess film for clean, precise edges |
| Measuring tape | Ensures accurate film cutting before application |
| Lint-free cloth or microfiber towel | Cleans glass and wipes away excess moisture |
| Ruler or straight edge | Guides straight cuts when trimming the film |
Your Easy, Step-by-Step Window Film Installation Guide
Now that you’ve got your tools ready and understand the basics, it’s time to get hands-on.
This step-by-step guide walks you through each phase of the process, from prep work to the finishing touches that make all the difference.
Step 1: Clean the Glass Thoroughly
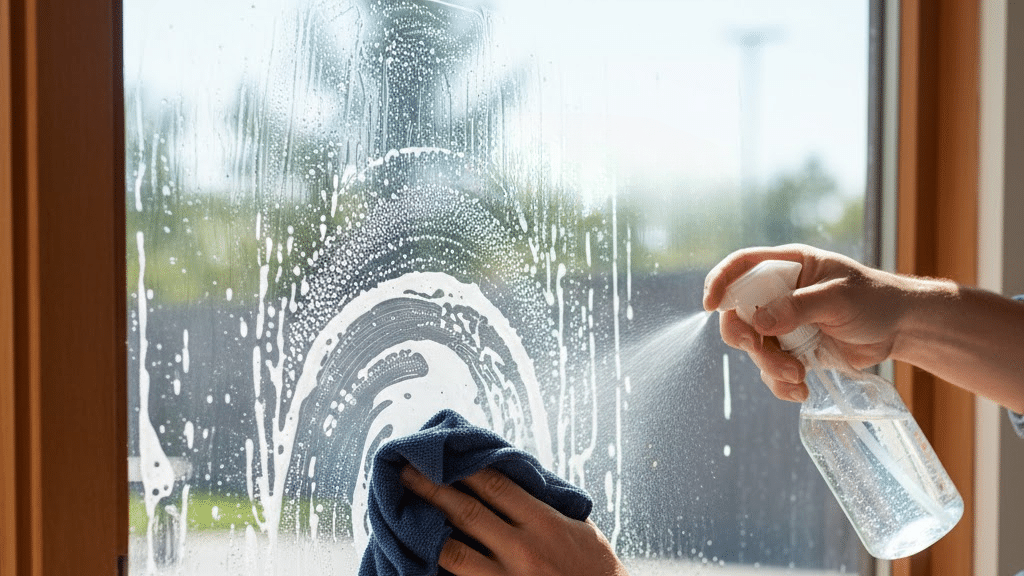
Start by cleaning your window until it’s spotless. Use a glass cleaner or soapy water and wipe down every inch with a lint-free cloth.
Any dirt, dust, or residue left behind will create bumps under the film, ruining the smooth finish you’re after.
Pro Tip: Clean the window frame and surrounding areas too, as dust can easily transfer onto wet glass during installation.
Step 2: Measure and Cut Your Film
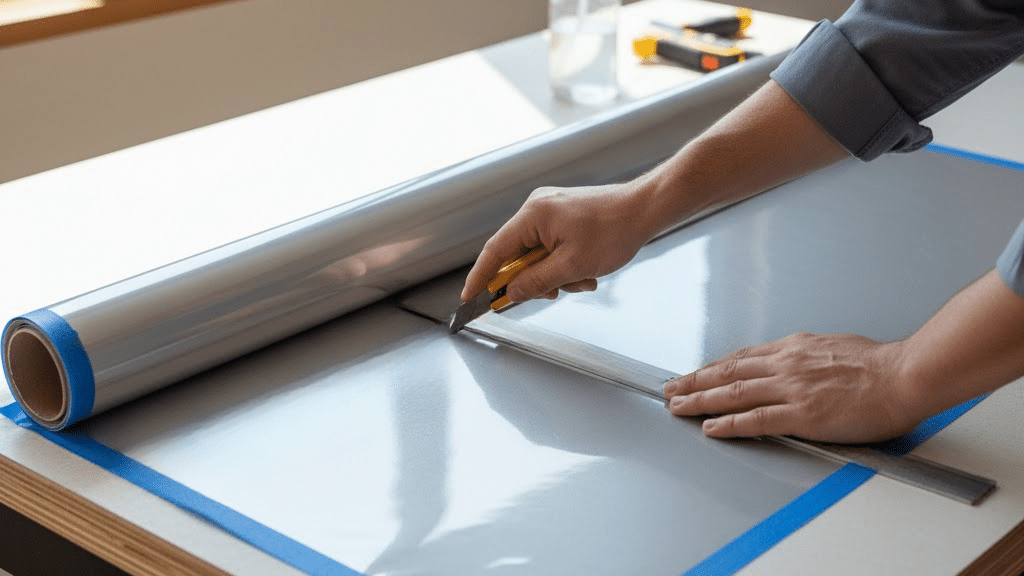
Measure your window carefully, then add an extra inch or two on all sides when cutting the film. This buffer zone gives you room to work with and ensures full coverage.
It’s always easier to trim excess film than to stretch a piece that’s too small.
Step 3: Prepare Your Application Solution

Fill your spray bottle with water and add just a few drops of dish soap; about three to four drops per liter works well. Shake gently to mix.
This solution lets you slide the film across the glass until it’s perfectly positioned.
Step 4: Apply the Film to the Window
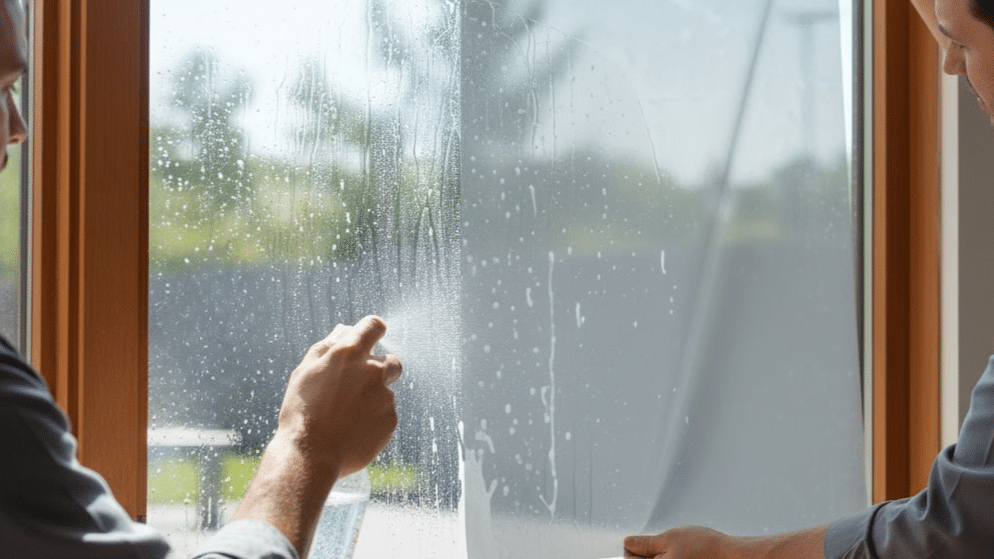
Spray the window generously with your soapy solution, then peel off the protective liner from the film.
Spray the adhesive side too, then carefully place the film on the wet glass. The water allows you to reposition it as needed, so don’t worry if it’s not perfect on the first try.
Pro Tip: Work with a helper on larger windows, having an extra set of hands prevents the film from folding onto itself.
Step 5: Squeegee Out Water and Air Bubbles
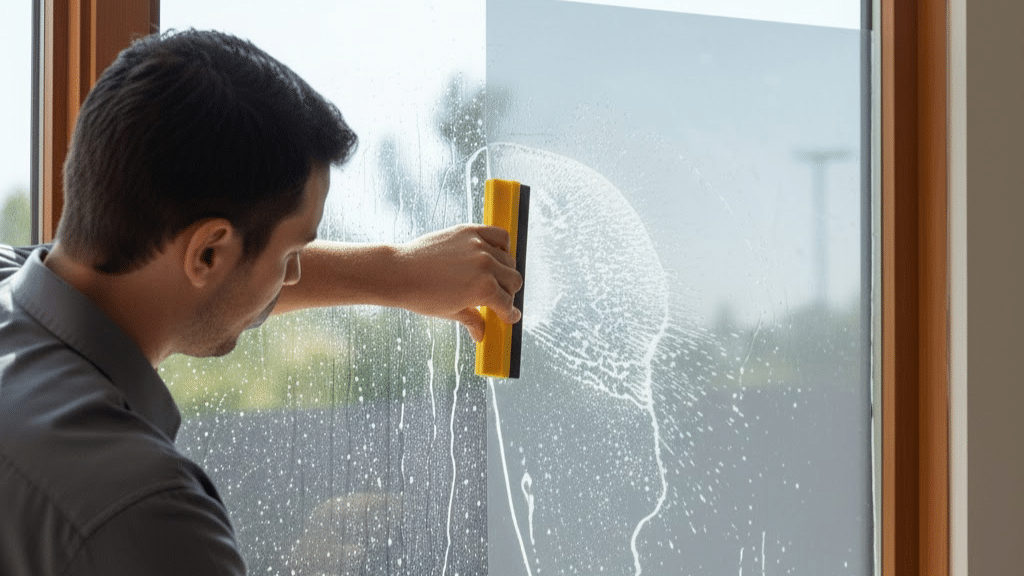
Starting from the center, use your squeegee to push water and air bubbles toward the edges. Work in firm, overlapping strokes and keep the film wet as you go.
Once the film is flat and smooth, trim the excess edges with your utility knife for a clean, professional look.
Want to change your old tints? Check out our blog on How to Remove Tint learn-how-to-remove-tint
Choosing the Right Tint – Types of Window Films
Not all window films serve the same purpose, and picking the right type depends on what you want to achieve.
Some focus on energy savings, while others prioritize privacy or protection. Understanding your options helps you make a smart choice.
| Film Type | Best For | Key Benefits |
|---|---|---|
| Solar control film | Heat reduction and energy efficiency | Blocks UV rays, lowers cooling costs, and prevents fading |
| Privacy film | Bathrooms, offices, street-facing windows | Obscures the view from outside while letting light in |
| Decorative film | Artistic enhancement | Adds patterns or frosted effects, enhances interior style |
| Security film | Protection against break-ins | Holds glass together if shattered, adds extra strength |
| Anti-glare film | Rooms with screens or high sun exposure | Reduces harsh glare without darkening the space completely |
Wrapping it Up
Window film installation changes your space without the hassle of major renovations.
You’ve now got the complete roadmap, from gathering supplies to achieving that bubble-free finish.
And cherry on top, these skills stick with you, making future projects even easier.
So grab your tools, follow these steps, and give your windows the upgrade they deserve.
And once you’re done, step back and admire your handiwork.