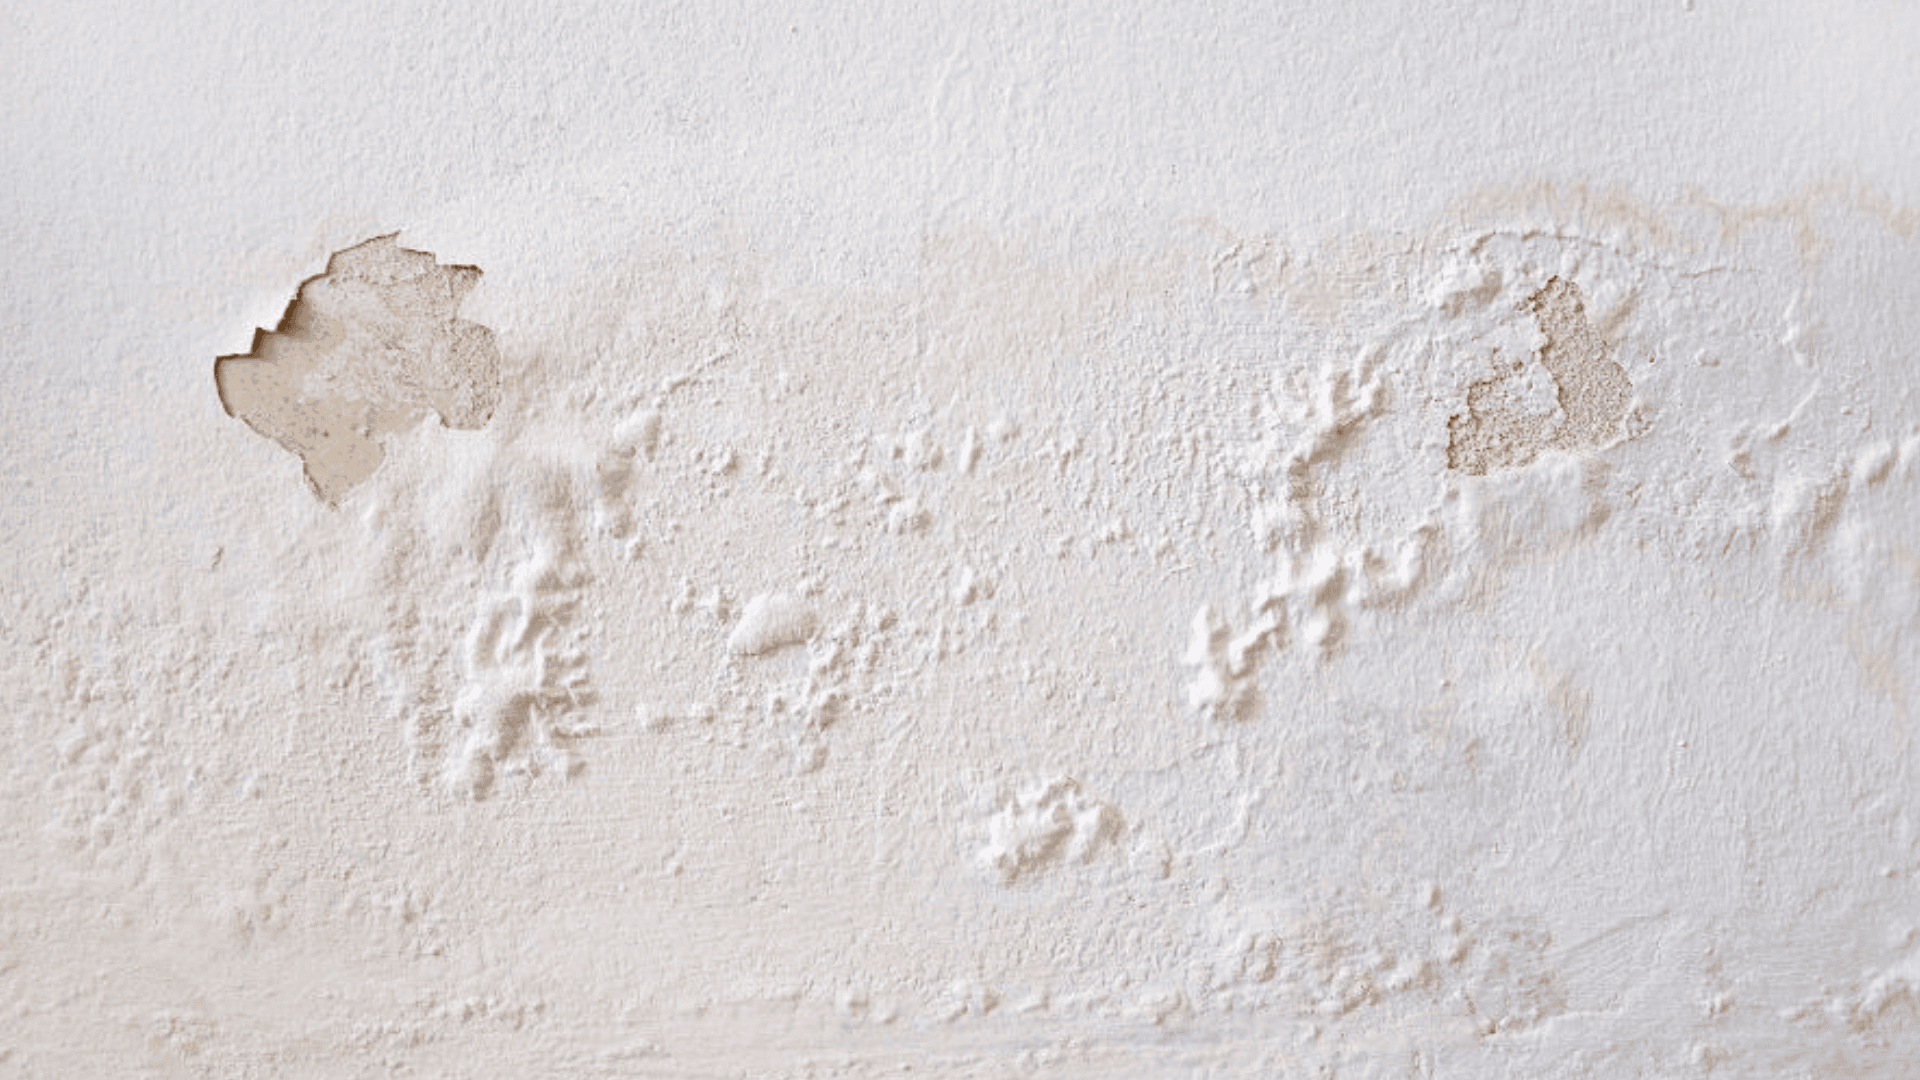
Paint bubbles can ruin a fresh coat in no time. For anyone who’s dealt with them, it’s incredibly frustrating.
They make the surface look uneven and unprofessional. Paint bubbling doesn’t happen by accident.
There’s always a reason behind it. This blog walks through the leading causes of why does paint bubble.
You will learn what triggers this problem and how to get rid of paint bubbles from different surfaces. Also, learn practical tips and what people say with personal experience.
By the end, people will know exactly how to fix and avoid this common painting issue.
Why Does Paint Bubble in the First Place?
Paint bubbles form when something gets trapped beneath the surface. It’s usually air, moisture, or heat.
When someone applies paint over a dirty or damp wall, those contaminants can’t escape.
They get sealed under the fresh coat. As the paint dries, these trapped elements push outward and create bubbles.
Temperature plays an important role. If a person paints in direct sunlight or extreme heat, the surface expands.
Applying a second coat before the first dries traps solvents, causing the paint film to lift and bubble.
Those solvents need to evaporate, but they can’t. So they push up through the paint and form those bubbles.
What Causes Paint to Bubble on Walls?
Paint bubbles on walls don’t just appear randomly.
They happen because of specific environmental conditions or mistakes during application.
Moisture on the Surface
Water is paint’s worst enemy. When moisture sits on a wall before painting, it gets trapped under the new coat.
As temperatures rise, that moisture turns to vapor and pushes through the paint film.
This creates those frustrating bubbles that won’t go away until the underlying issue is fixed.
Painting in High Heat
Extreme temperatures cause paint to dry too quickly on the surface while staying wet underneath. The sun beating down on a freshly painted wall makes the outer layer harden fast.
Solvents trapped below try to escape. This creates pressure that lifts the paint and forms bubbles.
Dirty or Greasy Walls
Paint requires a clean surface to adhere properly.
Dust, grease, or residue hinder bonding, leading to air pockets that expand as the paint dries, causing bubbles hours or days later.
Applying Paint Too Thick
Thick coats might seem efficient, but they trap air and solvents. The top layer dries while the bottom stays wet.
Trapped elements can’t evaporate through the hardened surface.
They build up pressure and push outward, creating bubbles that ruin an otherwise smooth finish across the painted area.
Paint Bubbling vs Peeling vs Cracking Paint on Wall
| Issue | What It Looks Like | Main Cause | When It Happens |
|---|---|---|---|
| Bubbling | Raised bumps filled with air or liquid | Moisture or heat trapped under paint | During or right after painting |
| Peeling | Paint lifts and curls away from the surface | Poor adhesion or old paint failure | Weeks or months after application |
| Cracking | Fine lines or splits in the paint surface | Paint dries too fast or ages | As the paint dries or over time |
Here’s How to Get Rid of Paint Bubbles on Painted Walls
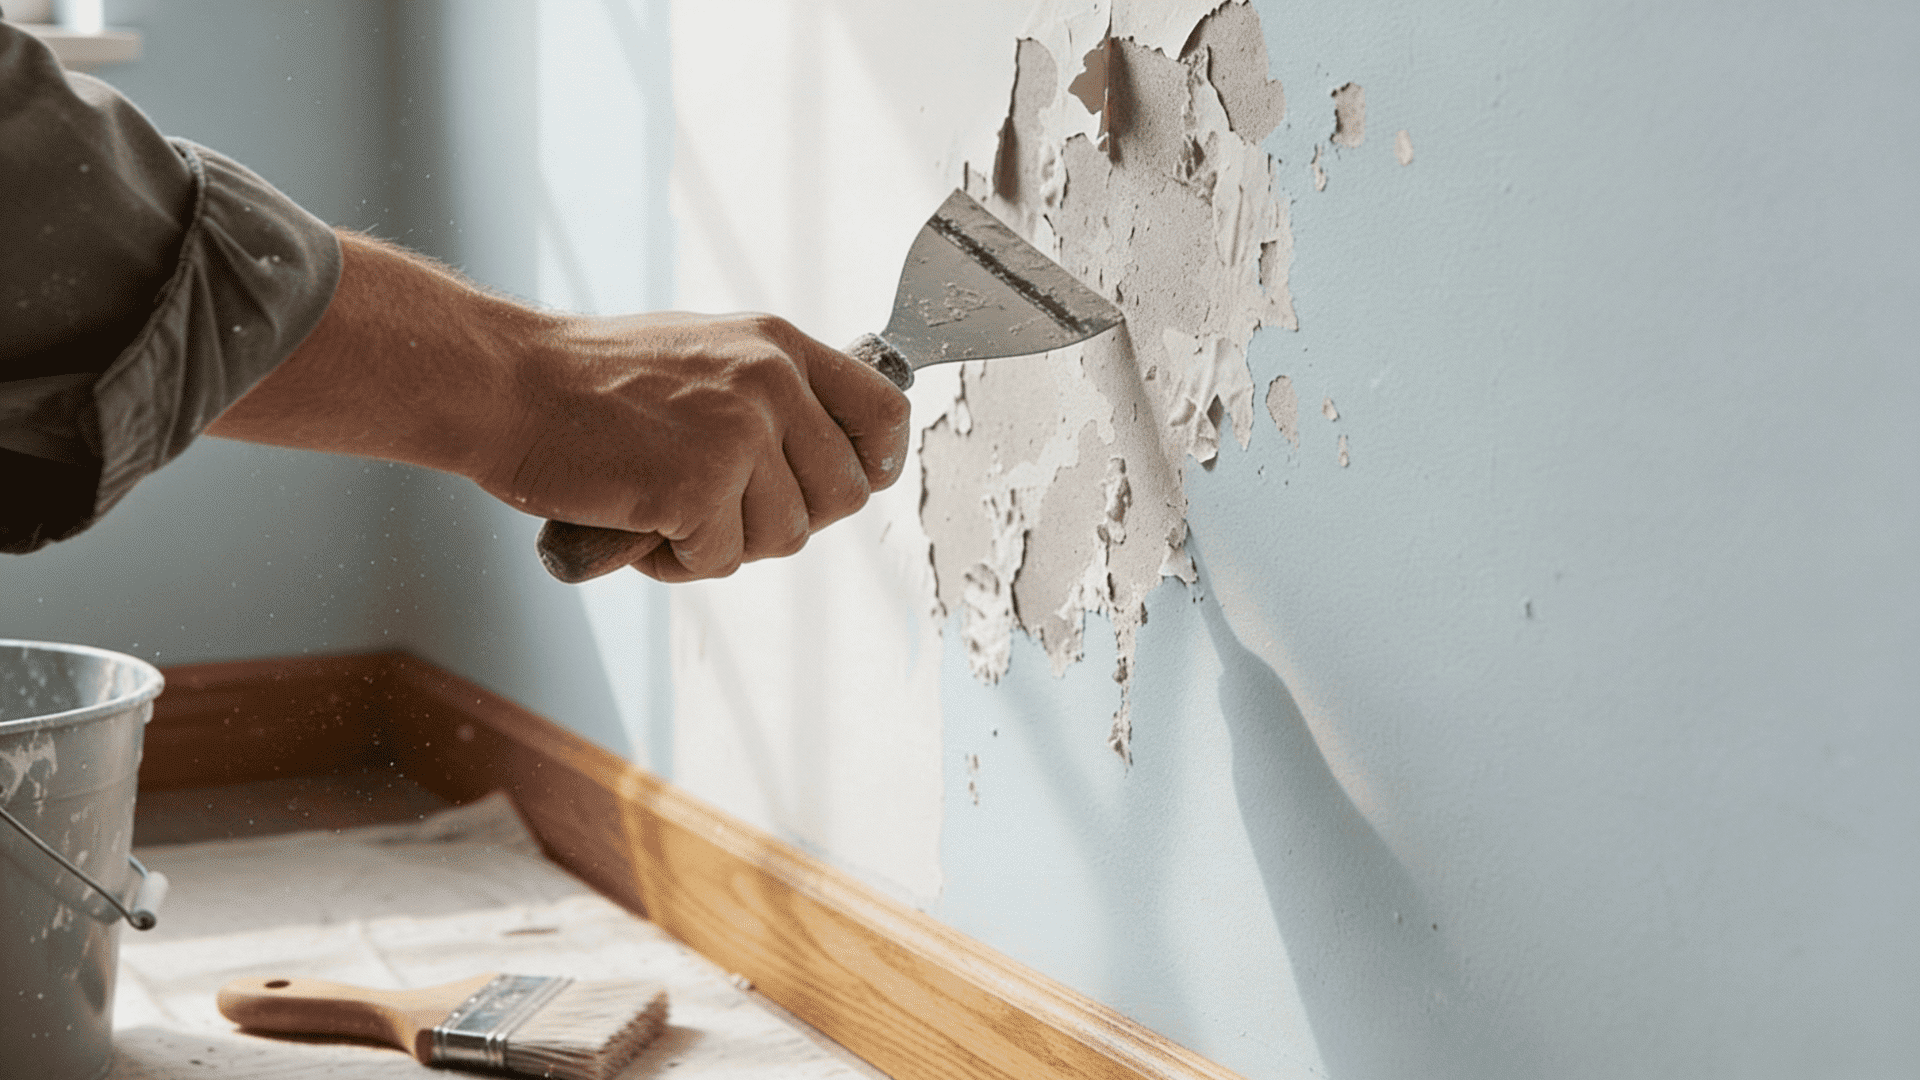
Getting rid of paint bubbles takes patience and the right approach. Here’s how to fix them properly.
Step 1: Let the Paint Dry Completely
Don’t rush to fix bubbles while the paint is still wet. Wait at least 24 hours for the surface to dry thoroughly.
Trying to repair fresh paint will only make things worse. The bubbles need time to settle so you can assess the real damage underneath and plan your repair work accordingly.
Step 2: Scrape Off the Bubbled Paint
Use a putty knife or scraper to remove all bubbled areas. Press gently but firmly to lift the damaged paint without gouging the wall. Get rid of any loose or flaking sections around the bubbles.
The goal is to create a smooth edge where good paint meets bare wall for better results.
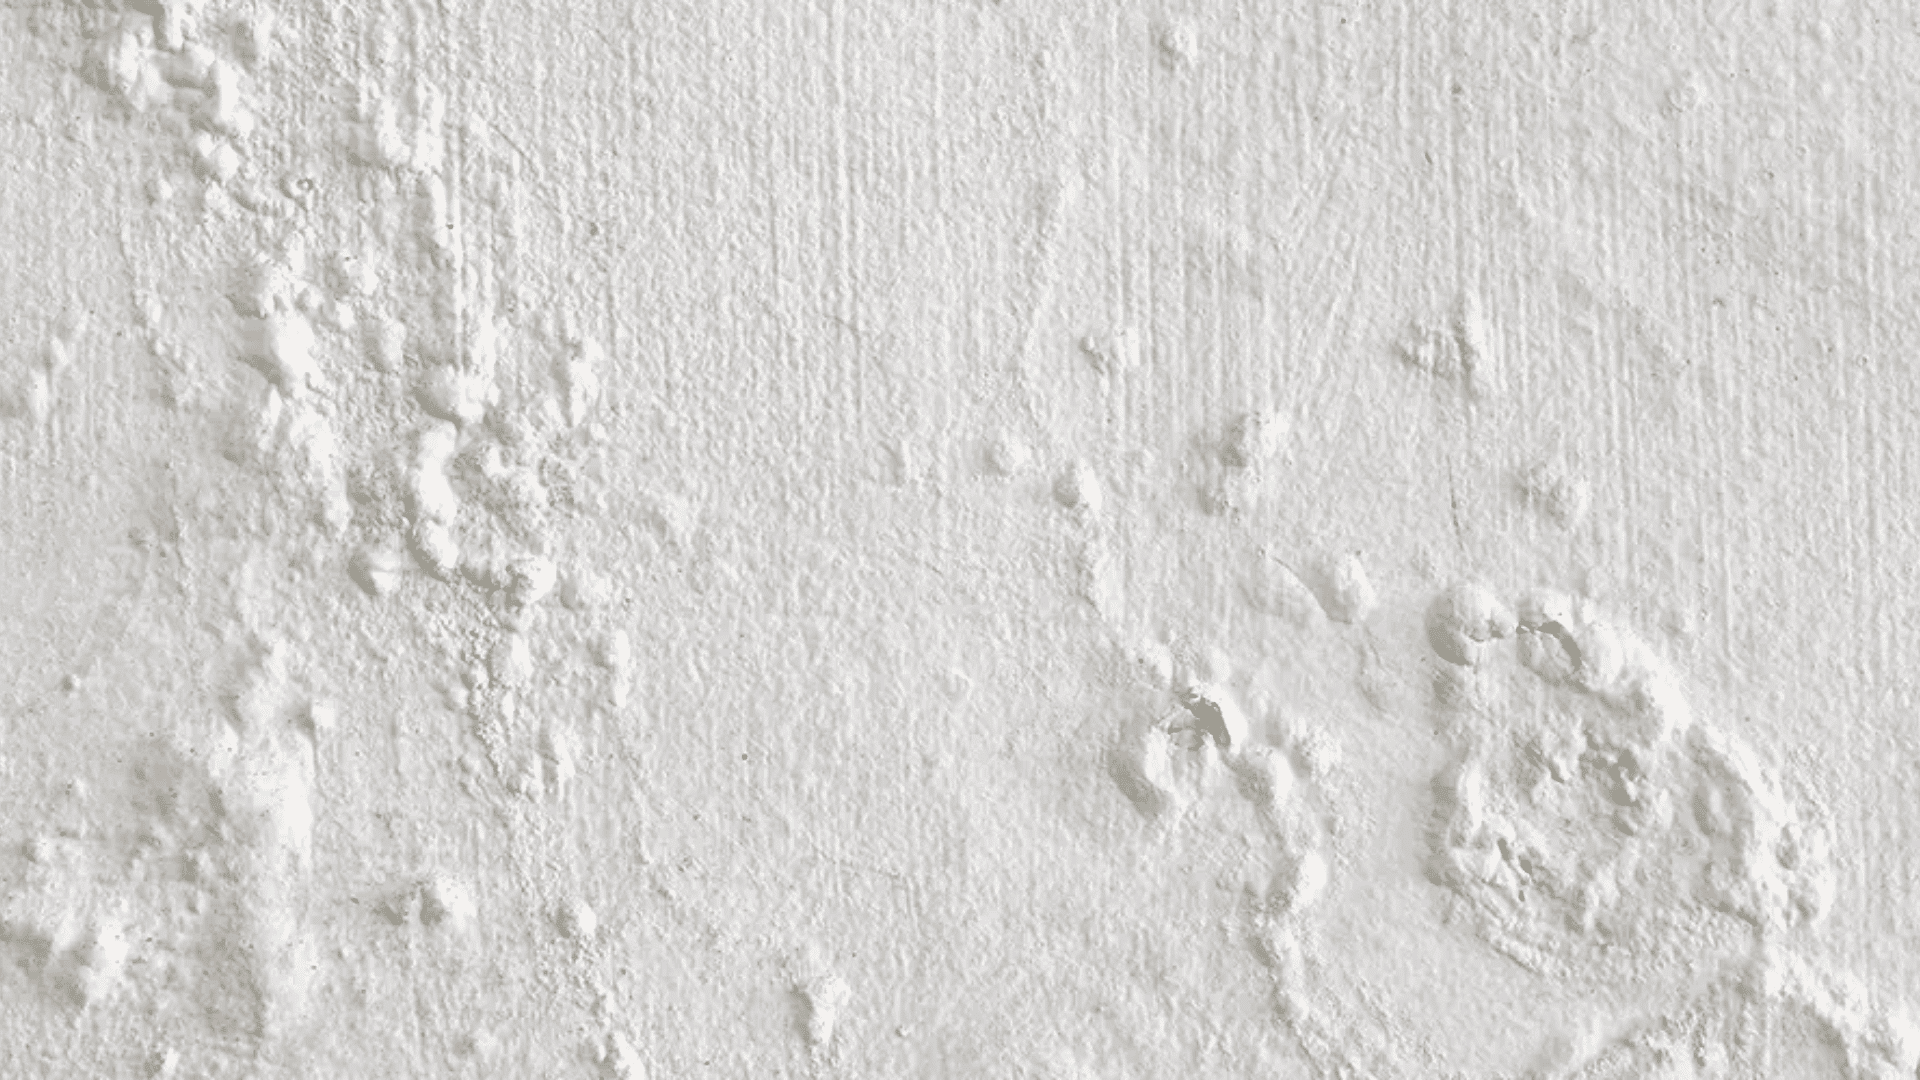
Step 3: Sand the Surface Smooth
Grab medium-grit sandpaper and smooth out the scraped areas.
Focus on blending the edges where old paint meets the exposed wall. This prevents visible ridges after repainting.
Wipe dust with a damp cloth and let it dry. A smooth surface is essential for proper paint adhesion.
Step 4: Apply Primer to Bare Spots
Cover exposed areas with a quality primer to seal the surface and ensure proper paint bonding. Let it dry as per the manufacturer’s instructions.
Don’t skip this step, even if urgent, as primer prevents bubbling by providing a stable foundation for the topcoat.
Step 5: Repaint the Repaired Area
Apply thin, even coats of paint over the primed spots. Use the same paint type and color as the rest of the wall.
Let each coat dry completely before adding another. Two thin layers work better than one thick application.
This method prevents new bubbles from forming and gives you a smooth, professional-looking finish.
How to Fix Emulsion Paint Bubbling on the Wall?
Emulsion paint bubbles need a slightly different approach than other paint types.
Here’s what to do:
- Wait for the emulsion to dry completely before attempting any repairs on the bubbled surface.
- Use a scraper to remove all bubbled sections along with any loose paint around them.
- Clean the area thoroughly with a damp cloth to remove dust and let it dry.
- Apply a water-based primer designed explicitly for emulsion paints on exposed spots.
- Let the primer cure for the recommended time listed on the product label.
- Repaint using the same emulsion paint with thin, even strokes across the repaired area.
- Allow the first coat to dry thoroughly before applying a second coat if needed.
- Avoid painting in humid conditions or direct sunlight to prevent bubbles from returning.
- Check the wall temperature before painting; it should be between 50°F and 85°F for best results.
Why Does Paint Bubble on Car Paint?
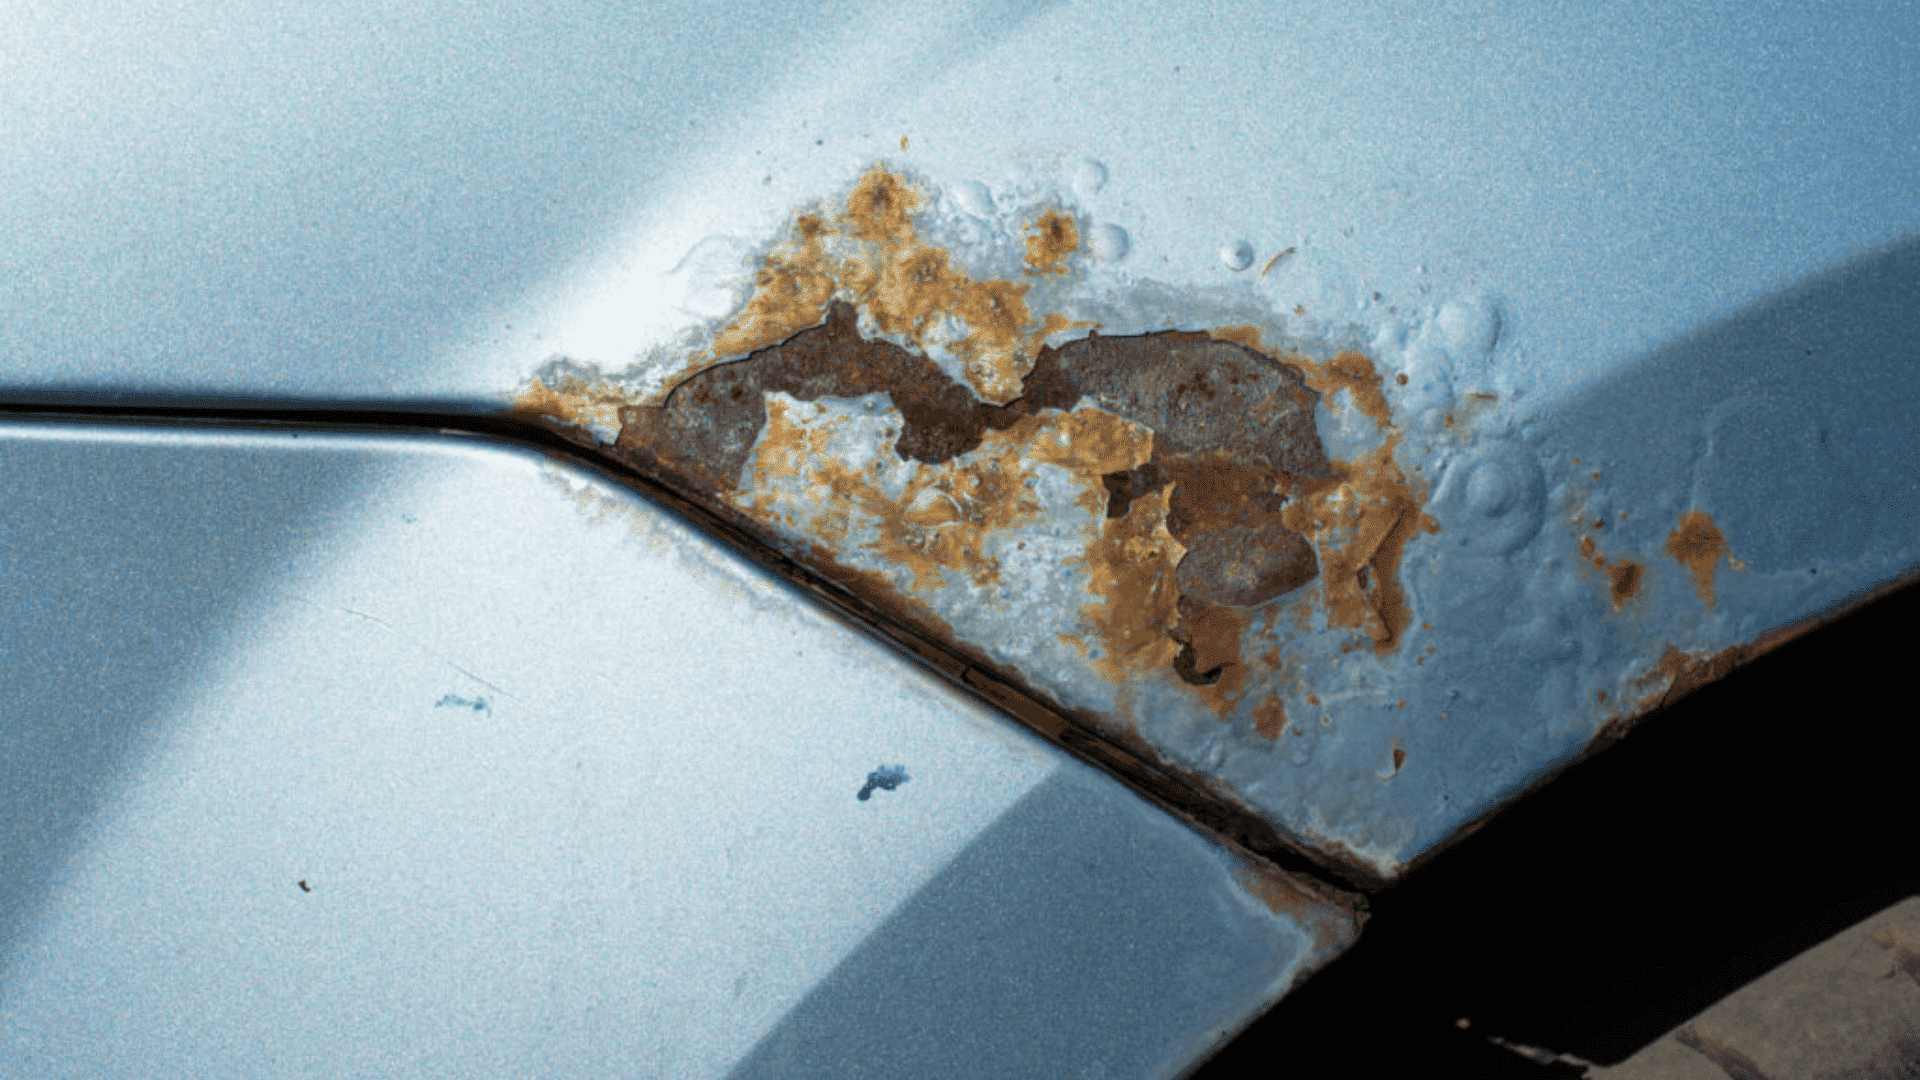
Car paint bubbles are different from wall paint issues. They’re often caused by rust, moisture, or poor application techniques.
Rust Under the Paint:
Rust often causes car paint bubbles as corrosion expands and traps moisture, pushing paint outward and enlarging the bubbles over time.
Moisture Trapped During Painting:
Painting a car in humid or damp conditions traps moisture, which can’t escape through the hardened paint.
When temperatures change, the vapor creates pressure, lifting the paint and causing bubbles.
Poor Surface Preparation:
Skipping proper prep leaves contaminants on metal, like oil, grease, or old wax, which prevent paint from bonding.
Air pockets form, expand as paint cures, causing bubbles, a compromised finish, and potential rust development.
How to Fix Car Paint Bubbles
- Sand down the bubbled area to bare metal using coarse-grit sandpaper.
- Treat any visible rust with a rust converter or remover product.
- Clean the surface with automotive degreaser and let it dry completely.
- Apply automotive primer in thin, even coats over the prepared area.
- Sand the primer lightly with fine-grit sandpaper for a smooth base.
- Spray automotive paint in multiple thin layers, allowing drying time between coats.
- Finish with a clear coat for protection and let it cure for several days
Interior vs. Exterior Paint Bubbling: What’s the Difference?
Interior and exterior paint bubbling have different triggers and require different solutions.
| Aspect | Interior Paint Bubbling | Exterior Paint Bubbling |
|---|---|---|
| Main Cause | Moisture from leaks or humidity | Rain, sun, and temperature swings |
| Common Triggers | Bathroom steam, water damage, and poor ventilation | Weather changes, sunlight, freezing temps |
| When It Occurs | After painting or during humid seasons | During hot days or after rain exposure |
| Prevention | Fix leaks, exhaust fans, and ensure dry walls | Paint in mild weather |
| Repair Difficulty | easier-controlled environment for fixing | More brutal weather affects drying |
| Long-term Risk | Mold growth if moisture persists | Paint failure and wood rot, if ignored |
| Best Fix Time | Any time of year indoors | Dry, mild weather only |
How to Stop Paint from Bubbling Again: Tips
- Always clean walls thoroughly with soap and water before applying any paint.
- Apply primer on bare walls, especially in bathrooms and kitchens where moisture is common.
- Paint during mild temperatures between 50°F and 85°F for optimal drying conditions.
- Avoid painting in direct sunlight or on surfaces that feel hot to the touch.
- Use thin coats instead of thick applications and allow proper drying time between layers.
- Check for leaks or water damage before painting and fix them first.
- Install proper ventilation in high-humidity rooms like bathrooms to reduce moisture buildup.
- Store paint properly in sealed containers at stable temperatures to maintain quality.
- Don’t rush the drying process with fans or heaters, as uneven drying causes bubbles.
Key Takeaway
Paint bubbles don’t have to be a permanent problem. Now that you know why does paint bubble, fixing and preventing bubbles becomes much easier. The key is catching issues early.
These simple steps save time and money. Surface preparation matters more than most people think.
A few extra minutes spent cleaning and priming prevent hours of repair work later.
If bubbles keep appearing despite your best efforts, there might be a deeper moisture issue.
Consider calling a professional to inspect for leaks or structural problems.
With the proper knowledge and approach, anyone can achieve a bubble-free paint finish that lasts for years.
Frequently Asked Questions (FAQ’s)
1. Can I Paint Over Bubbled Paint?
No, scrape and fix bubbles before repainting for best results.
2. Is Paint Bubbling a Sign of A Bigger Issue?
Yes, it often indicates moisture problems or hidden surface damage.
3. Why Does Paint Bubble on Wood?
Moisture in wood expands and pushes paint upward, creating bubbles.
4. Does Bubbling Paint Mean Damp?
Usually, yes, trapped moisture is the most common cause here.