Homeowners often overlook one simple detail that can make or break their interior design.
The right molding choice changes ordinary rooms into spaces that feel polished and complete, while the wrong selection can make even expensive renovations look unfinished.
Most people don’t realize how different types of molding styles can affect room proportions, lighting, and overall home value. Choosing wisely means getting maximum impact from renovation budgets and creating spaces that truly reflect personal style.
This guide breaks down the most popular molding types, their best applications, and practical considerations that help homeowners make confident decisions for their specific needs and spaces.
What is the Role of Molding?
Molding serves both practical and visual purposes in homes. It covers gaps between different surfaces like walls and ceilings, floors and walls, or around doors and windows. This trim hides construction imperfections and creates clean finished looks.
From a protection standpoint, molding shields walls from daily wear and damage. Baseboards prevent scuffs from furniture and feet.
Casings protect door and window openings from chips and dents. Molding adds definition to rooms and can make ceilings appear higher.
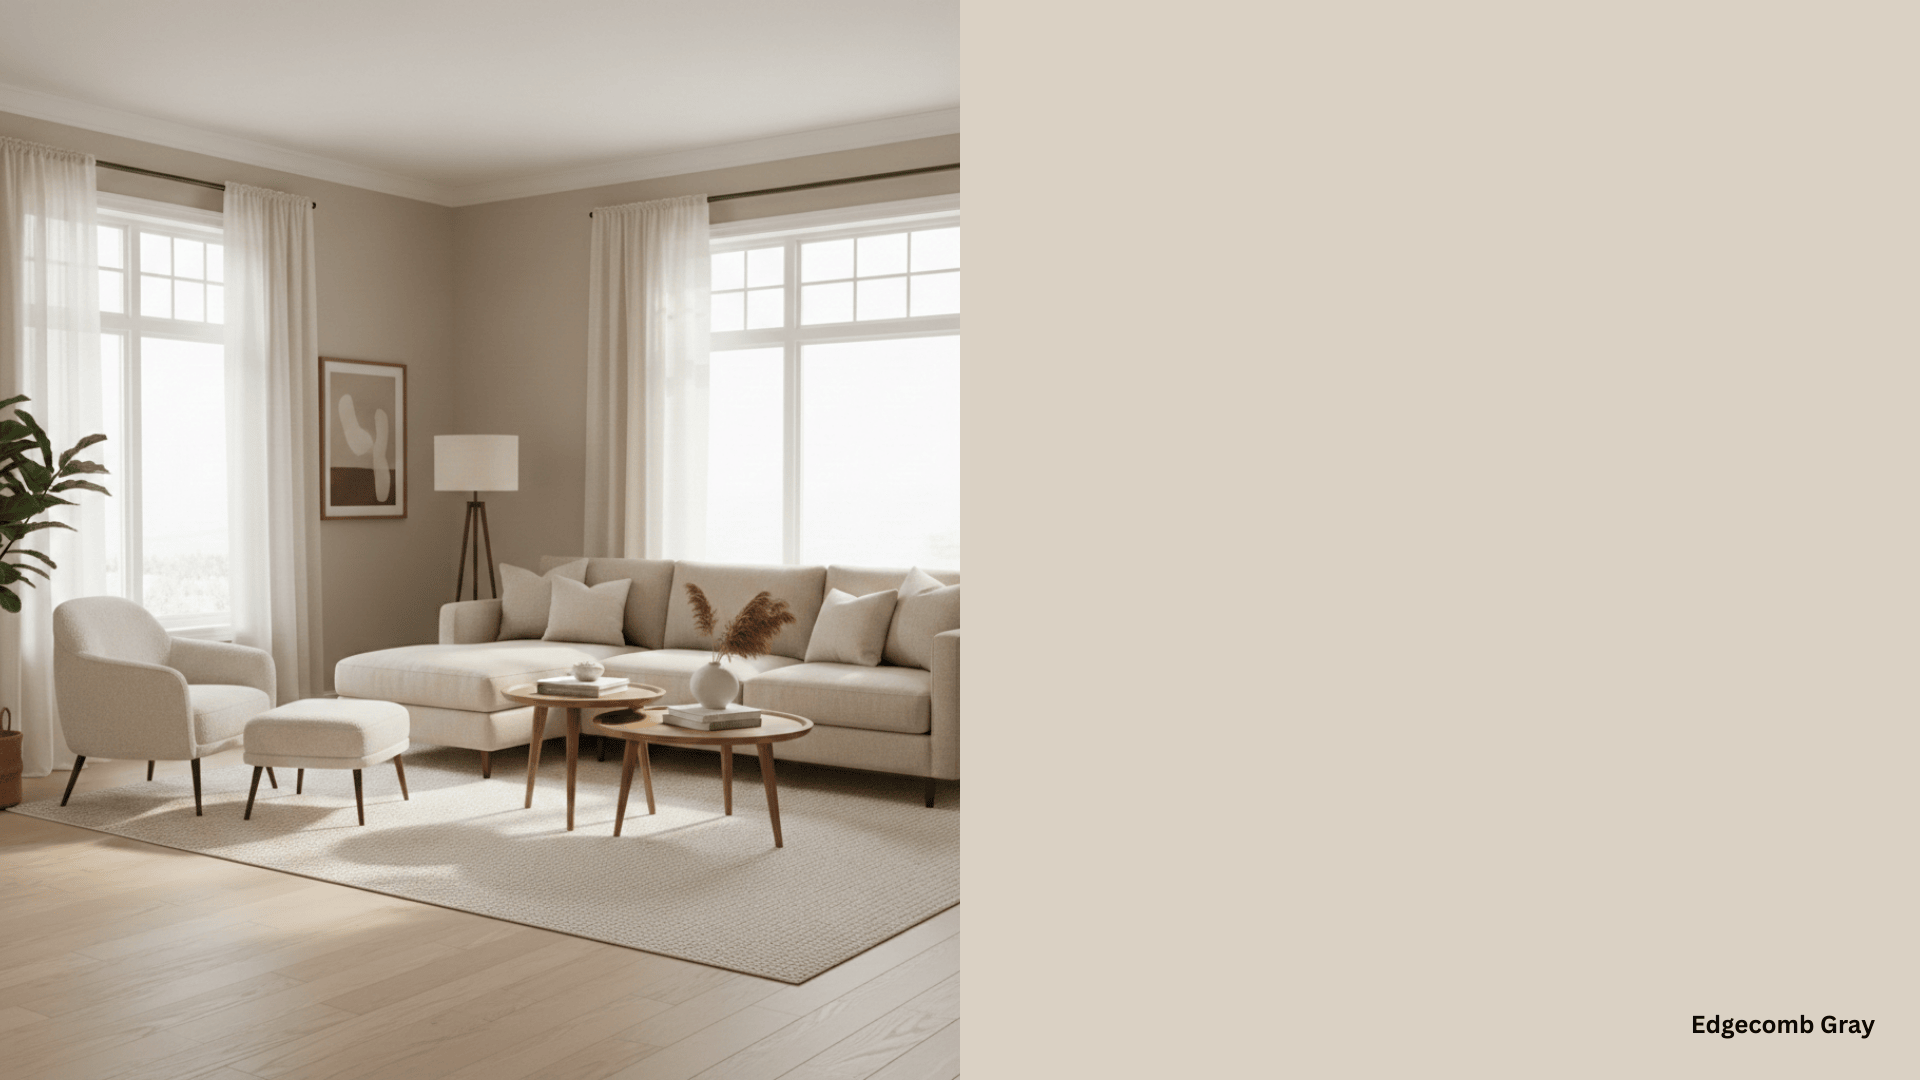
Visually, molding adds character and definition to rooms. It creates transitions between surfaces and can make spaces feel more finished and polished.
The right types of molding choices tie together different design elements and adds architectural interest that increases home value.
Factors to Consider when Choosing a Molding Type
Several key factors help determine the best molding choice for any space.
Understanding these elements ensures the final selection from all the types of molding that complement both the room and the homeowner’s preferences.
1. Room Size and Ceiling Height: Tall molding works well in rooms with high ceilings but can overwhelm smaller spaces. Low-profile trim suits compact areas.
2. Home Architecture Style: Traditional homes pair well with detailed molding profiles. Modern homes benefit from simple, clean-lined trim.
3. Budget Constraints: Basic pine molding costs less than hardwood or composite options. Labor expenses vary by installation complexity.
4. Maintenance Requirements: Some materials need regular painting or staining to maintain appearance. Others resist moisture and damage better.
5. Installation Difficulty: Consider available tools, skills, and time commitments. Intricate molding patterns demand precise cuts and experience for proper results.
6. Material Durability: High-traffic areas need sturdy materials that resist dents and scratches. Moisture-prone rooms require water-resistant options. Choose materials that match expected wear patterns and environmental conditions in specific locations throughout the home.
All Floor Molding Types and When to Use Which
Different types of molding serve specific purposes throughout homes. Each style addresses particular needs while adding visual appeal.
Understanding these common options helps homeowners make informed choices for their spaces.
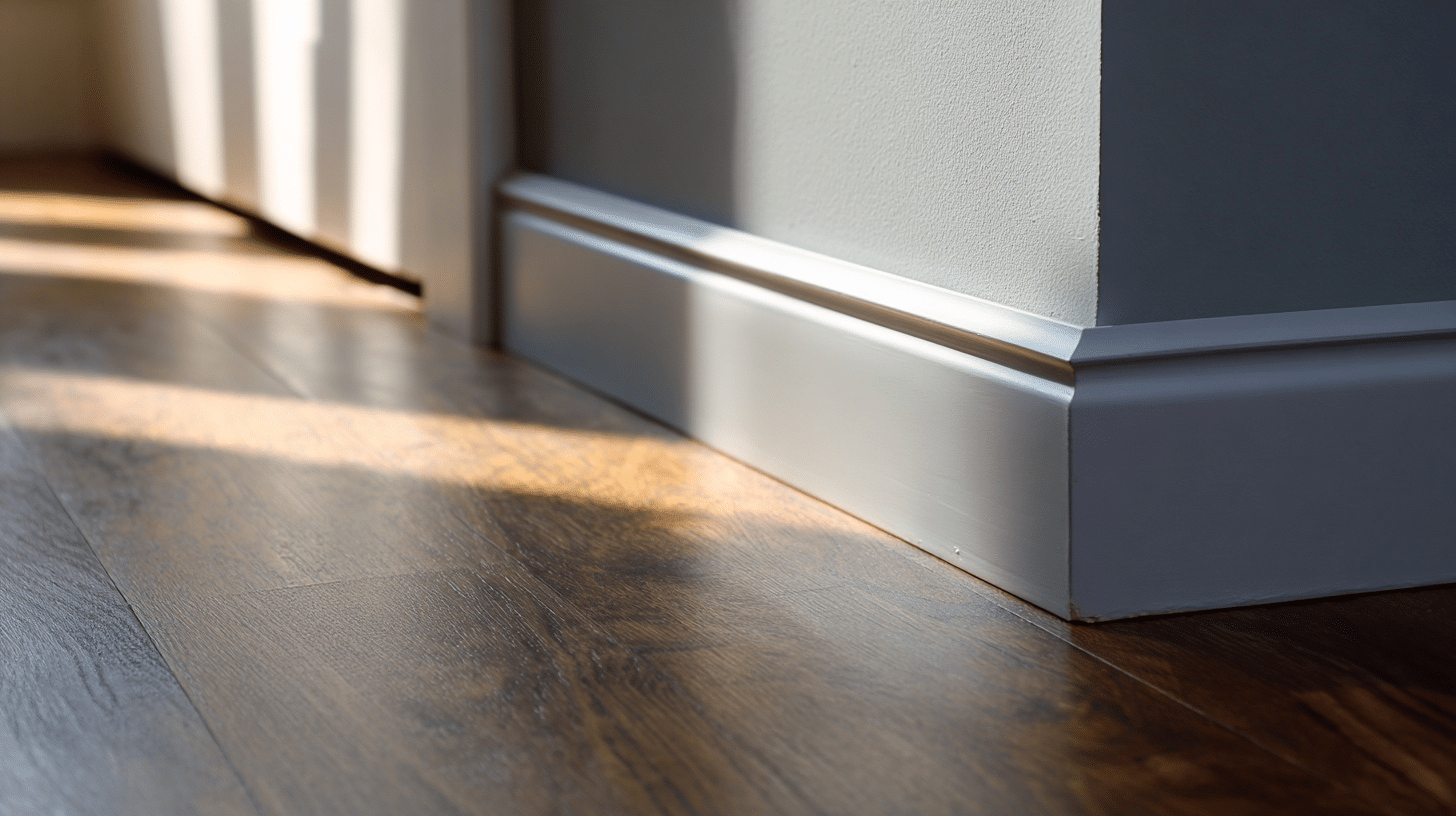
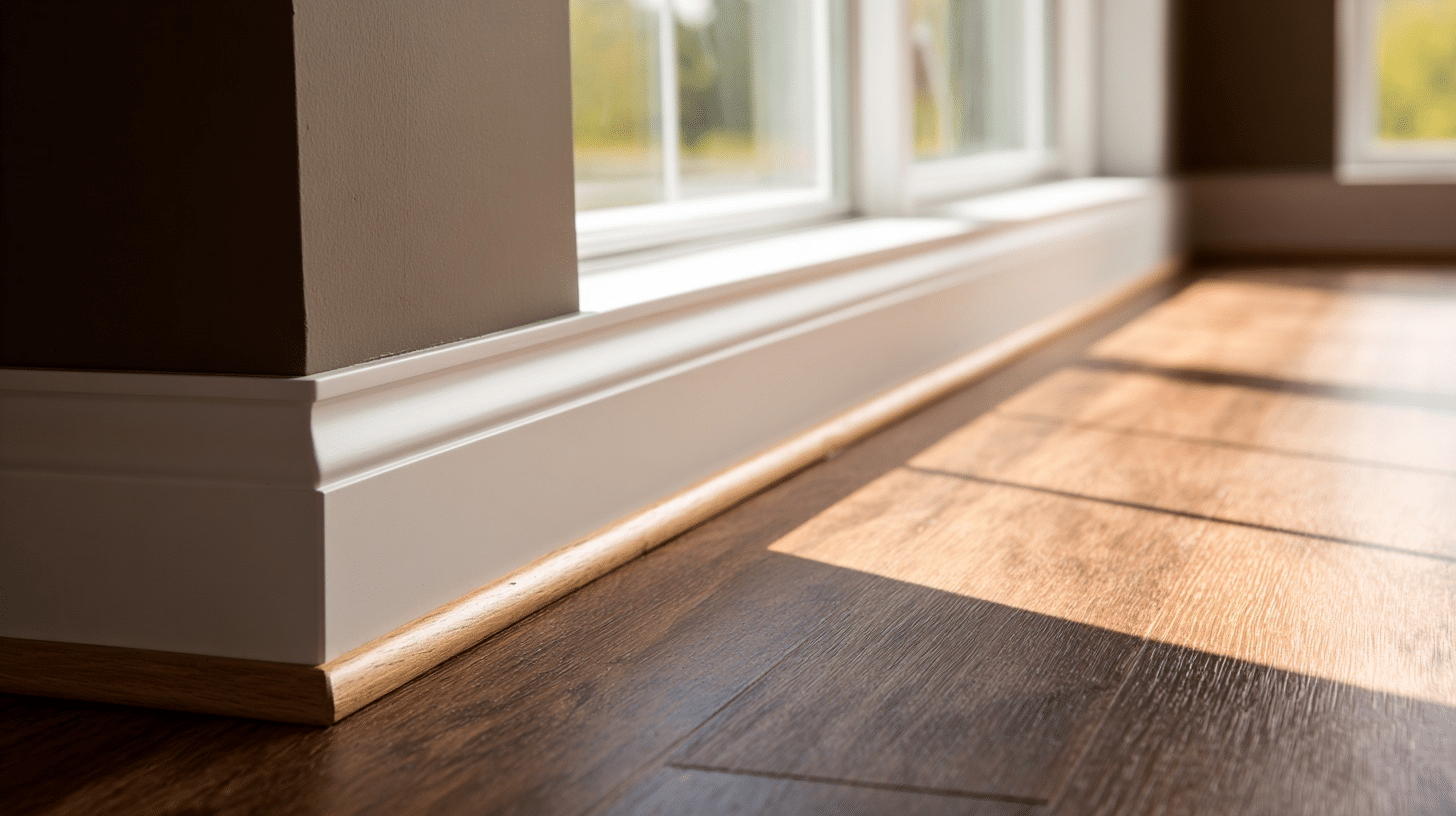
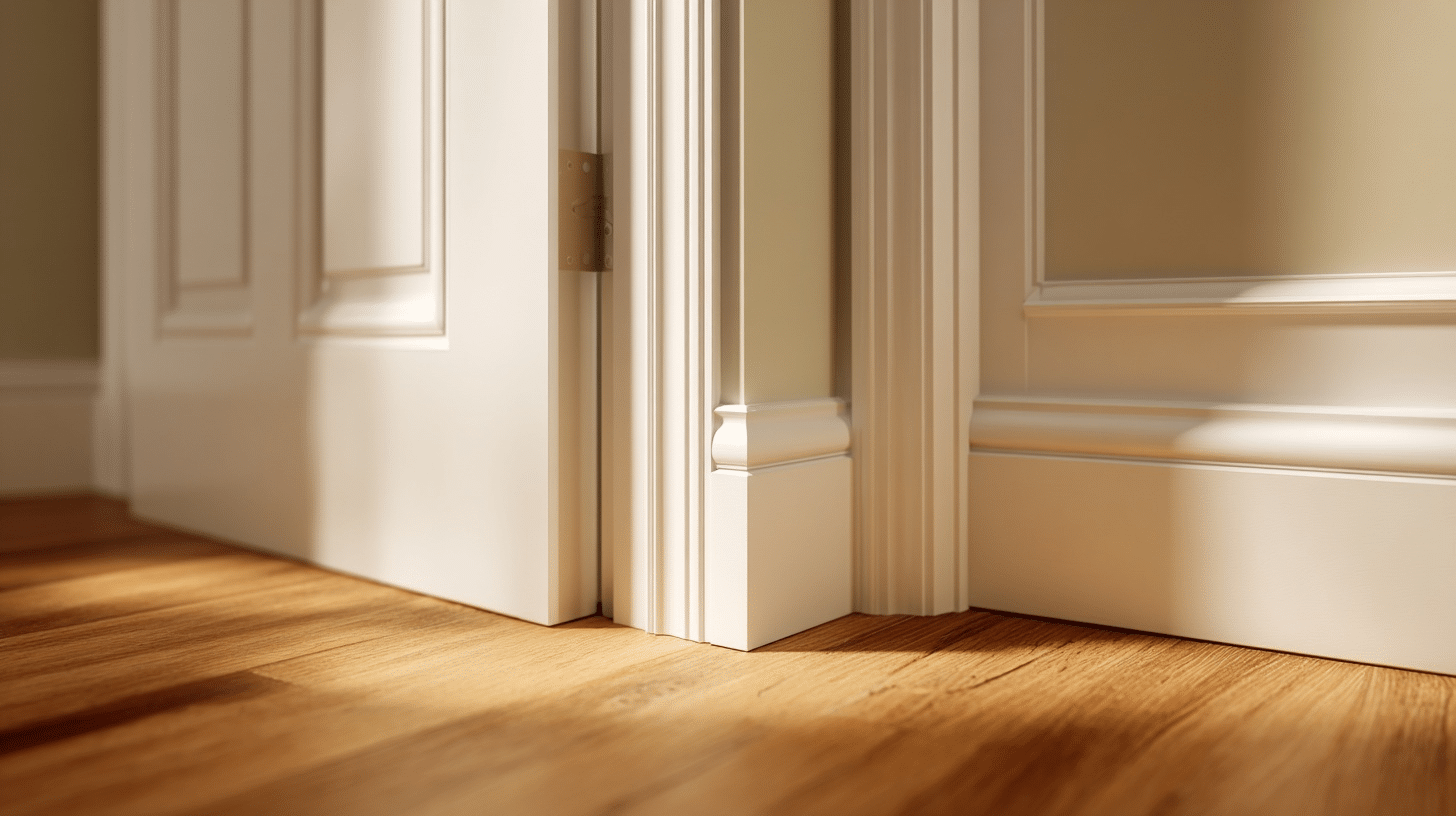
1. Baseboard Molding
Baseboard molding runs along the bottom of walls where they meet the floor.
This trim protects walls from everyday damage like furniture bumps and vacuum cleaner hits. It also hides gaps between flooring and walls that naturally occur during installation.
- Styles: Traditional profiles include curves and details, while contemporary versions feature clean straight lines.
- Materials: Wood, MDF, vinyl, and composite materials work well for baseboards.
- Functionality: Protection, gap coverage, and visual room definition.
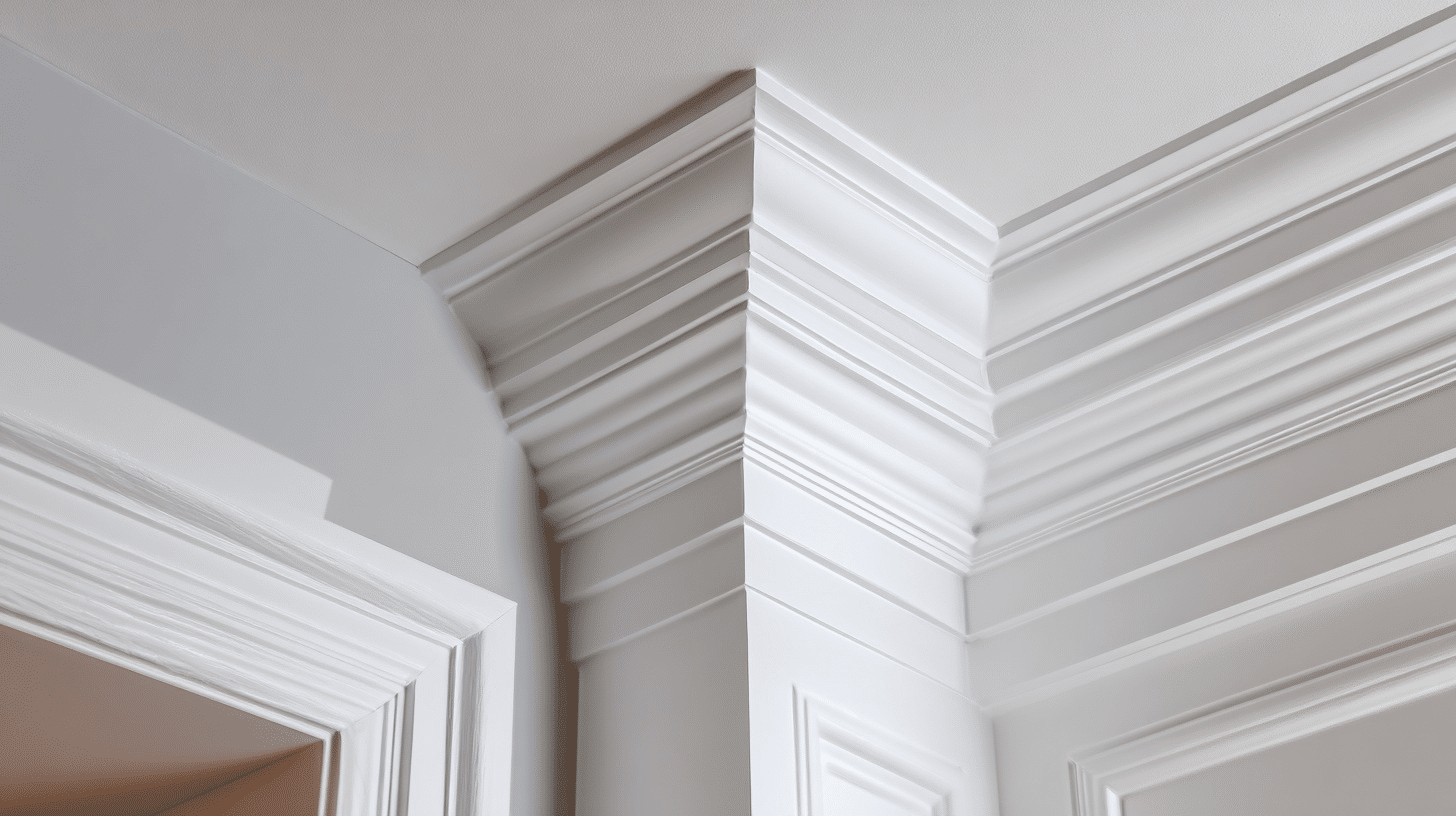
2. Crown Molding
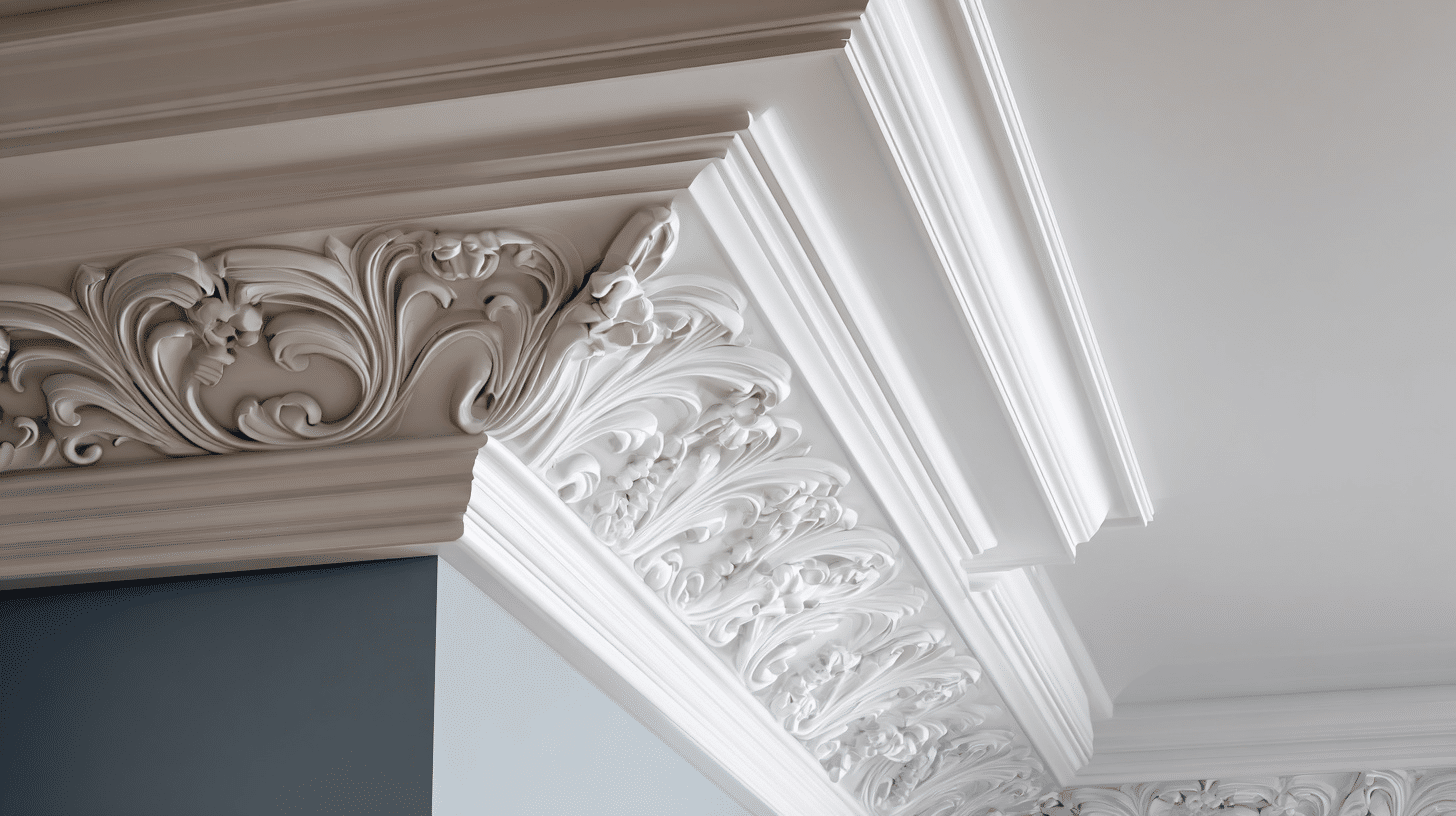
Crown molding installs where walls meet ceilings, creating a beautiful transition between these surfaces. This decorative trim adds visual interest to room tops and can make ceilings appear higher.
Many homeowners use these types of molding to increase home value and architectural appeal.
- Styles: Options range from simple cove molding to elaborate multi-layered designs with intricate details.
- Materials: Wood, polyurethane, plaster, and MDF provide different looks and price points.
- Functionality: Ceiling definition, visual height enhancement, and decorative appeal.
3. Chair Rail Moulding
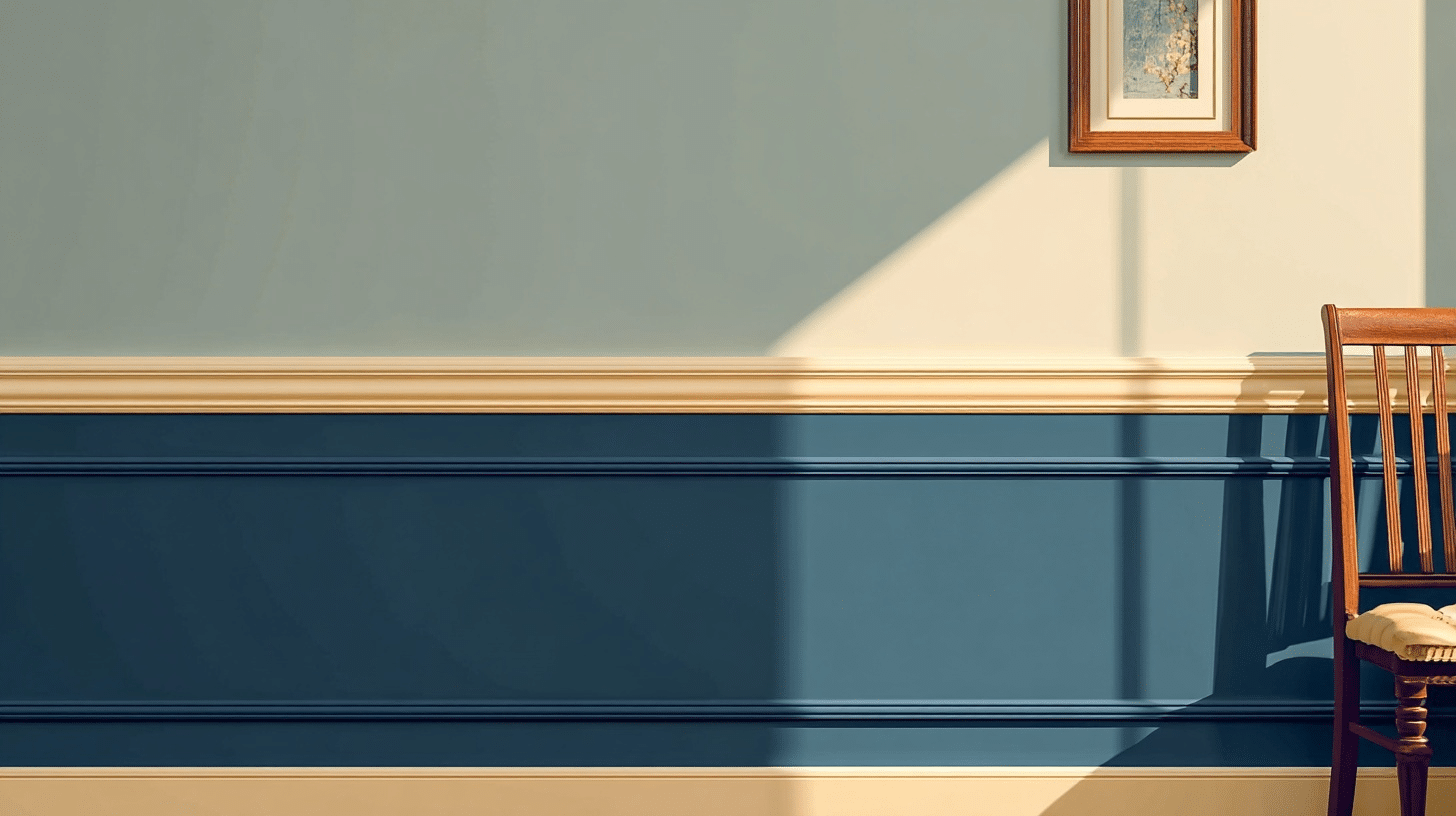
Chair rail molding typically installs 32-36 inches from the floor, originally designed to prevent chair backs from damaging walls.
Today, it serves mostly decorative purposes, breaking up large wall spaces and allowing for two-tone paint schemes or different wall treatments above and below.
- Styles: Simple rectangular profiles to detailed traditional designs with curves and bevels.
- Materials: Wood varieties, MDF, and vinyl offer different durability and cost options.
- Functionality: Wall protection, visual interest, and design flexibility for paint and wallpaper combinations.
4. Casing Moulding
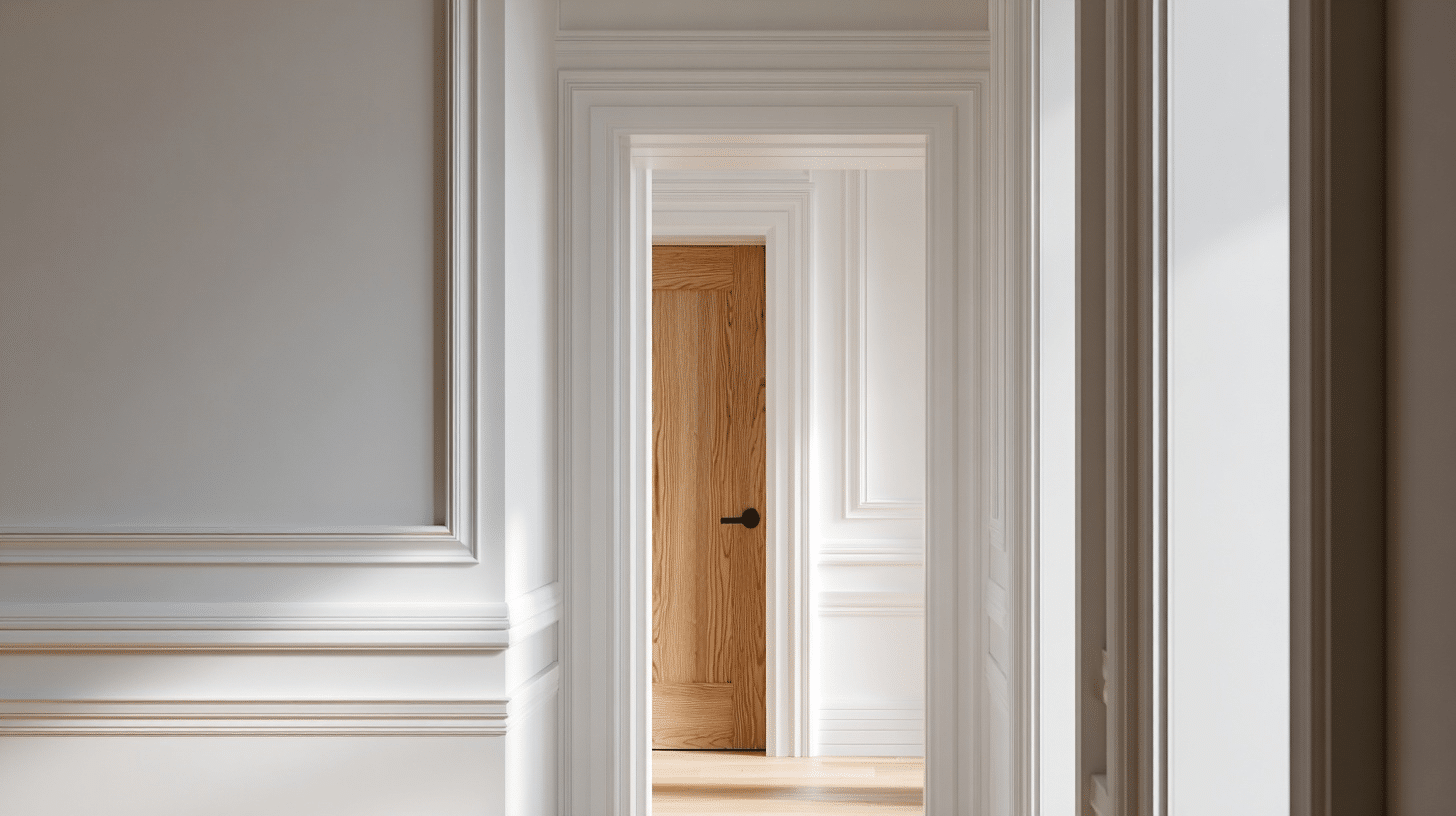
Casing molding frames doors and windows, covering gaps between these openings and surrounding walls. This trim creates finished, professional appearances around openings while hiding construction imperfections.
It also provides visual weight that makes openings look intentional and well-planned.
- Styles: Flat contemporary casings to ornate traditional profiles with multiple curves and details.
- Materials: Wood species matching other trim, MDF for paint-grade applications, and composite options.
- Functionality: Gap coverage, visual framing, and architectural continuity throughout homes.
5. Picture Rail Moulding
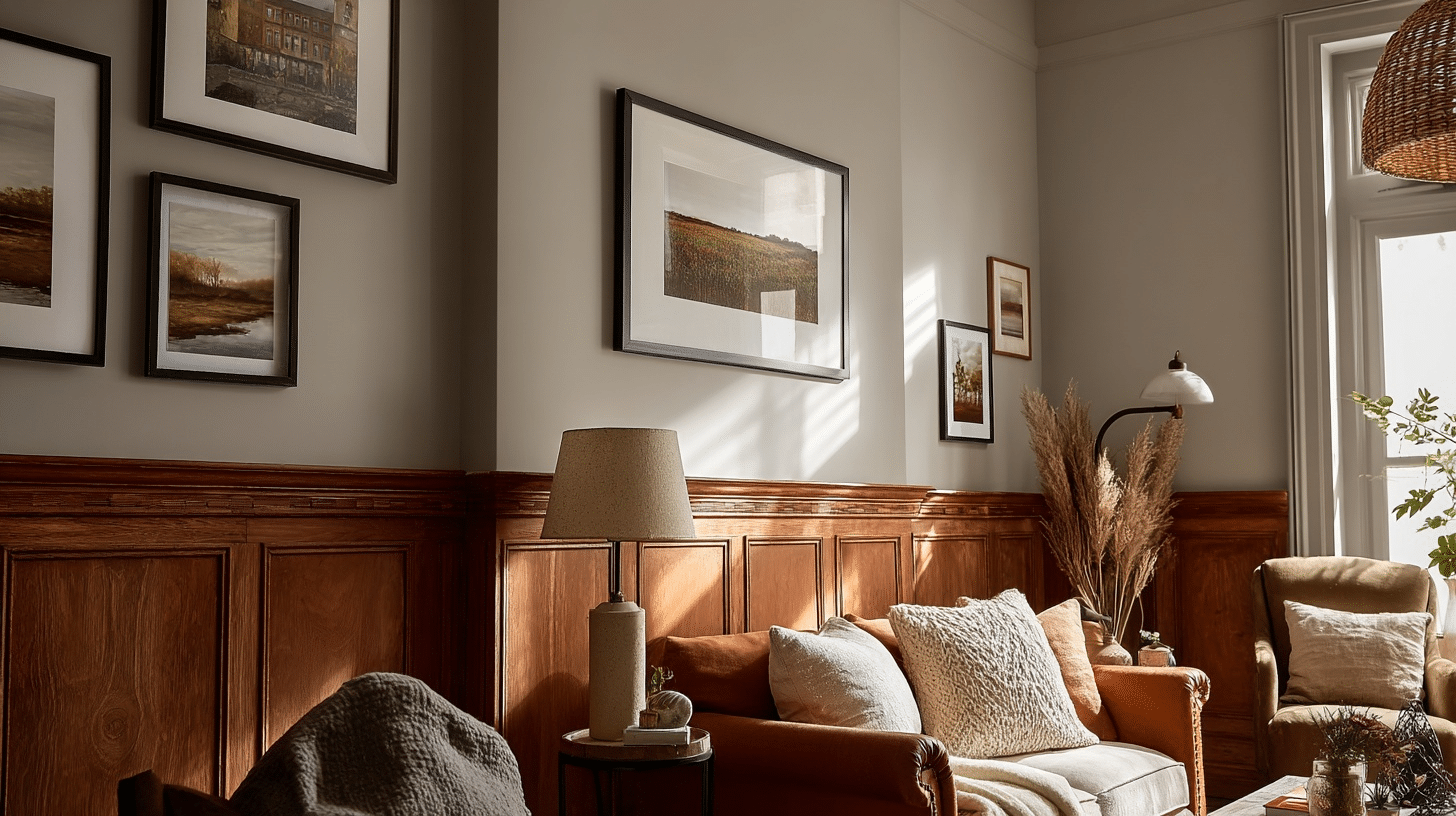
Picture rail molding installs 12-18 inches below the ceiling, creating a ledge for hanging artwork without damaging walls.
This Victorian-era feature has returned to modern homes as both a functional and a decorative element. It allows easy picture rearrangement without new nail holes.
- Styles: Simple rectangular ledges to detailed profiles with decorative grooves and curves.
- Materials: Wood varieties, MDF for painted finishes, and polyurethane for intricate details.
- Functionality: Picture hanging system, wall protection, and decorative room division.
6. Panel Moulding
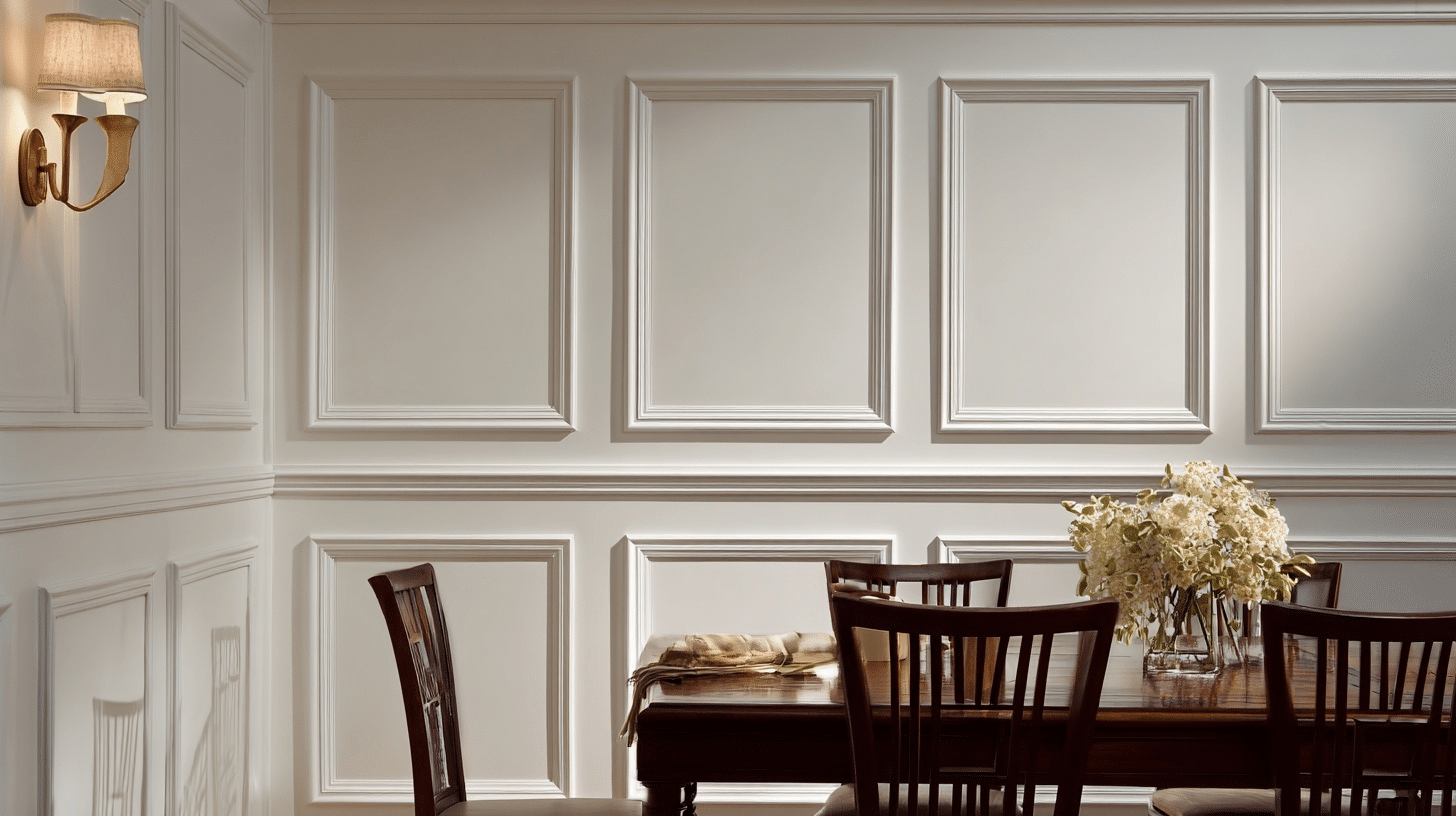
Panel molding creates raised or recessed wall panels for a decorative effect. These rectangular or square frames add architectural interest to plain walls.
Among all types of molding, wainscoting represents one common application, but panel molding works throughout rooms for visual texture.
- Styles: Simple flat frames to elaborate raised panels with multiple molding layers.
- Materials: Wood, MDF, and polyurethane for different detail levels and budgets.
- Functionality: Wall decoration, visual texture, and architectural character enhancement.
7. Quarter Round Moulding
Quarter round molding features a 90-degree curved profile that fits snugly into corners. This small trim covers gaps between flooring and baseboards or fills inside corner joints.
Its rounded shape provides smooth transitions and professional finishing touches.
- Styles: Standard quarter circle profiles in various sizes from small to large radii.
- Materials: Wood matching flooring or trim, MDF, and flexible vinyl options.
- Functionality: Gap filling, corner finishing, and smooth edge transitions.
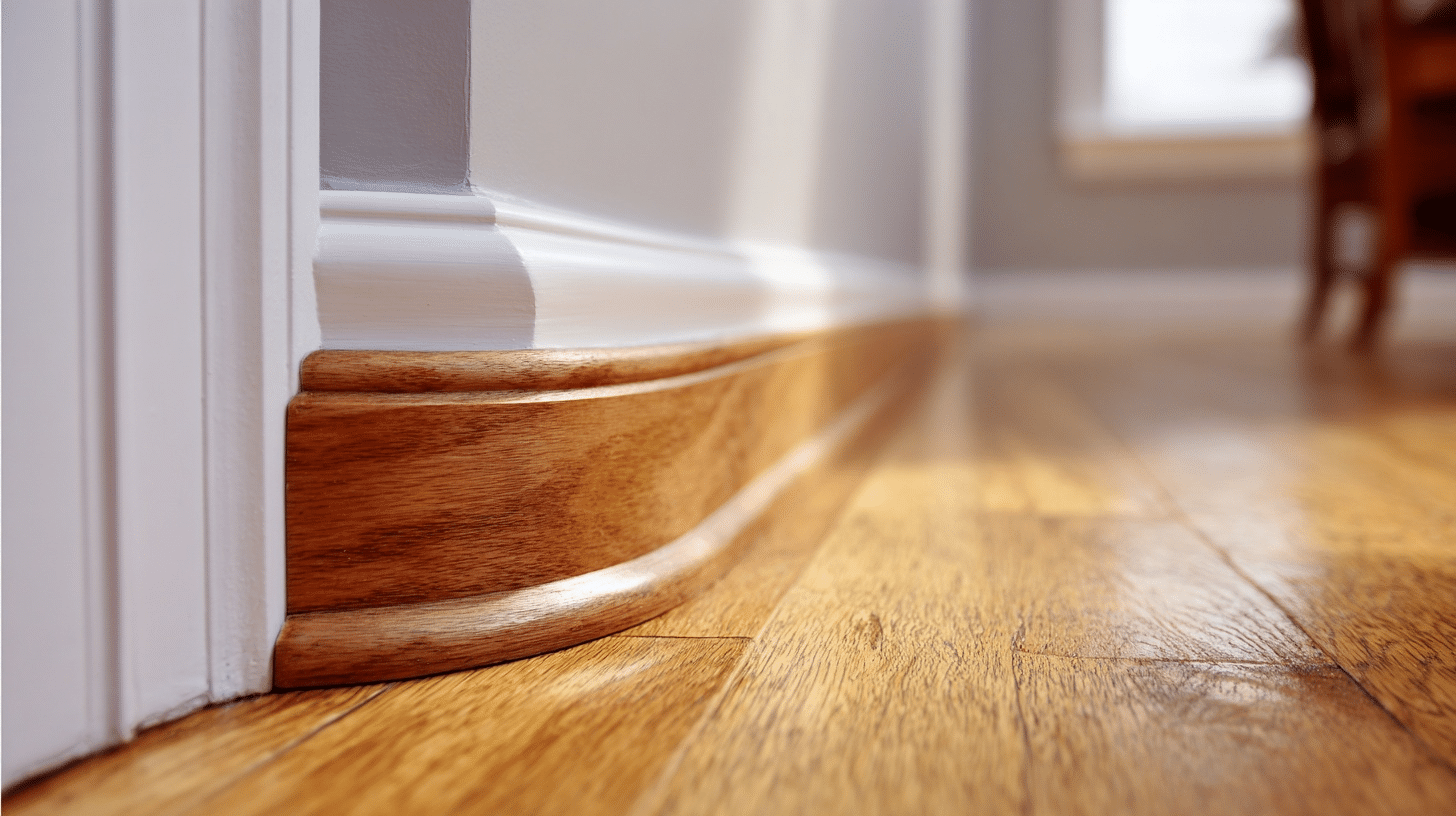
8. Shoe Moulding
Shoe molding sits directly on the flooring against baseboards, covering expansion gaps that floors need around room perimeters.
This narrow trim accommodates floor movement while maintaining a clean appearance. It installs after flooring completion as the final finishing step.
- Styles: Simple quarter-round profiles and flat shoe designs in narrow widths.
- Materials: Wood species matching floors, MDF, and color-matched vinyl.
- Functionality: Expansion gap coverage, professional floor finishing, and moisture protection.
9. Corner Moulding
Corner molding covers inside and outside wall corners where two pieces of paneling or wainscoting meet.
This specialized trim eliminates the need for perfect corner cuts while providing a clean finished appearance. It simplifies installation and improves final results.
- Styles: Inside corner profiles and outside corner caps in matching panel designs.
- Materials: Wood, MDF, and vinyl to match existing wall treatments.
- Functionality: Corner coverage, installation simplification, and professional panel finishing.
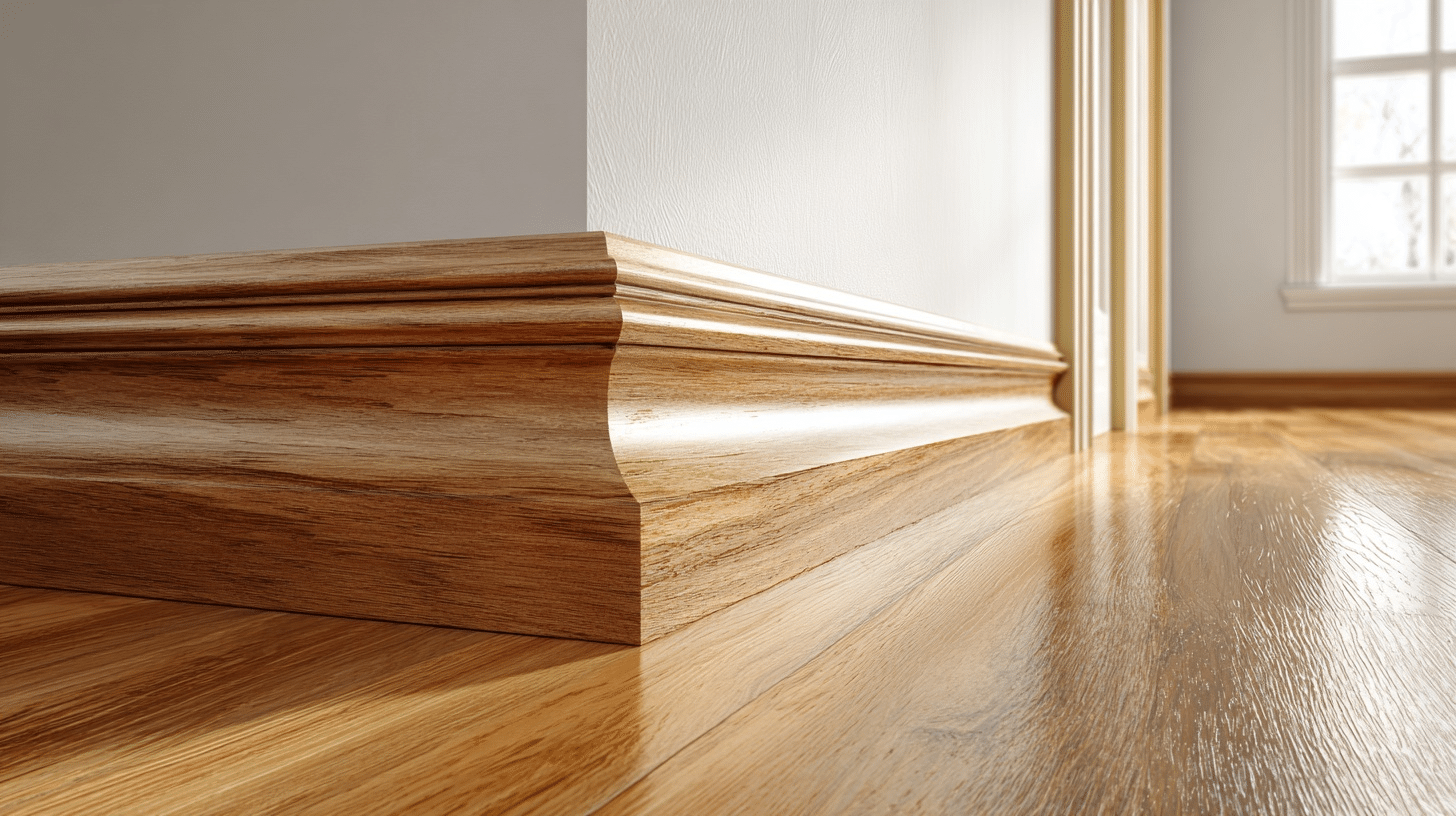
10. Base Cap Moulding
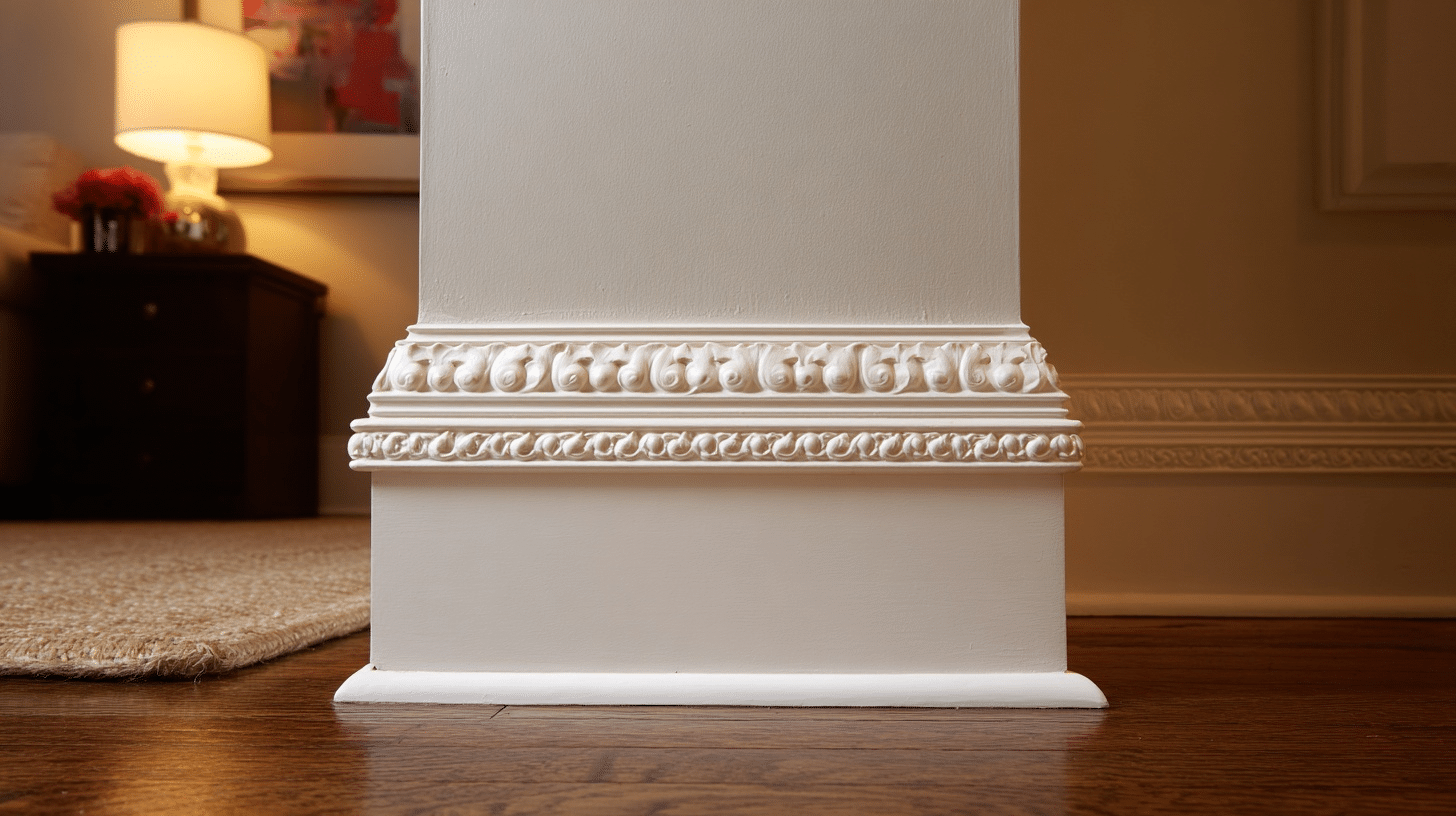
Base cap molding sits on top of flat baseboards, adding decorative detail to simple trim installations. This small accent piece changes basic baseboards into more elaborate designs.
These types of molding allow mixing simple and detailed elements for custom appearances.
- Styles: Small decorative profiles including beads, curves, and angular details.
- Materials: Wood species matching baseboards, MDF, and composite options.
- Functionality: Decorative enhancement, custom trim creation, and architectural detail addition.
11. Dentil Moulding
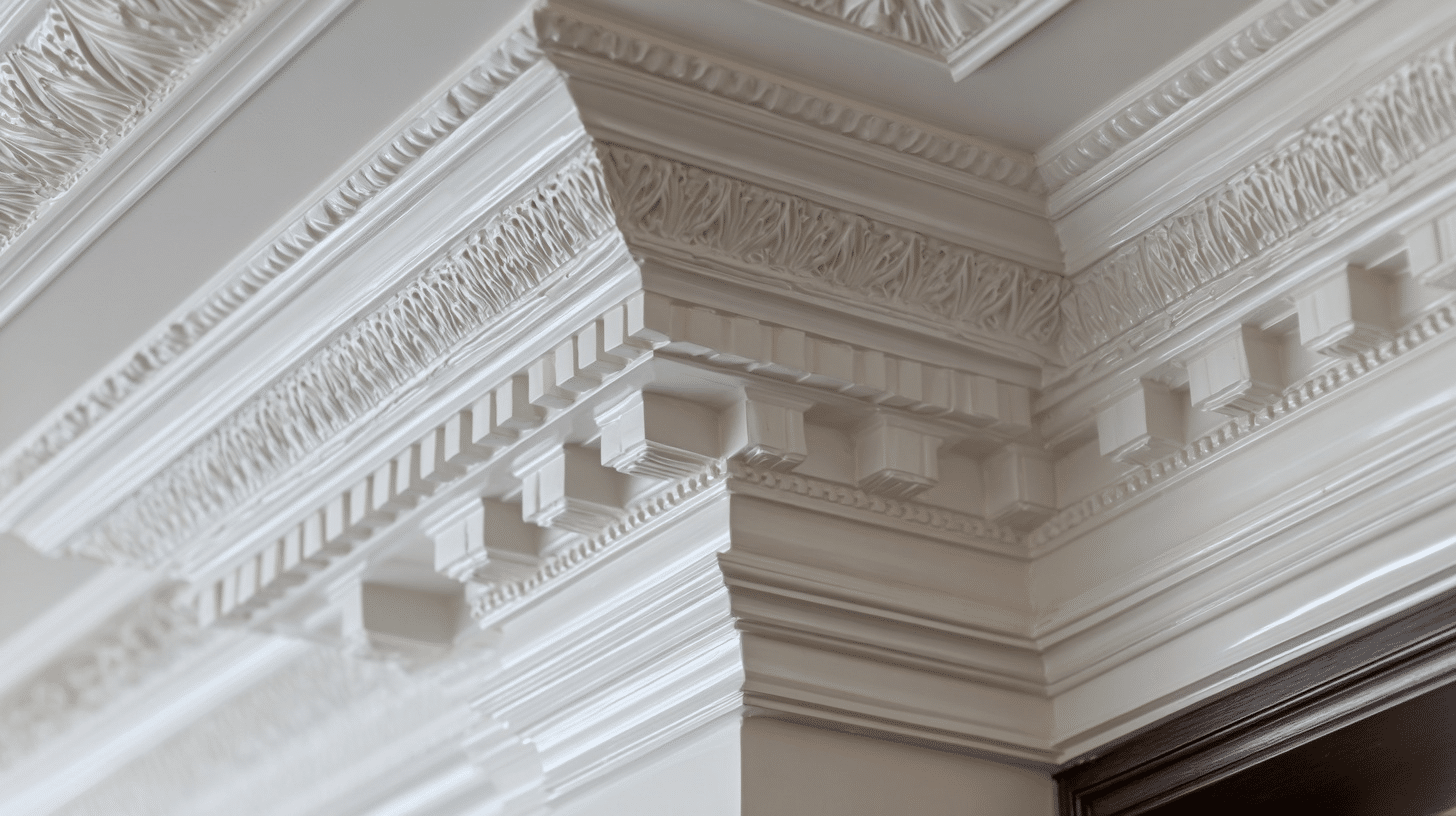
Dentil molding features small rectangular blocks spaced evenly along its length, creating tooth-like patterns.
This classical detail adds formal charm to crown molding installations. The repeated pattern provides visual rhythm and traditional architectural character.
- Styles: Various block sizes and spacing options from fine to bold patterns.
- Materials: Wood, polyurethane for intricate details, and MDF for painted applications.
- Functionality: Classical decoration, formal architectural character, and visual rhythm creation.
12. Stop Moulding
Stop molding installs inside door jambs to prevent doors from swinging too far when closing. This functional trim also provides a finished appearance around door openings.
Different profiles accommodate various door weights and swing requirements.
- Styles: Simple rectangular stops to detailed profiles matching door casings.
- Materials: Wood species matching door trim, MDF, and composite materials.
- Functionality: Door operation control, jamb protection, and finished opening appearances.
Latest Innovations and Trends in Molding
Modern types of molding continue evolving with new materials, installation methods, and design preferences.
Today’s homeowners have access to options that previous generations never imagined, making quality trim work more accessible and varied than ever before.
| Trend | Description |
|---|---|
| Eco-Friendly Materials | Use of recycled wood, bamboo, and low-VOC paints for a greener choice. |
| Minimalist Profiles | Sleek, simple lines that suit modern and contemporary interiors. |
| Bold Color Accents | Molding is painted in contrasting colors to make the walls pop. |
| Mixed Material Designs | Combining wood with metal or stone for a unique texture. |
| Oversized Molding | Larger crown or baseboards to add drama and height to rooms. |
| Integrated Lighting | LED strips built into molding for subtle, ambient lighting. |
| Textured Finishes | Carved, ribbed, or patterned surfaces for added character. |
| Custom 3D-Printed Molds | Personalized shapes and patterns created with 3D printing. |
| Transitional Styles | Blending classic molding shapes with modern elements. |
Materials Commonly Used
Molding materials range from traditional to modern options, each offering different benefits. Each type of molding is made up of a material that offers different installation requirements, costs, and maintenance needs.
- Wood remains popular, with pine, oak, maple, and cherry providing natural beauty and durability.
- MDF (Medium Density Fiberboard) offers smooth surfaces perfect for painted finishes at lower costs.
- Vinyl and PVC provide moisture resistance for bathrooms and kitchens. These materials won’t rot, warp, or require frequent maintenance.
- Polyurethane creates intricate details impossible with wood while remaining lightweight and paintable.
- Composite materials blend wood fibers with plastics for enhanced durability.
- Plaster suits restoration projects and custom shapes.
- Metal options like aluminum work for industrial or contemporary designs.
- Flexible materials bend around curved surfaces, where rigid materials fail.
Step-by-Step Instructions on How to Install Molding
Installing different types of molding requires proper planning, accurate measurements, and basic carpentry skills.
Following the right sequence and using correct techniques ensures professional-looking results that homeowners can achieve with patience and attention to detail.
Gather Your Tools and Materials

Before you begin, have everything ready so the process flows smoothly. You’ll need:
Tools: Measuring tape, ruler, spirit level, pencil, miter box and saw (or miter shears), screwdriver, drill, hammer, sandpaper (fine grit), paintbrush, paint roller, lint-free rag.
Materials: Rails and frames of choice, wall anchors and screws, wood filler, paintable cork, primer, water-based interior paint, painter’s tape, and an old sheet or drop cloth to protect your floors
Step 1: Plan Your Design
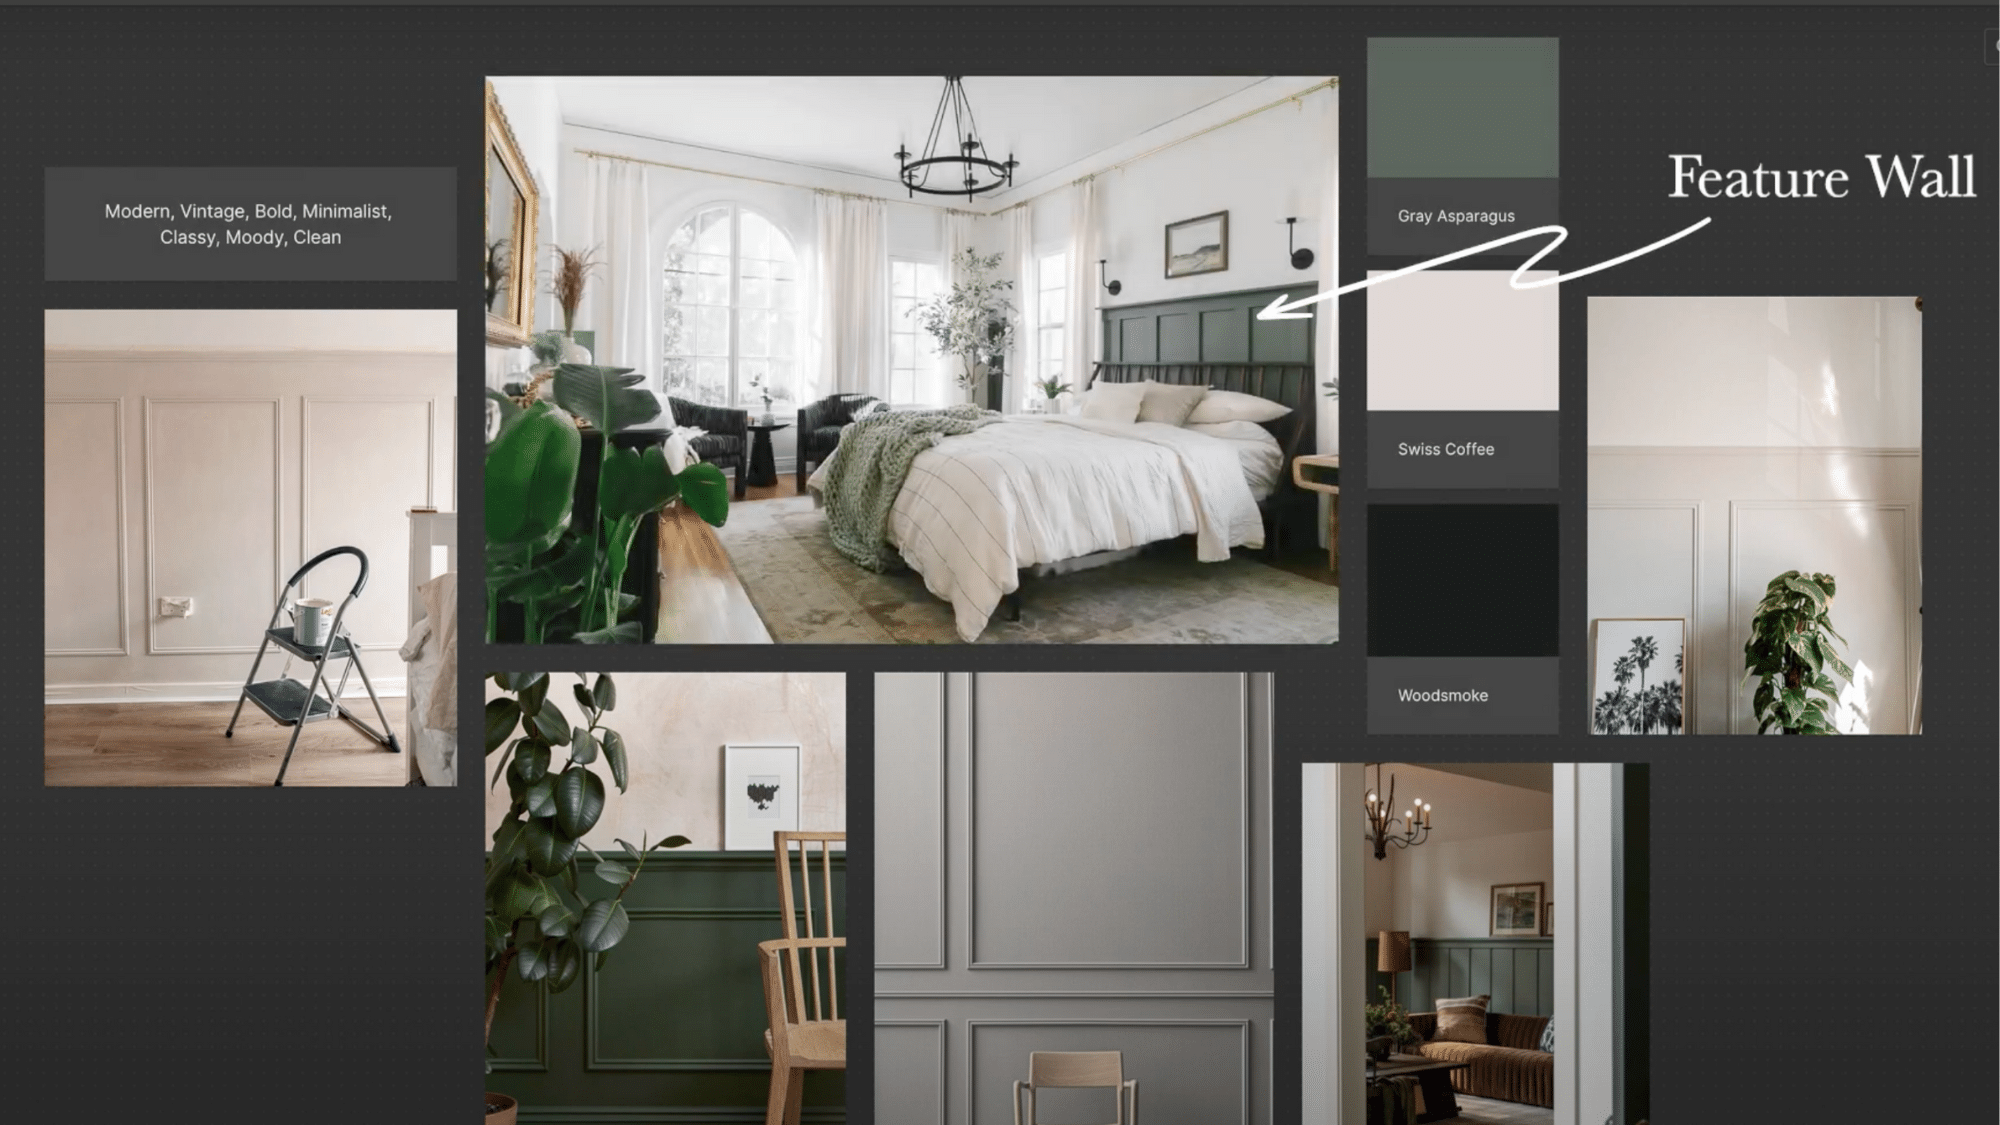
Start by imagining how you’d like your wall to look. Think about where the molding will go and how it will frame your space. You can sketch it on paper or create a simple mood board.
Mark the design on your wall using painter’s tape. This gives you a quick preview and helps you make adjustments before any cutting or nailing begins.
Step 2: Measure and Cut with Care
Measure your wall’s height and width accurately. Mark these measurements directly on your molding pieces. Use a miter box to cut clean 45° angles so the corners fit neatly.
For long rails, cut pieces so they meet evenly. Sand down any rough edges for a smooth finish.
Step 3: Secure the Molding to the Wall
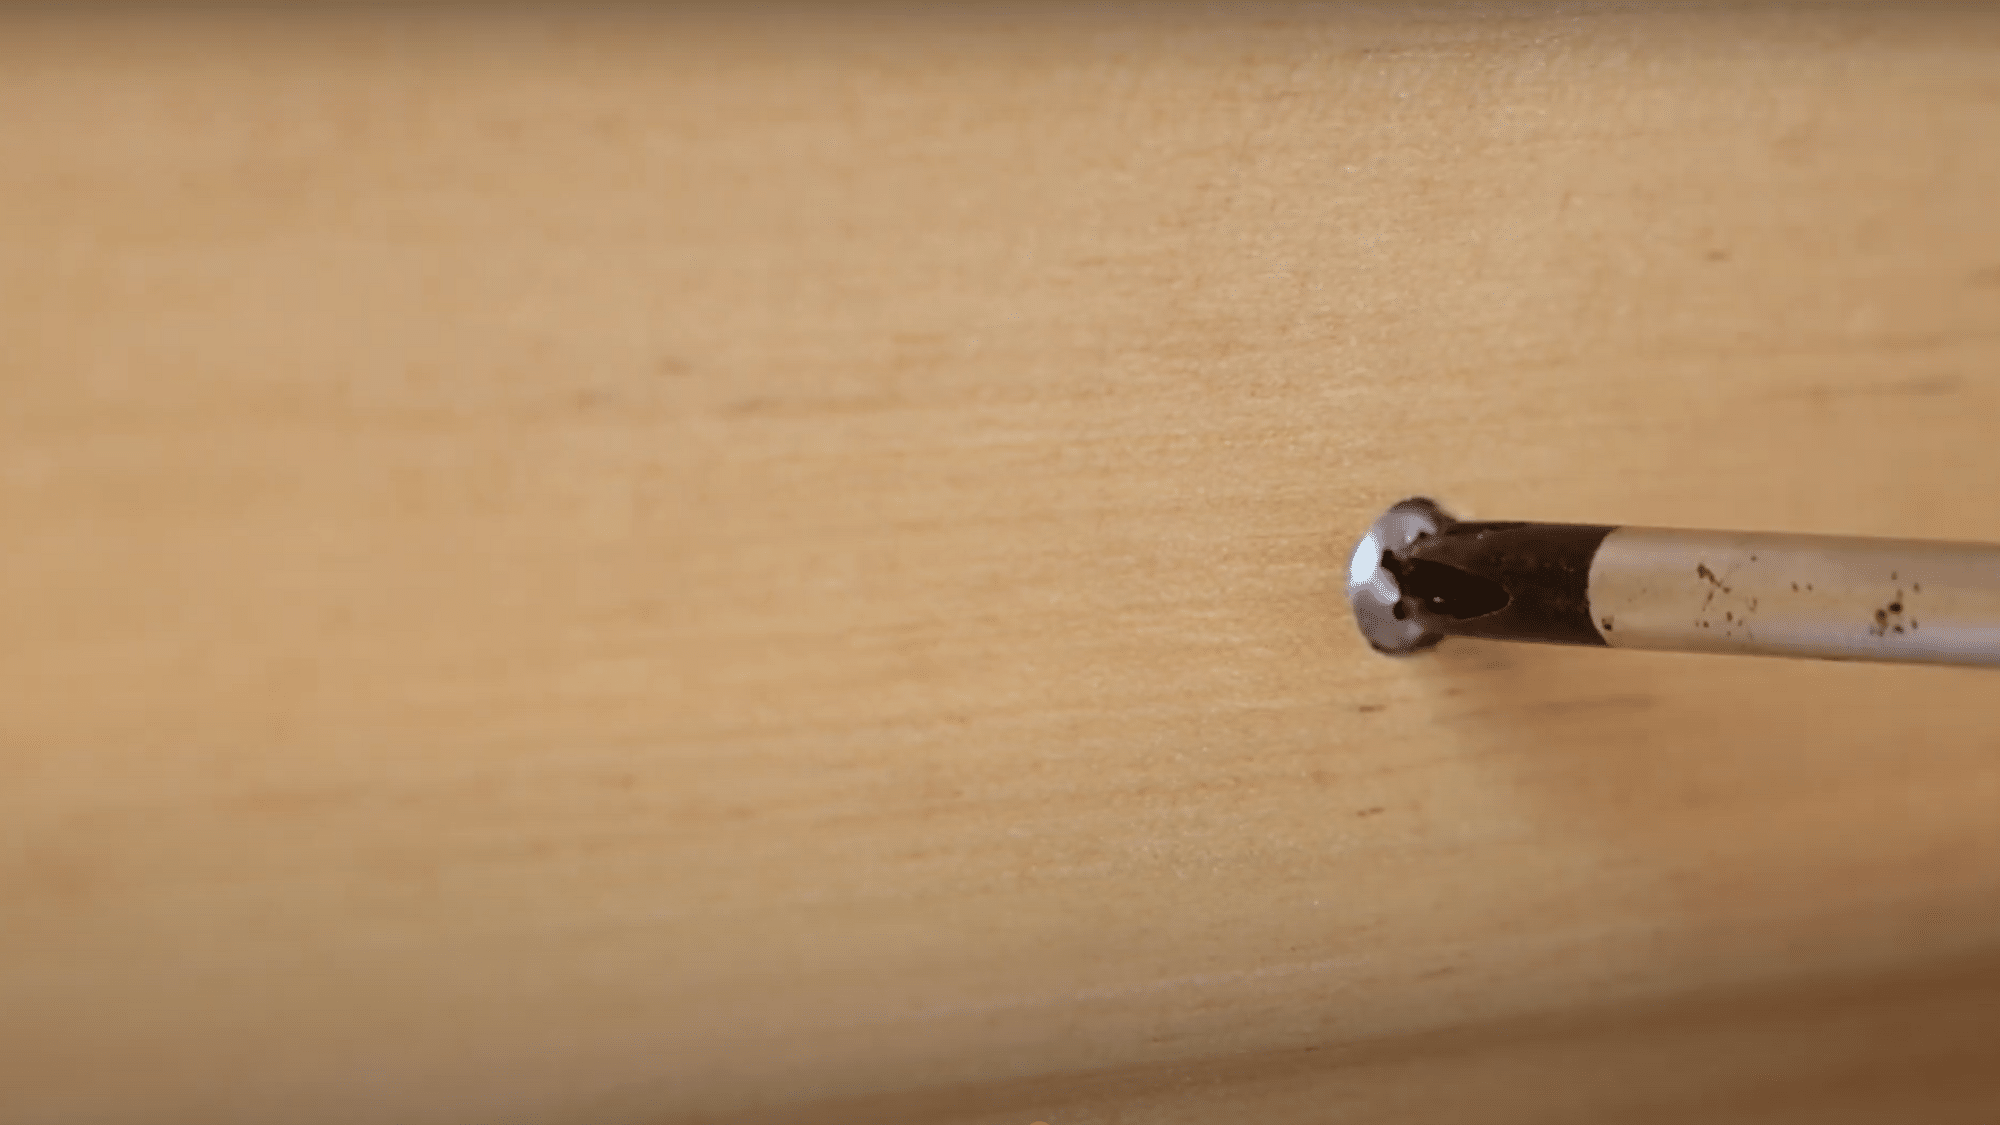
For chair rails or heavy pieces, pre-drill holes and insert wall anchors for extra stability. Attach the molding in sections: top first, then sides, then bottom, checking each piece with a spirit level.
For lighter frame sections, pin nails work well and keep the process simple.
Step 4: Fill, Smooth, and Seal
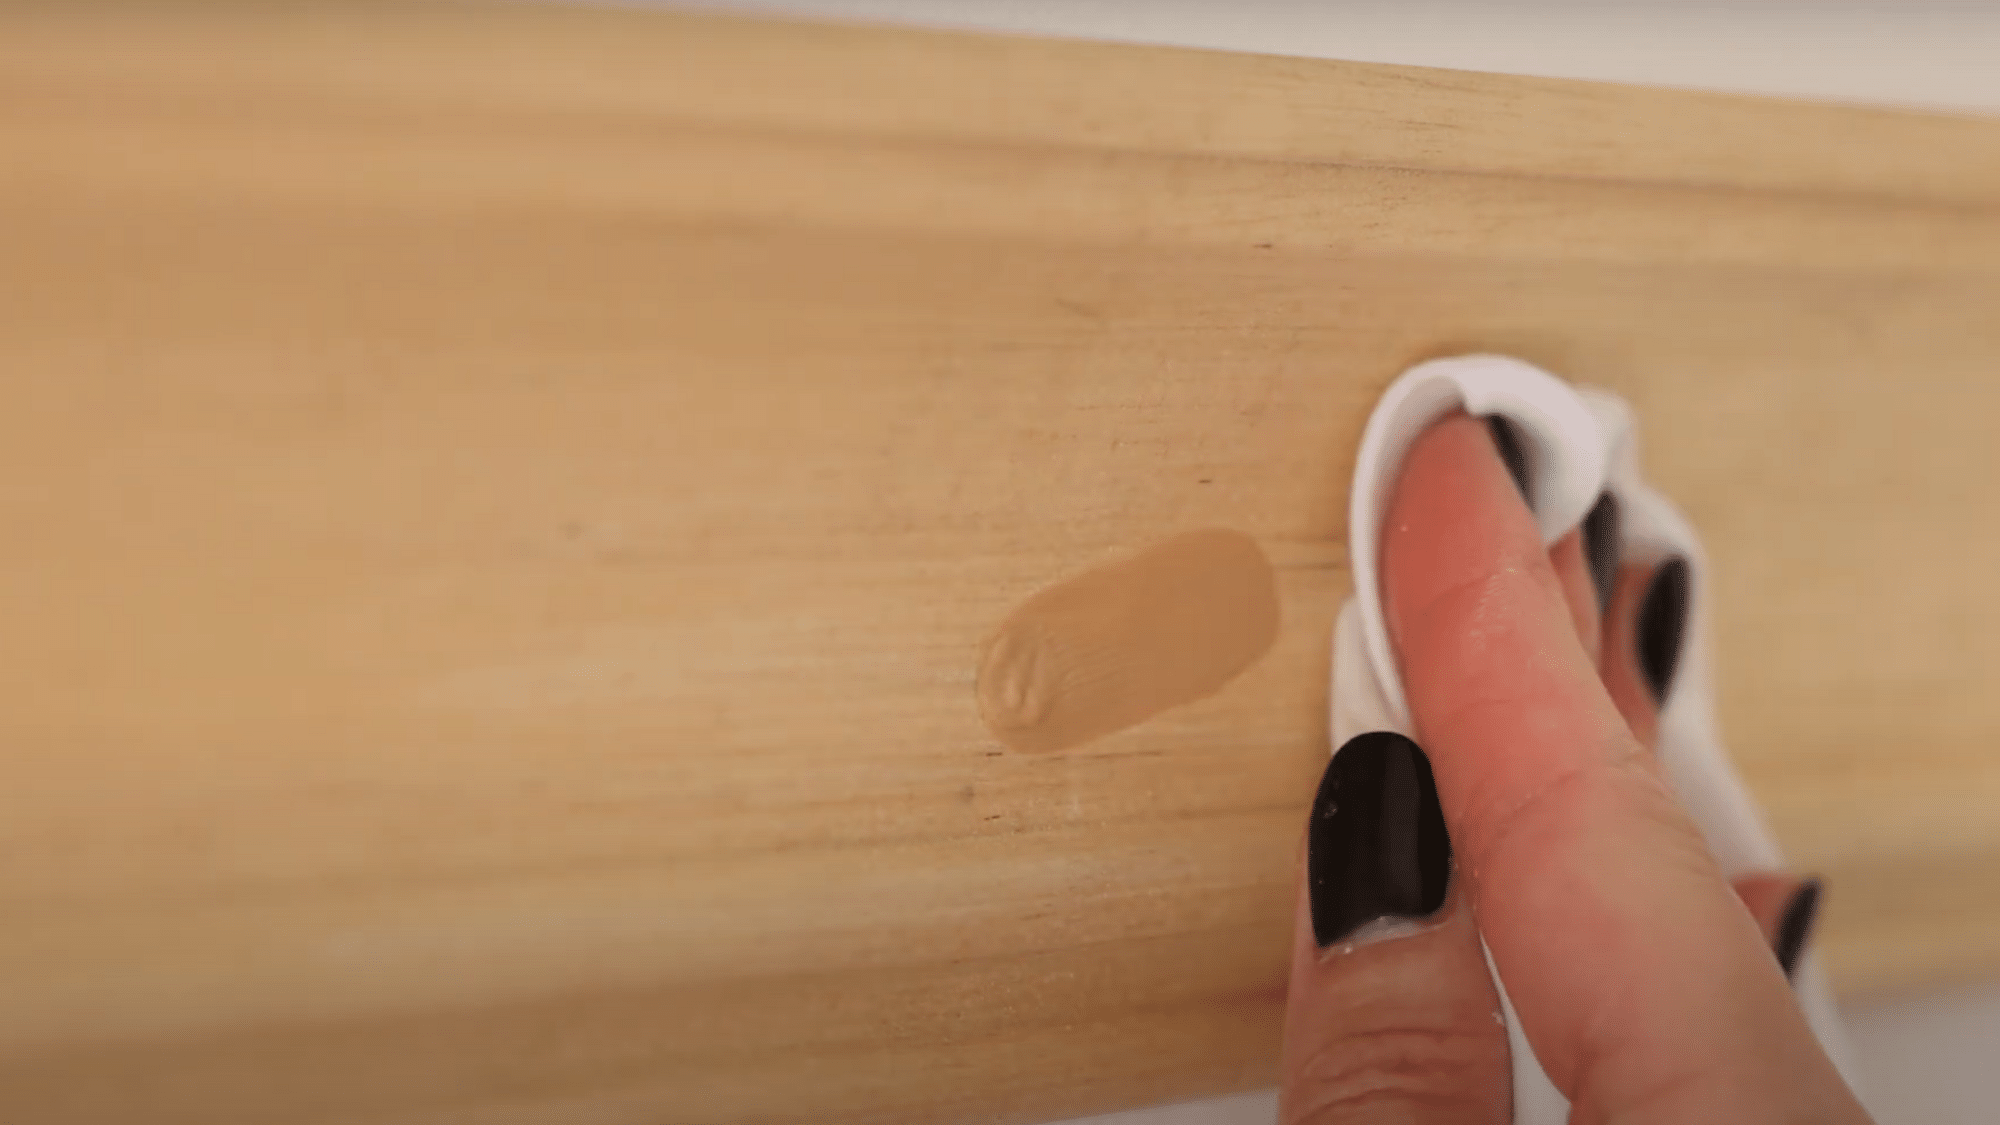
Apply paintable cork along all edges where the molding meets the wall to create a seamless look.
Fill nail holes and joints with wood filler, then lightly sand when dry. Wipe away dust with a clean cloth so your surface is ready for painting.
Step 5: Prime, Paint, and Reveal
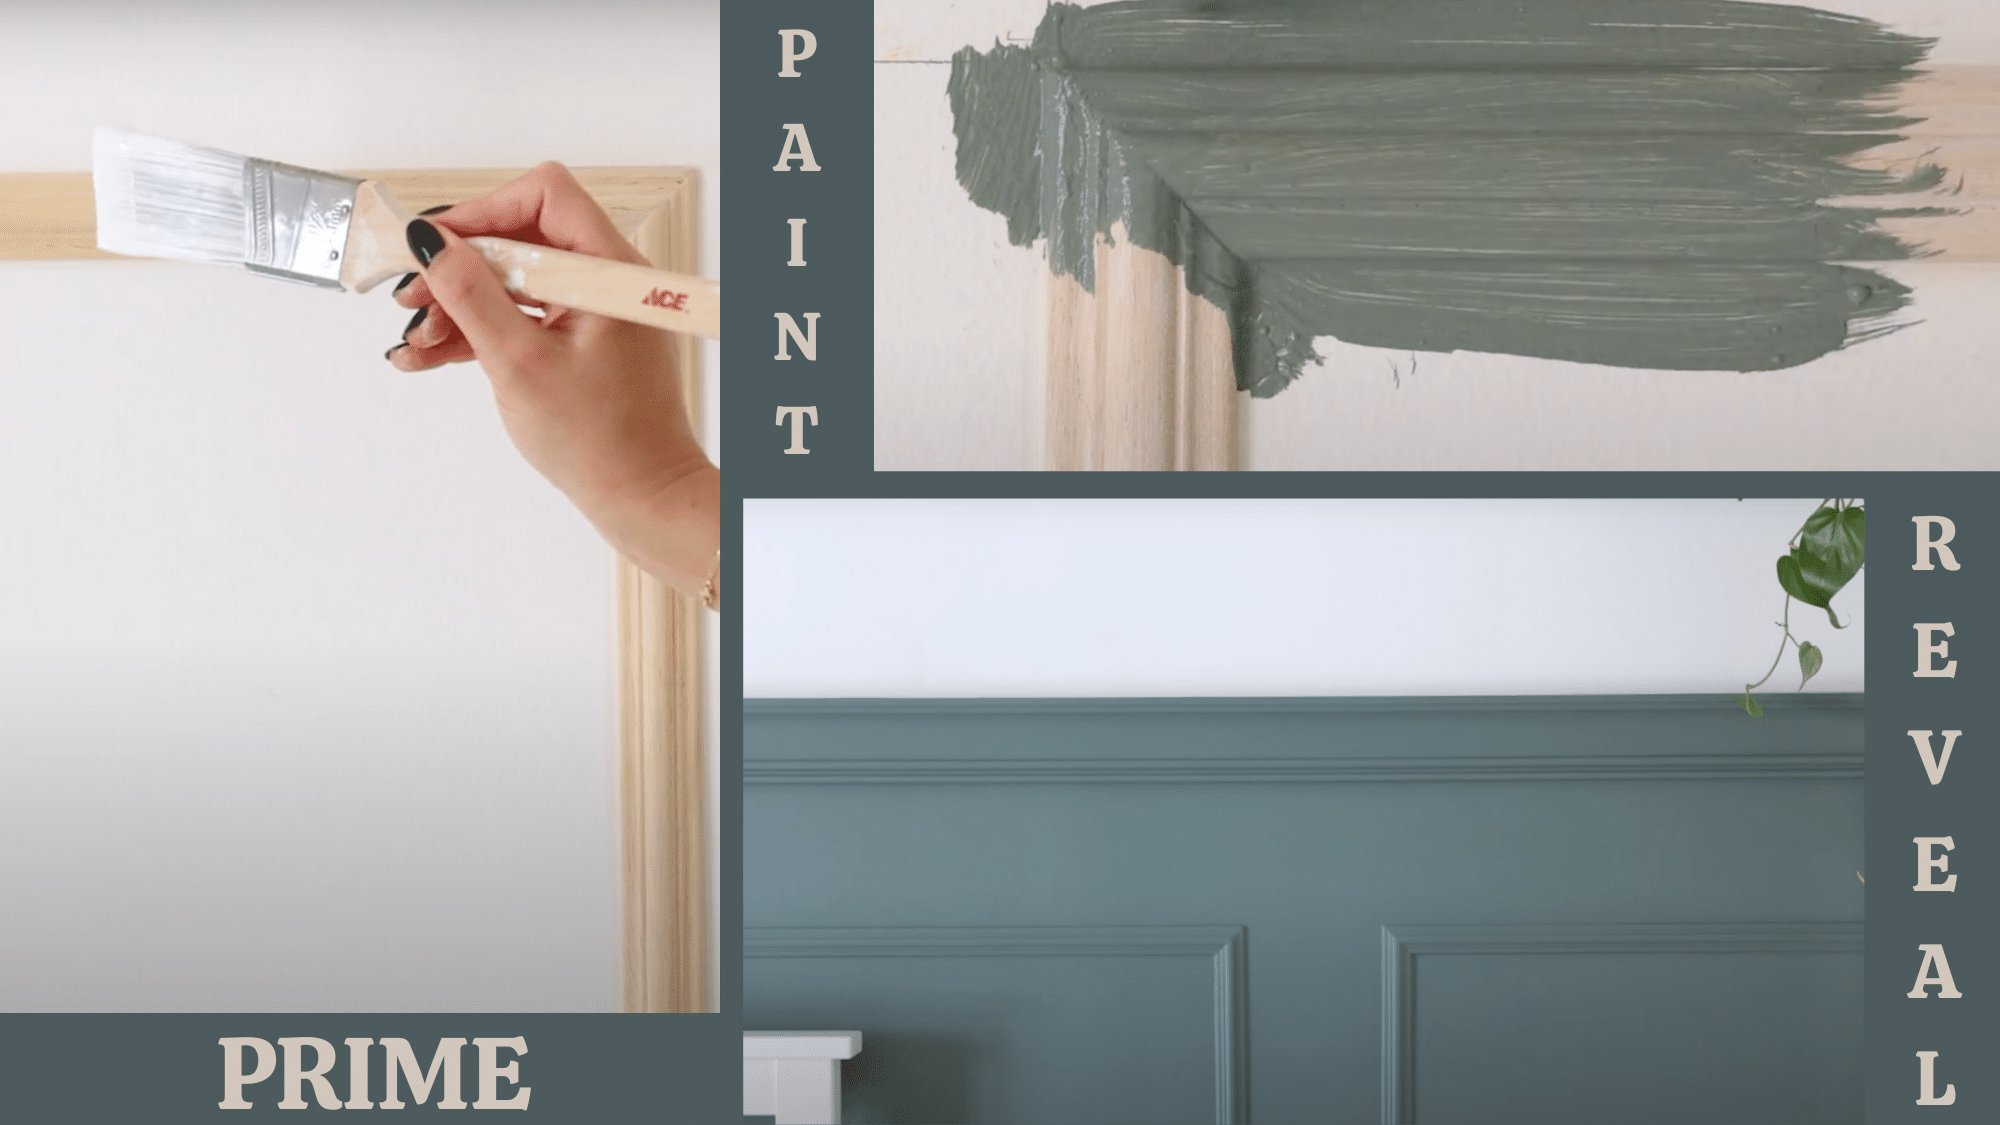
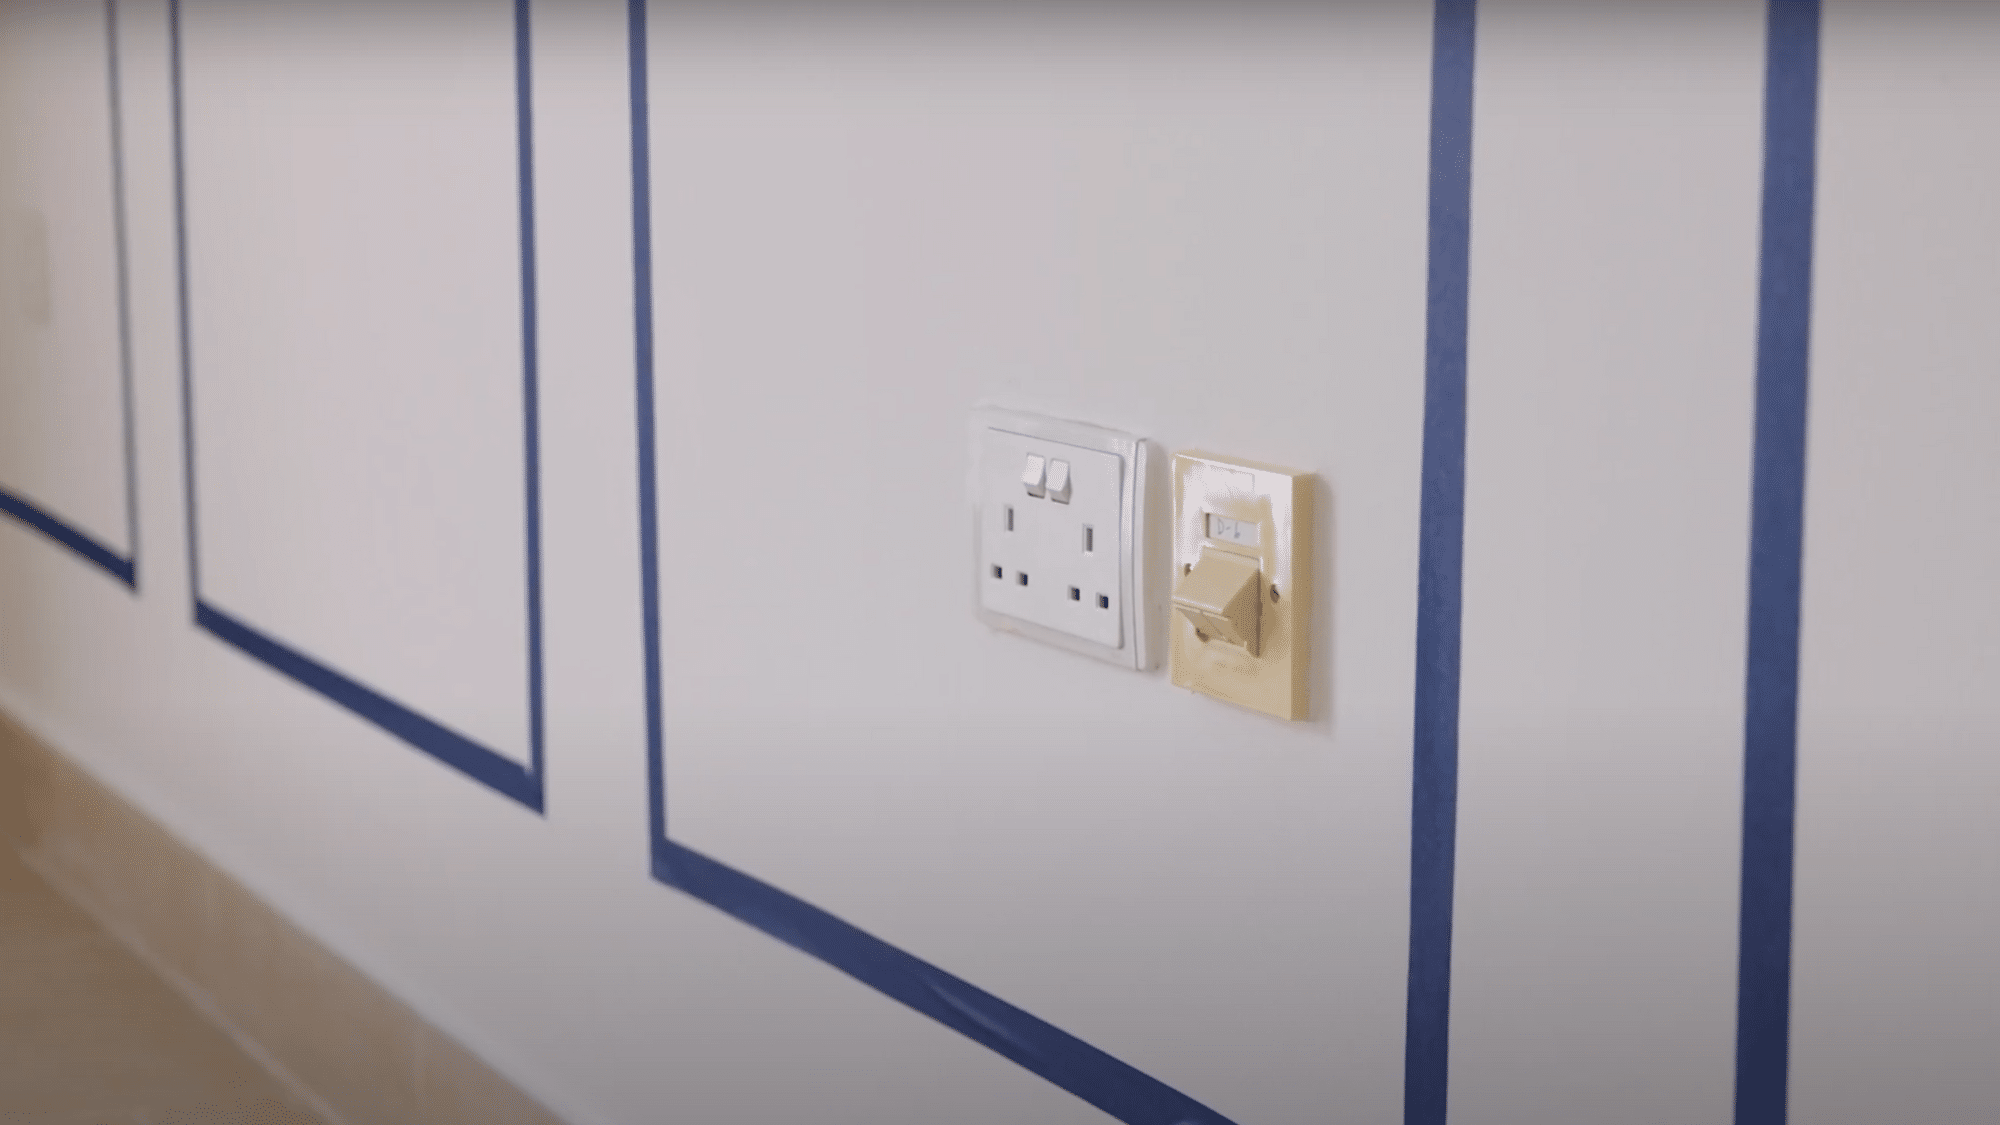
Protect your floors with a drop cloth and use painter’s tape around edges or outlets. Apply a primer to the molding, then paint in your chosen color.
Use a small brush for the molding and a roller for the wall between frames. Once dry, gently remove the painter’s tape to reveal your clean lines and enjoy your new feature wall.
For detailed instructions on how to DIY installation of wall molding, check out the video given below:
Tips to Keep in Mind While Installing Mold
When installing molding, a few thoughtful steps can make the difference between a rough finish and a polished one.
These tips will help you work with precision, save time, and achieve a professional-looking result.
- Always measure twice before cutting to avoid waste and mismatched joints.
- Use a spirit level to keep every piece straight and aligned.
- Sand all cut edges for a smooth, clean look before painting.
- Apply painter’s tape around edges to protect walls and floors from paint.
- Fill gaps and nail holes with wood filler or paintable cork for a seamless finish.
To Conclude
Choosing the right types of molding can change any space from basic to polished. Understanding different materials helps match durability needs with design goals.
No matter if you are selecting wood for warmth, MDF for painted finishes, or vinyl for moisture resistance, each material serves specific purposes.
The key lies in matching molding choices to individual spaces and needs. Start by measuring rooms and identifying which areas need attention first. Consider hiring professionals for complex installations, but simple projects work well for DIY approaches.
Ready to begin? Measure your spaces and visit local suppliers to see materials firsthand before making final decisions.