Flat, single-color walls make rooms feel like they’re missing something.
What if walls could have texture and depth? What if two colors could blend in interesting ways?
Professional painters use painting techniques for walls that regular people rarely try. But these methods aren’t as hard as they seem.
This blog tells you popular painting techniques. Start reading to find the right method for any room.
Preparing the Room Before Painting
Proper preparation makes all the difference before painting walls.
Skip this step, and the paint job suffers. A well-prepped room saves time and delivers better results.
Clear the Space
Remove all furniture from the room if possible. Push larger pieces to the center and cover them with drop cloths.
Take down curtains, wall decorations, and switch plates. This gives painters full access to walls and prevents accidental damage to belongings during work.
Protect the Floors
Lay canvas drop cloths or plastic sheeting across the entire floor. Tape the edges down to prevent slipping. Paper works well too, but avoid thin plastic as it tears easily.
Good floor protection stops paint spills from ruining carpets or hardwood surfaces permanently.
Cover Fixtures and Outlets
Use painter’s tape to cover light switches, outlet covers, and door handles.
Remove or tape over doorknobs and hardware. Cover ceiling fixtures with plastic bags secured with tape.
This prevents paint splatters on fixtures and makes cleanup much faster after the job is done.
How to Prep Walls Before Painting?
Start by cleaning the walls thoroughly. Dust and grease prevent paint from sticking properly, so wipe everything down with a damp cloth and mild soap.
Next, inspect for damage:
- Fill holes and cracks with spackling paste
- Sand rough patches smooth once dry
- Remove any loose or peeling paint
Finally, apply primer to bare spots or the entire wall if changing colors drastically. Let it dry completely before painting.
Painting Techniques for Walls
Different techniques – from color drenching to ombre create different looks; some add texture while others bring color depth.
The following are the different painting techniques.
Sponging
Dip a natural sea sponge into paint and dab it onto the wall in random patterns. This creates a soft, textured look with depth. Use two or three colors for more dimension.
The technique works great in bathrooms and adds elements without cluttering the space completely.
Rag Rolling
Roll a twisted rag dipped in glaze across the base coat. This creates flowing, fabric-like patterns on walls.
The texture mimics expensive wallpaper at a fraction of the cost. Practice on cardboard first to get consistent pressure.
Change rags frequently to maintain clean, crisp impressions throughout the room.
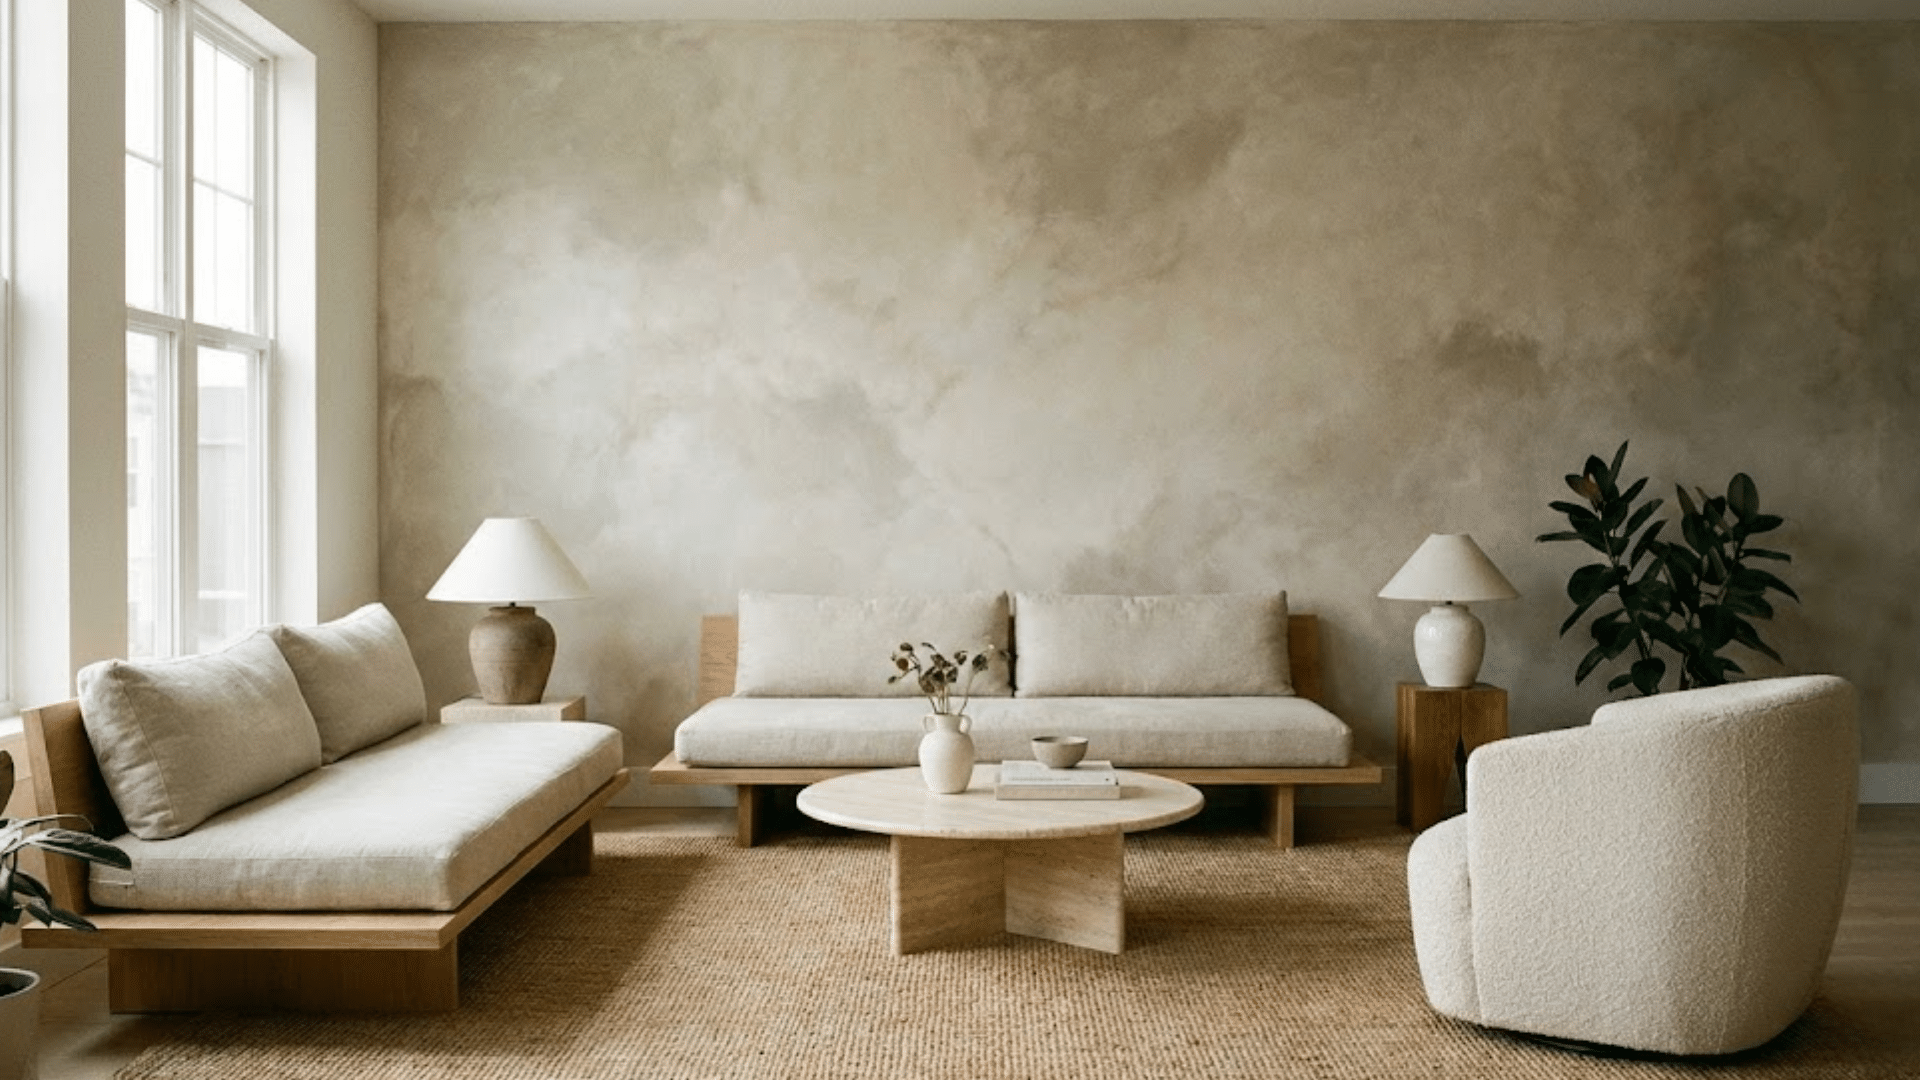
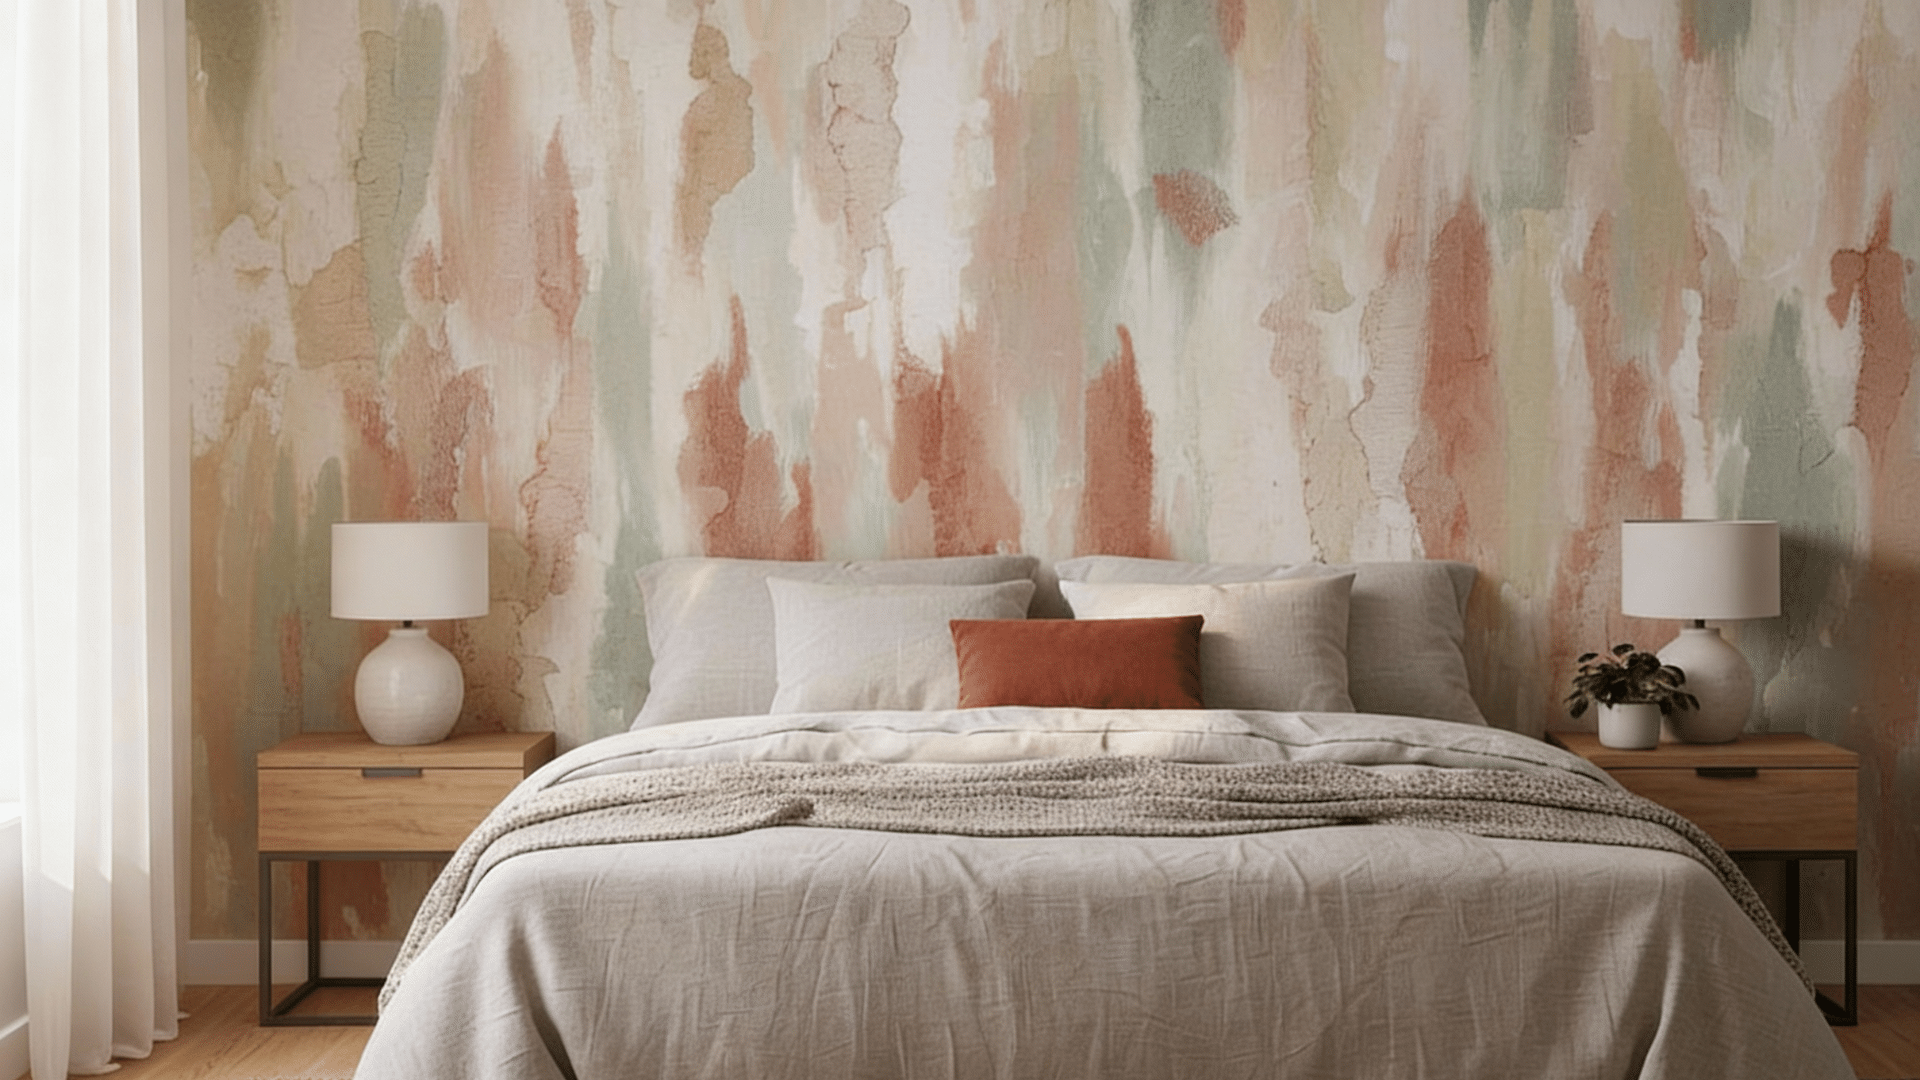
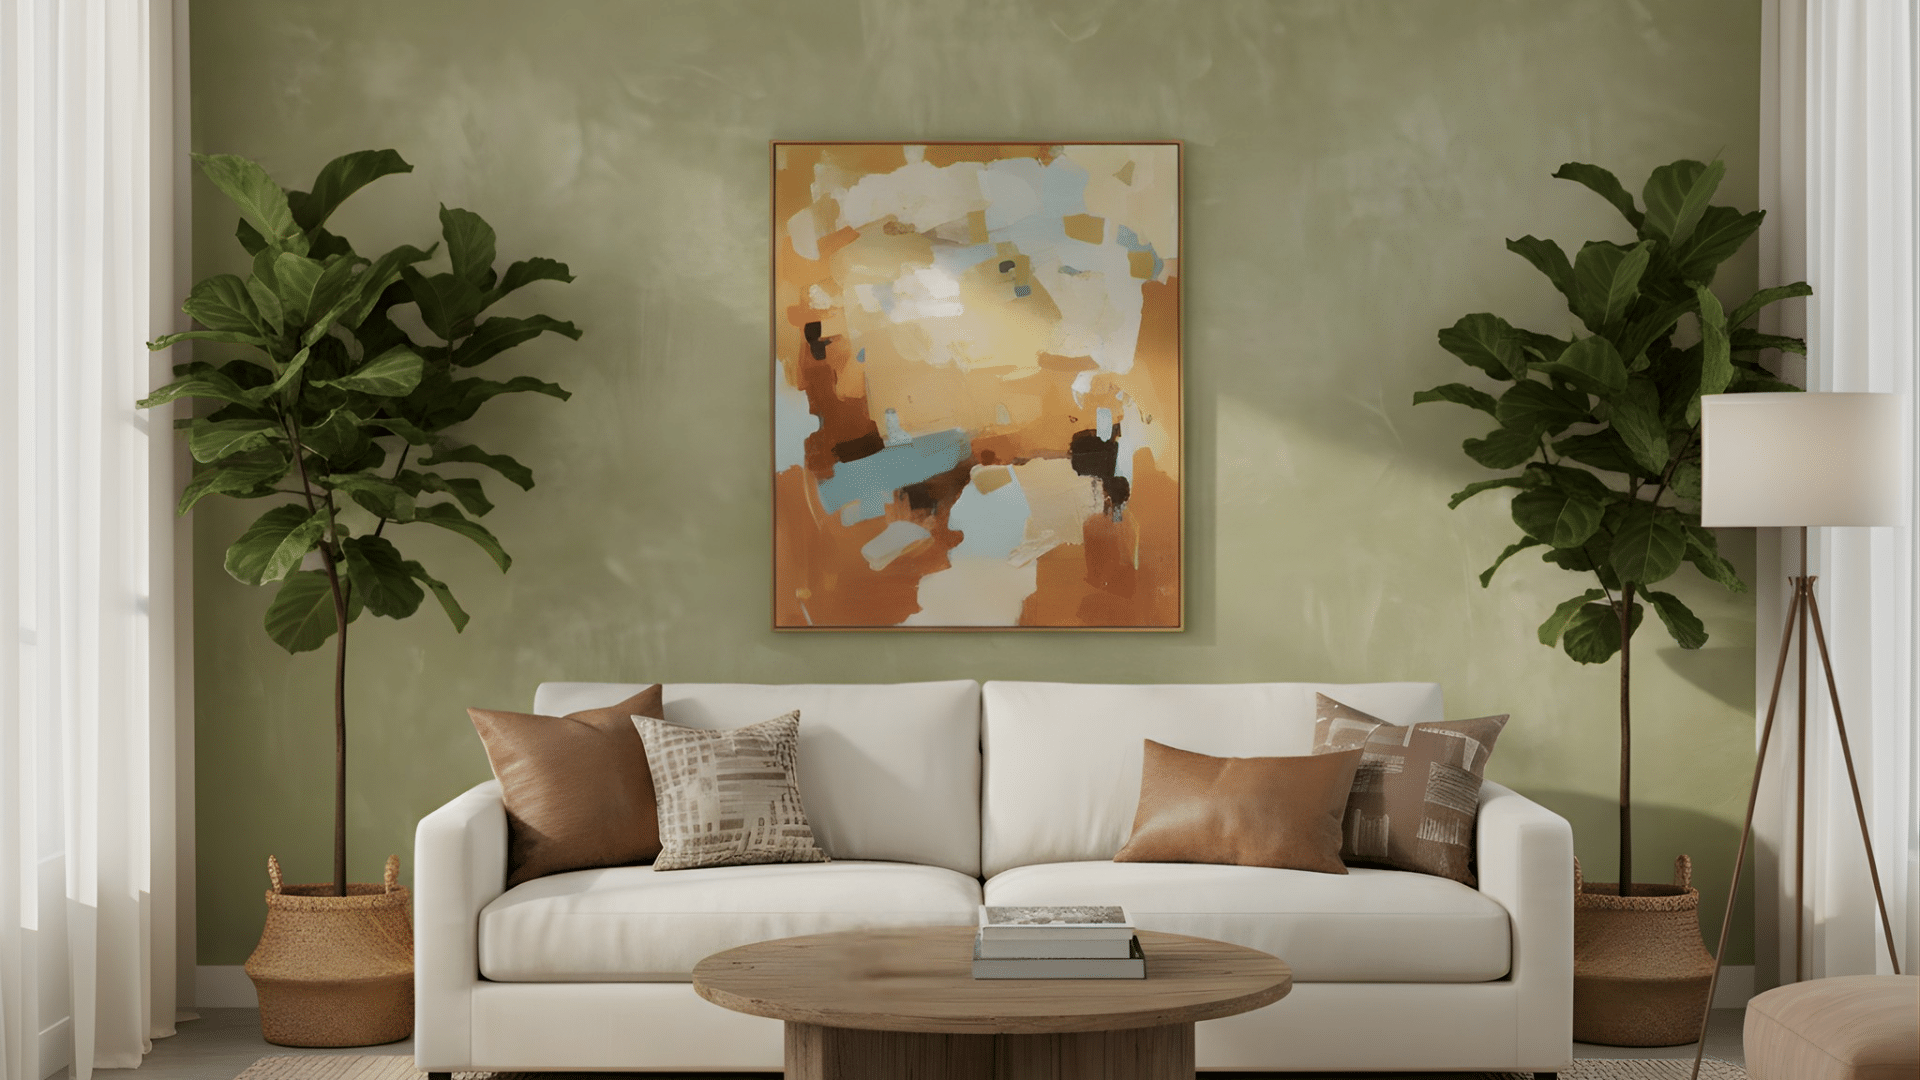
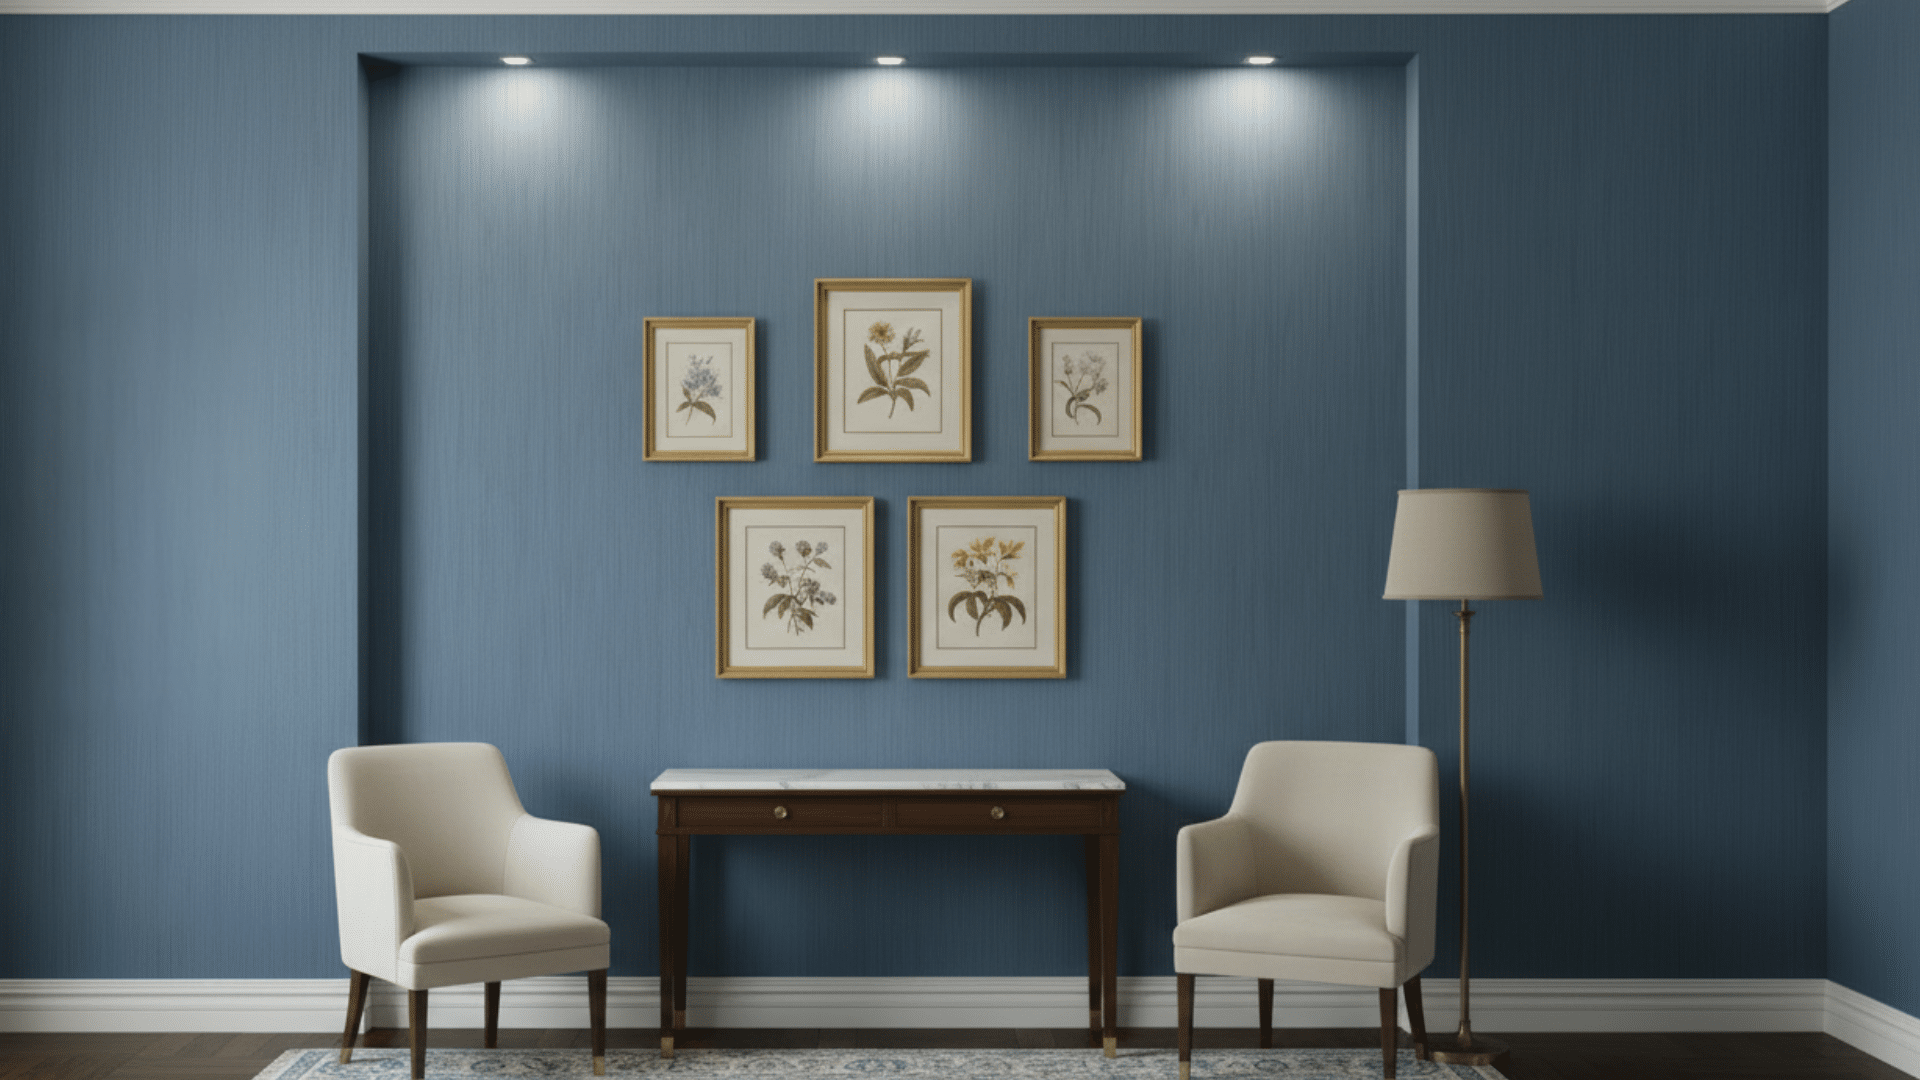
Color Washing
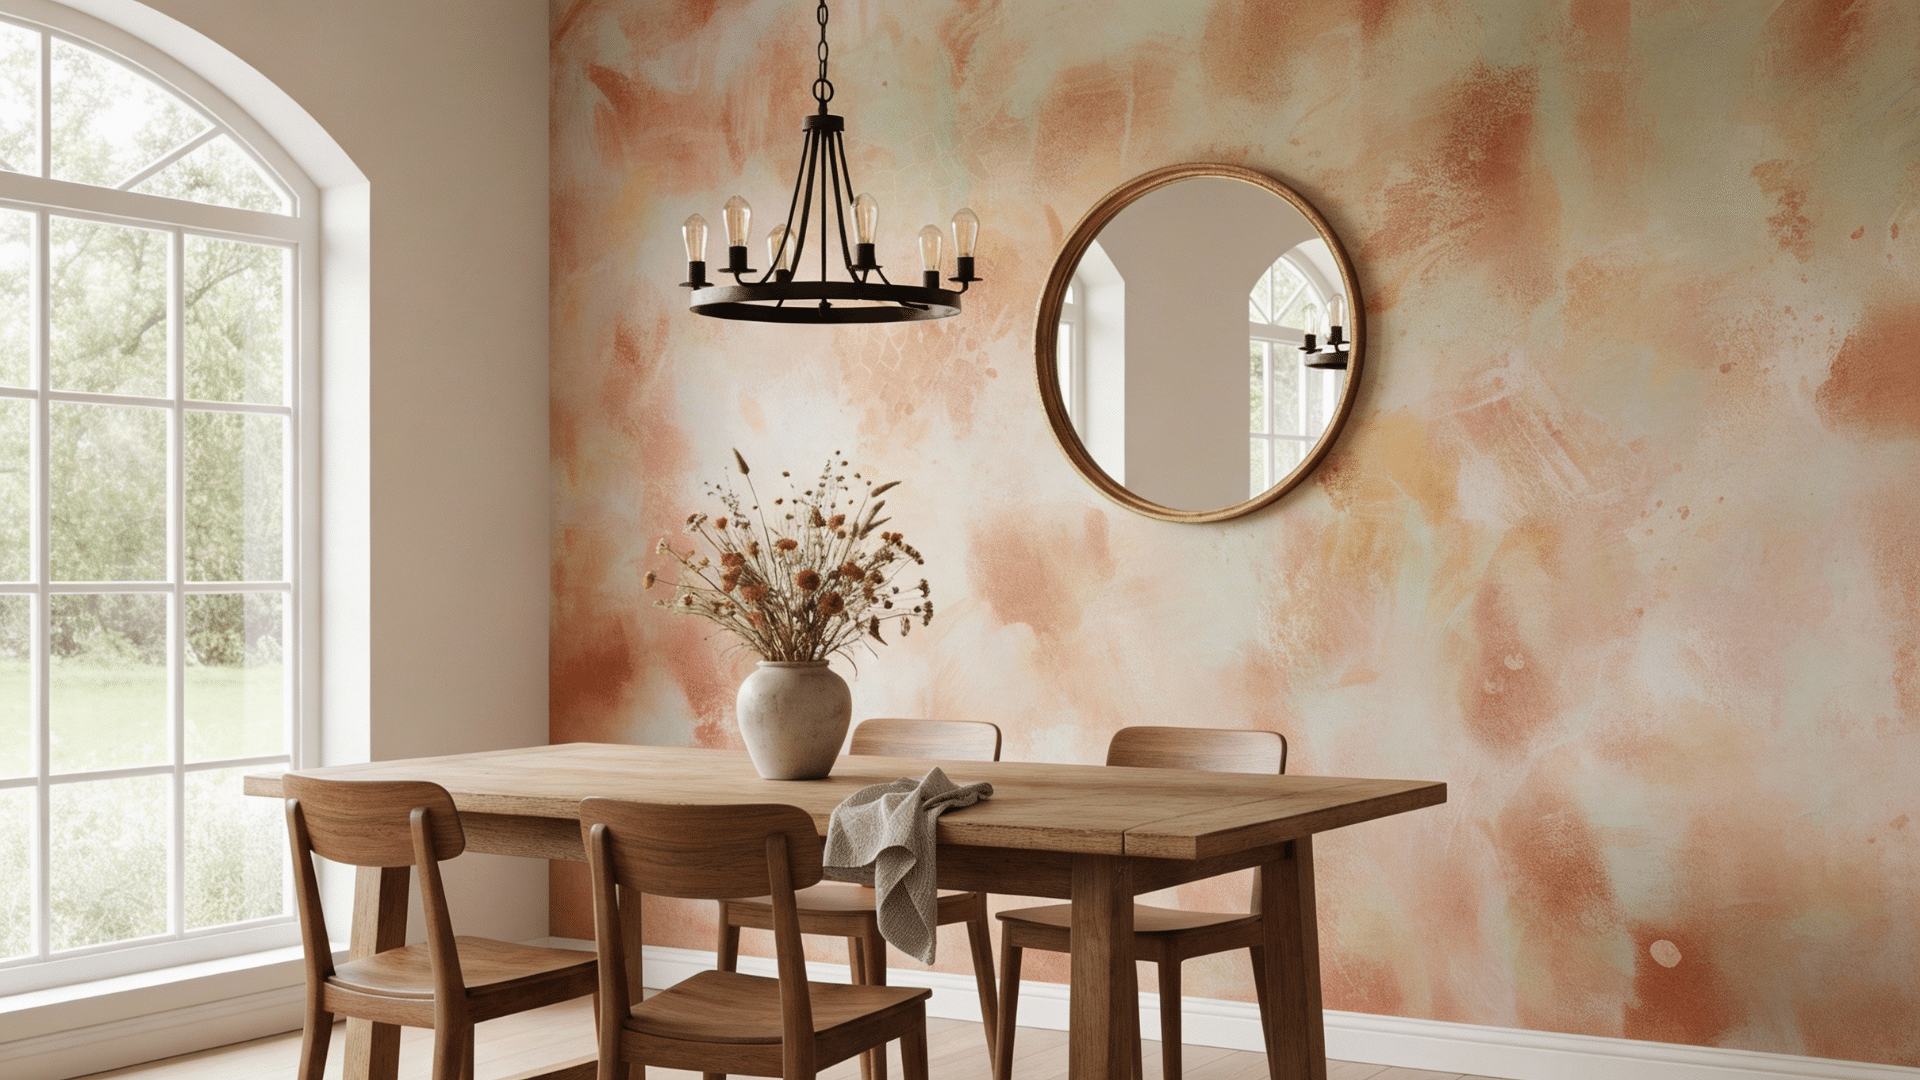
Apply a thin glaze over the base coat using long, sweeping strokes. Cross-hatch the strokes to blend colors naturally.
This technique gives walls a soft, watercolor appearance. It hides imperfections well and adds warmth to any room.
Use lighter glazes for subtle effects or darker ones for drama.
Ombré
Blend paint colors from dark to light vertically or horizontally across the wall.
Start with the darkest shade at the bottom. Work quickly while the paint is wet to blend the transition zones smoothly.
This gradient effect adds height to rooms and creates a stunning focal point that catches eyes immediately.
Stenciling
Tape a stencil firmly to the wall and dab paint through the openings with a stencil brush.
Keep the brush fairly dry to prevent bleeding under the edges. Repeat the pattern across the wall in consistent spacing.
This method adds custom designs without artistic skills. Change colors for multi-toned designs.
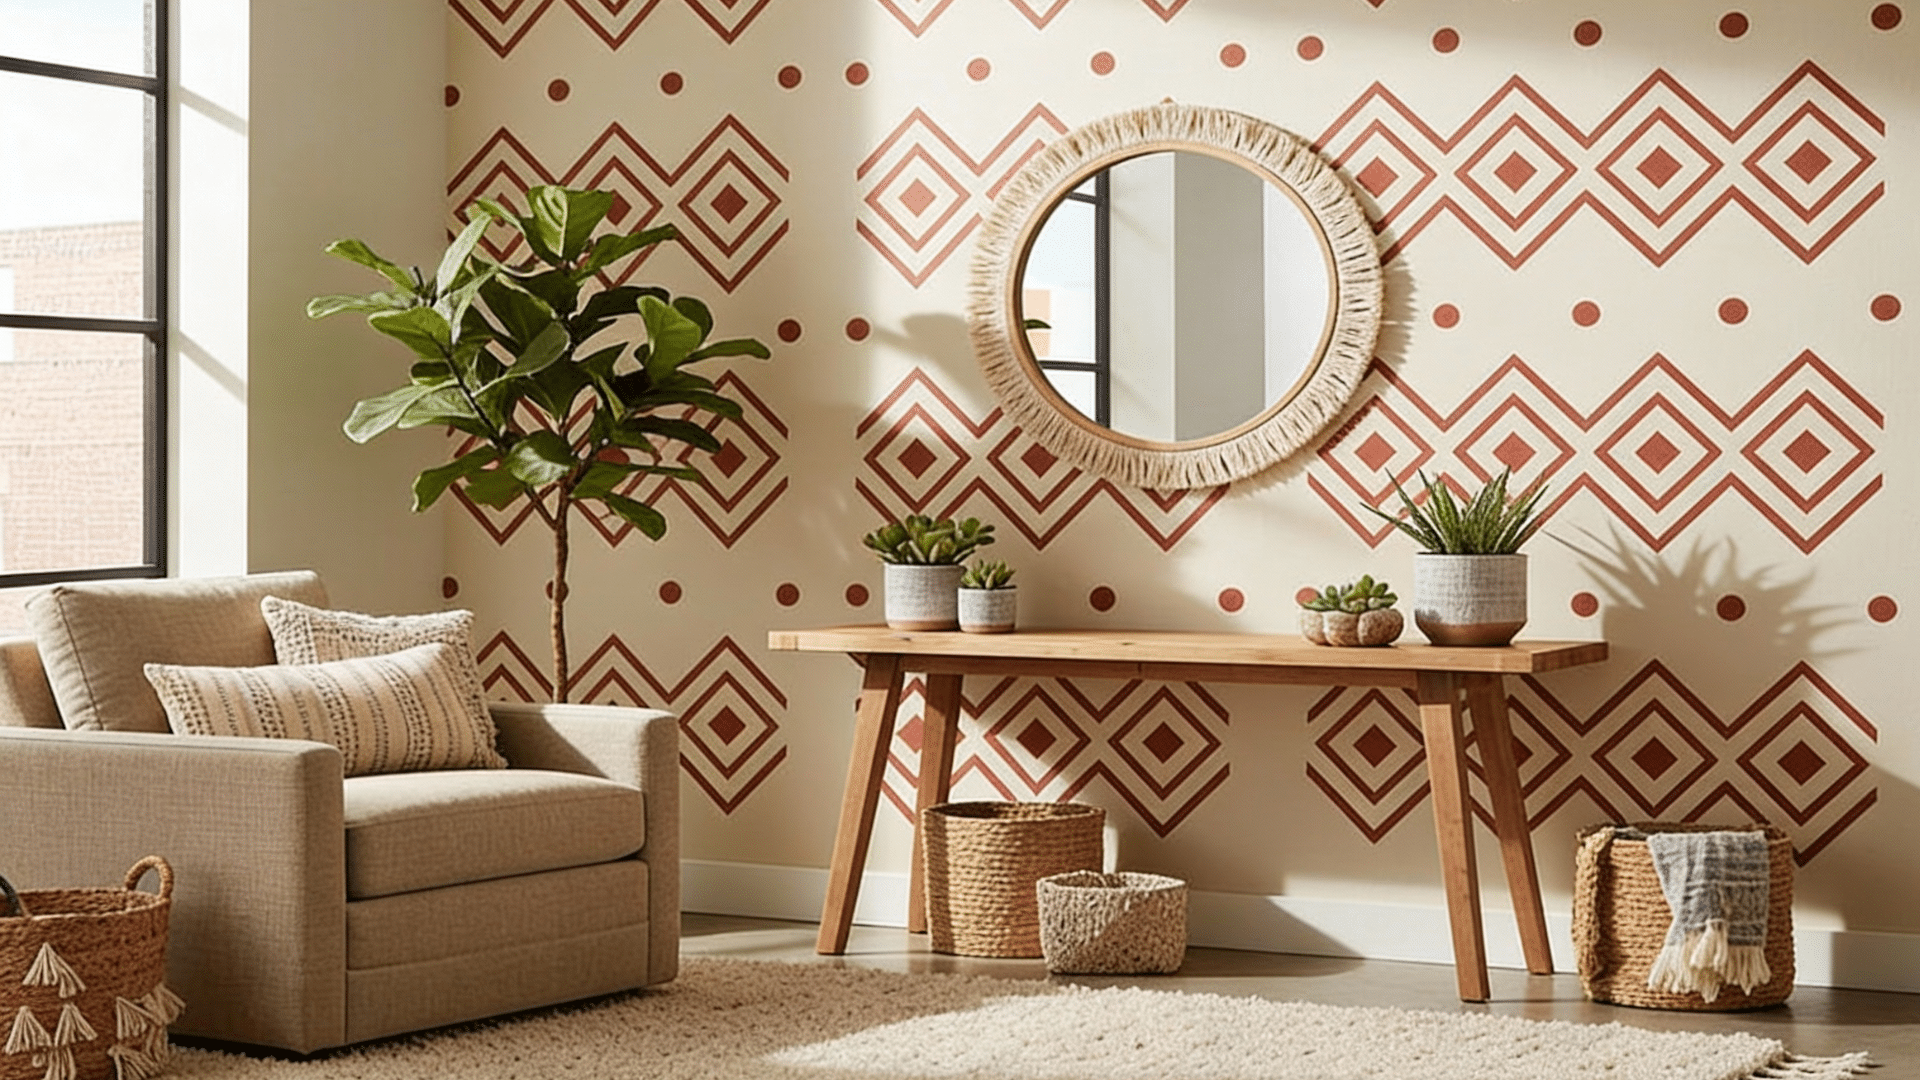
Pattern Painting
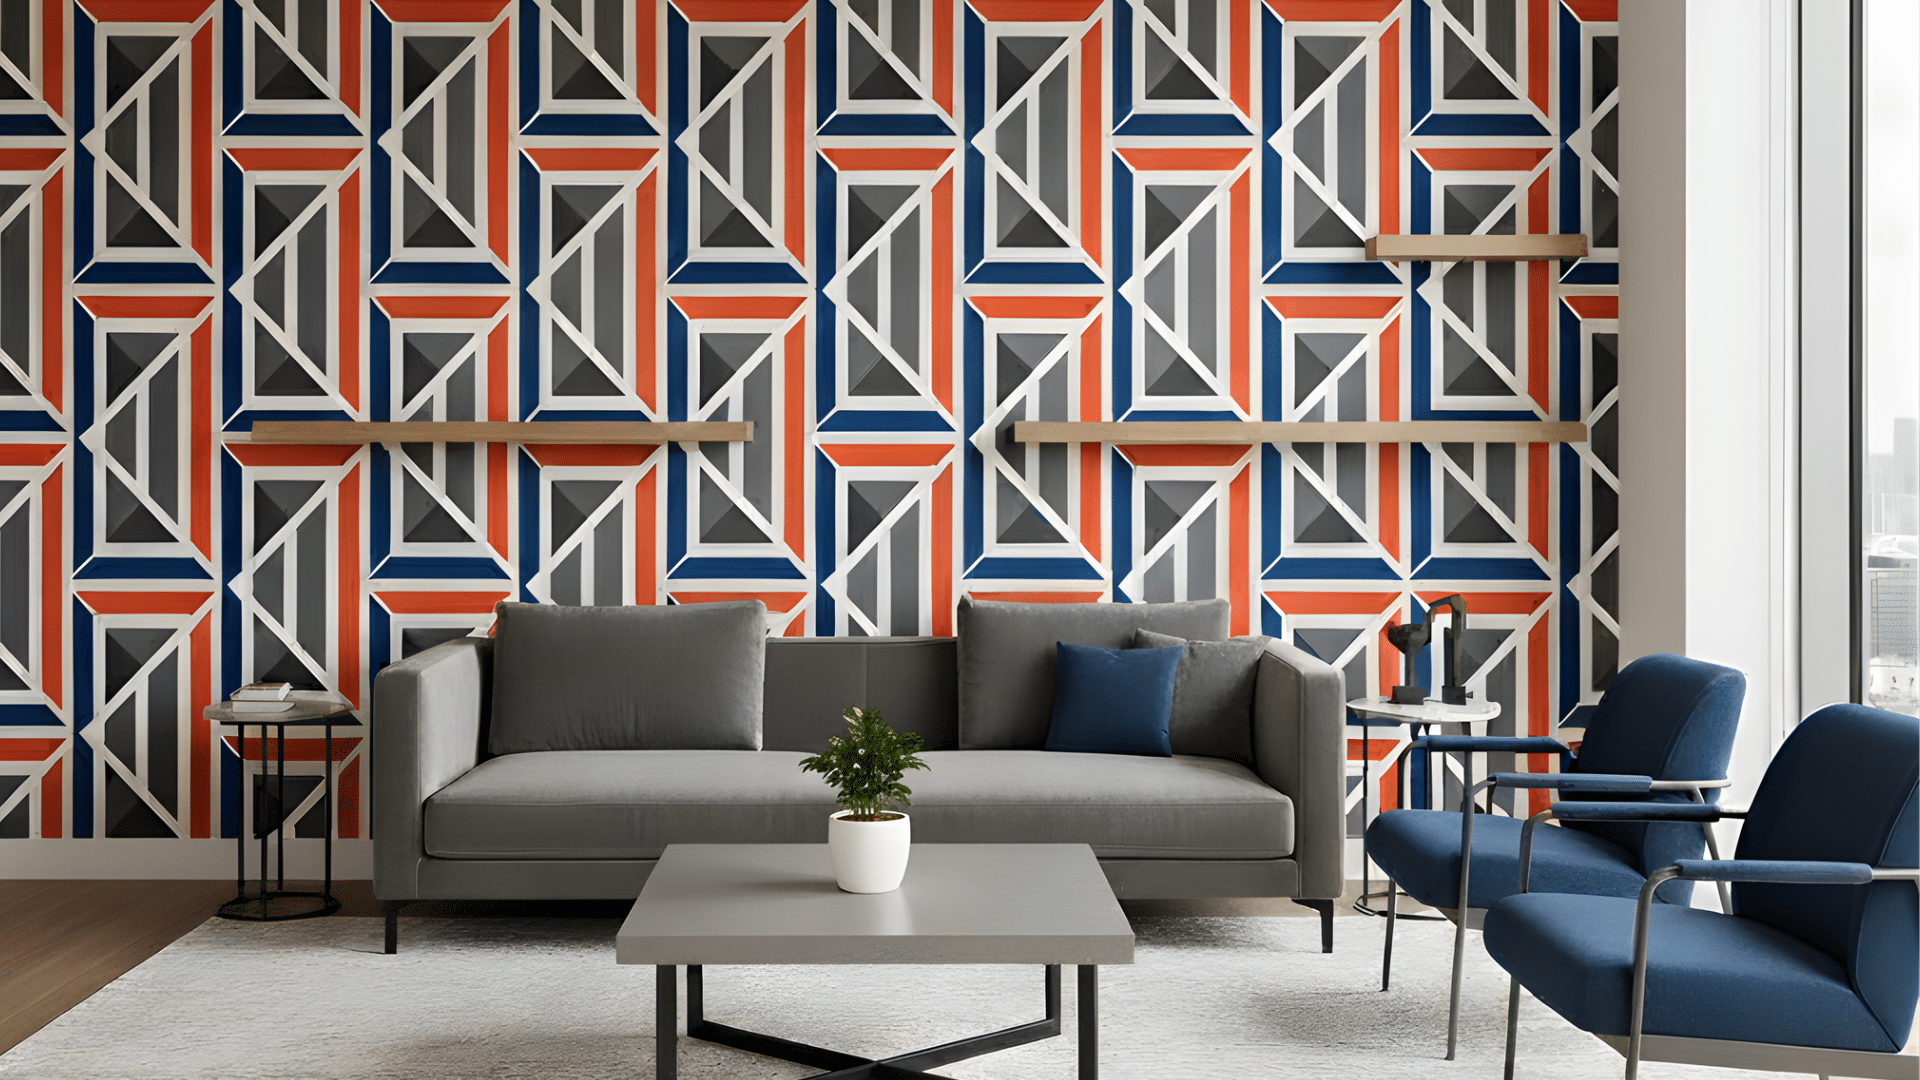
Use tape to create geometric shapes like diamonds, hexagons, or stripes on walls.
Paint inside the taped areas carefully. Remove tape while the paint is slightly wet for clean lines. Patterns add a different element to plain walls.
Measure carefully to keep spacing even and professional-looking throughout.
Checkerboard
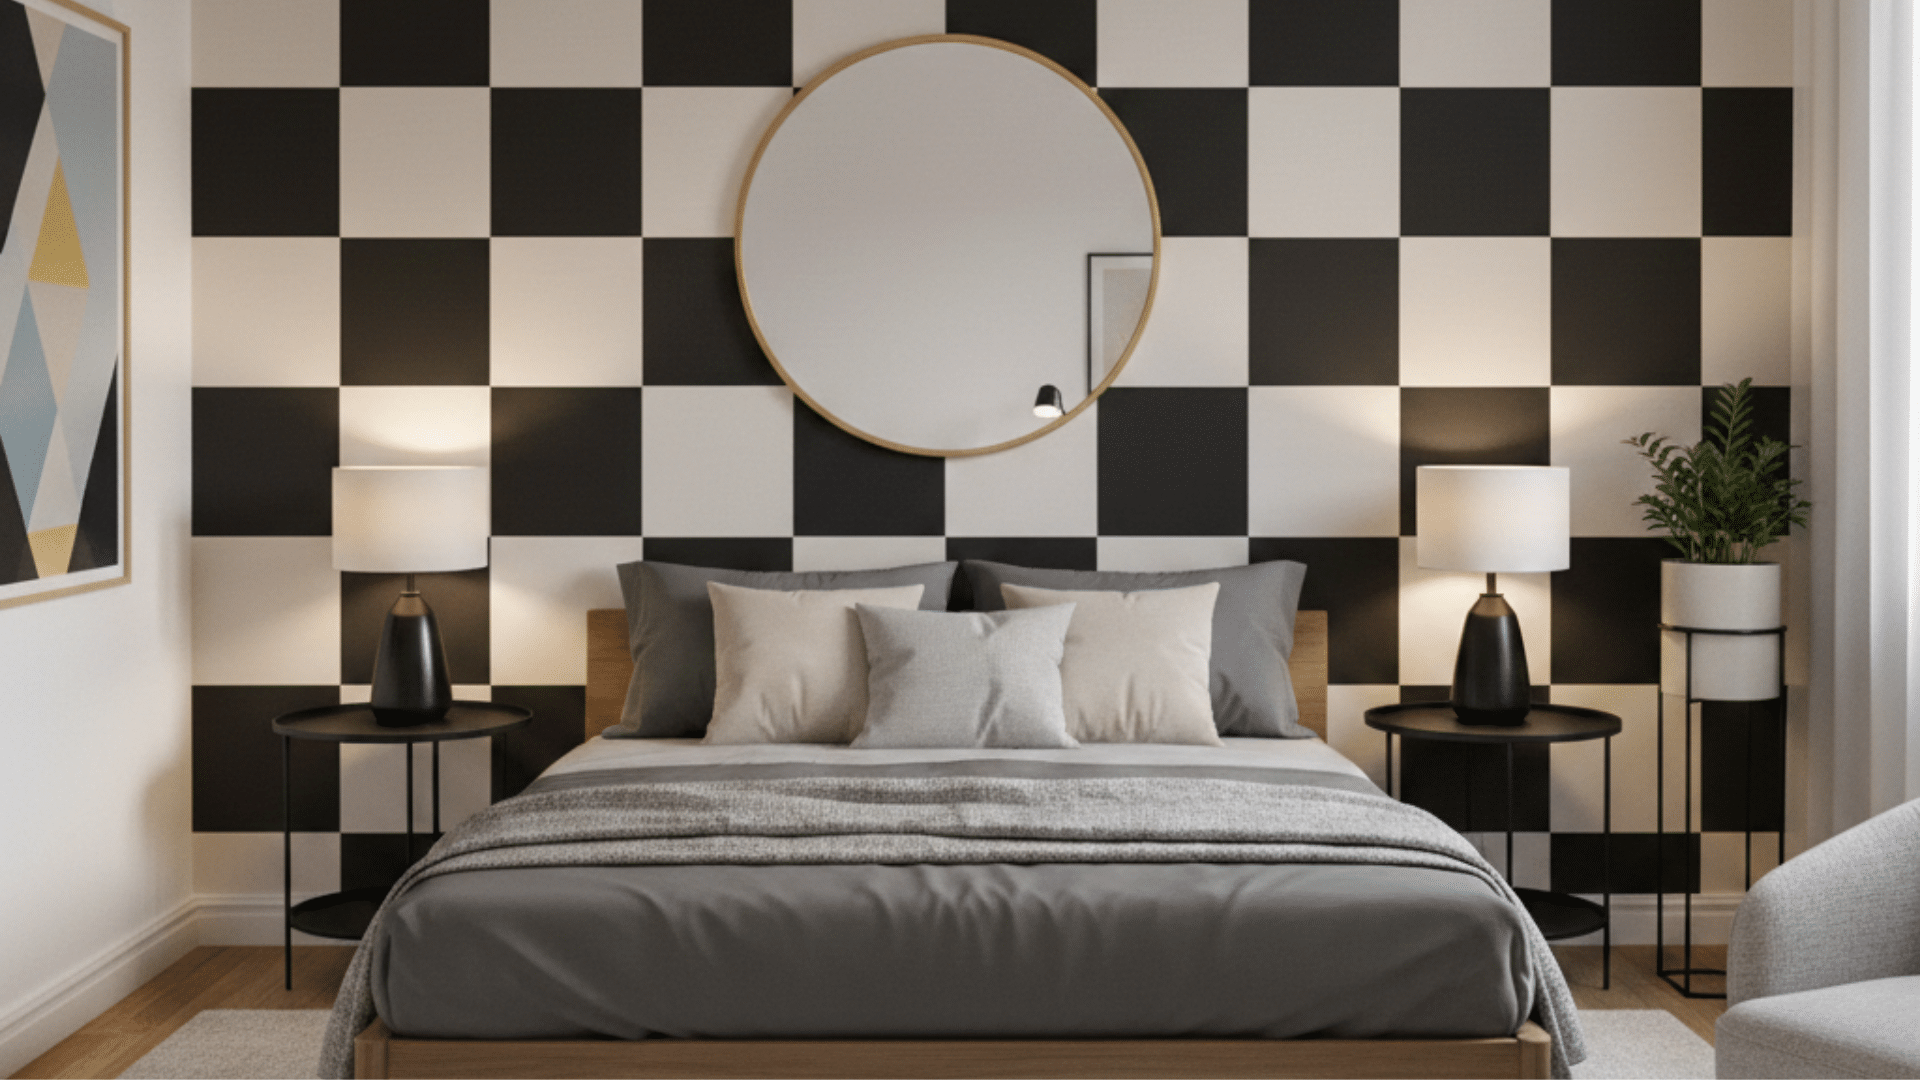
Measure and tape off equal-sized squares across the wall surface. Paint alternating squares in contrasting colors.
Use a level to keep lines straight and squares uniform. This bold pattern works well in kitchens, playrooms, or accent walls.
The classic design never fails to make a statement and adds retro charm.
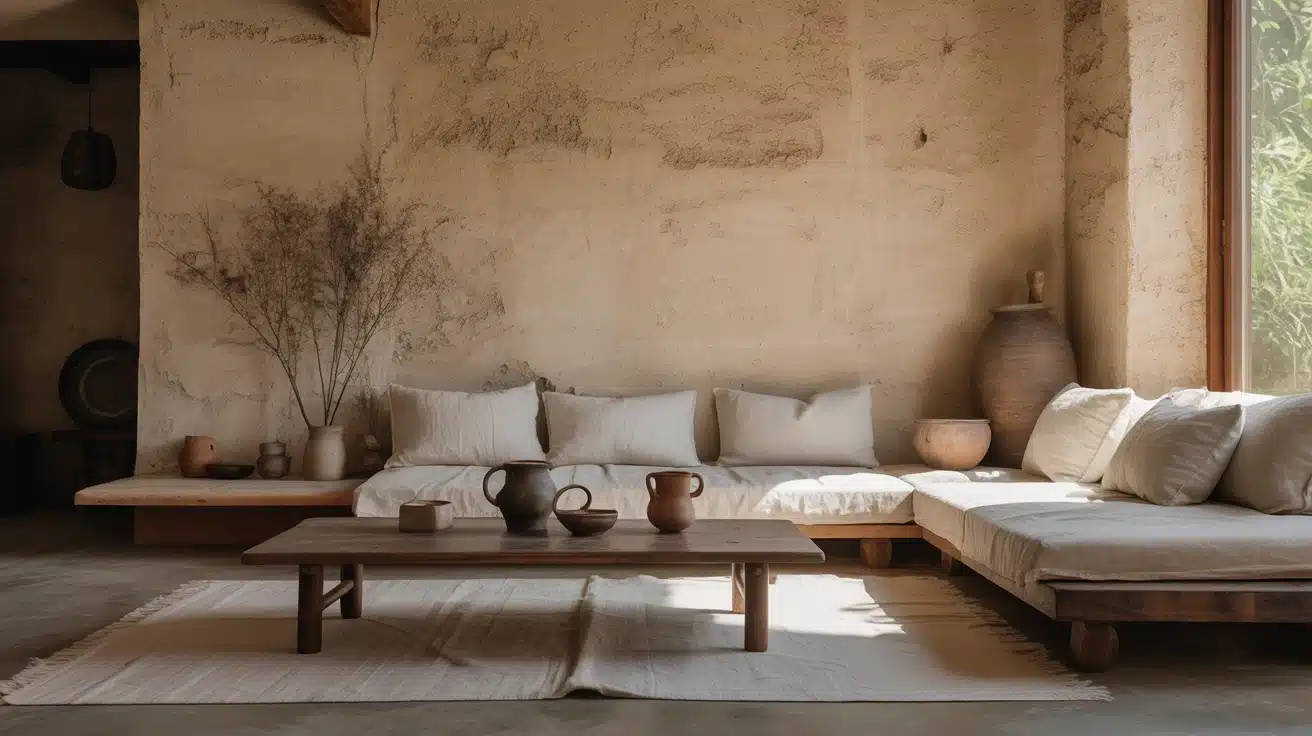
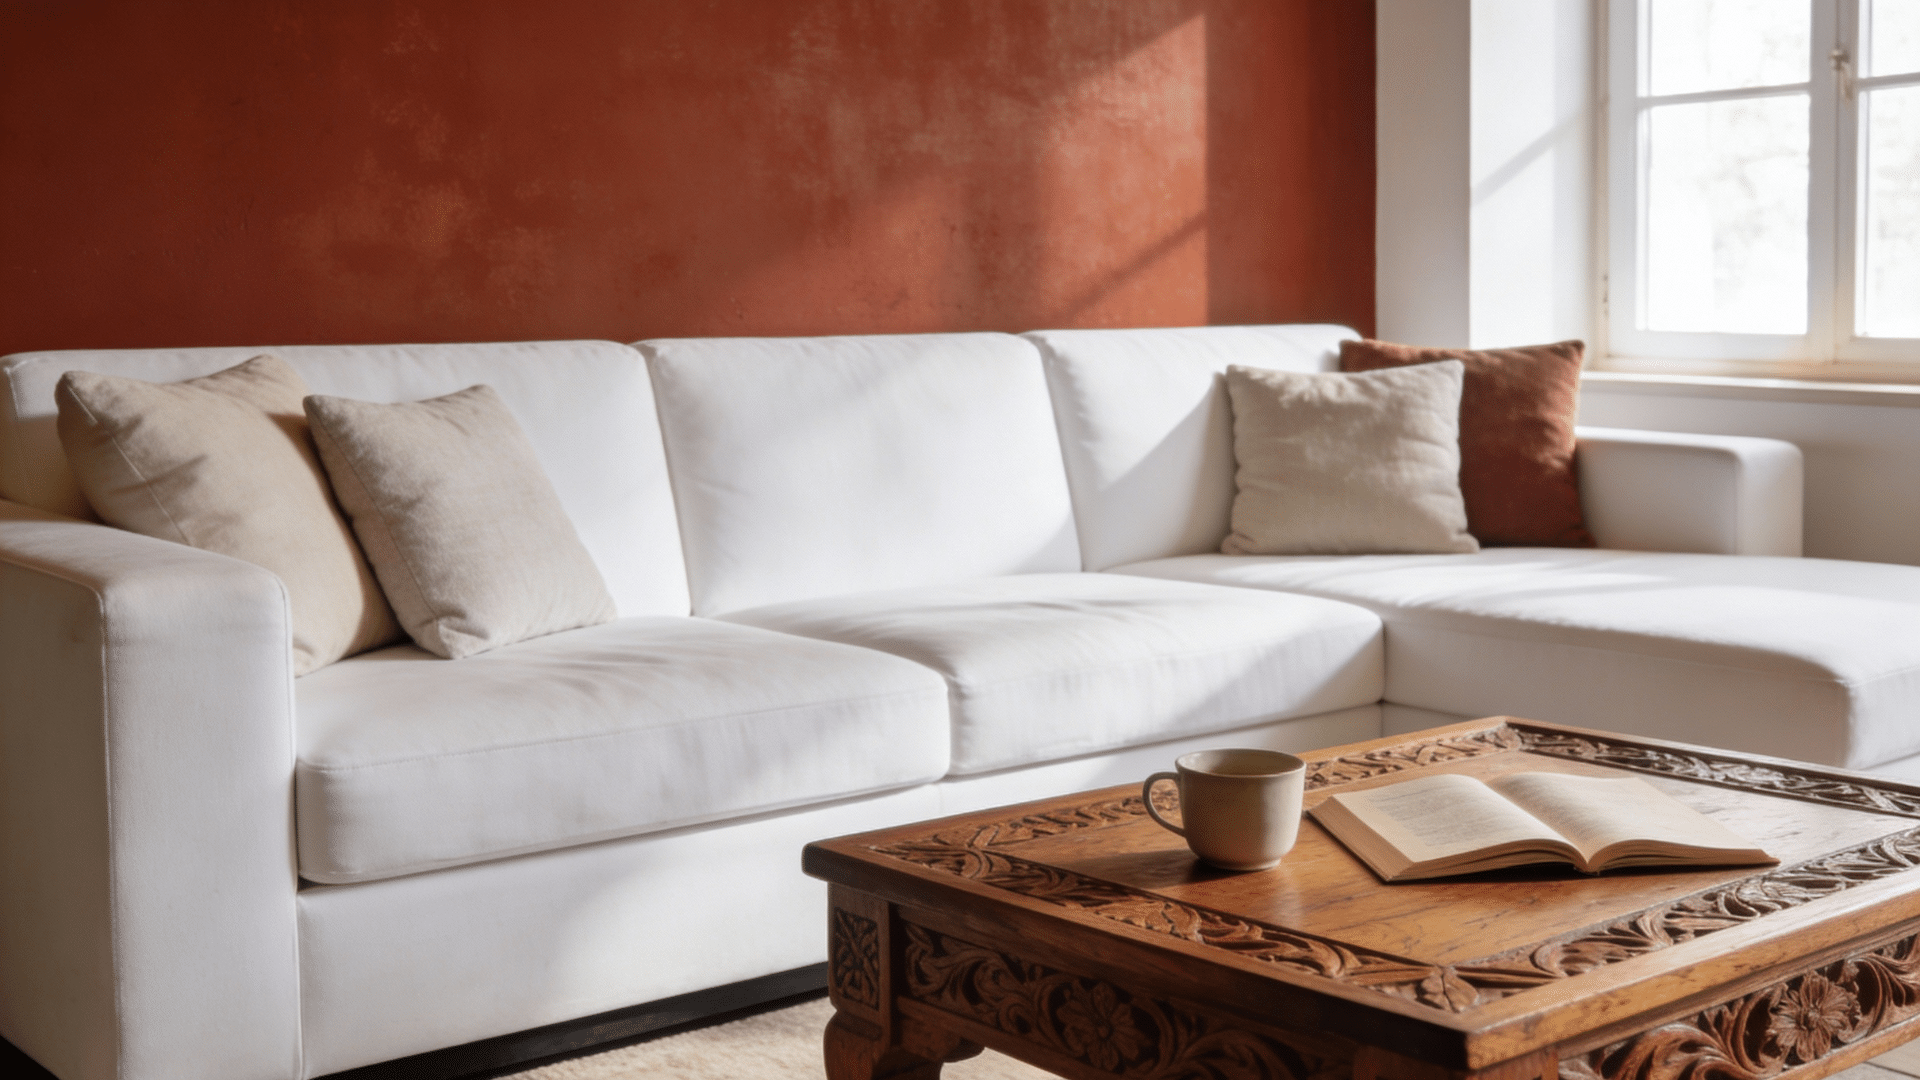
Limewashing
Mix limewash paint with water to create a thin, milky consistency. Apply it in random strokes using a large brush.
The paint absorbs into the wall, creating a matte, chalky finish with subtle variations.
This European technique adds old-world charm and works beautifully on brick or plaster surfaces.
Copper Patina
Paint the wall with metallic copper paint as a base layer. Once dry, apply green and blue patinas using a sponge or rag.
Blend colors to create an aged, weathered look. This industrial technique adds character to modern spaces.
The oxidized appearance brings unique texture and depth to feature walls.
Stripe Painting
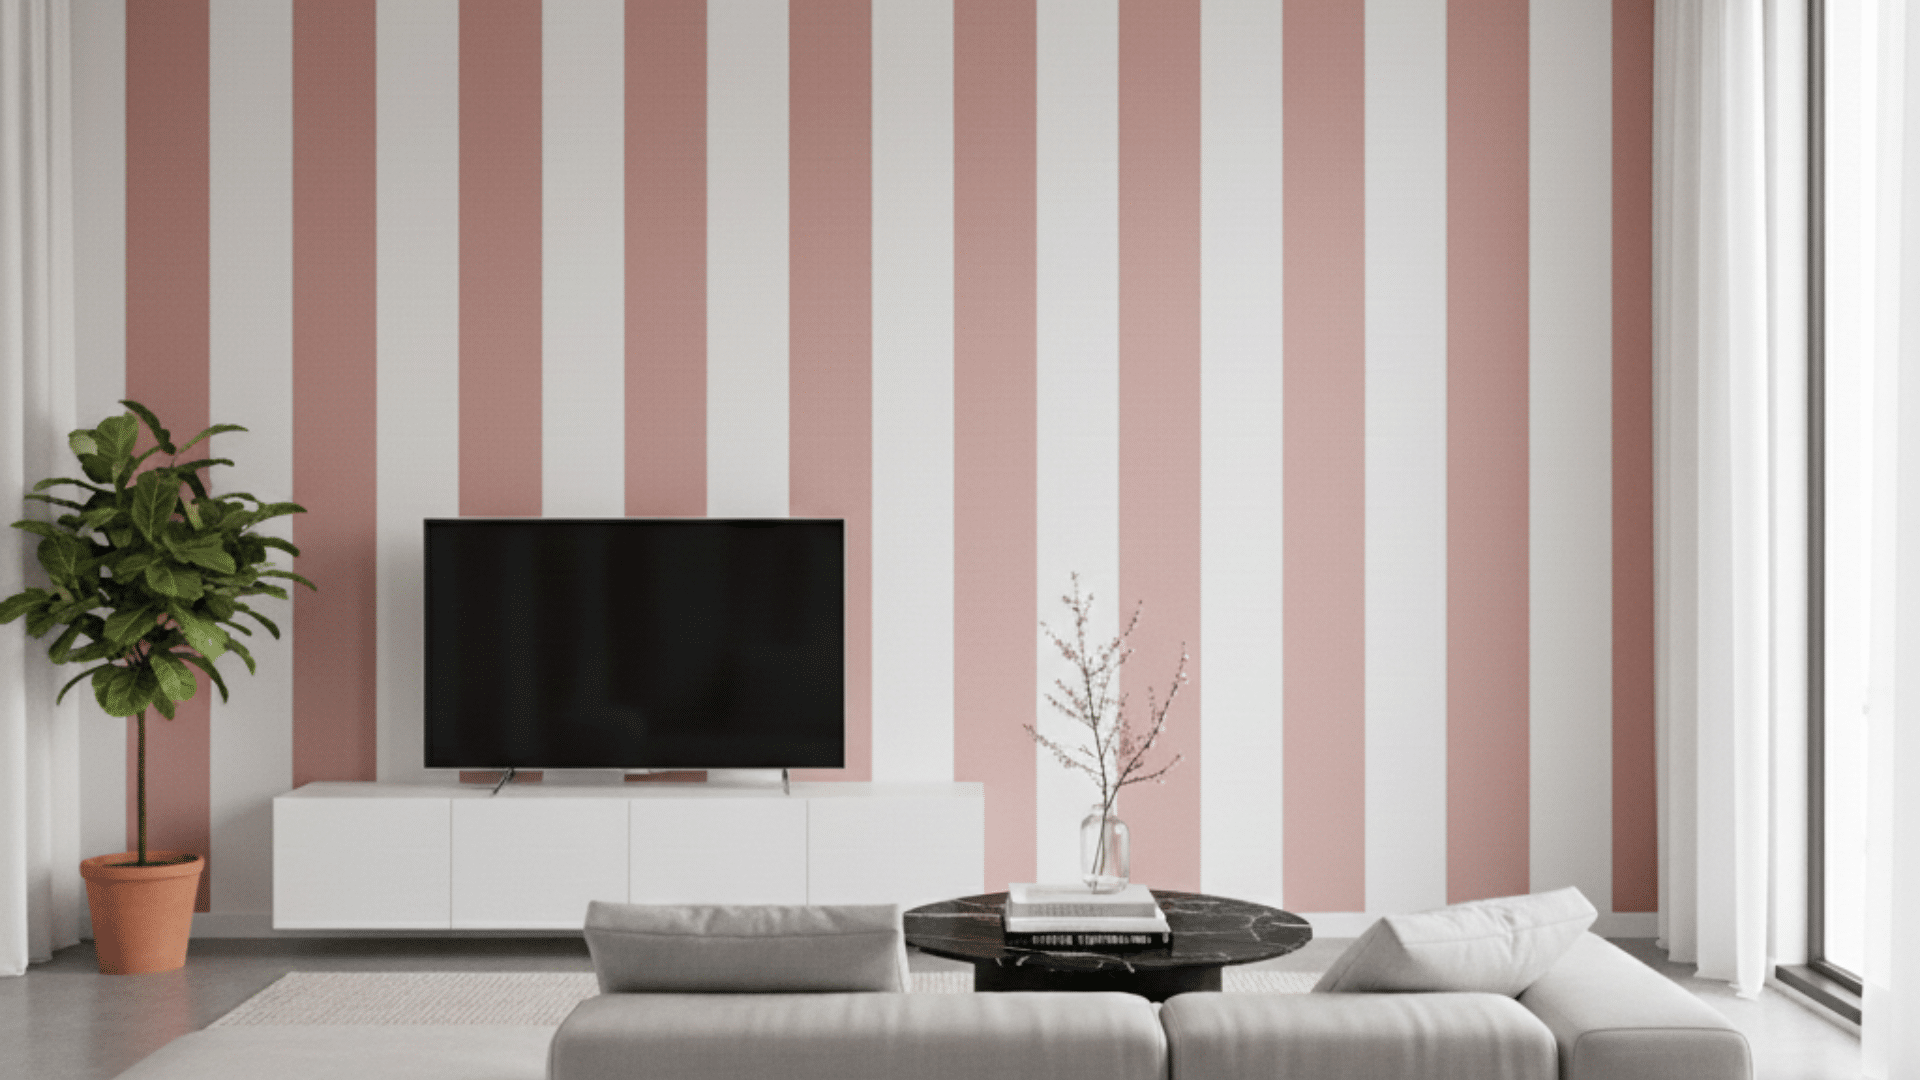
Measure and mark stripe widths with a pencil, then tape off sections carefully.
Paint alternating stripes in different colors or finishes. Use a small roller for even coverage. Remove tape before the paint fully dries.
Vertical stripes make ceilings appear higher. Horizontal stripes widen rooms. Both options add modern style effortlessly.
Murals/Paintings
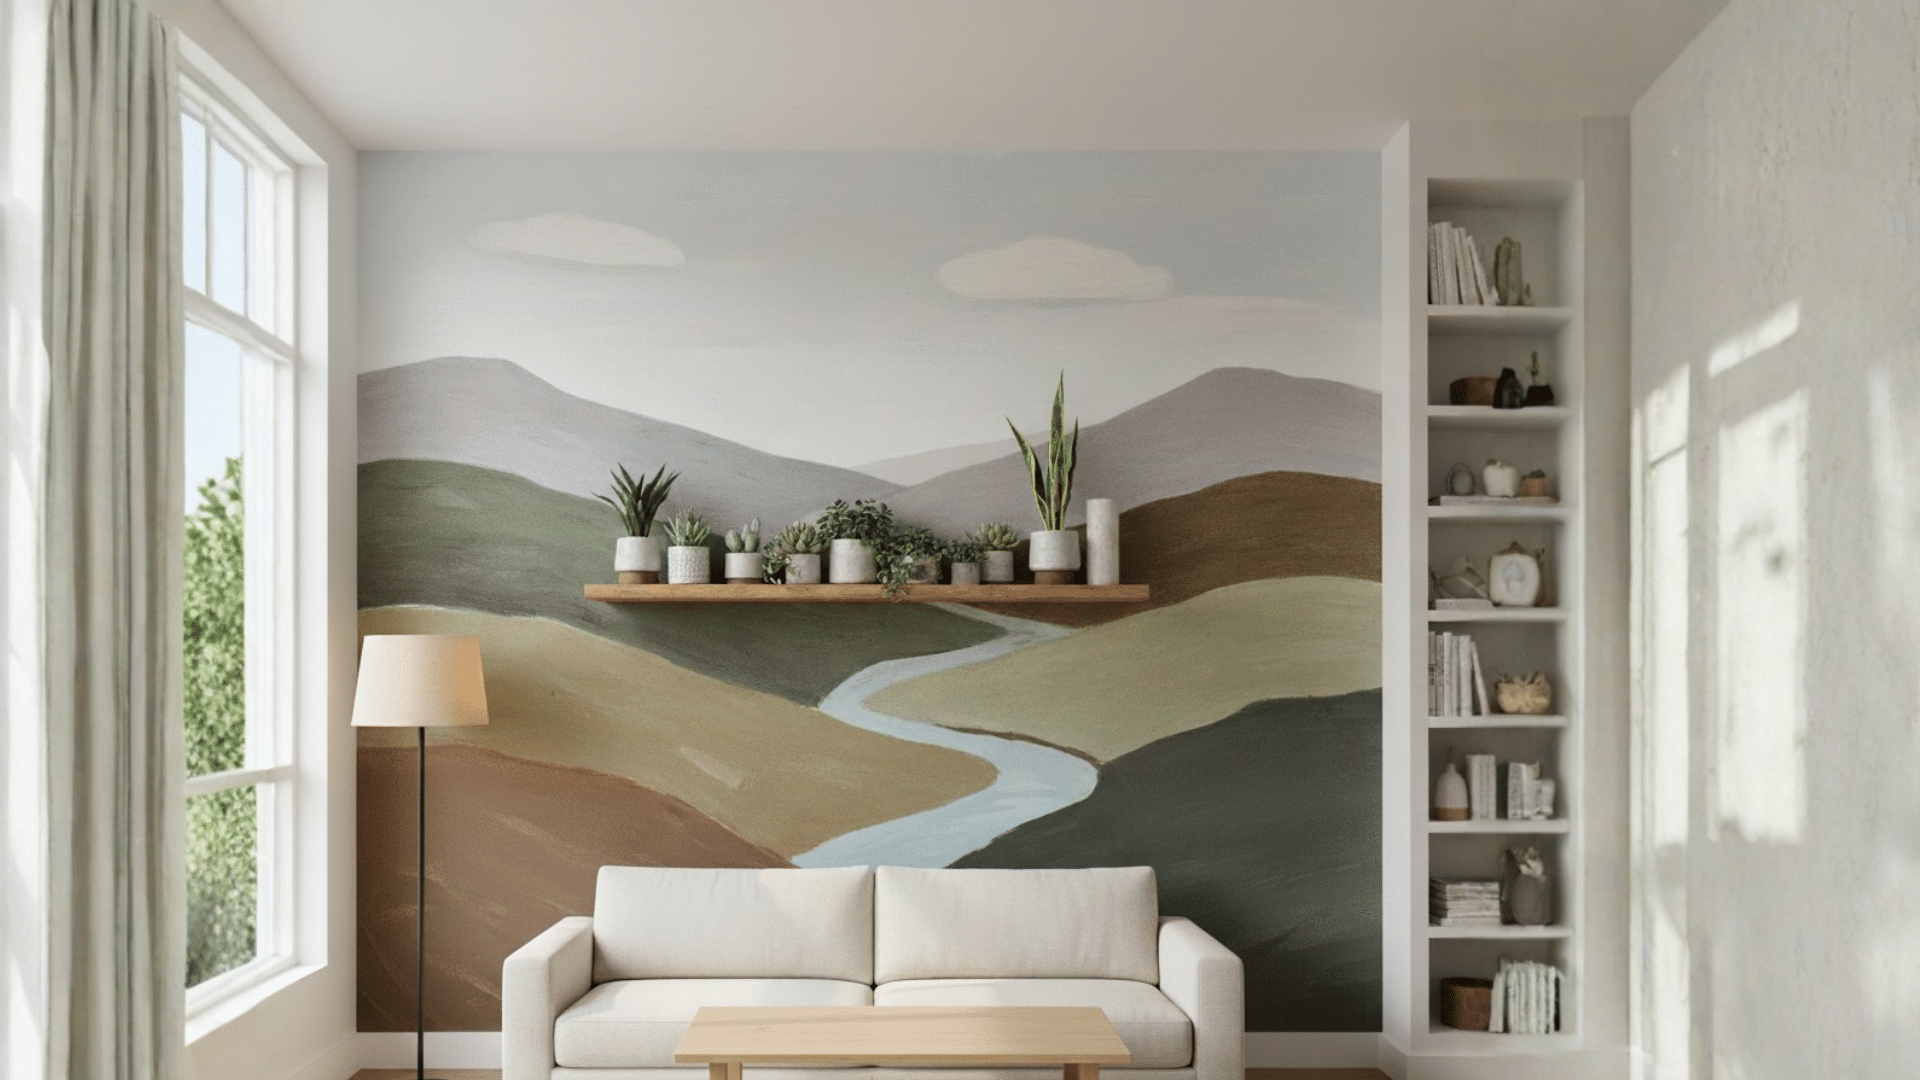
Sketch the design on the wall with a pencil or project an image using a projector.
Fill in sections with paint, working from background to foreground. Use various brush sizes for different details. Murals personalize spaces and tell stories.
They work wonderfully in children’s rooms, offices, or as statement pieces in living areas.
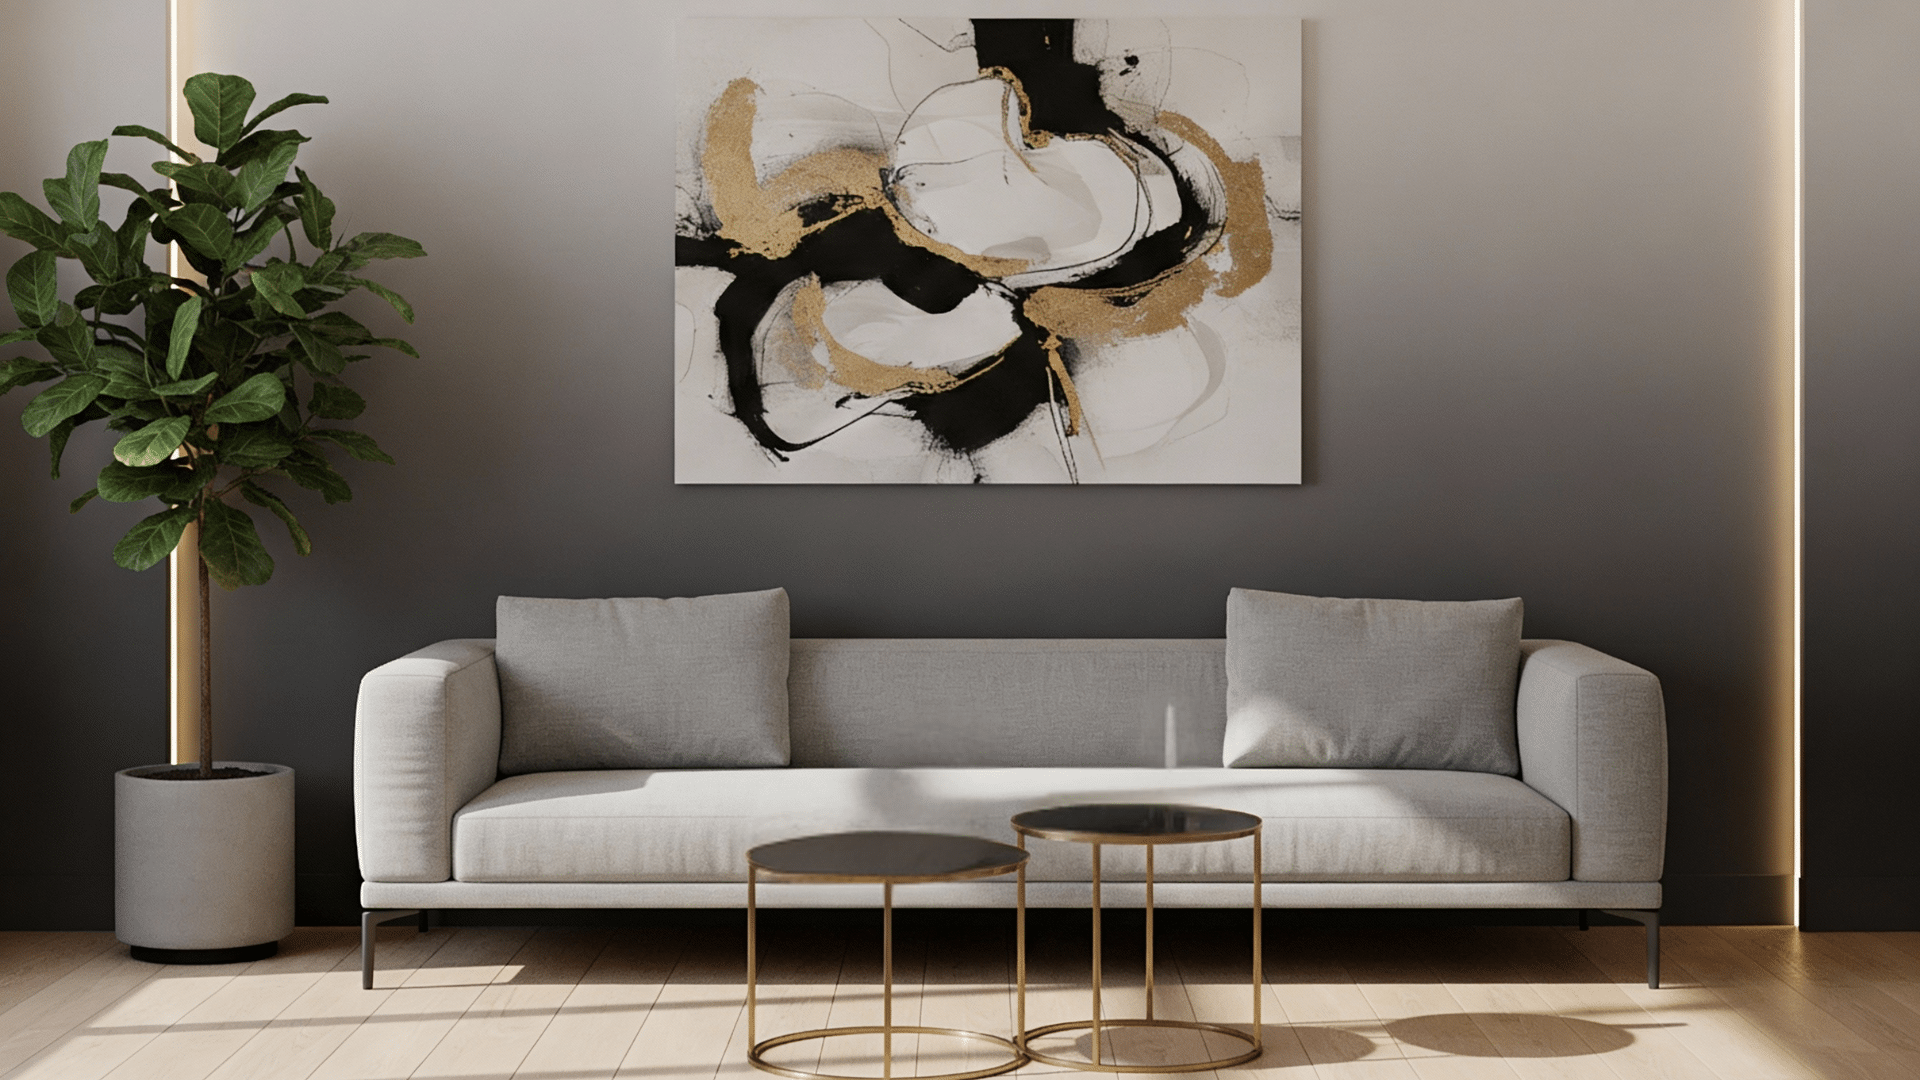
Metallic Accents

Add shimmer to walls by mixing metallic paint with regular paint or applying it selectively.
Use a brush or sponge for accent areas. Metallic paints catch light beautifully and add glamour. Apply them on feature walls, borders, or specific design elements.
Gold, silver, and bronze create different moods and complement various color schemes.
Strie
Drag a dry brush through wet glaze in straight, vertical lines from ceiling to floor. Keep strokes consistent and parallel.
This technique creates a fine, linen-like texture on walls. The subtle striations add depth without cluttering the space.
It works particularly well in formal dining rooms and bedrooms, adding understated refinement and class.
Wrap Up
Painting the walls changes spaces completely.
The techniques covered here range from simple to complex, but all deliver stunning results when done correctly.
Remember, preparation matters as much as technique. Clean walls, quality tools, and patience lead to finishes that look professional and last for years.
So grab your brushes and get started with your favourite painting techniques for walls.
What technique will you try first?