Tinted windows lose their appeal over time.
That once-sleek window tint has turned cloudy, bubbled, and tired, but don’t worry; you can fix it yourself.
Learning how to remove tint saves money and restores your windows to their original clarity.
This blog walks you through proven methods to strip stubborn tint film, avoid common mistakes, and achieve professional-looking results without leaving residue.
Why It’s Time to Ditch that Old Window Tint Finally
Your window tint isn’t aging gracefully, and you know it. That film, once a source of privacy and style, has turned into a purple, bubbled mess that screams “neglect.”
Sun damage breaks down the adhesive over time, causing it to peel at the edges and create unsightly air pockets.
Beyond looks, a deteriorating tint actually reduces visibility. Those bubbles and discoloration make it harder to see clearly through your windows, blocking natural light and ruining your view.
And if you’re planning to sell your home, that ratty tint will hurt your property value.
Old tint also loses its UV-blocking abilities, meaning you’re getting none of the benefits but all of the ugly.
The adhesive becomes stickier and more stubborn as it ages, making removal tougher the longer you wait. Now’s the time to act.
The Tools and Materials Required
Gathering the right supplies makes tint removal straightforward instead of frustrating.
You probably have some of these items at home already, and the rest are inexpensive and easy to find at any hardware store.
| Tool/Material | Purpose |
|---|---|
| Spray bottle | Apply soapy water or ammonia solution to loosen the adhesive |
| Dish soap or ammonia | Breaks down the tint adhesive for easier removal |
| Razor blade scraper | Scrapes away tint film and stubborn glue residue |
| Plastic scraper | Gentler alternative for delicate surfaces |
| Microfiber cloths | Wipes away residue and cleans windows after removal |
| Trash bags (black) | Used in the heat method to trap warmth and soften the adhesive |
| Heat gun or steamer | Softens adhesive, making film easier to peel away |
Tried Ways on How to Remove Tint from Windows with Ease
Removing window tint doesn’t require special skills, just the proper technique.
These three methods have been tested and proven effective by countless DIYers. Choose the one that fits your situation and the tools you have available.
Method 1: Heat and Peel (Best for Quick, Low-Mess Jobs)
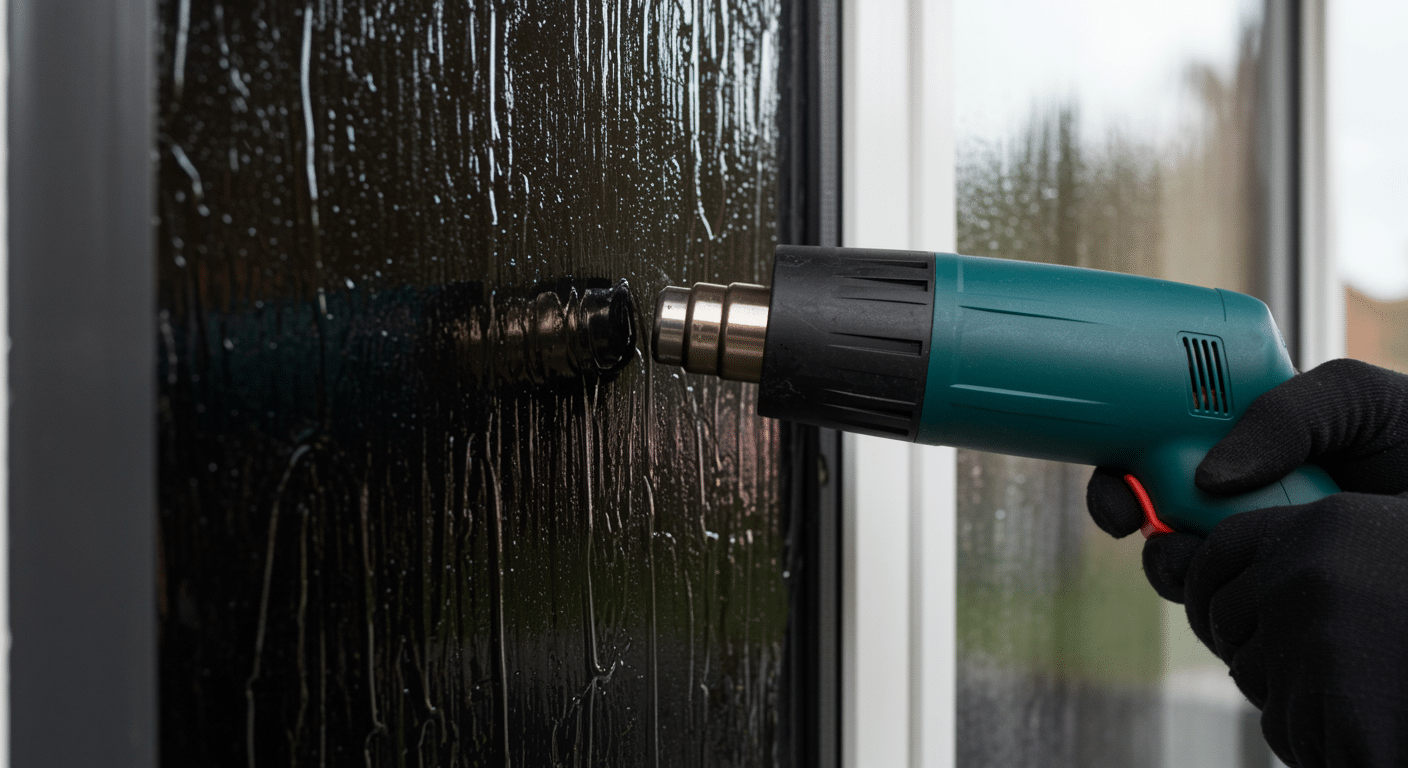
This straightforward approach uses heat to soften the adhesive, making the tint film peel away cleanly. It’s ideal when you need fast results and want to minimize sticky residue.
Step 1. Prepare your workspace – Work on a sunny day or use a heat gun to warm the window surface for several minutes until it’s hot to the touch.
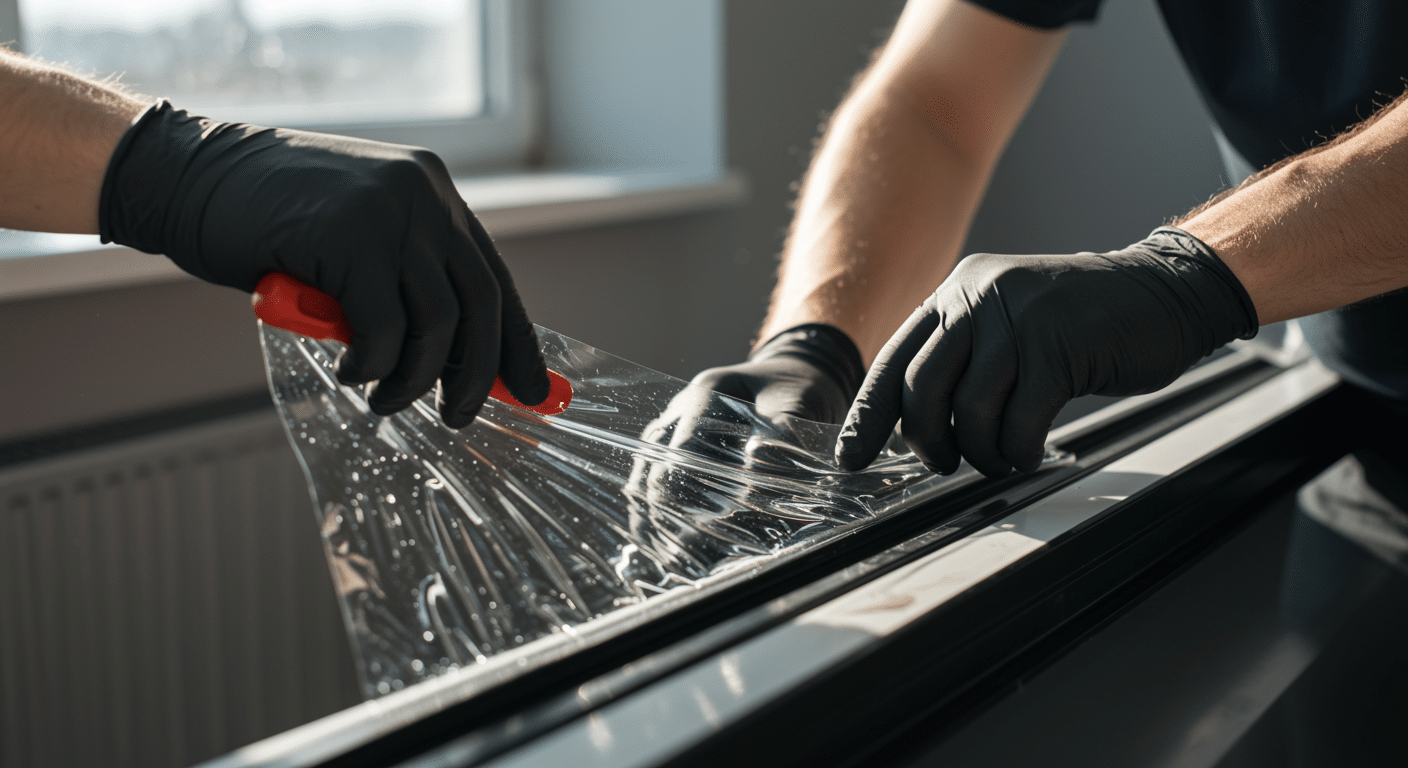
Step 2. Start at a corner – Use a razor blade to lift the edge of the tint film, being careful not to scratch the glass underneath.
Step 3. Peel slowly and steadily – Pull the film away at a 45-degree angle while continuing to apply heat, keeping the adhesive soft and pliable.
Step 4. Remove adhesive residue – Spray soapy water onto any remaining glue, then scrape it off with your razor blade or plastic scraper.
Step 5. Clean the window – Wipe down with a microfiber cloth and glass cleaner to remove all traces of adhesive.
Method 2: Ammonia and Sun Method (Best for Stubborn, Old Tint)
When tint has been baking on your windows for years, this method combines ammonia’s dissolving power with solar heat. The trash bags create a greenhouse effect that breaks down even the most stubborn adhesive.
Step 1. Cut black trash bags to size – Measure and cut bags slightly larger than your window dimensions for complete coverage.
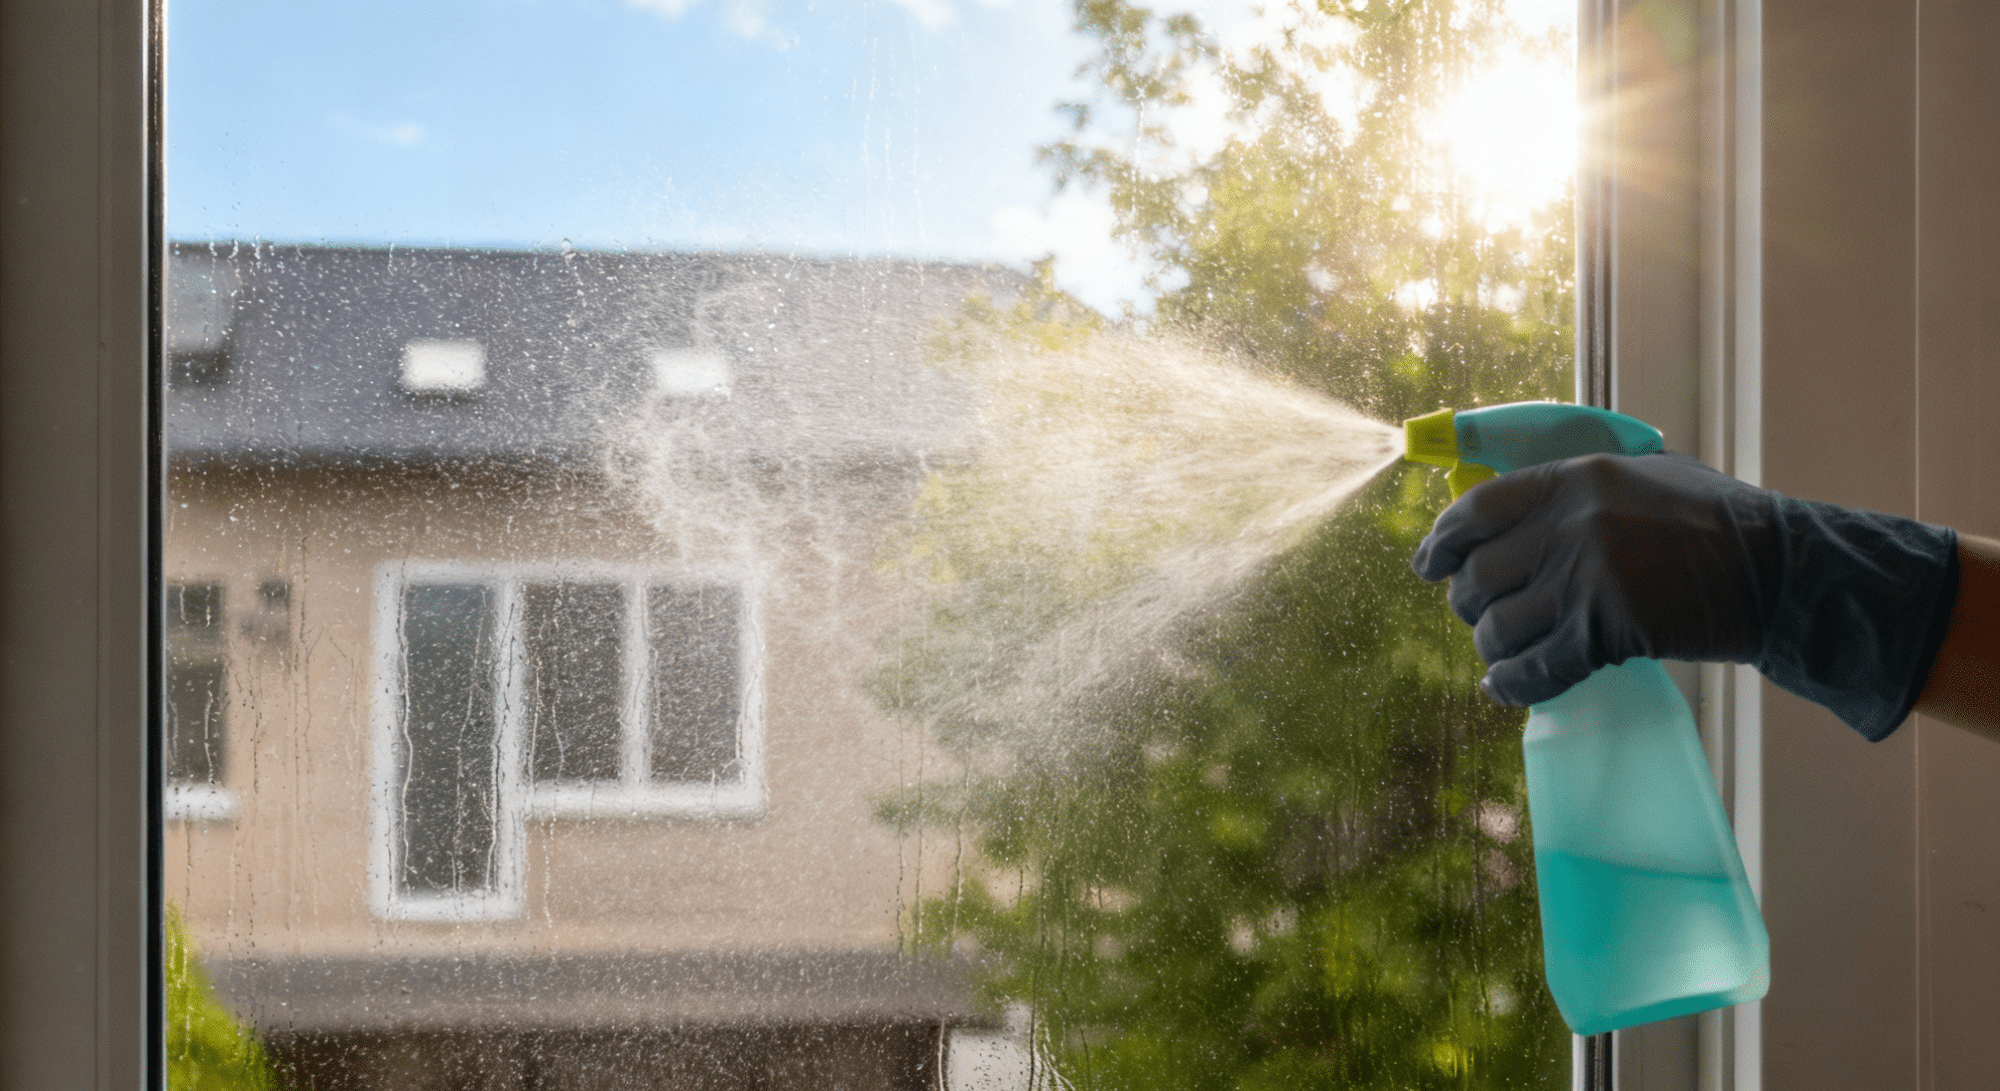
Step 2. Spray ammonia liberally – Cover the inside of the tinted window with ammonia solution using your spray bottle, saturating the entire surface.
Step 3. Apply the trash bag – Press the black plastic against the wet, ammonia-covered tint to create a seal that traps heat and moisture.
Step 4. Add exterior coverage – Wet the outside of the window with soapy water and apply another trash bag for maximum heat retention.
Step 5. Let the sun work – Leave the setup in direct sunlight for at least an hour, letting the heat and ammonia break down the adhesive bond.
Step 6. Peel away the film – Remove the bags, then use your razor to lift a corner; peel the tint off in one piece if possible.
Step 7. Scrape off remaining adhesive – Use your scraper with ammonia to remove any sticky residue left behind.
Method 3: Steamer Method (Best for Delicate or Large Windows)
Steamers offer controlled, consistent heat without the mess of chemicals. This gentle approach works particularly well on house windows or large picture windows where you want to avoid any potential damage.
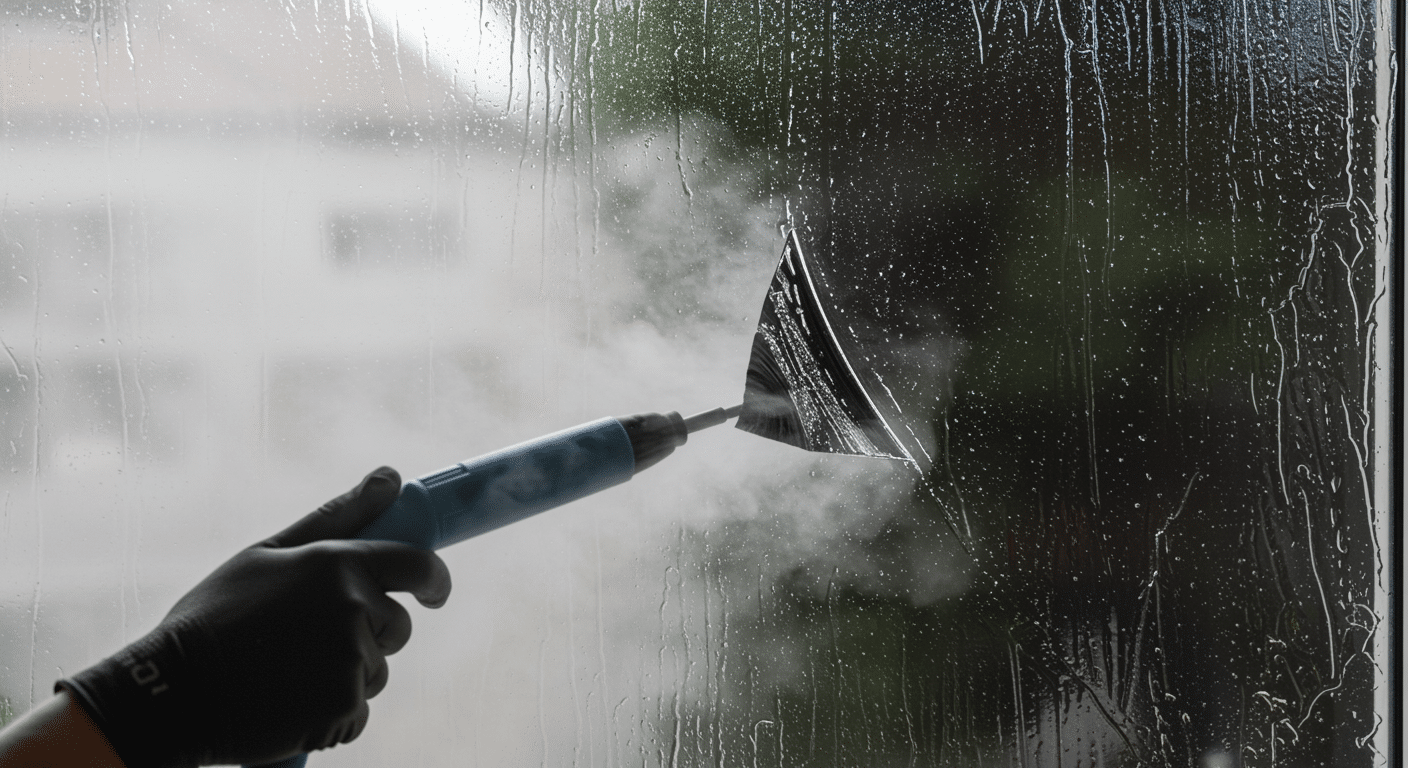
Step 1. Fill your steamer – Use a fabric steamer or rent a commercial steamer from a hardware store for larger jobs.
Step 2. Steam the window surface – Hold the steamer close to the surface and move it slowly across the entire window to soften the adhesive evenly.
Step 3. Test a corner – After steaming for a few minutes, try lifting an edge with your fingernail or plastic scraper.
Step 4. Continue steaming as you peel – Work in sections, applying steam just ahead of where you’re peeling to keep the adhesive warm and cooperative.
Step 5. Clean with soapy water – Spray down the window and wipe away any remaining adhesive with your microfiber cloth.
Step 6. Repeat if necessary – Some stubborn spots may need a second round of steaming and scraping before they surrender completely.
Beat the Sticky Mess – Tackling Adhesive Residue Like a Pro
Even after removing the tint film, you’re often left with a sticky, gummy layer that refuses to budge.
This adhesive residue attracts dust and looks terrible, but don’t panic, it’s completely normal and fixable.
Start by spraying the area with soapy water or a mix of equal parts water and white vinegar. Let it sit for a few minutes to allow the glue to break down.
Then use your razor blade at a shallow angle, scraping gently to avoid scratching the glass. For stubborn spots, try rubbing alcohol or adhesive remover on a cloth. Work in small sections and wipe frequently.
Patience wins here; rushing leads to scratches you’ll regret later.
Know When To Step Back – Why a Pro Might Be Your Best Bet
Sometimes DIY isn’t worth the headache. Certain situations call for professional expertise, especially when the risks outweigh the savings. Here’s when you should consider letting the pros handle it.
• Very old or cheap tint – Budget tint from decades ago often disintegrates into tiny pieces, turning a two-hour job into an all-day nightmare.
• Large or multi-story windows – Home windows spanning multiple stories require special equipment and safety measures you probably don’t have.
• Historical or custom glass – Antique, stained, or specialty glass needs extra care that professionals are trained to provide.
• Limited time or patience – If you need it done quickly for a sale or inspection, professionals finish in hours what might take you days.
• Previous failed attempts – Already tried and made it worse? A pro can fix your mistakes without causing additional damage to the glass.
Conclusion
Peeling off old window tint transforms your home from shabby to sharp. You’ve got three solid methods to choose from, each proven to work when done right.
The heat-and-peel approach offers speed; ammonia delivers serious power against stubborn film; and steaming provides gentle precision.
Yes, it takes effort and patience. But compare a Saturday afternoon of work to hundreds of dollars at a shop, the choice is clear.
Now that you know how to remove tint effectively, nothing is stopping you from restoring those windows to crystal-clear perfection.
Grab your tools and get started this weekend!