Outdoor spaces lose their charm after sunset, leaving people with dark, unusable yards and potential safety concerns.
Many property owners struggle with poorly lit walkways, invisible landscaping features, and limited evening outdoor enjoyment.
The solution lies in strategic landscape lighting installation that changes outdoor areas into inviting, functional spaces after dark.
This blog will show everything needed to plan, install, and maintain an outdoor lighting system.
Why Install Landscape Lighting
Installing low-voltage landscape lighting brings multiple benefits to any property. It dramatically improves safety by illuminating walkways, steps, and potential hazards that become invisible after dark.
Security gets a boost, too, as well-lit properties deter unwanted visitors and eliminate dark hiding spots around the home.
Beyond practical concerns, outdoor lighting showcases architectural features, highlights prized plants and trees, and creates a good mood for evening gatherings.
It essentially extends living space outdoors, making patios and decks usable long after sunset.
Plus, strategic lighting increases property value and curb appeal, making homes stand out in the neighborhood while providing year-round enjoyment of outdoor investments.
Essential Tools and Materials
This list covers everything needed for a professional-quality lighting setup.
Most items are readily available at home improvement centers or online retailers.
| Category | Items Needed | Purpose |
|---|---|---|
| Lighting Components | Low voltage transformer, LED fixtures, cable connectors, landscape wire (12-14 gauge) | Core system elements that power and distribute light |
| Installation Tools | Wire strippers, voltage tester, screwdrivers, drill with bits, measuring tape. | Prepare connections and secure fixtures properly |
| Landscaping Equipment | Shovel or trenching tool, garden stakes, and landscape staples | Bury wires and mark fixture locations |
| Safety Gear | Work gloves, safety glasses, and a headlamp for evening work | Protect during the installation process |
| Optional Additions | Timer or intelligent controller, extra bulbs, waterproof wire nuts, conduit for exposed areas | Enhance automation and protect vulnerable connections |
Step-By-Step Landscape Lighting Installation Guide
Installing landscape lighting can bring new life to outdoor areas by improving visibility and creating a pleasant nighttime environment.
With thoughtful planning, basic tools, and the right materials, you can complete this process efficiently and achieve professional-looking results that last.
Step 1: Mark Existing Utilities

Marking existing utilities helps prevent damage and ensures your project runs safely from start to finish. Use marking flags or paint to outline restricted zones clearly.
Taking time at this stage avoids costly repairs later and keeps the work area organized.
Step 2: Prepare the Fixtures
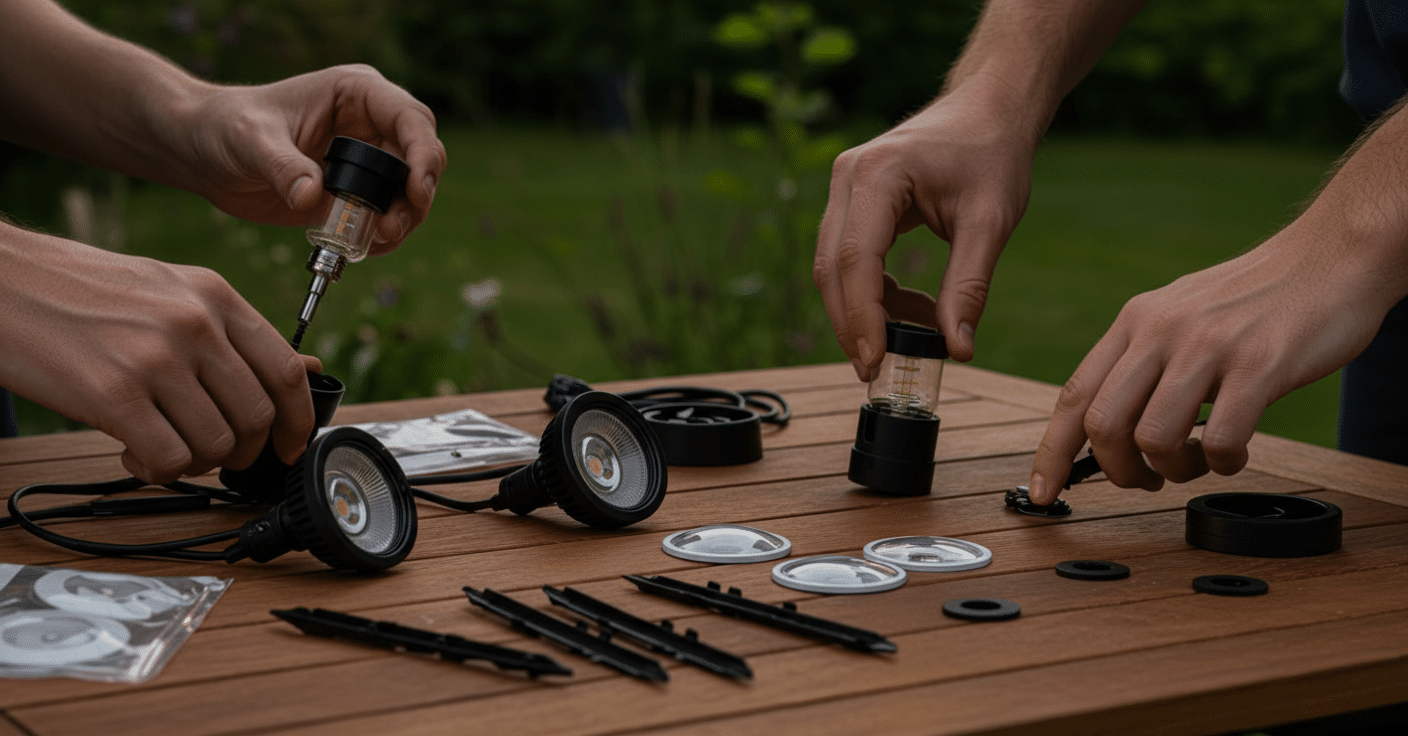
Unpack all your lighting fixtures carefully and check for any missing components. Assemble each unit according to the instructions, including inserting bulbs, securing lenses, and attaching mounting stakes or brackets.
Preparing everything in advance saves time once you begin installation. This is also the right moment to inspect each fixture to confirm it matches your design style and intended brightness level.
Step 3: Plan the Layout
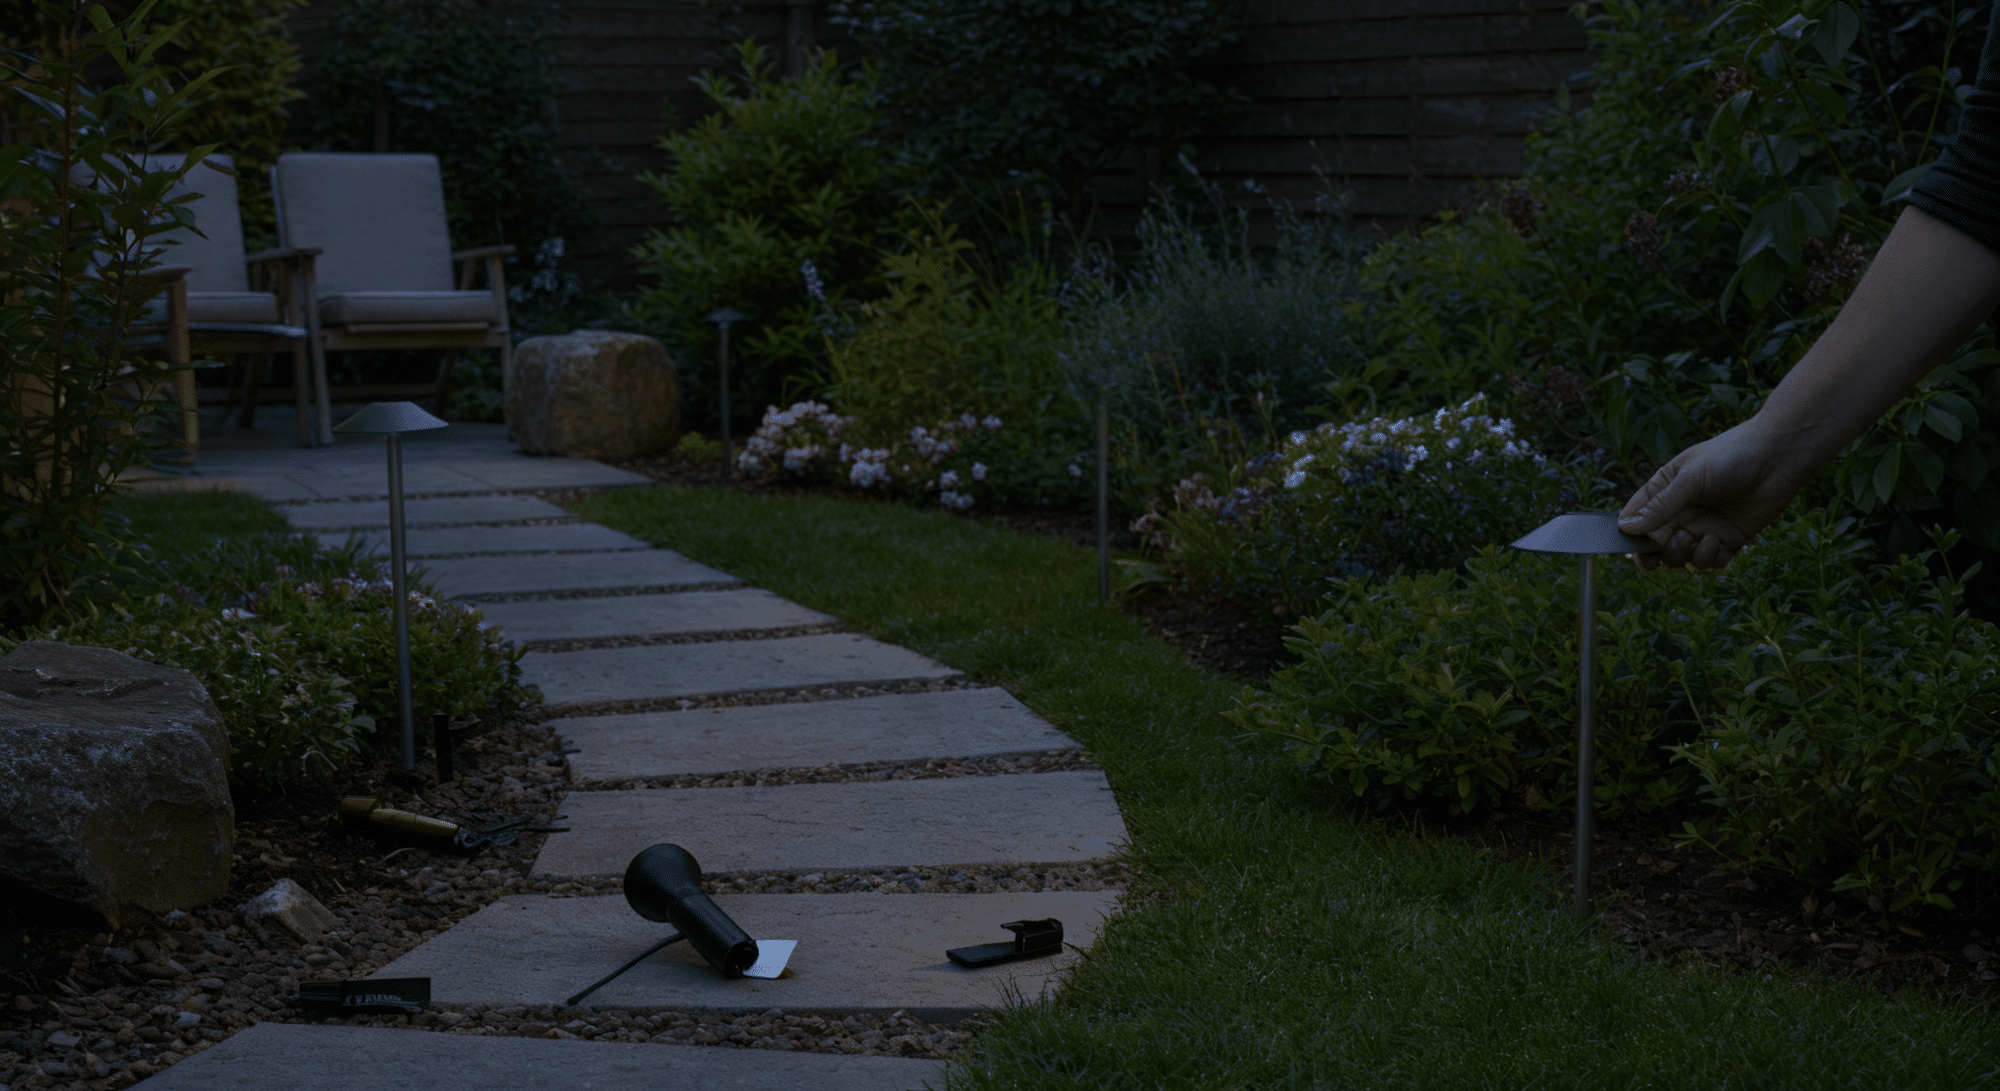
Lay out your fixtures in the exact positions planned for your lighting design.
Test the spacing and direction by temporarily installing the fixtures and visualizing how the light will fall on pathways, plants, and structures.
A well-planned layout ensures balanced illumination and prevents areas from being too bright or too dim. Adjust placement as needed before committing to wire placement.
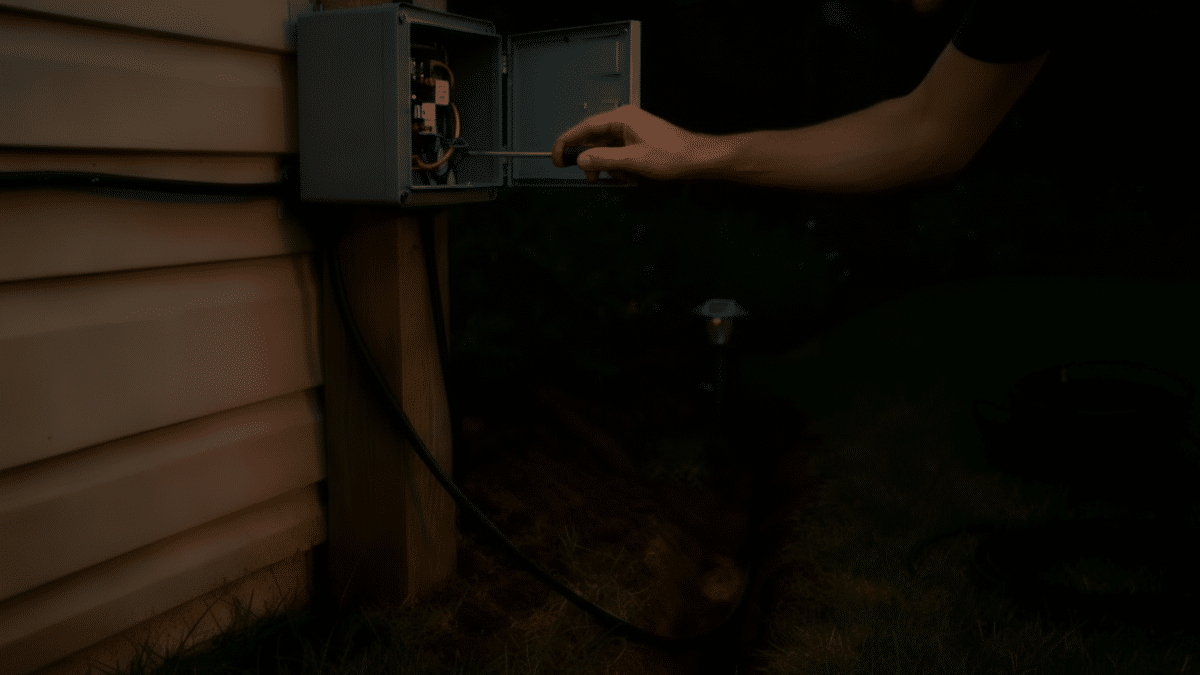
Step 4: Install the Transformer

Choose a location for the transformer that is close to a power source but away from sprinklers or standing water.
Mount it securely on a wall or post, allowing for ventilation. The transformer converts household power to low voltage suitable for outdoor lighting.
Plan for future expansion by selecting a transformer with slightly higher capacity than your current setup requires.
Step 5: Dig and Place Wiring
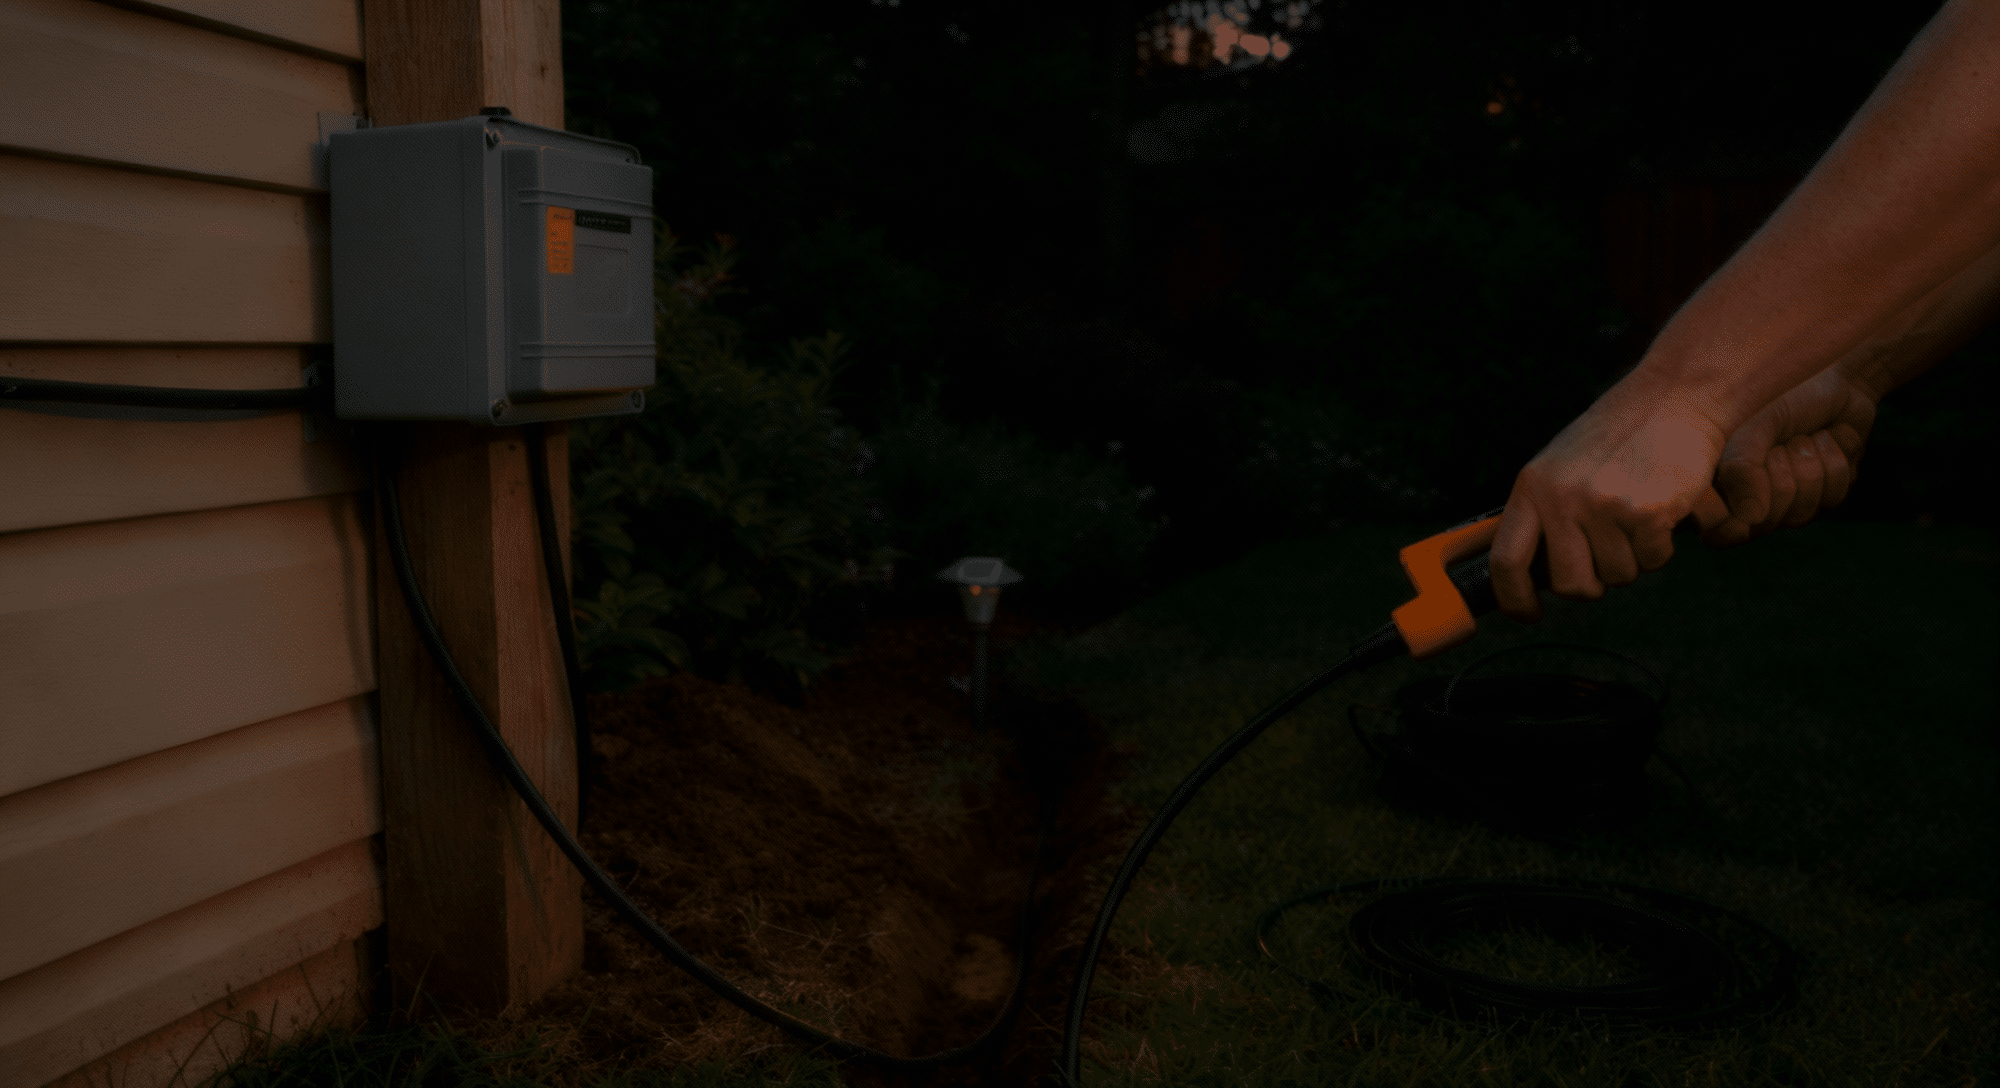
Use a small trenching tool or a shovel to dig narrow, shallow trenches along your chosen wire paths, usually about 6 inches deep.
Place the main cable neatly within the trench, avoiding sharp bends or tension.
Leave extra wire at connection points to make installation and future adjustments easier. Keeping the wiring tidy and protected helps maintain long-term reliability and safety.
Step 6: Connect the Transformer
Attach the main wire runs to the transformer terminals, matching the polarity and selecting the appropriate voltage tap based on wire length.
Shorter runs typically use lower-voltage taps, while longer runs may require higher voltage to ensure even brightness across all lights.
Secure the wires tightly and test the connection before burying them. This step ensures consistent performance across your lighting system.
Step 7: Connect and Test Fixtures
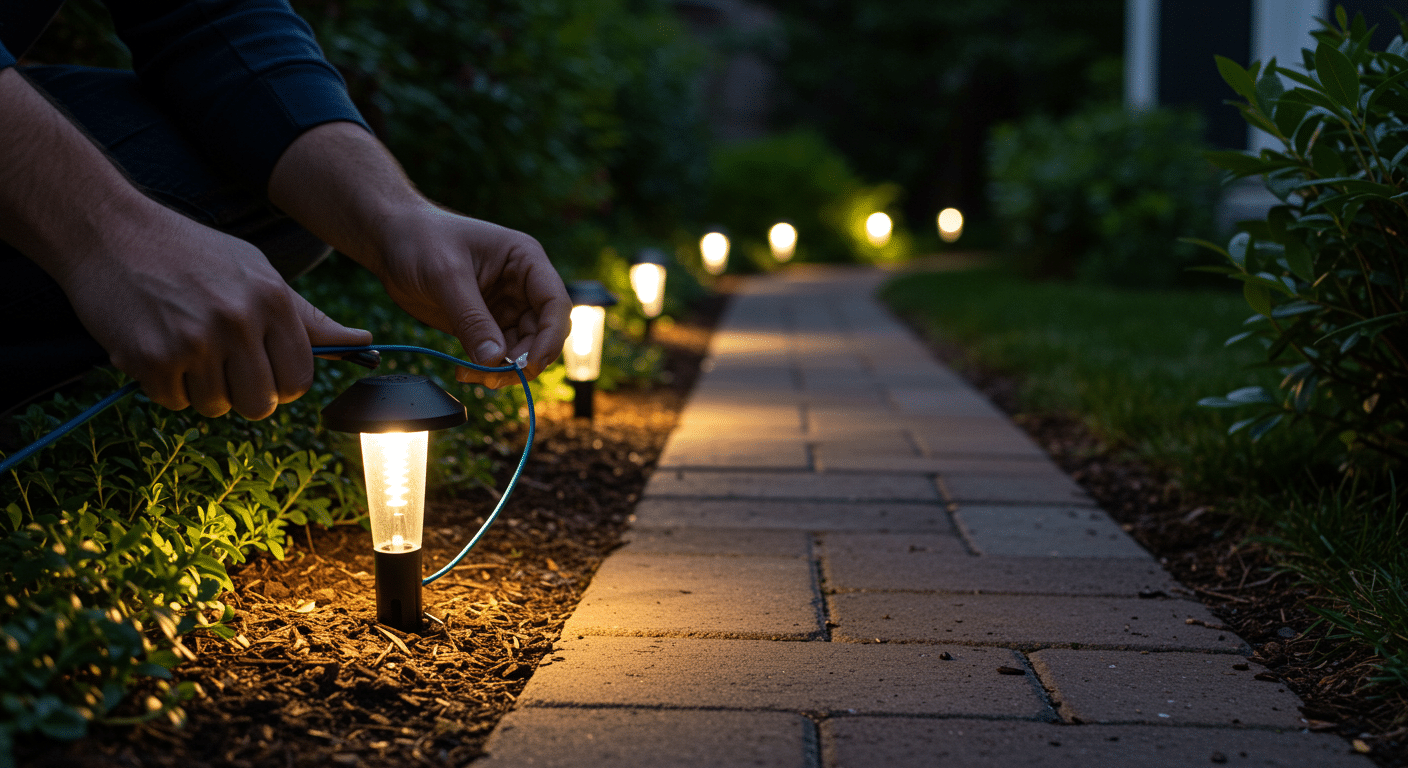
Connect each fixture lead to the main cable using waterproof connectors designed for outdoor use.
Make sure the connections are tight and sealed to prevent moisture entry. Once all fixtures are connected, power on the transformer and check that every light operates correctly.
Adjust fixture angles to highlight the desired features and confirm that illumination levels are balanced throughout the area. After testing, cover all trenches and tidy up the site.
Choosing the Right Lights – Types and Styles for Every Yard
Selecting appropriate fixtures is crucial for successful landscape lighting installation that meets both functional and styling goals.
Different light types serve specific purposes, from illuminating pathways to highlighting architectural features.
| Light Type | Best Uses | Key Features |
|---|---|---|
| Path Lights | Walkways, driveways, garden borders | Low-profile design, downward illumination, spacing 6-8 feet apart |
| Spotlights | Trees, sculptures, architectural details | Adjustable beam angles, higher wattage, directional focus |
| Well Lights | Uplighting trees and structures | In-ground installation, weather-resistant housing, and dramatic upward effect |
| Deck/Step Lights | Stairs, railings, and built-in seating | Flush-mount design, safety-focused, subtle glow |
| Flood Lights | Large areas, security zones, walls | Wide beam spread, higher lumens, motion sensor compatible |
Pro Tips, Safety Essentials, and Troubleshooting
Smart installation practices and proper safety measures prevent common problems and ensure long-lasting results.
These expert insights help avoid costly mistakes while keeping the installation process safe and efficient.
- Use the 80% Rule – Never load a transformer beyond 80% of its rated capacity to prevent overheating and extend equipment lifespan.
- Test Before Burying – Always run the entire system and check all connections before burying wires to avoid having to dig them up later.
- Check Local Codes – Verify electrical regulations and permit requirements in your area before starting any outdoor lighting project.
- Avoid Daisy Chaining – Run separate wire runs from the transformer rather than connecting fixtures in series to maintain consistent brightness.
- Use Waterproof Connectors – Invest in quality, gel-filled wire connectors designed for outdoor use to prevent corrosion and connection failures.
- Dim Lights Solution – If fixtures appear dim, check for loose connections, undersized wire gauge, or voltage drop from excessive run length.
- Flickering Fix – Intermittent flickering usually indicates poor wire connections, incompatible bulbs, or a failing transformer that needs to be replaced.
Conclusion
Landscape lighting installation changes ordinary yards into interesting nighttime retreats while addressing safety and security concerns.
From selecting the right fixtures to burying cables and adjusting beam angles, each step contributes to a professionally finished system that improves property value and outdoor enjoyment.
Start with a simple layout and expand over time, or tackle the entire project in a weekend.
Either way, the result is an outdoor environment that shines long after the sun sets.
Ready to see your yard in a whole new light? Grab your tools and start planning your lighting layout today!