Do you notice that gap above your cabinets? It’s collecting dust and making your space feel cramped.
Extending cabinets all the way up changes everything. More storage appears.
Your kitchen looks taller. And that dust problem? Gone. You get extra space for items you rarely use.
The room feels bigger and more polished. Your kitchen starts looking like those magazine photos.
In this blog, you will see the pros and cons of kitchen cabinets to ceiling. You will see ideas, cost, alternatives to full height cabinetery, personal experiences, and tips to make the right decision.
Main Advantages of Kitchen Cabinets to Ceiling
Here’s why so many people are choosing this option for their kitchens.
More Storage Space
You gain several cubic feet of storage. It’s perfect for items you want to keep but don’t use daily.
Use the top shelves for holiday dishes, serving platters, and appliances that only need to be cleaned twice a year.
No More Dust Collection
That gap above standard cabinets becomes a dust magnet.
Grease from cooking settles there, too. With ceiling-height cabinets, you eliminate this cleaning nightmare. No more climbing up to wipe down that unreachable space.
Taller Ceiling Appearance
Your kitchen looks bigger instantly. The vertical lines draw eyes upward.
This trick makes even a small kitchen feel more spacious. Interior designers use this technique all the time.
Cleaner, Modern Look
The continuous line from counter to ceiling creates a sleek finish.
Your kitchen appears more intentional and well-planned. It’s the difference between builder-grade and custom-designed spaces.
Disadvantages of Kitchen Cabinets to Ceiling
Real cons about the cabinet to ceiling you’ll face.
- Higher Installation Costs: You’ll pay more upfront for custom cabinets, with higher labor fees due to extended installation time and equipment. Expect to spend 20-30% more than the standard cabinet installation.
- Difficult to Reach Top Shelves: You’ll need a step stool or ladder regularly. For shorter or mobile-impaired individuals, this becomes a problem. Reaching the top shelf becomes a harrowing production.
- Not Ideal for Rentals: Landlords rarely approve this modification. You can’t easily take the cabinets with you when you move. This investment only makes sense if you own your home and plan to stay awhile.
- May Crush Small Kitchens: Sometimes, less is more. In small kitchens with low ceilings, floor-to-ceiling cabinets can feel overpowering, making the space seem smaller.
Kitchen Cabinet to Ceiling: With or without Crown Molding?
One big decision you’ll face is whether to add crown molding at the top.
| Aspect | With Crown Molding | Without Crown Molding |
|---|---|---|
| Look | Traditional and formal. Adds decorative detail. | Clean and modern. Modern finish. |
| Cost | More expensive. Molding and labor add up. | Budget-friendly. Simple installation. |
| Cleaning | Harder to clean. Dust settles in grooves. | Easy to wipe down. Flat surface only. |
| Installation | Takes more time. Requires precise cutting. | Faster to complete. Straightforward process. |
| Best For | Classic or farmhouse kitchens. Older homes. | Stylish spaces. New builds. |
| Ceiling Fit | Hides uneven ceilings. Covers gaps nicely. | Works only with level ceilings. Shows imperfections |
Design Ideas for Kitchen Cabinets to Ceiling
Some design approaches that work beautifully in real kitchens.
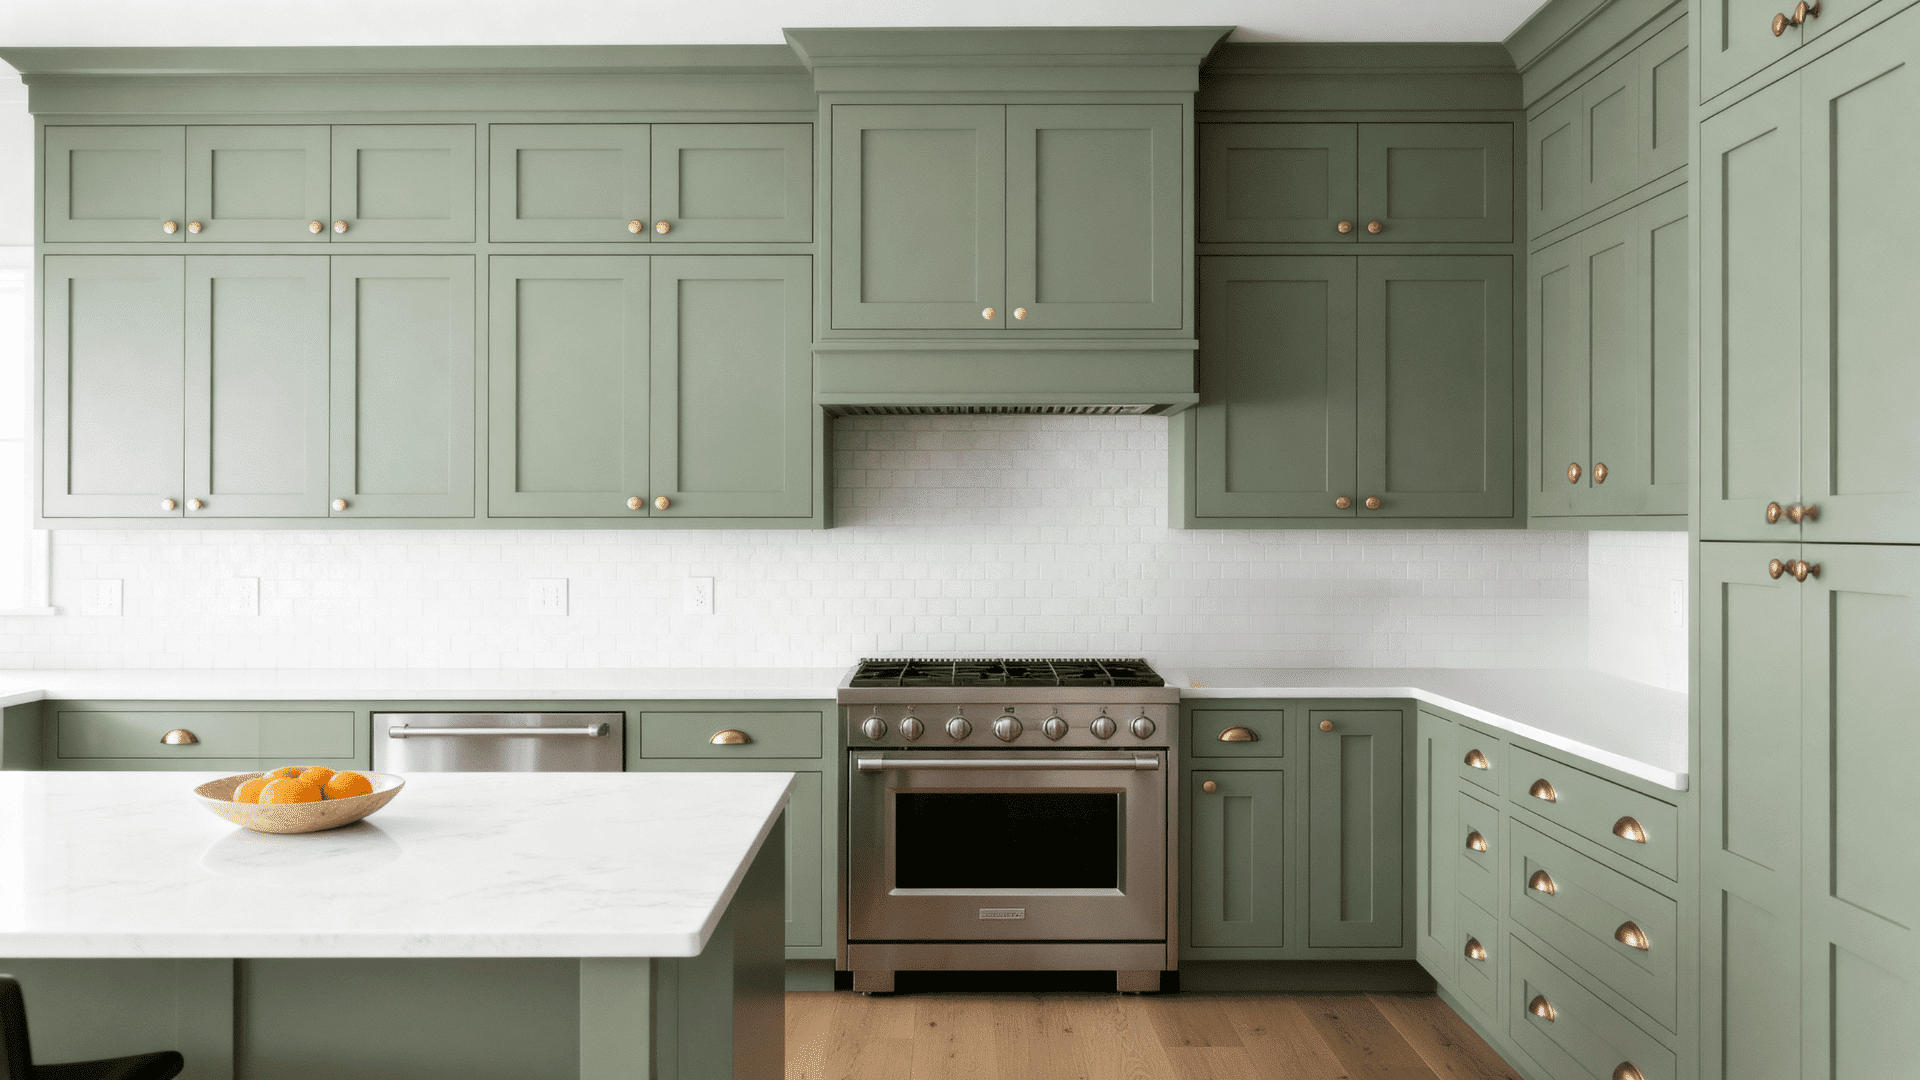
1. Two-Tone Cabinet Colors
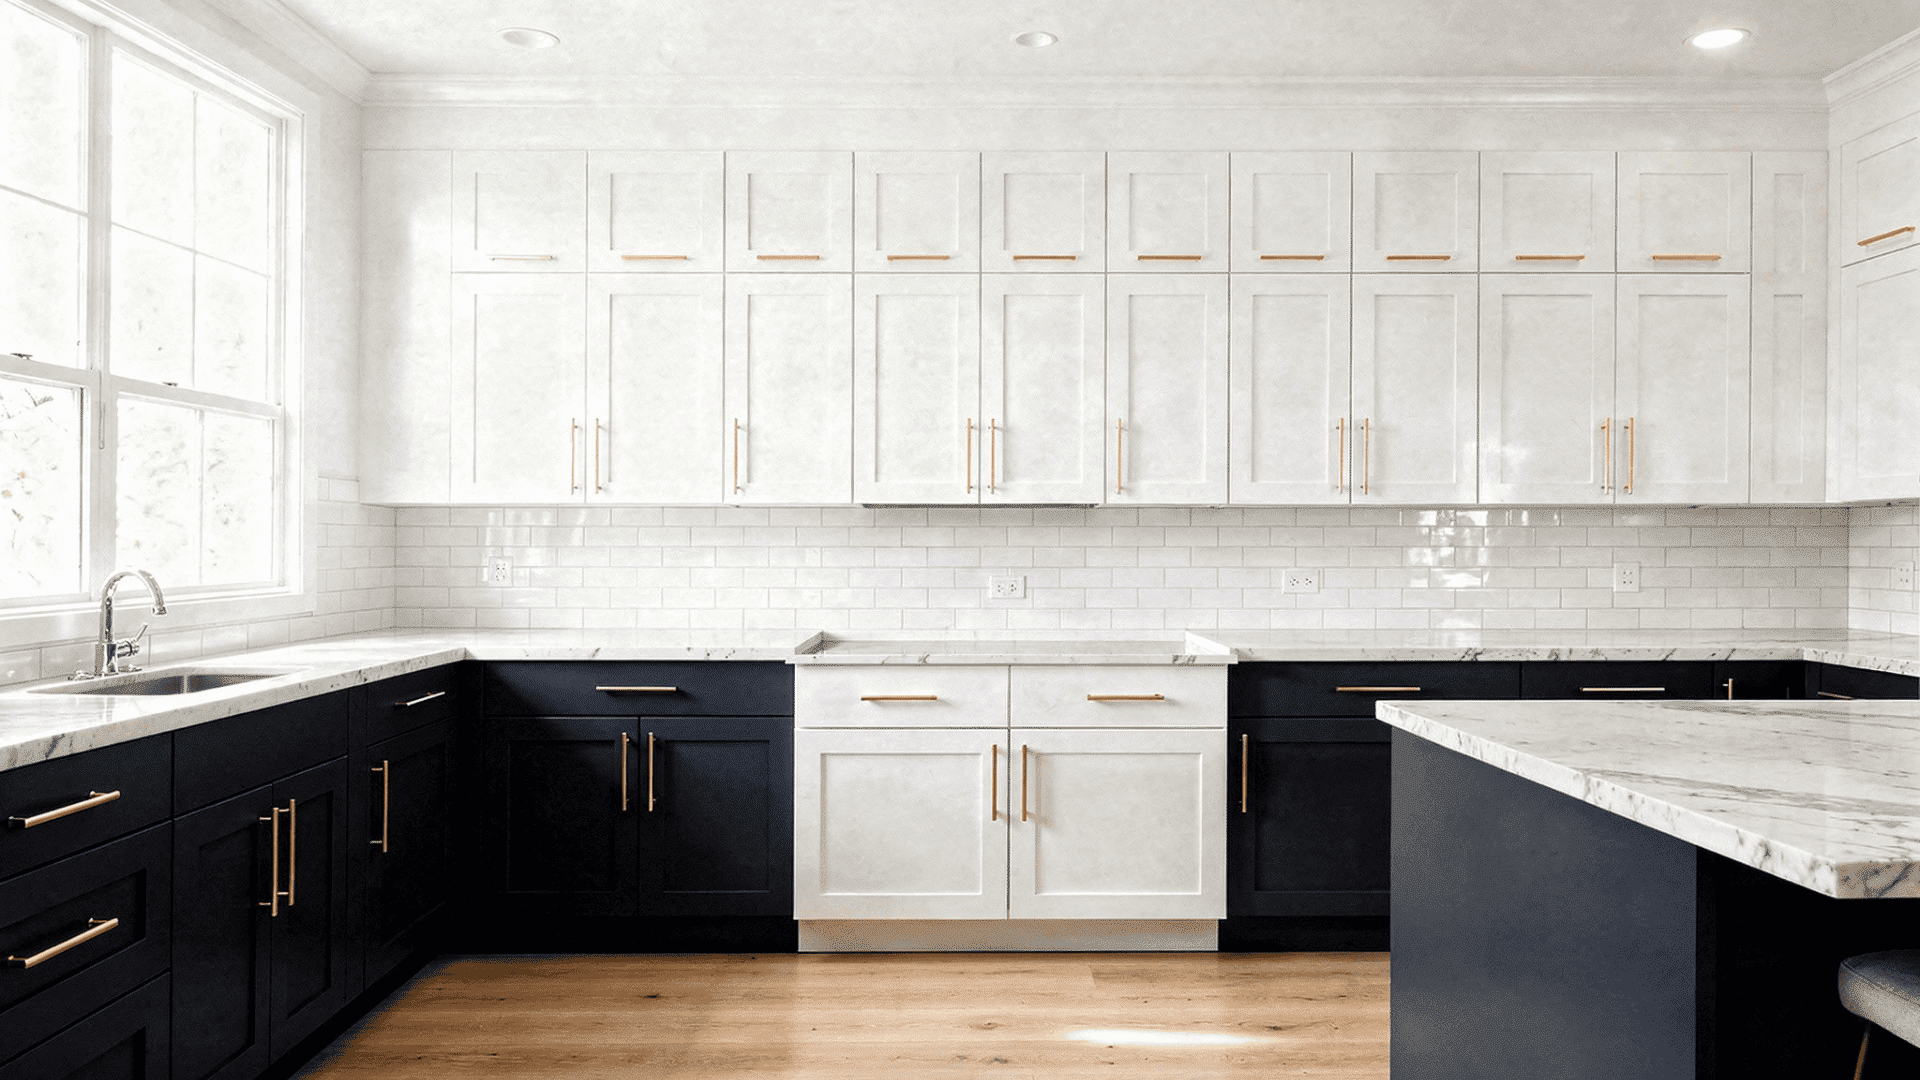
Paint upper cabinets a different shade than lower ones, like white on top and navy or green below.
This breaks up height, prevents cabinets from feeling crushed, and adds visual interest and personality.
- Cost: $200-$500 extra for additional paint and labor
- Best for kitchen size: Medium to large kitchens (150+ sq ft)
2. Glass Front Upper Cabinets
Replace solid doors with glass on top cabinets to lighten the look while providing storage.
Display dishes or hide items underneath. Glass reflects light, making the kitchen feel more open.
- Cost: $100-$300 per glass door compared to solid doors
- Best for kitchen size: Any size kitchen, especially small spaces (under 150 sq ft)
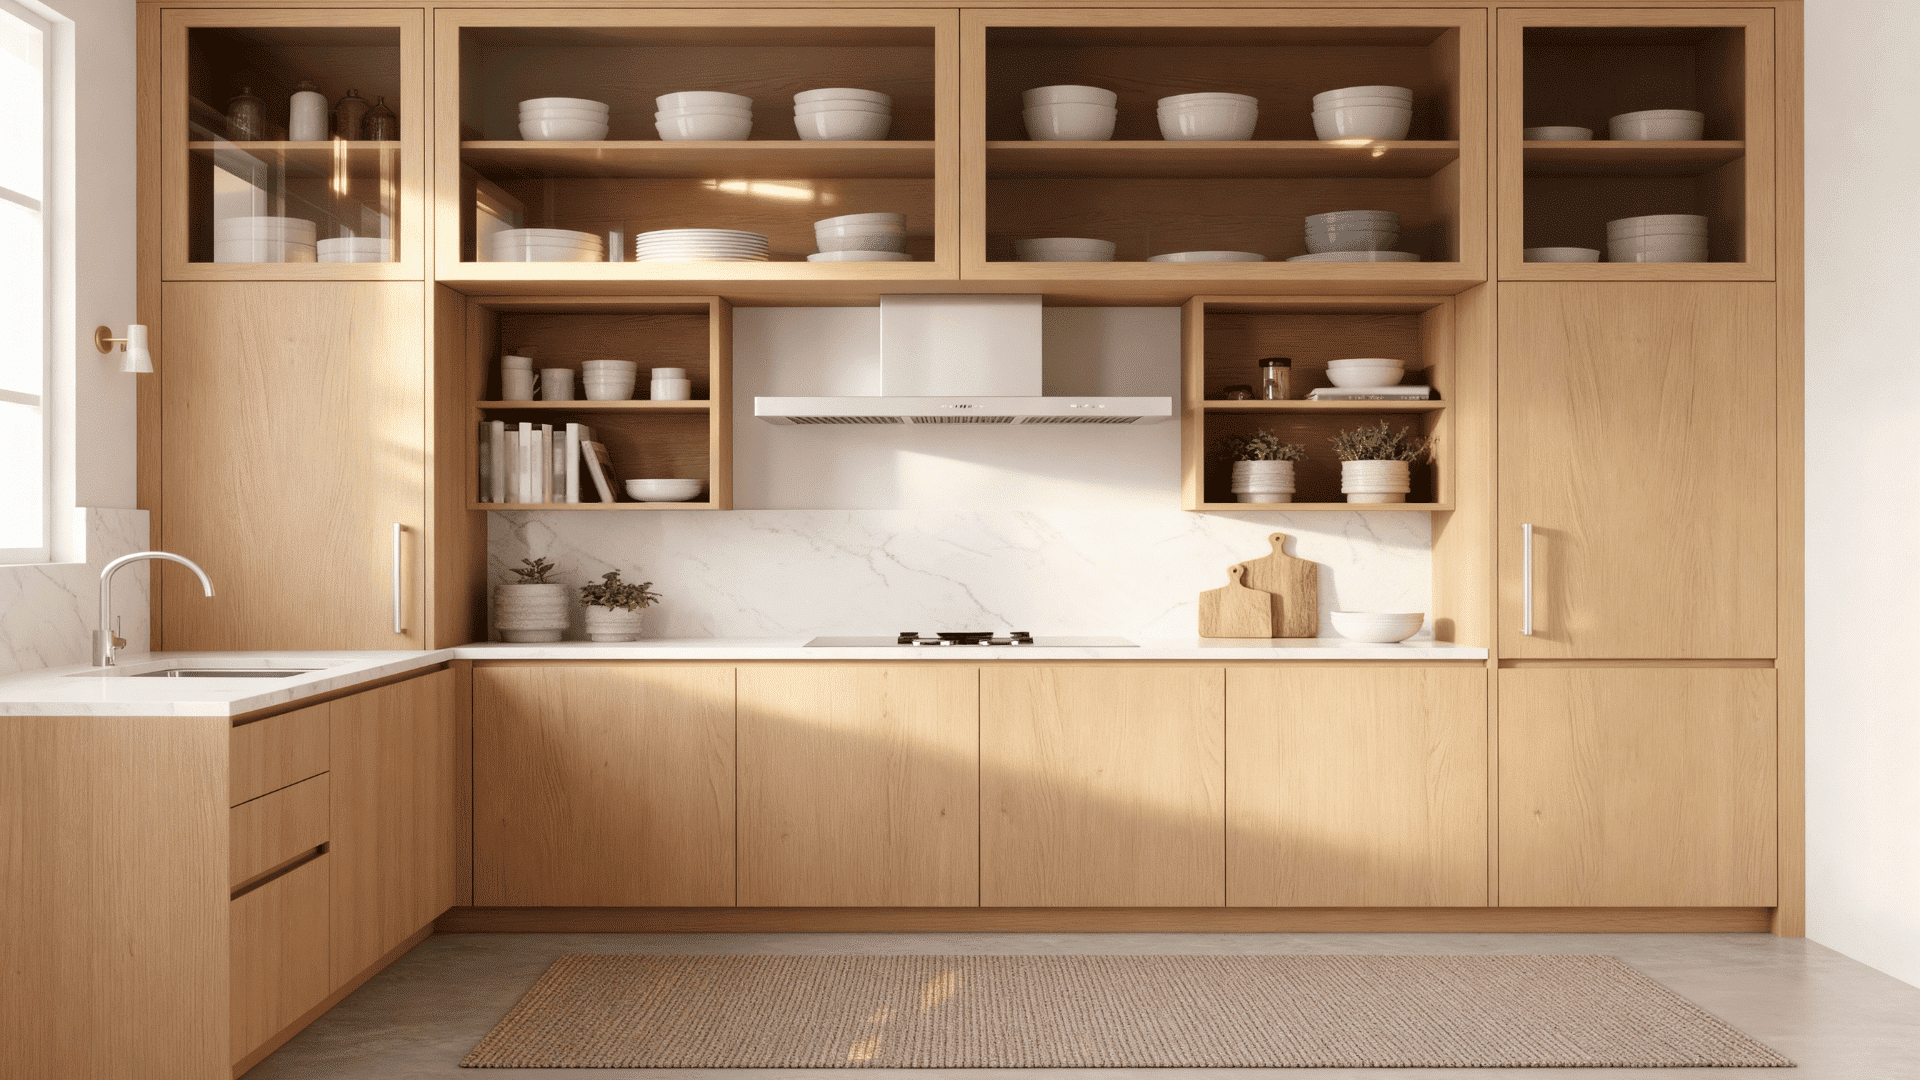
3. Open Shelving on Top Row

Skip cabinet doors on the top; use open shelves for cookbooks, plants, or decor. Open space avoids the heaviness of full cabinets.
- Cost: $50-$150 per linear foot for quality shelving
- Best for kitchen size: Small to medium kitchens (80-200 sq ft)
4. Vertical Shiplap Between Cabinets
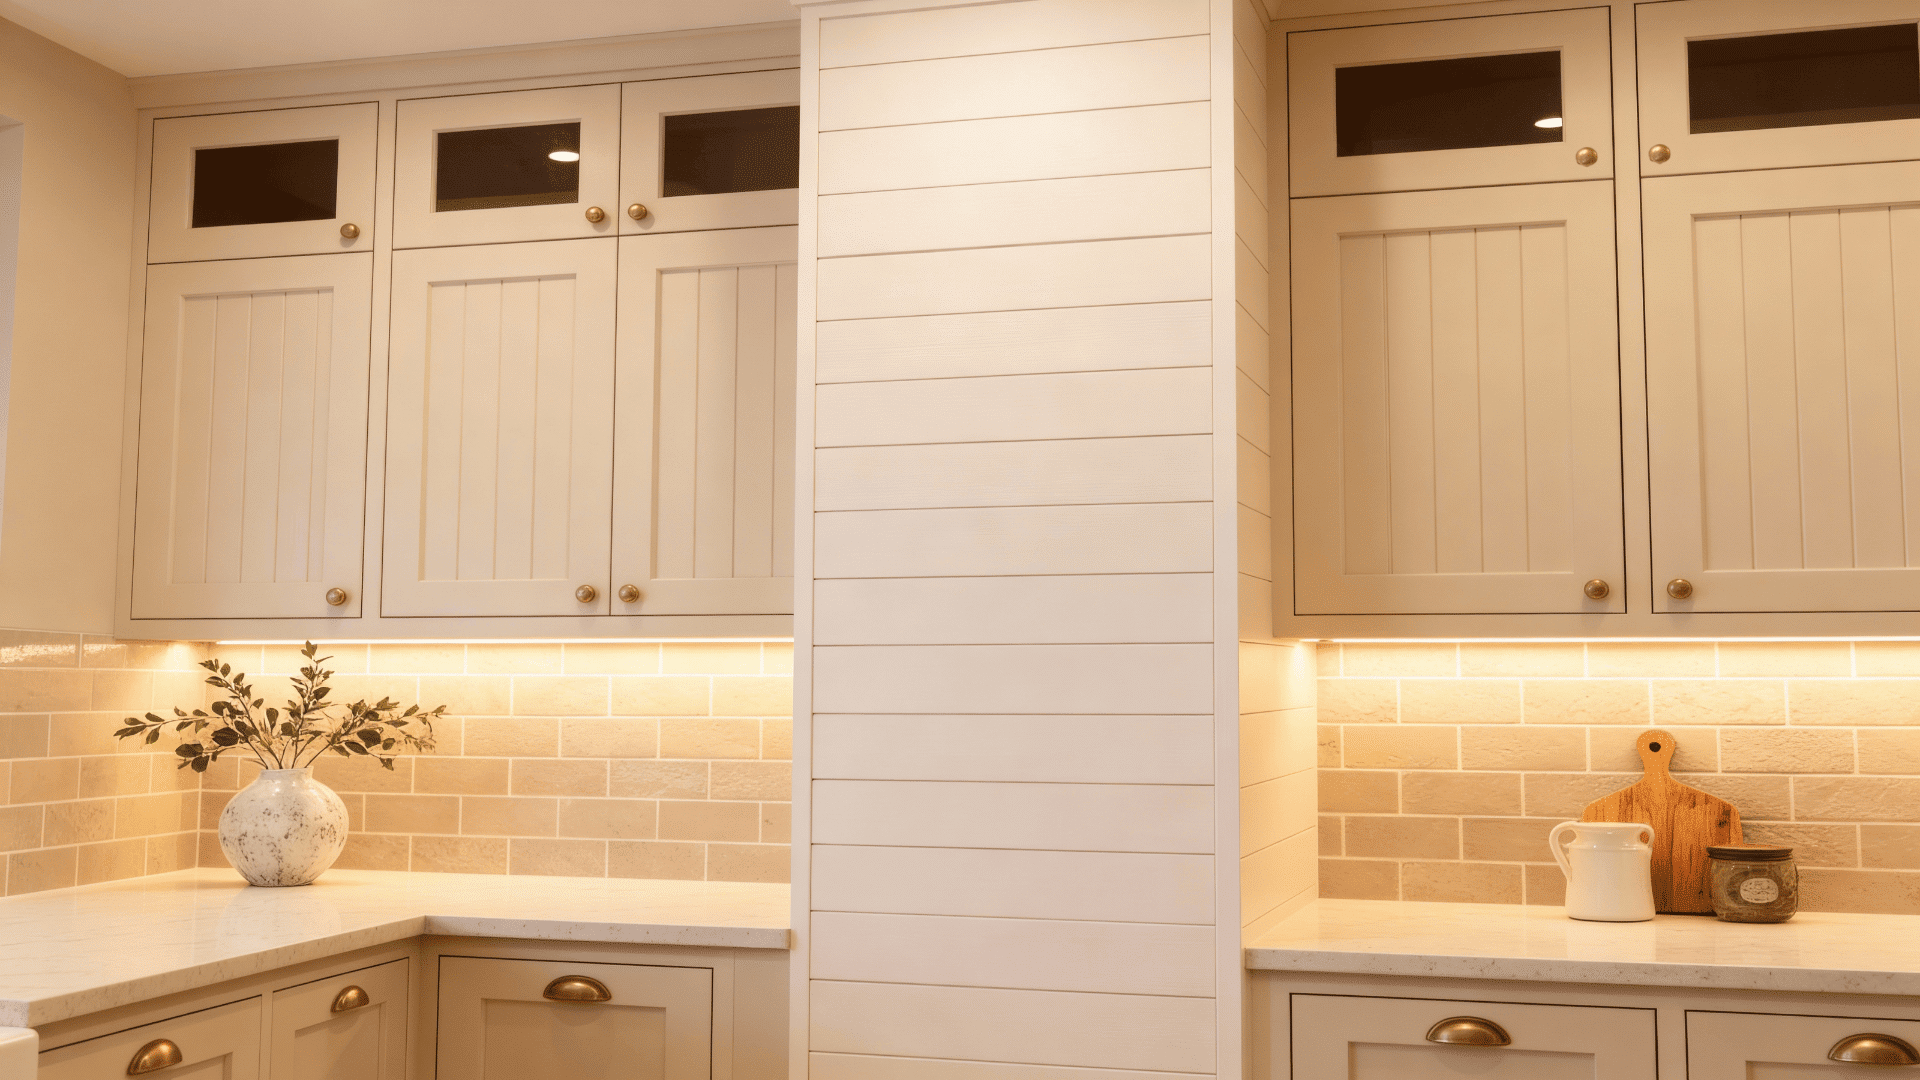
Add shiplap or beadboard panels between upper and lower cabinets to create a visual break, ideal for farmhouse or cottage kitchens.
The textured surface adds depth without occupying space.
- Cost: $3-$8 per square foot for materials and installation
- Best for kitchen size: Medium to large kitchens (150+ sq ft)
5. Contrasting Hardware Placement
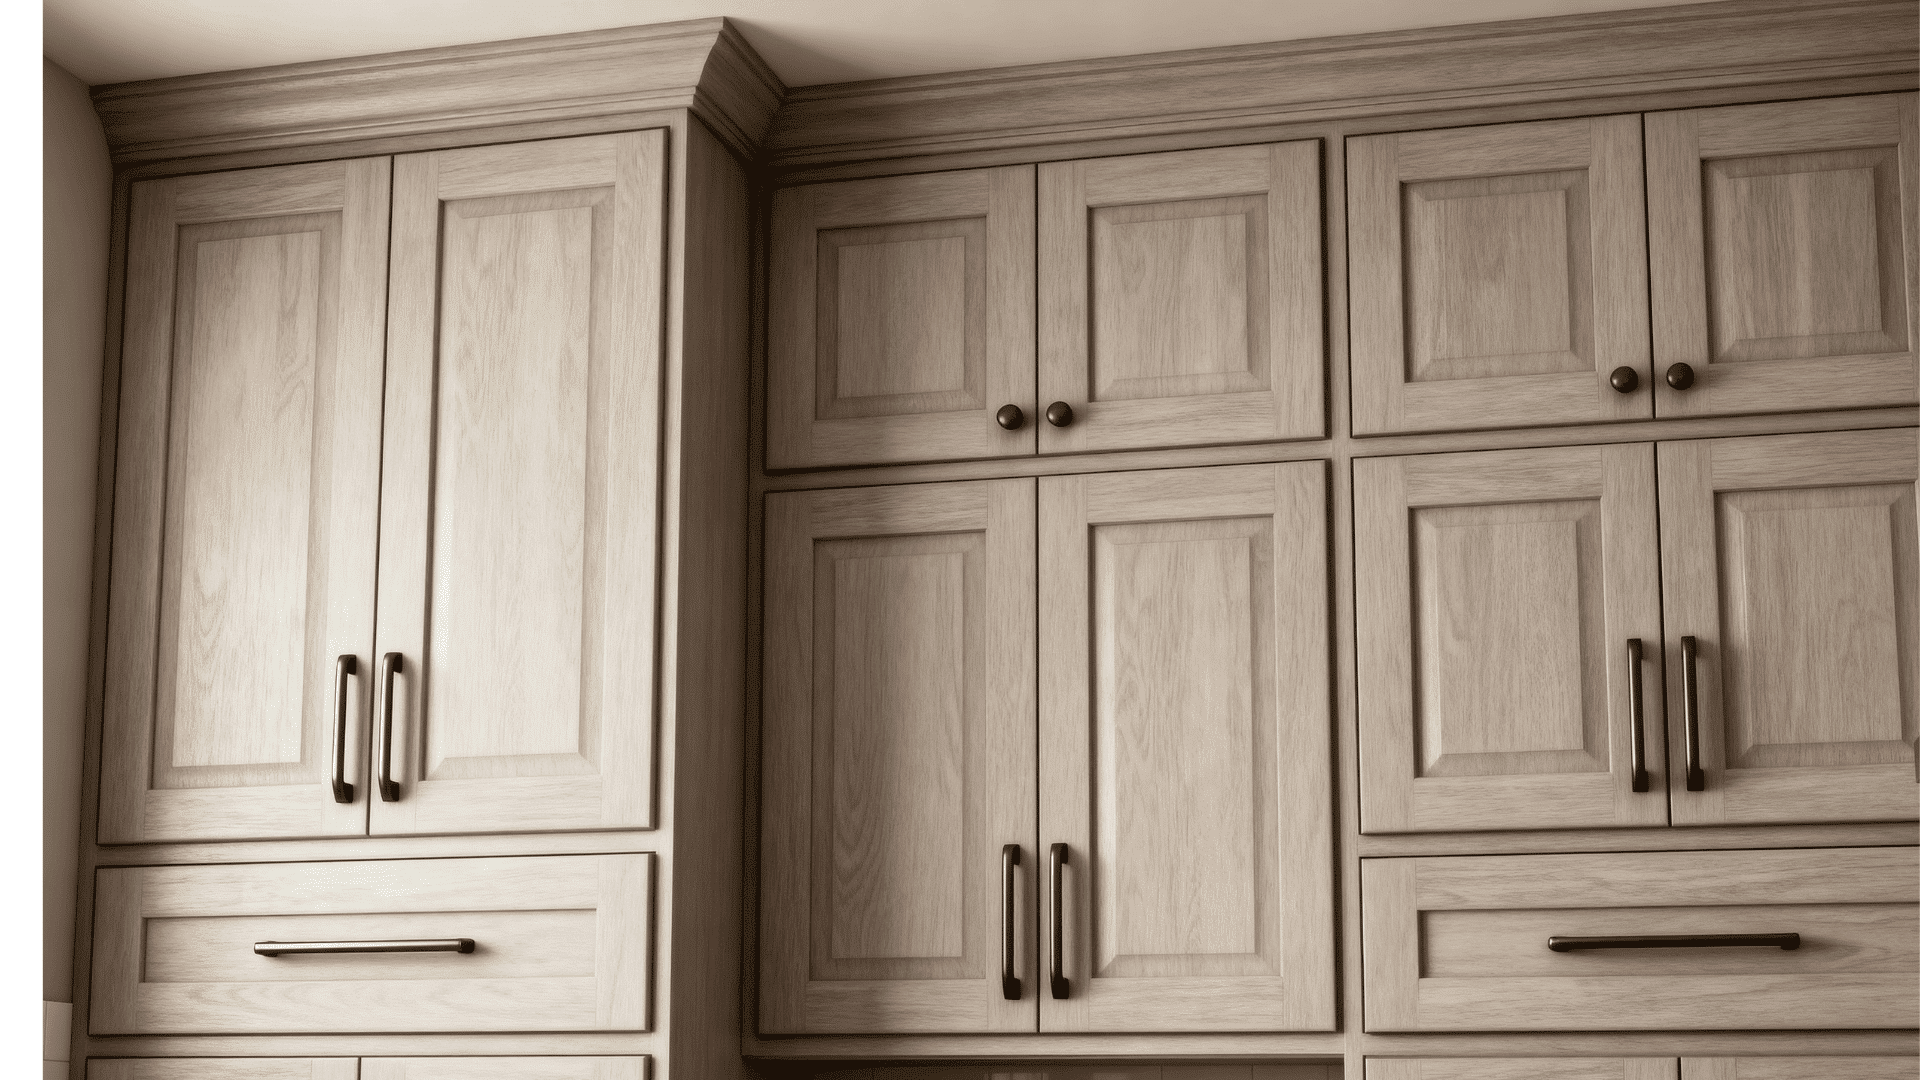
Use different hardware styles on upper and lower cabinets, like sleek pulls on the bottom and simple knobs up top, or bold on the lower and tiniest above.
This subtle difference adds visual layers to your kitchen.
- Cost: $5-$15 per handle or knob
- Best for kitchen size: Any size kitchen works well
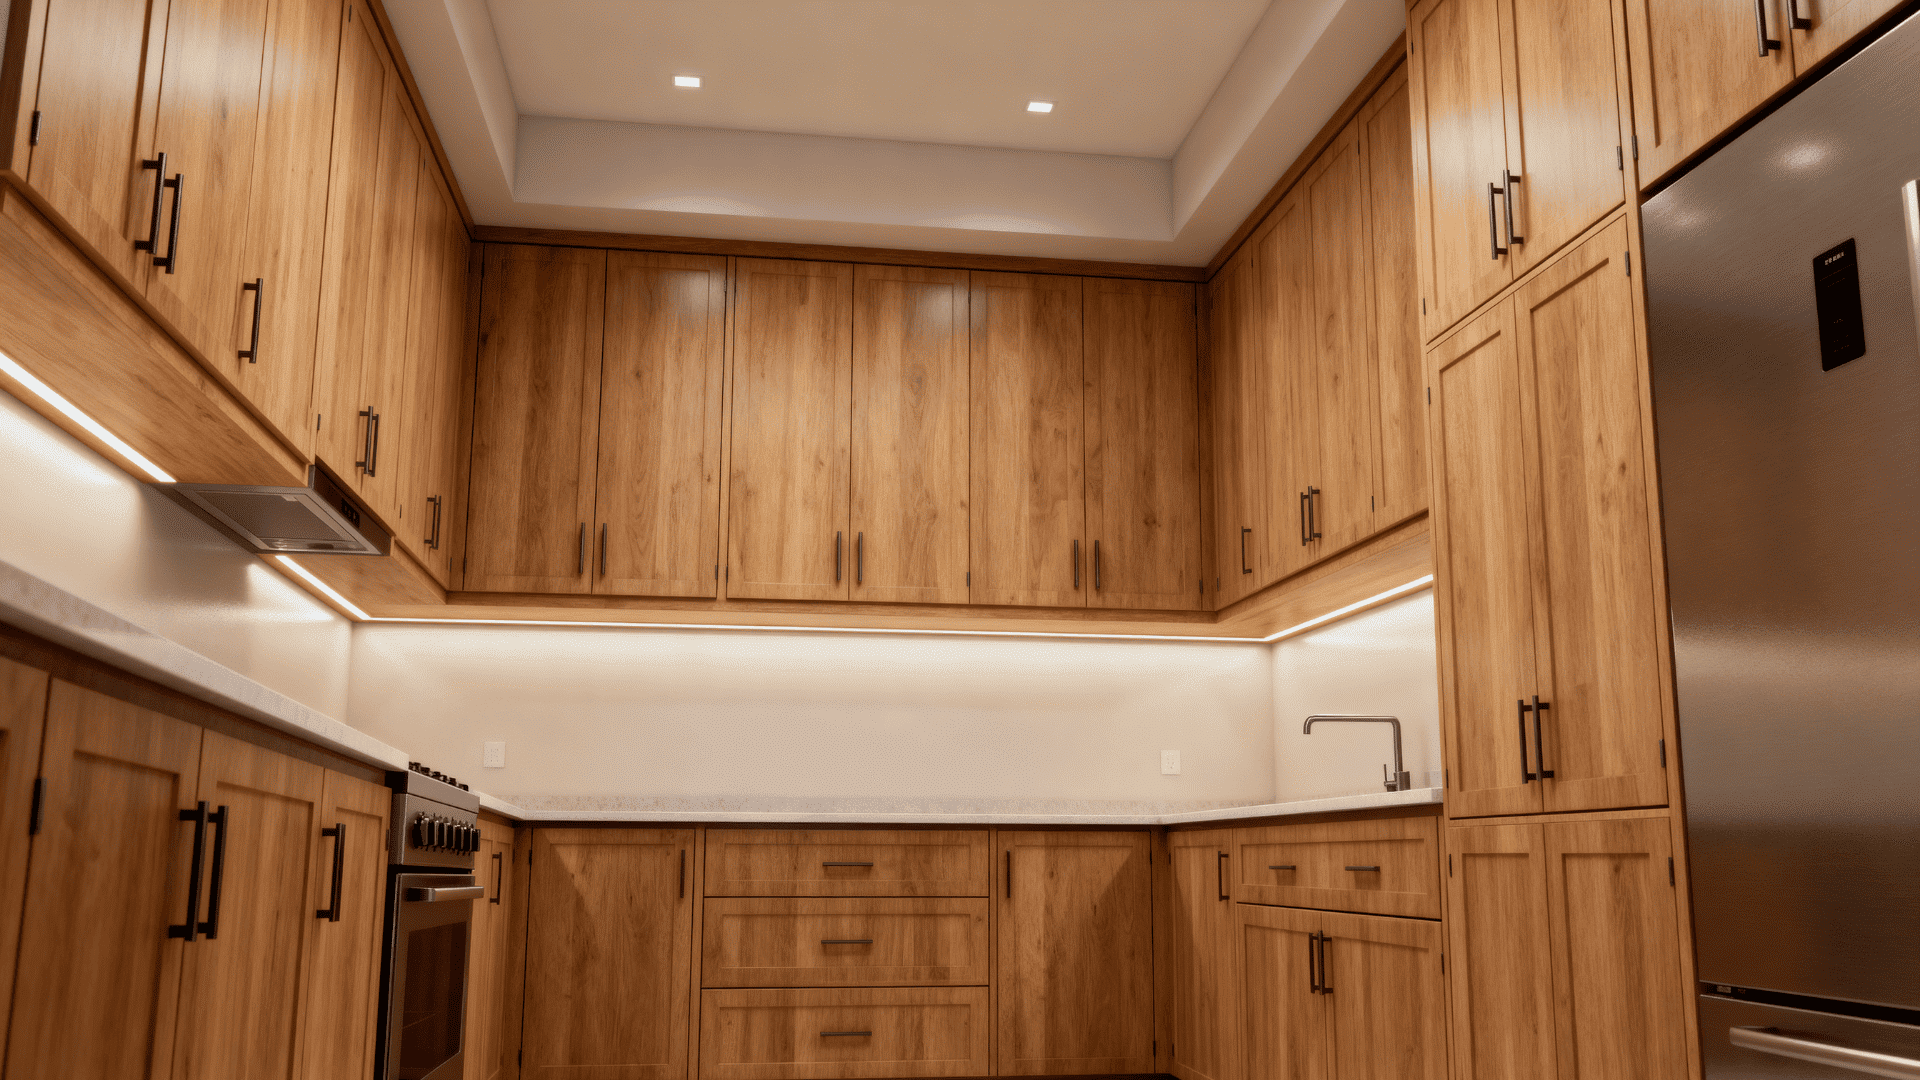
6. Lighting Under Top Cabinets
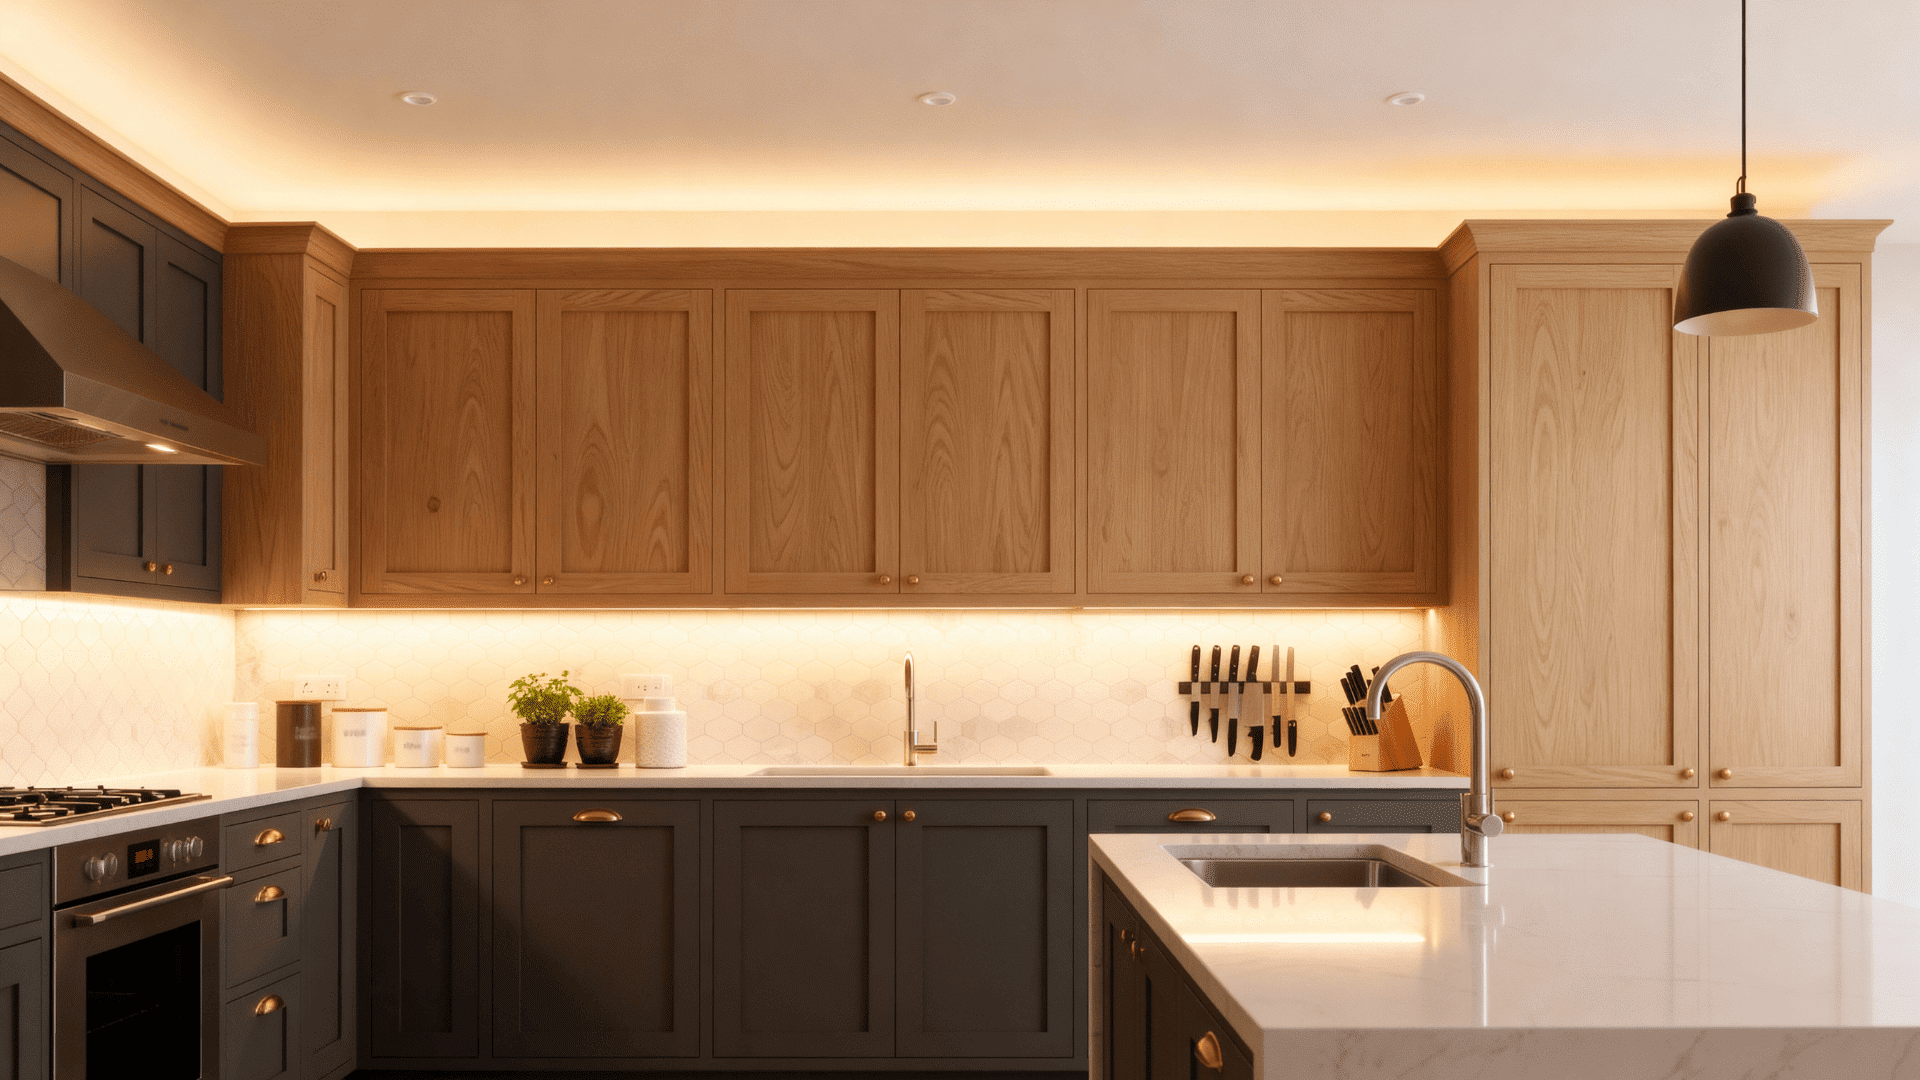
Install LED strip lights under upper cabinets to illuminate the workspace and highlight cabinet height.
Uplighting also showcases the ceiling, making the room feel taller. It’s both functional and atmospheric.
- Cost: $25-$75 per linear foot, including wiring
- Best for kitchen size: Small to medium kitchens (under 200 sq ft)
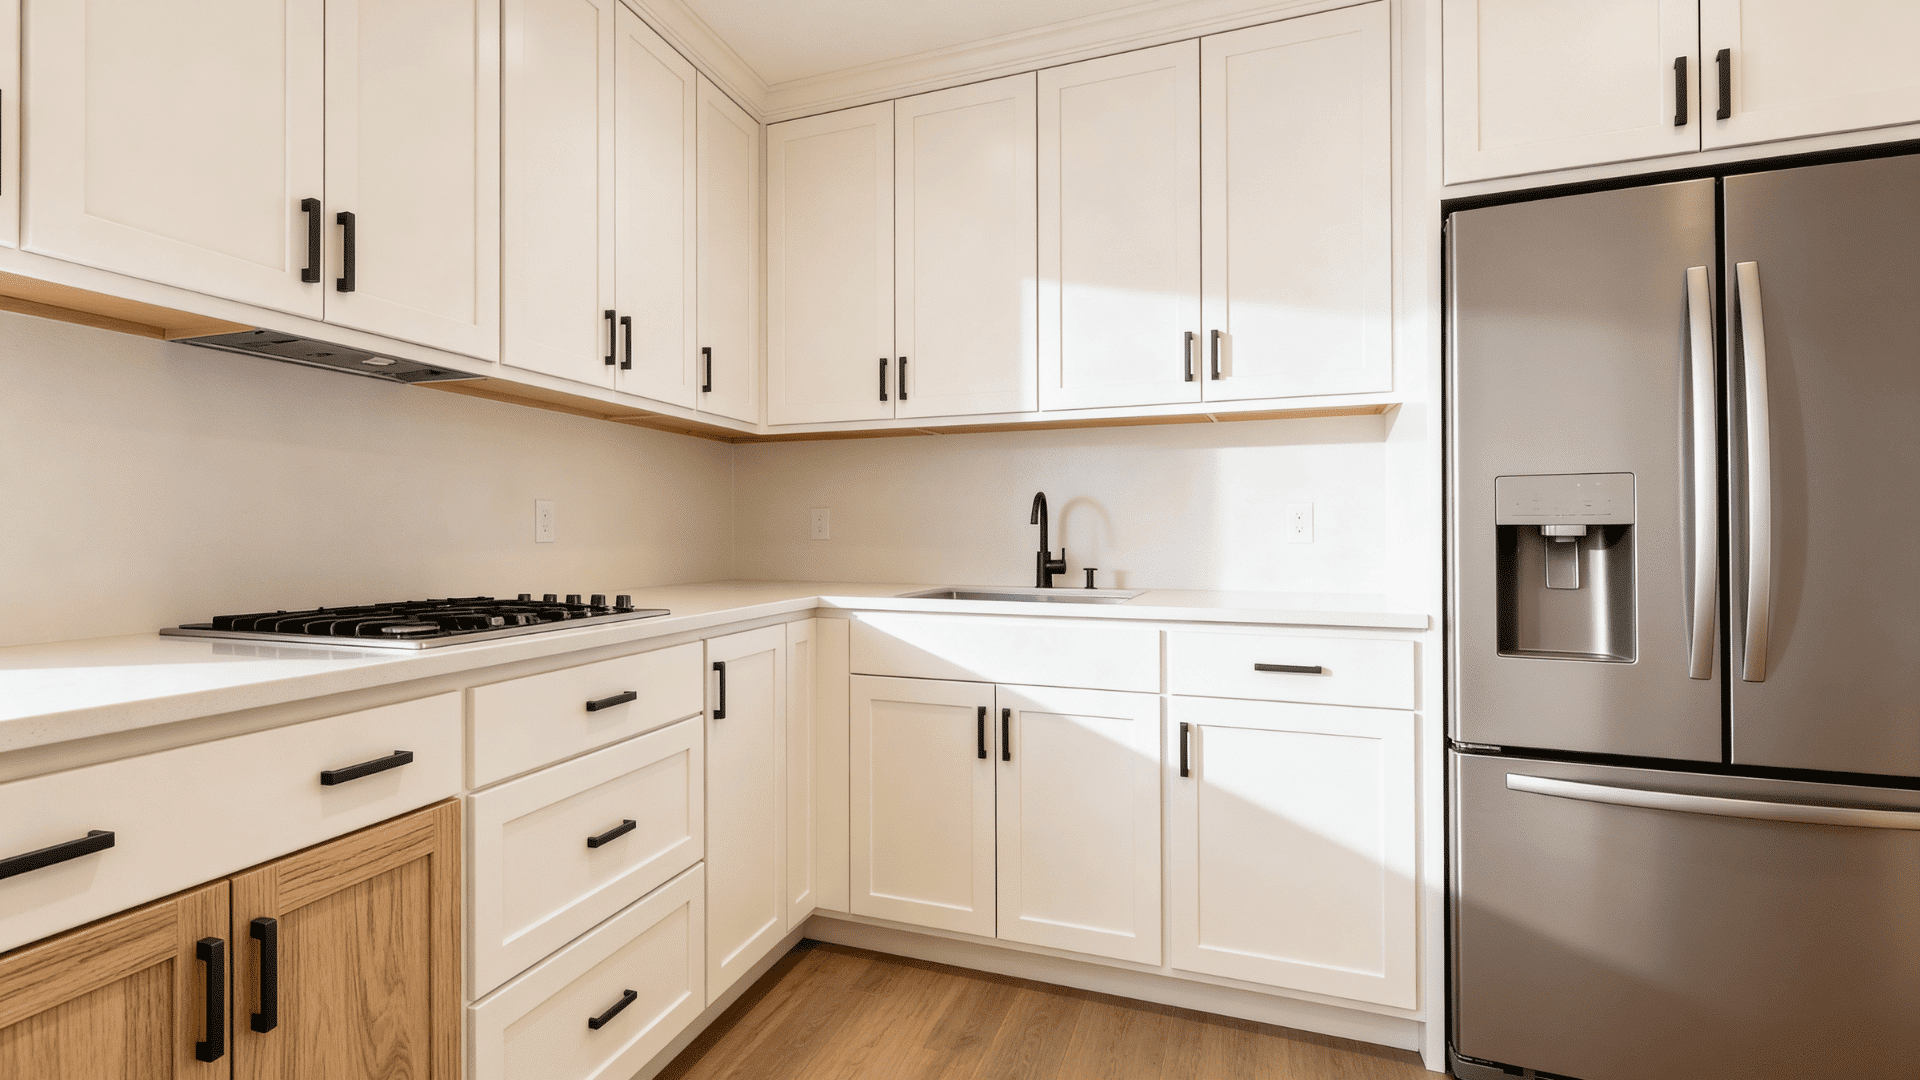
7. Mix Cabinet Depths
Make the top cabinets shallower than the bottom ones.
Standard bases are 24 inches deep; uppers can be just 12 inches. This avoids a top-heavy look and maximizes storage low down.
- Cost: No extra cost if planned during initial design
- Best for kitchen size: Small galley kitchens (under 100 sq ft)
8. Horizontal Grain Direction
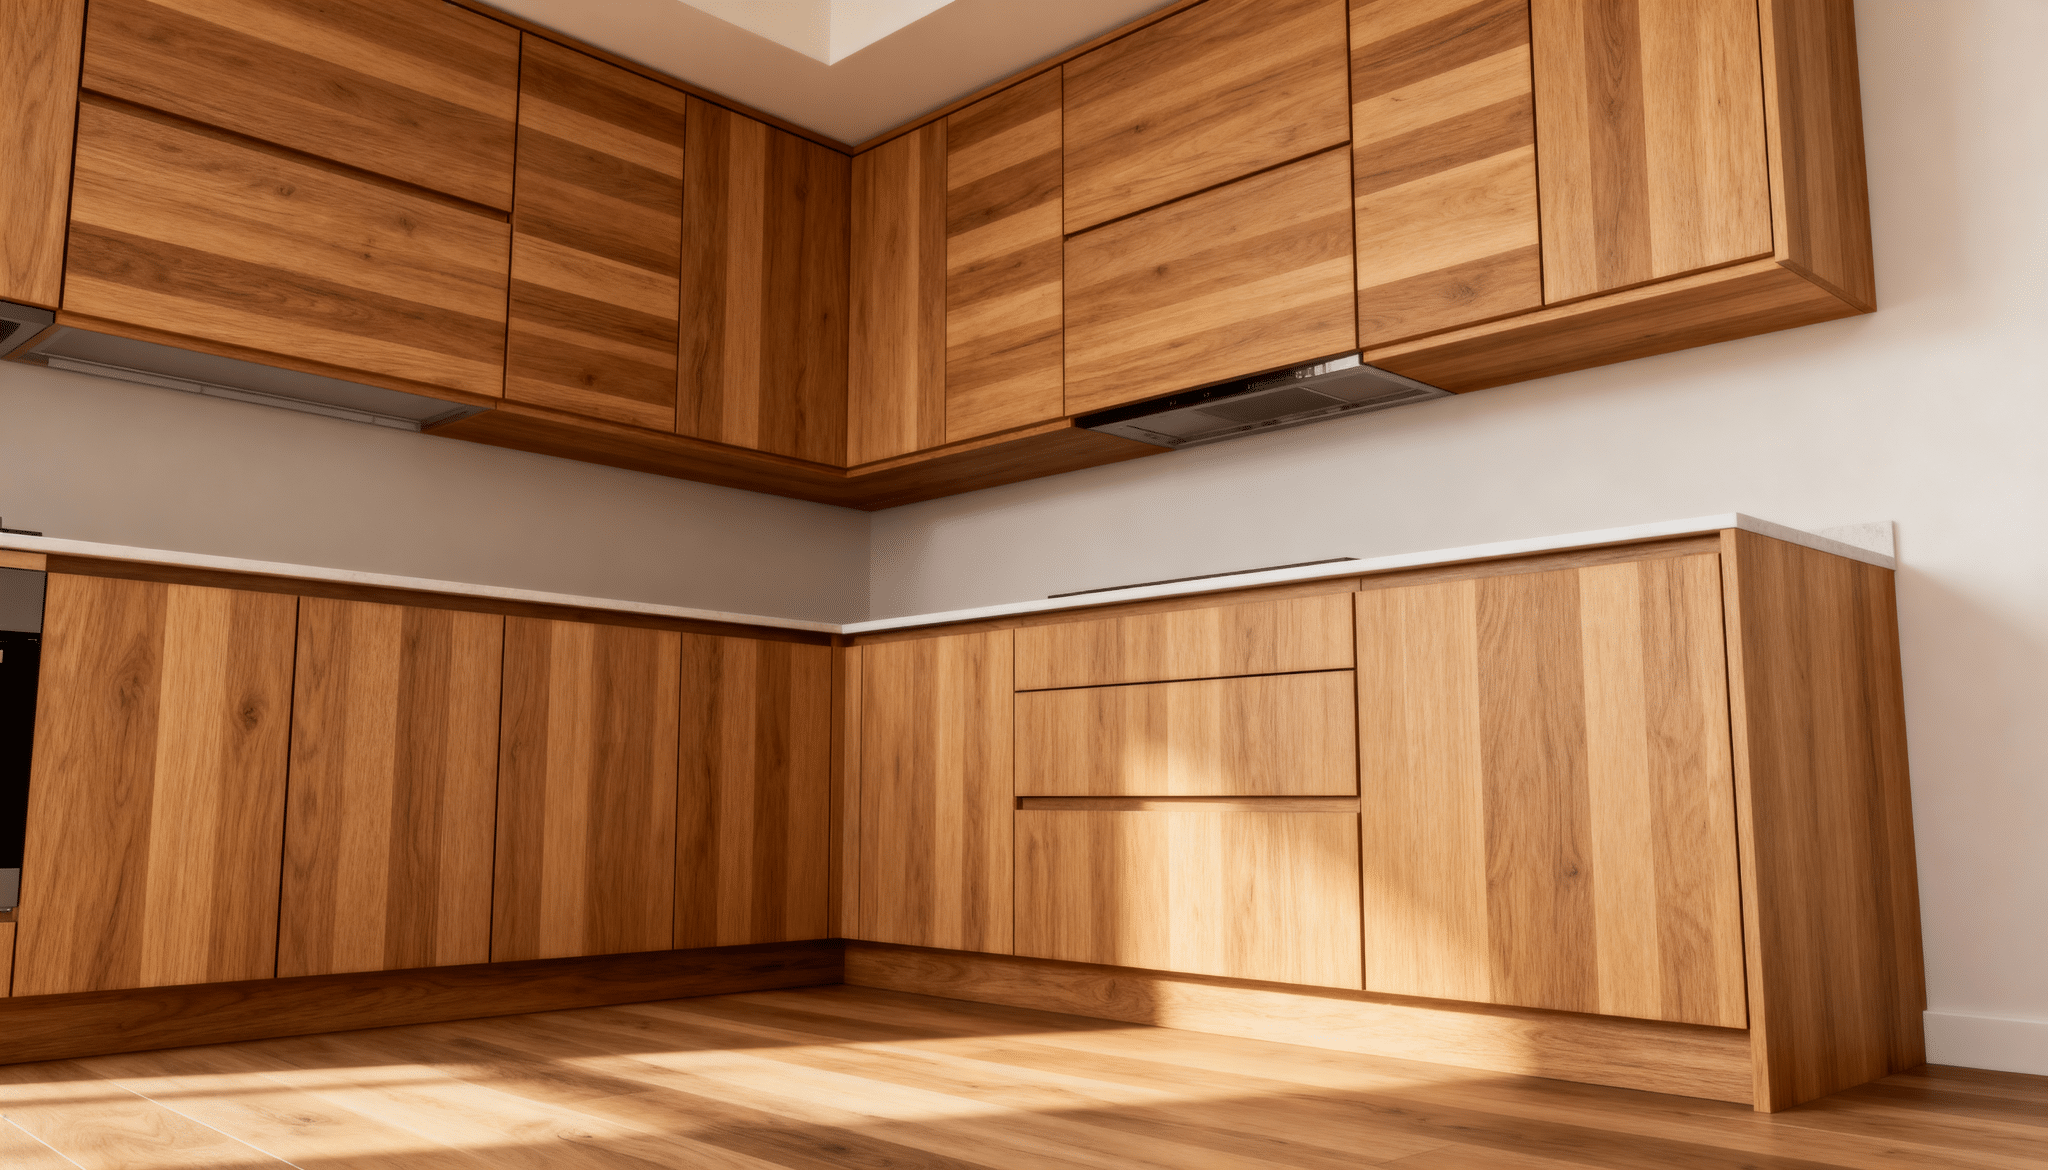
Choose wood grain or cabinet door styles that run horizontally on upper cabinets to counterbalance vertical lines from floor-to-ceiling installation.
The horizontal focus broadens and balances your kitchen.
- Cost: Varies by cabinet style, typically no upcharge
- Best for kitchen size: Narrow kitchens with limited width
9. Decorative Toe-Kick at Ceiling
Add a decorative trim where cabinets meet the ceiling, using simple baseboard-style molding instead of ornate crown molding.
This creates a clean, budget-friendly look without the fuss of a traditional crown, serving as a middle-ground option.
- Cost: $2-$6 per linear foot for trim and installation
- Best for kitchen size: Any size kitchen, budget-conscious projects
10. Recessed Panel Contrast
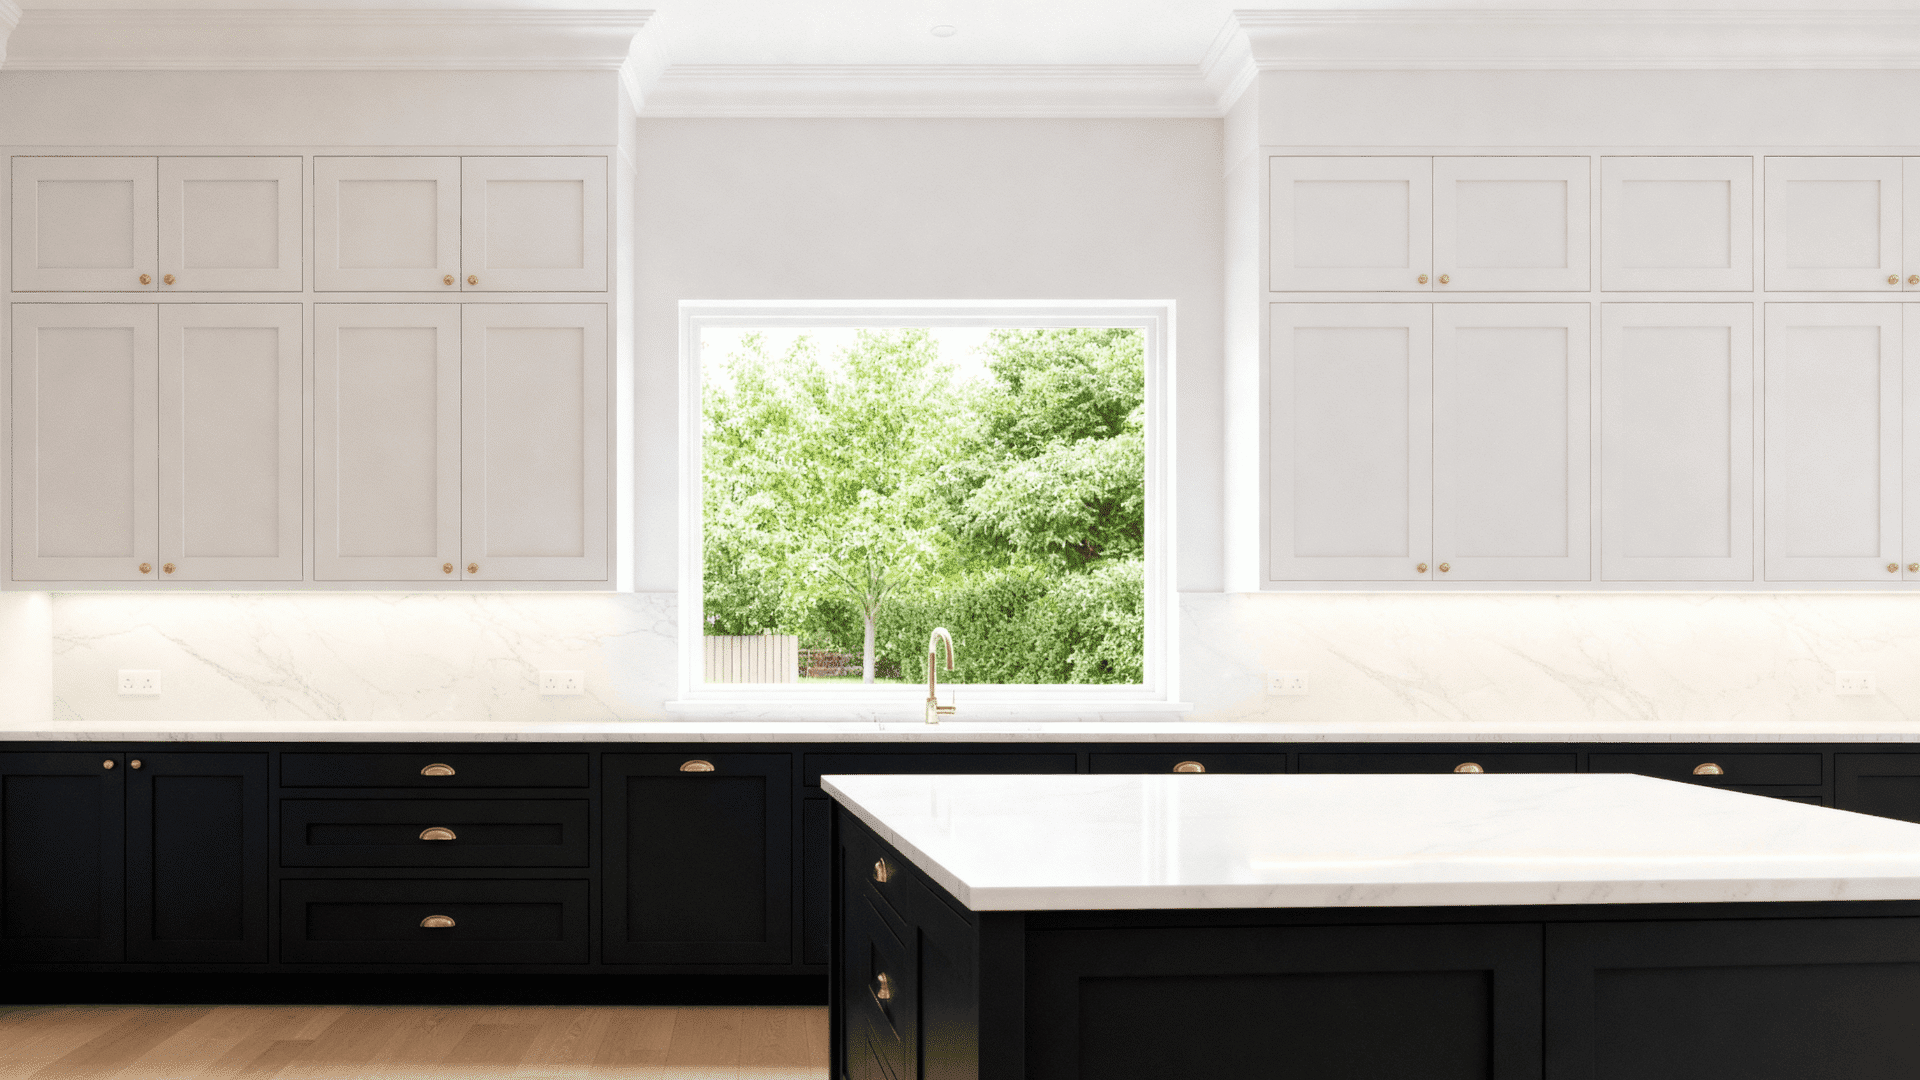
Use flat-panel doors on upper cabinets and raised-panel doors below, recessed panels up top, flat below.
This adds interest without color changes, and your eye notices the difference, even if visitors can’t pinpoint why it looks good.
- Cost: $50-$200 per door, depending on style complexity
- Best for kitchen size: Medium to large kitchens (150+ sq ft)
11. Integrated Appliance Panels
Match your refrigerator and dishwasher panels to cabinets for a seamless, high-end look in designer kitchens.
The same finish creates uninterrupted vertical lines, making ceilings appear higher.
- Cost: $500-$1,500 per appliance panel
- Best for kitchen size: Large kitchens (200+ sq ft) with high-end finishes
Cost Comparison: Ceiling-Height Cabinets vs Standard Cabinets
Here’s what you’ll actually spend on each option.
| Cost Factor | Standard Cabinets | Ceiling-Height Cabinets |
|---|---|---|
| Cabinet Materials | $3,000-8,000 for an average kitchen | $4,500-12,000 for the same space |
| Labor Cost | $1,500-3,000 for installation | $2,500-5,000 due to height work |
| Hardware | $200-600 for pulls and knobs | $300-900 for additional doors |
| Crown Molding | $300-800 if added | $400-1,200 for longer runs |
| Delivery Fees | $100-300 standard rate | $150-500 for larger cabinets |
| Removal of Old | $500-1,000 for demo | $500-1,000 same work needed |
| Total Average | $5,600-13,700 complete job | $8,350-20,600 complete job |
| Cost Per Linear Foot | $150-350 installed | $225-525 installed |
Alternatives to Full-Height Cabinetry
Not ready to commit to kitchen cabinets to ceiling? These options give you similar benefits.
Cabinet Toppers or Stacked Boxes
Add small cabinet boxes on top of your existing ones as filler pieces to bridge gaps without replacement.
They offer extra storage cheaply, are removable, and ideal for renters.
Decorative Molding and Trim
Install crown molding from the top to the ceiling to create the illusion of height without needing more storage.
This visual trick makes cabinets look taller and offers a budget-friendly way to achieve a custom look quickly.
Open Shelving Above Cabinets
Mount floating shelves above cabinets for plants, baskets, or decor, filling the gap and keeping items accessible, all without the expense of custom cabinetry.
Soffit Construction
Build a soffit to enclose the space above cabinets.
Drywall and paint give a clean, finished look, making it appear intentional rather than leftover space. Ideal for modern kitchens.
Extending with Trim Boards
Attach tall trim boards to existing cabinets and paint to match.
This vertical extension draws the eye upward and is a DIY-friendly project that takes a weekend.
Glass Display Cabinets
Install lightweight glass-front cabinets in the upper gap for display space of collectibles or dishes.
They’re cheaper than solid wood and prevent the area from feeling heavy or closed off.
What Community People Say About This
Many people lean toward taking kitchen cabinets to the ceiling, even in homes with 9-foot ceilings.
Most say the most crucial benefit is avoiding dust and grease buildup on top of cabinets. Several people mention that upper shelves work well for items used only a few times a year, like holiday platters or special appliances.
People often keep a small step stool nearby and don’t find it to be a big issue.
Some users feel ceiling-height cabinets make the kitchen look more finished.
While others say the extra cost isn’t worth it if storage needs are already met with a pantry.
A few prefer leaving space to keep the room feeling open.
Tips for Making the Right Design Decision
- Measure your ceiling height precisely before ordering any cabinets.
- Think about what you’ll store in those upper cabinets realistically.
- Factor in your budget for both materials and professional installation.
- Check if your ceiling is level or if there are any slopes.
- Plan for proper lighting so the top shelves remain functional.
- Test reaching items at that height before committing to the design.
- Ask your contractor about structural support needs for heavier cabinets.
- Choose finishes that won’t show fingerprints on hard-to-reach upper doors.
- Get multiple quotes from different cabinet makers and installers.
- Consider adding a rolling library ladder for easier access if space allows
Wrapping it up
Taking your kitchen cabinets to ceiling isn’t just about storage.
It’s about making your space work harder for you. You have walked through the benefits, the costs, and the design choices. You’ve seen what works and what doesn’t. Now it’s your turn to decide if this fits your kitchen and your life.
Start by measuring your space. Get a few quotes. Talk to contractors who’ve done this before.
There’s no single correct answer here. Some kitchens shine with floor-to-ceiling cabinets, others with alternatives.
What matters is choosing what makes sense for how you actually cook and live.