Sewing curtains at home is simpler than it sounds and way cheaper than buying ready-made ones.
Handmade curtains fit windows perfectly. No more panels that hang awkwardly or stop short of the floor. The fabric, color, and style all match the room exactly.
The process involves picking fabric, measuring accurately, and learning how to sew curtains step by step.
Beginners can handle this. The techniques are basic, and the results look professional.
Custom curtains mean total control over how a space looks. Plus, the whole process is more fun than expected once things start coming together.
Pros of Making Your Own Curtains
Store-bought curtains rarely fit right.
Standard sizes end up too long, too short, or the wrong width. And they’re pricey.
Making curtains at home fixes both issues. Fabric costs way less than finished panels, and customization becomes unlimited. Pick any fabric, length, or style that works.
Curtains use simple straight seams, making this a beginner-friendly project, but sewing curtains involves basic skills, straight seams, and simple hems, nothing complicated. The steps are repetitive and forgiving.
DIY curtains also unlock creative freedom. Mix patterns, add trim, or keep it minimal.
The choice is entirely personal. Store shelves can’t compete with that level of control.
Choosing the Right Materials
Getting materials sorted first saves time and frustration later.
Fabric, thread, rods, and hanging hardware all play essential roles in how curtains turn out. Each piece serves a specific purpose and impacts the final result.
1. Fabric
Fabric is what curtains are made from, and the type matters. It depends on what the room needs: privacy, light control, or just decoration.
Lightweight cotton filters sunlight while keeping things private.
Heavier fabrics like blackout material completely block light, perfect for bedrooms.
Common Curtain Fabric Types :
- Cotton: Cheap, easy to sew, tons of colors, machine washable, perfect for beginners learning how to make curtains.
- Linen – Natural texture, soft light filters through, gets softer over time, doesn’t attract dust.
- Polyester – Resists wrinkles and fading, dries fast, rarely needs ironing, great for sunny windows.
- Velvet – Heavy, blocks light and sound, costs more, needs dry cleaning, looks fancy.
- Blackout Fabric – Coating stops all light, insulates rooms, stiffer and heavier to work with.
- Sheer Fabrics – Maximum light, airy feeling, super easy to sew, perfect for learning how to sew curtains.
2. Thread
The thread holds the seams together. Matching the thread color to the fabric makes the stitching invisible and keeps it clean. White or neutral thread works for most projects.
Contrasting thread adds a pop of color and ties the curtains into the room’s decor. Either way works fine; it just depends on the look wanted.
3. Curtain Rod
The curtain rod holds the curtains up.
Pick this before sewing because it affects measurements and how the fabric hangs. Metal rods work for heavy curtains, while wooden dowels suit lighter fabrics and give a natural look.
Measure the window width and add 6-12 inches on each side. This lets the curtains pull fully open without blocking light.
Getting the rod sorted early makes everything else easier.
4. Rings
Curtain rings attach fabric to the rod and let panels slide open.
Metal rings last longer and glide smoothly. Plastic rings cost less but break more easily with daily use.
Some rings have clips that snap right onto fabric, no sewing needed. Others need sewn loops. Rings make hanging curtains straightforward.
5. Ring Clips
Ring clips combine a ring and a clip in one piece. They snap onto the curtain’s top edge without any sewing.
This makes them the fastest way to hang lightweight curtains.
Clips leave minor marks where they pinch fabric. Sewn tabs look cleaner but take more work. For quick projects, ring clips win every time.
6. Curtain Hooks
Curtain hooks slide into sewn pockets at the top of the curtain. They create a neat, formal look that works well in living rooms or dining areas.
Hooks spread weight evenly, which helps with heavier fabrics.
Installing hooks takes careful sewing because spacing needs to be even. The result looks polished and professional, though.
Choose hooks when appearance matters most.
Tools and Materials Required
Having everything ready before starting saves time and prevents frustrating stops mid-project.
Collect these tools and materials to ensure the curtain-sewing process runs smoothly from start to finish.
| Tools | Materials |
|---|---|
| Sewing machine | Curtain fabric (sheer or opaque) |
| Fabric scissors or rotary cutter | Thread (matching or contrasting) |
| Measuring tape | Shirring/pleating tape |
| Iron and ironing board | Curtain hooks |
| Pins (optional) | Curtain rod |
| Seam gauge (optional) | Rings or ring clips (optional) |
How to Make Curtains: Step-by-Step Guide
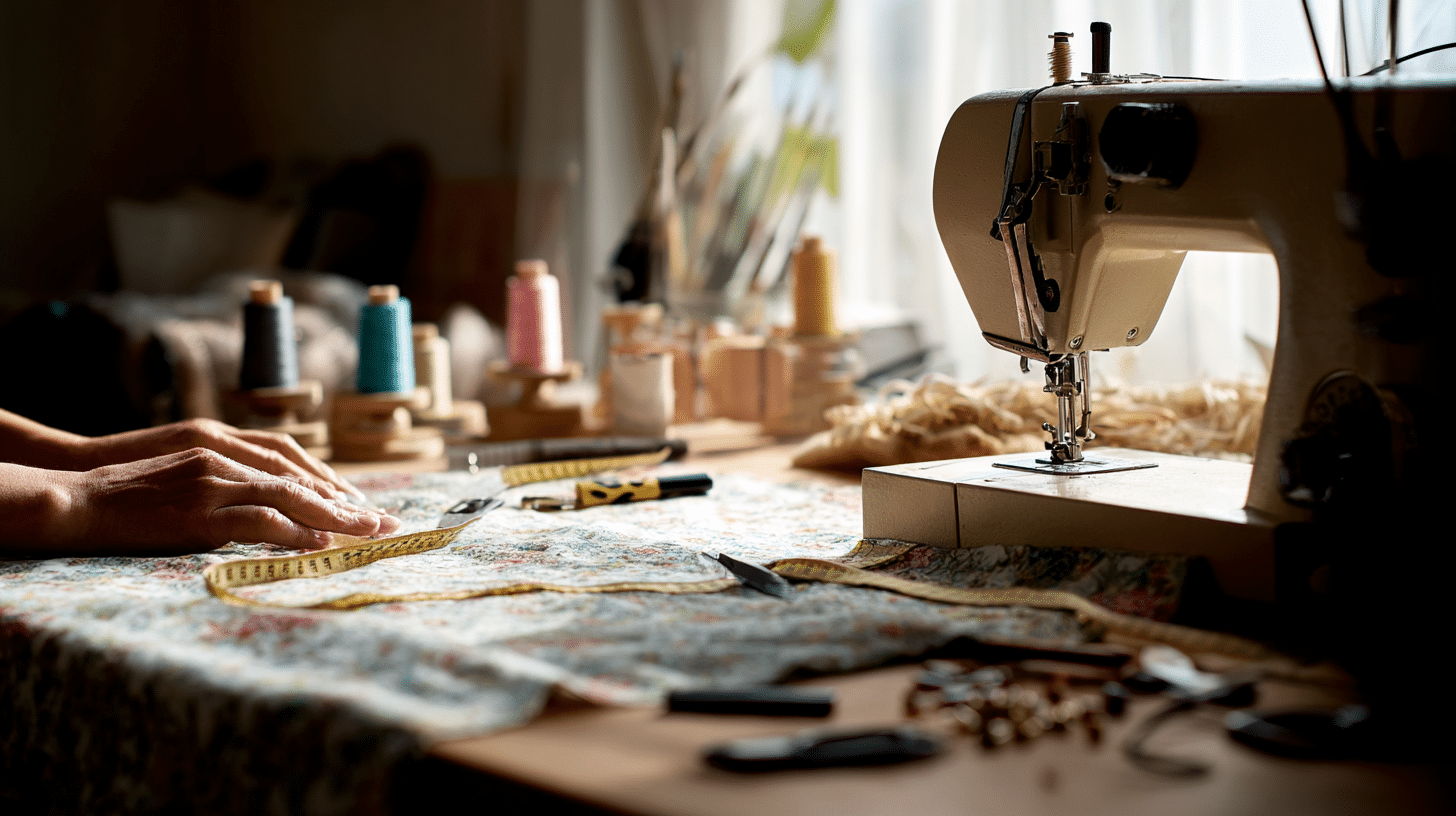
Making curtains from scratch is straightforward once broken down into simple steps.
Step 1: Measure the Right Way
Getting measurements right saves fabric and frustration. Measure window width, then multiply by 1.5 or 2 for fullness.
More width means better folds.
For length, measure from the rod to where the curtains should end.
Add 6-8 inches for hems and the top pocket. Write numbers down immediately.
Double-check before cutting. Fabric cut too short can’t be fixed. Measure twice, cut once—that’s how to avoid mistakes when learning how to make curtains.
Step 2: Cut Fabric & Sew Side Seams
Cut fabric to size with scissors or a rotary cutter. Fold each long side twice about ½ inch each time and press with an iron.
Pin if needed, then sew along both sides. Backstitch at the start and end to lock the seams.
Repeat for all panels.
Step 3: Sew Top Seam & Attach Tape
Fold the top edge down ½ inch, then 2.5 inches more, pressing flat. Place pleating tape ½ inch from the top with ends folded under.
Pin the tape, then sew along the top and bottom edges.
This step creates the header and gets the curtains ready for gathering.
Step 4: Hem the Curtain
Hang the panel or measure to find where the hem goes. For sheer fabric, fold up 4 inches twice. For a thicker fabric, fold 1 inch, then 4 inches.
Press the hem flat, then stitch along the top fold.
A good hem keeps curtains hanging straight and looking finished.
Step 5: Gather, Hide Cords & Hang
Tie a knot at one end of the tape cords. Pull the other end to gather fabric until it matches the window width.
Tuck the extra cord inside the tape pocket.
Insert hooks every 4 inches into the tape pockets. Hang on the rod, done.
How Much Fabric do You Need?
Figuring out the fabric amount keeps things on track.
Measure window width and multiply by 1.5 or 2 for fullness. Extra fabric makes better folds. Measure from rod to bottom and add 8-10 inches for hems. For two panels, double the width.
Buy a bit extra because running short halfway through creates a real headache.
Example:
- 50-inch window? Double it to 100 inches total—two 50-inch panels.
- Curtains drop 90 inches? Add 10 for hems—100 inches long.
- Buy: Two pieces, 50 inches wide and 100 inches long. Done.
Care Tips for Your DIY Curtains
Small mistakes can ruin good work. These tips help avoid common problems and keep curtains looking professional from the first try.
- Measure hems carefully and press folds before sewing. This prevents wavy, uneven edges.
- Wash fabric before cutting. Pre-shrinking stops curtains from getting shorter after the first wash.
- Make curtains 1.5 to 2 times the width of the window. Extra width creates folds instead of flat fabric.
- Pick machine-washable fabric. It’s easier and cheaper than dry-clean-only when learning how to make curtains.
- Add lining or fade-resistant fabric. Sunlight fades colors over time, so protection keeps curtains newer longer.
Final Thoughts
Making curtains is one of the easiest home projects anyone can try. Really, it’s simpler than it sounds and doesn’t need fancy skills or expensive tools.
If a room needs a change, but money is tight, start with curtains.
Plus, seeing handmade curtains hanging up feels really good every single time.