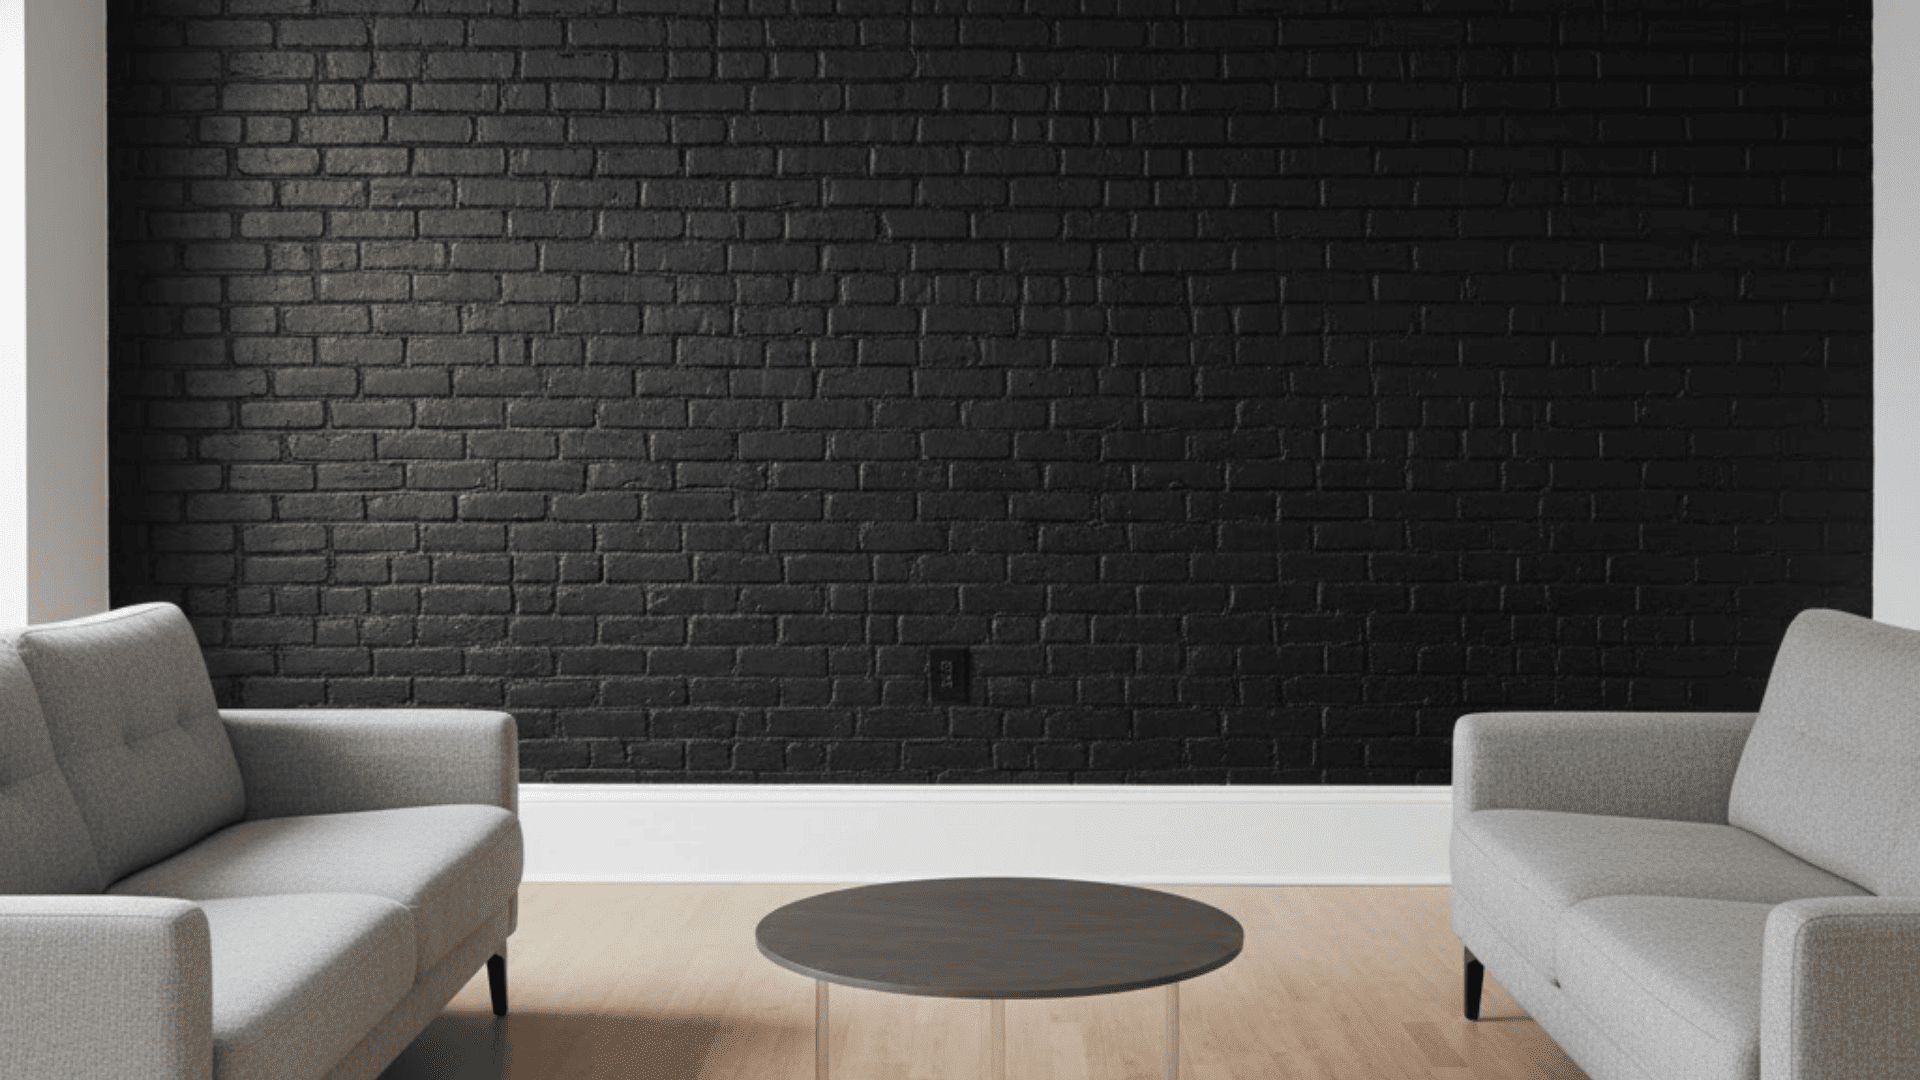
Brick walls can feel outdated and dull. You might stare at that old interior or exterior wall and wish it looked fresher.
But here’s something you probably don’t know: painting brick isn’t as simple as slapping on any paint.
The wrong method damages the surface and wastes your money.
This blog tells you how to paint brick wall and what you need to know to do it. You’ll learn which materials work best and how to prepare the surface properly.
Paint the Brick Surface and Prepare it the Right Way
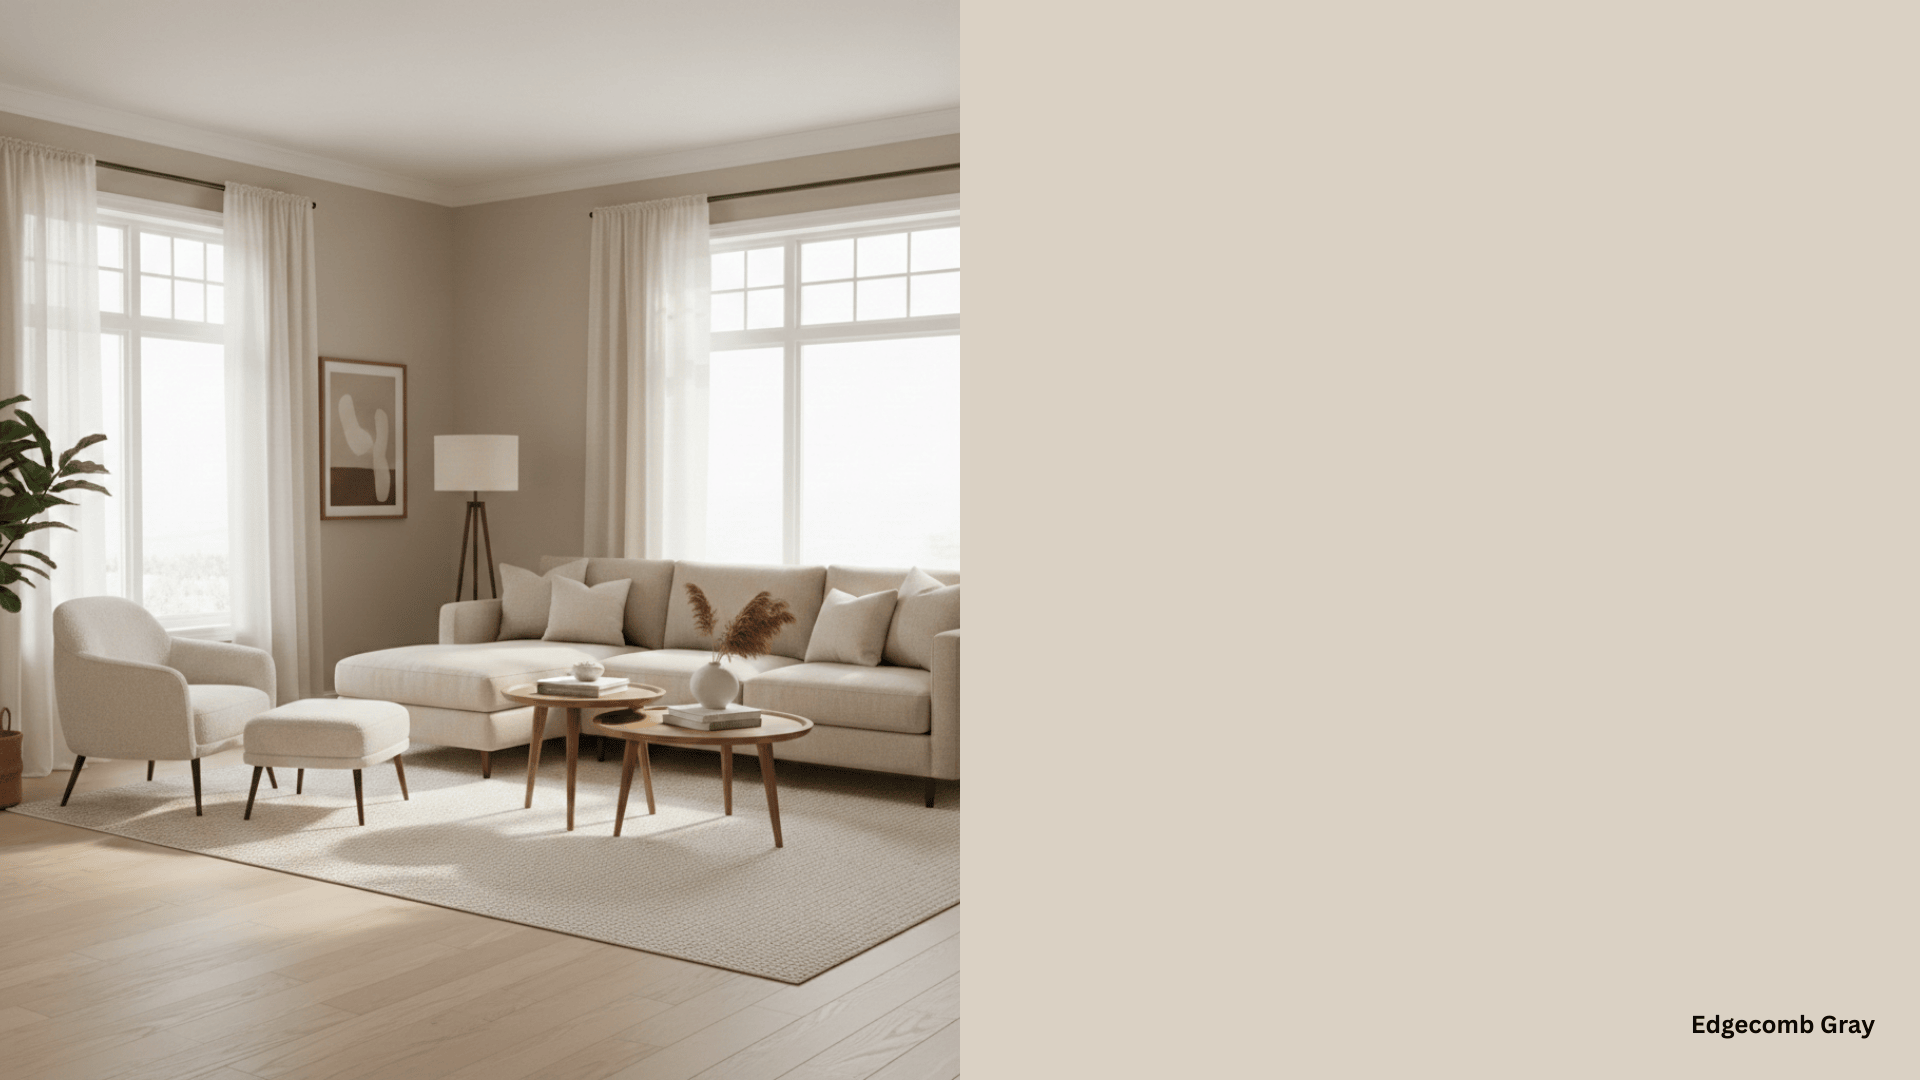
Painting a brick house changes the entire look of your space. It hides stains, covers up damage, and gives you control over your color scheme. Also, it protects the brick from weather and moisture.
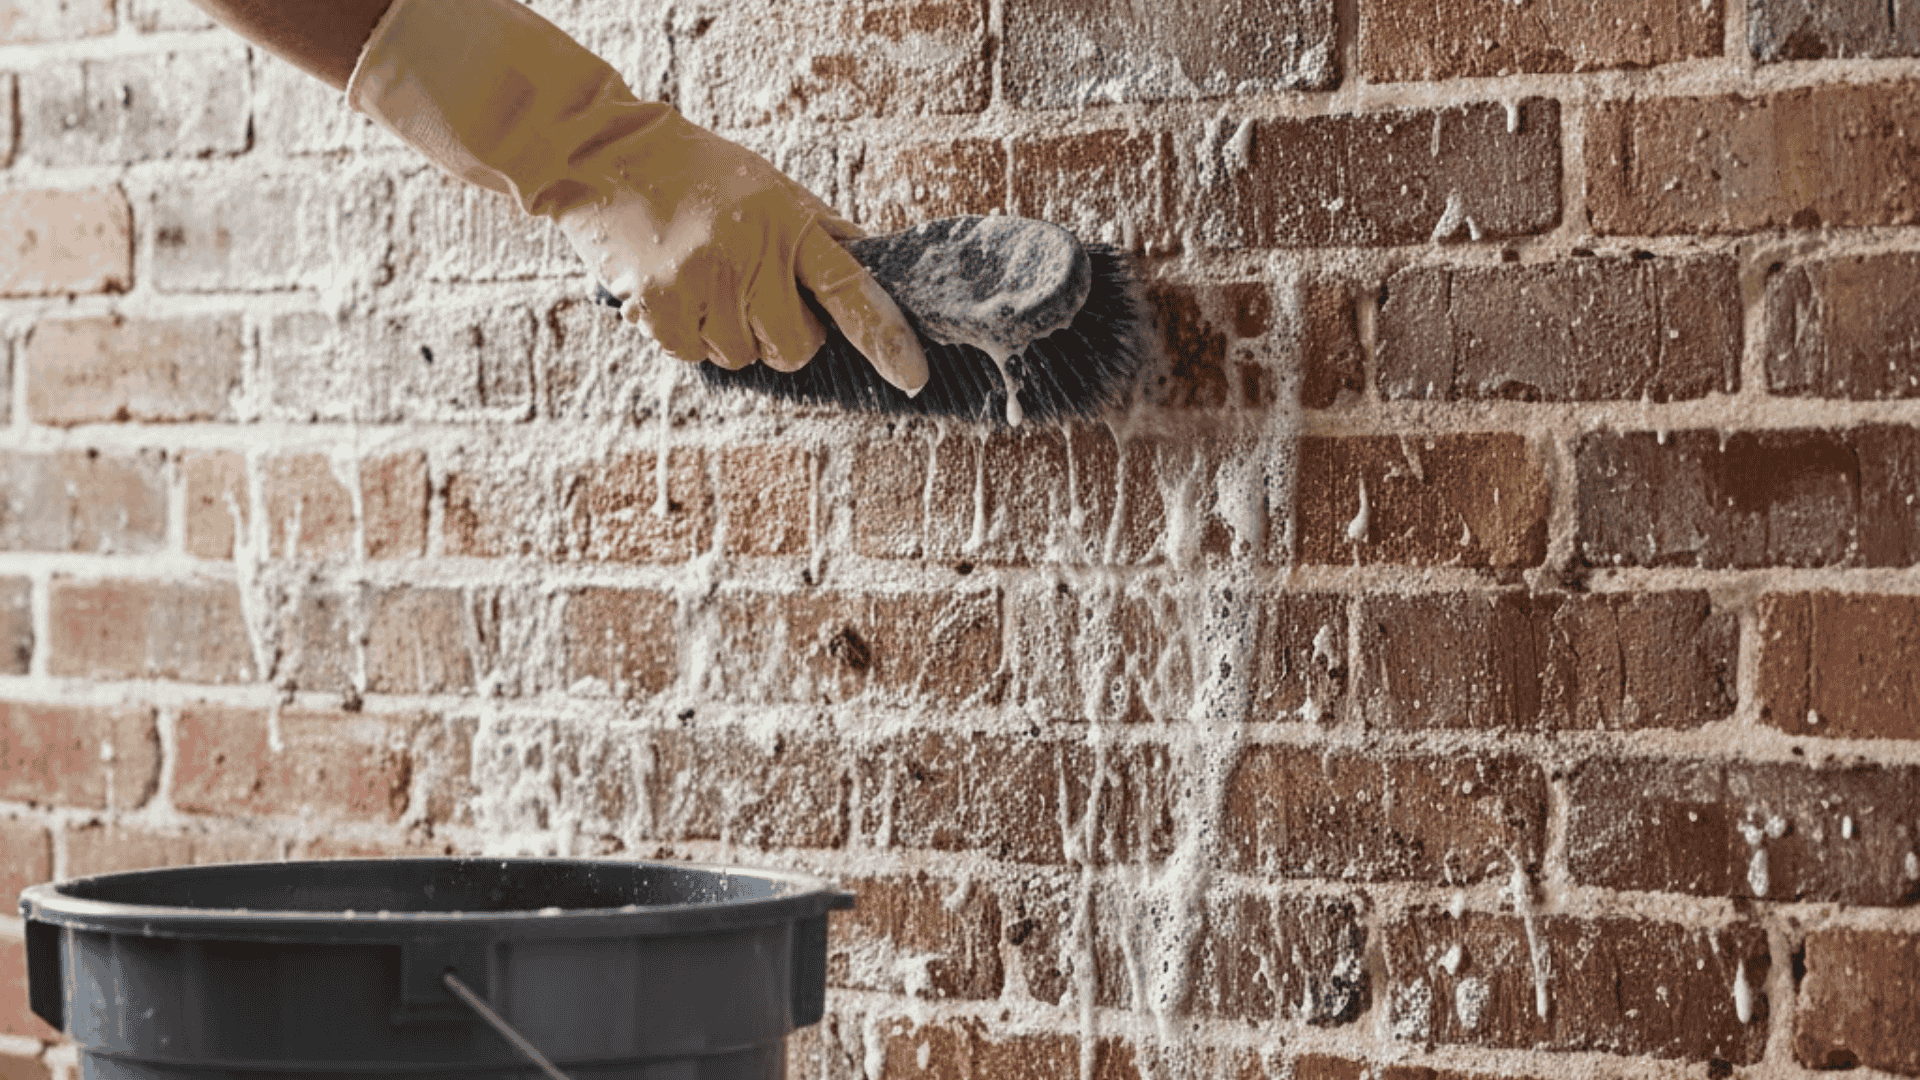
Preparing work is more important than painting. Always clean the surface first with a wire brush and soapy water.
Then let it dry completely for at least 24 hours. You’ll need to fill cracks with acrylic caulk. Sand down rough spots.
And if there’s old paint peeling off, scrape it away before you start fresh. Check for efflorescence, too; those white, chalky deposits mean moisture is escaping.
Scrub them off with a stiff brush and vinegar solution. Skip this step, and your paint won’t stick properly.
Tools and Materials Needed
Having the right supplies makes this job easier. Here’s what you’ll need based on where you’re painting.
| Tools & Materials | Interior | Exterior | Notes |
|---|---|---|---|
| Primer | Latex primer | Masonry primer | Seals the porous surface |
| Paint | Acrylic latex | Elastomeric paint | Exterior needs weather resistance |
| Brush | 2-3 inch angled | 3-4 inch brush | Larger brush for outdoor walls |
| Roller | 3/4 inch nap | 1-inch nap | Thicker nap fills texture |
| Cleaner | TSP substitute | Pressure washer | Deep cleaning removes dirt |
| Filler | Acrylic caulk | Masonry patching compound | Fix cracks before painting |
| Sandpaper | 80-grit | 60-grit | Smooths rough areas |
| Drop cloths | Canvas or plastic | Heavy-duty plastic | Protects floors and plants |
Step-by-Step Instructions on How to Paint a Brick Wall Interior
Follow these steps, and you’ll get professional results.
Step 1: Clean the Brick Surface
Remove all dust, dirt, and cobwebs with a stiff brush. Mix a generous amount of water with the TSP substitute, then scrub the entire wall.
Rinse it thoroughly and wait 24 hours for complete drying. Clean brick accepts primer better.
Step 2: Repair Cracks and Damage
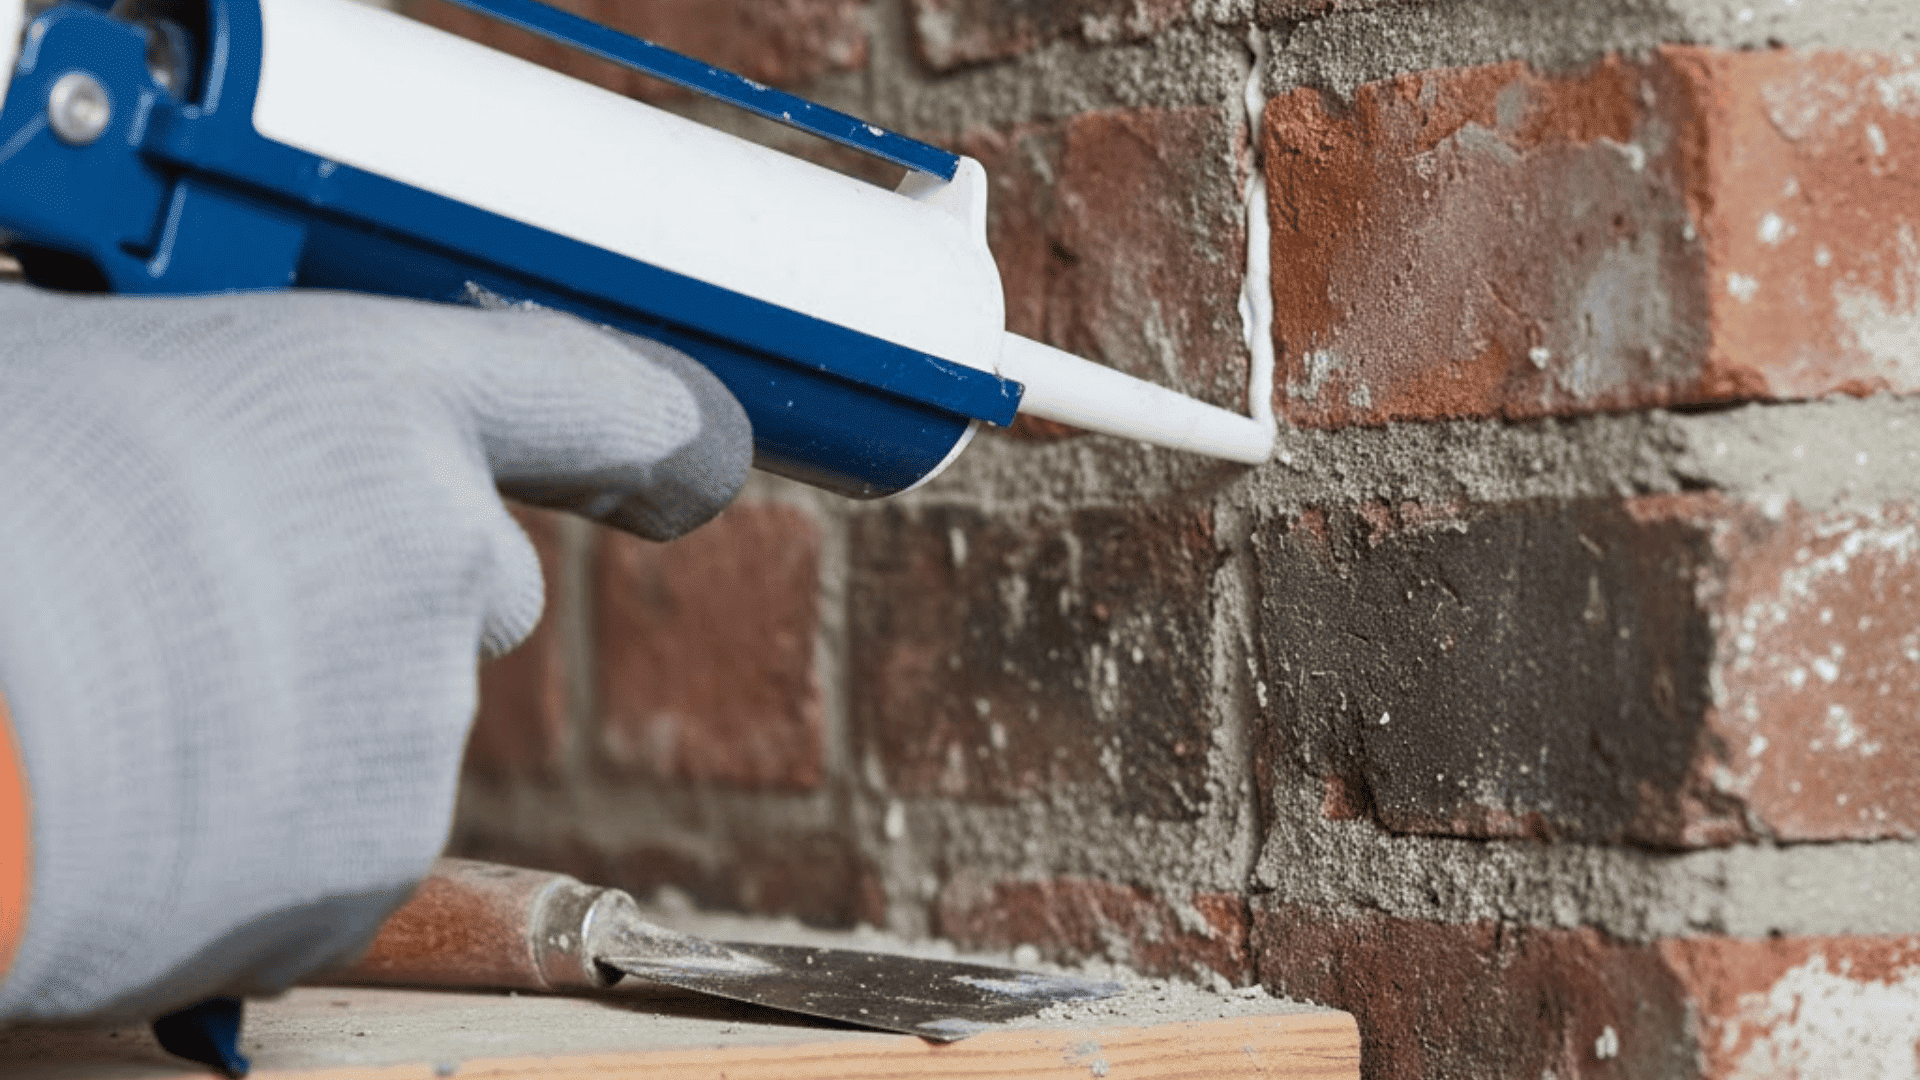
Check for loose mortar or chips in the brick. Fill small cracks with acrylic caulk using a caulk gun.
For bigger holes, use spackling paste. Smooth everything with a putty knife and let it cure overnight.
Step 3: Tape and Protect Surrounding Areas
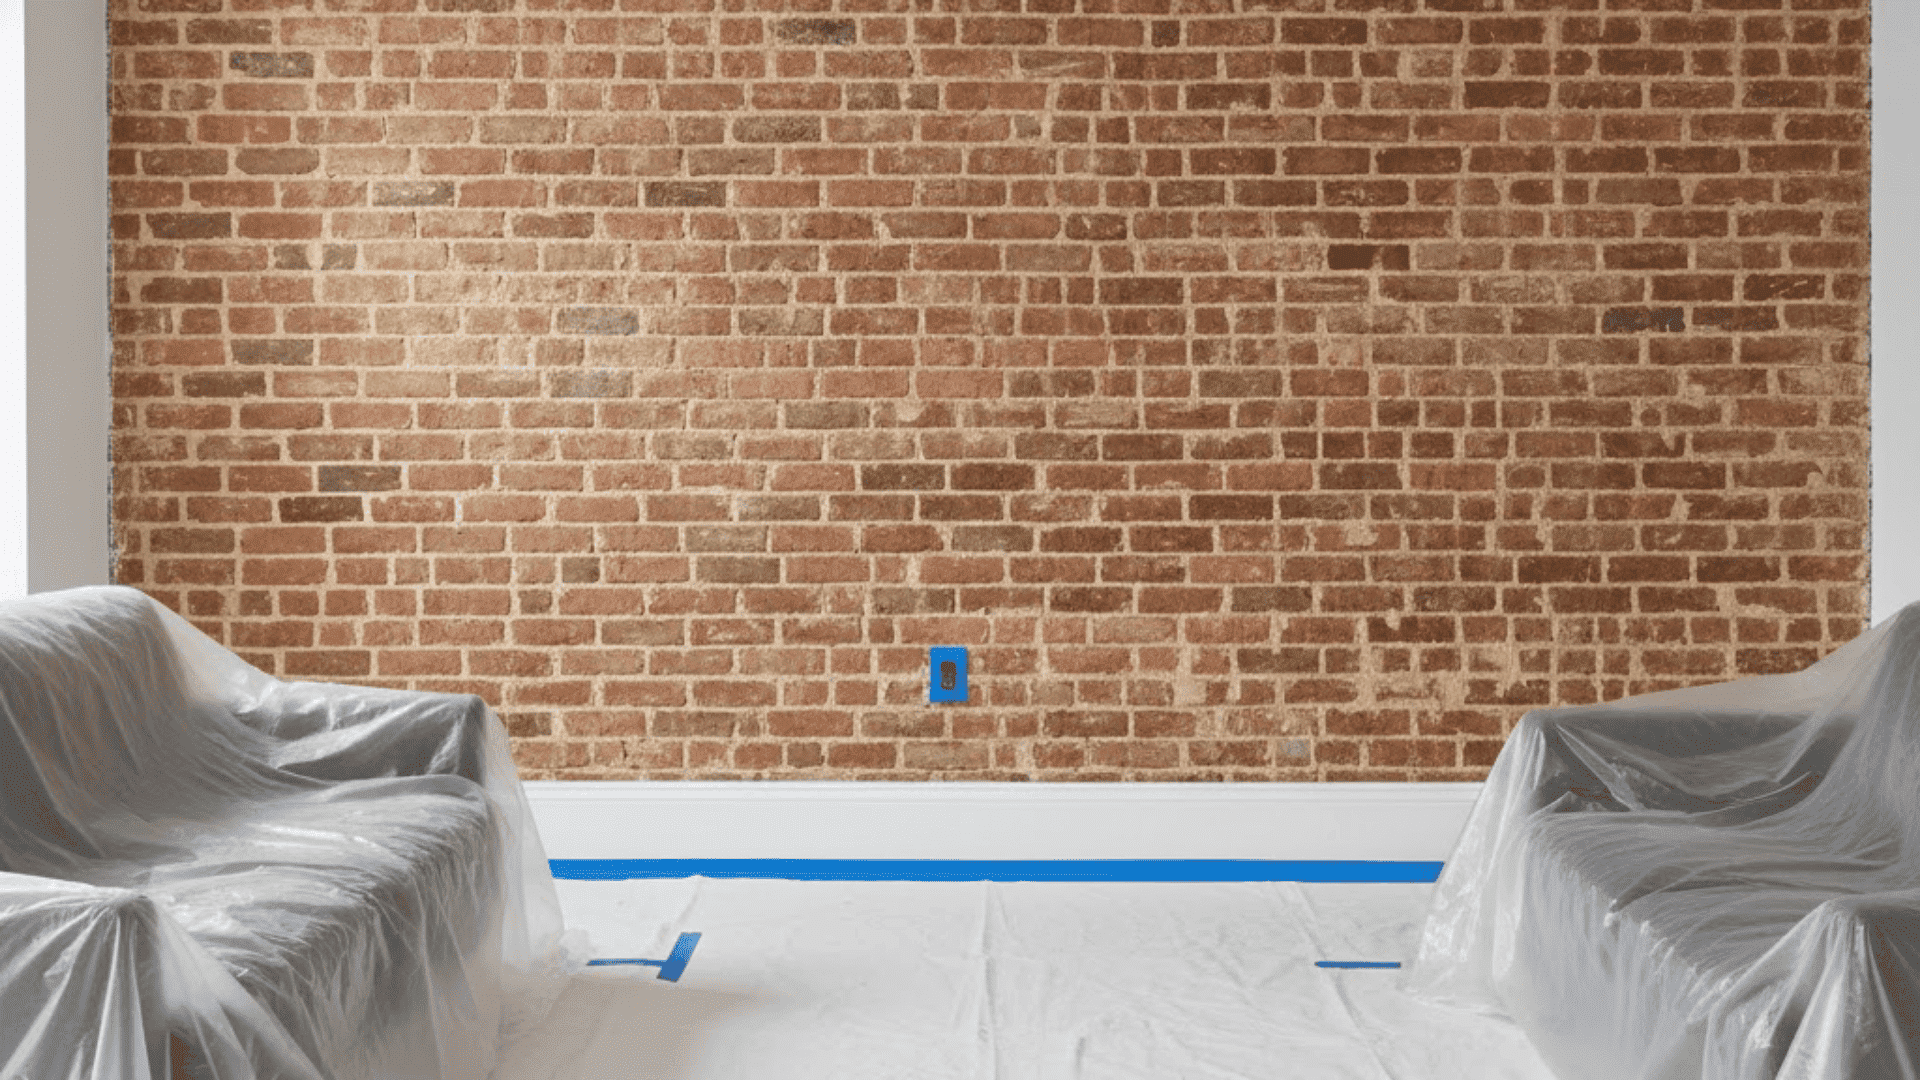
Apply painter’s tape along baseboards, ceilings, and trim.
Lay drop cloths over your floors and furniture. Cover electrical outlets with tape. This prep work prevents messy accidents and keeps cleanup simple.
Step 4: Apply Primer Coat
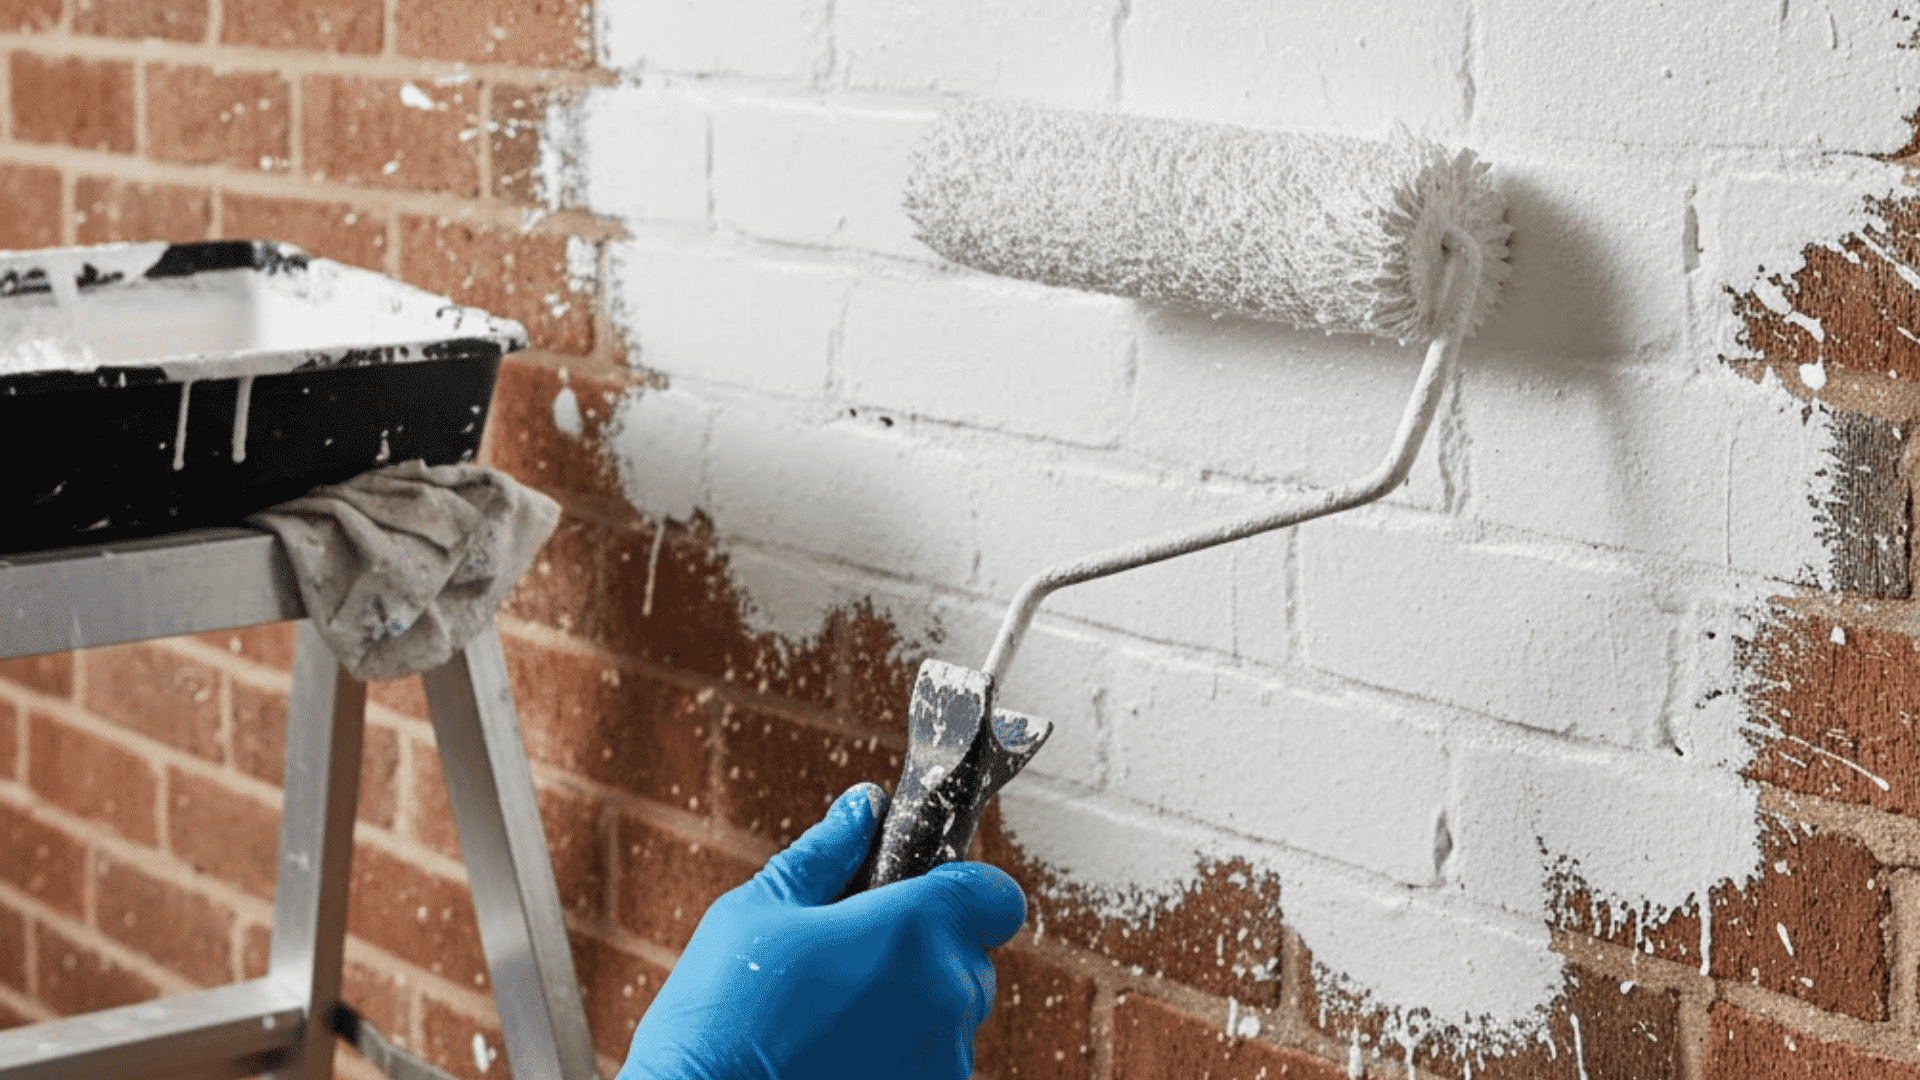
Pour latex primer into a paint tray. Use a brush to apply mortar to the mortar lines and edges first.
Then roll primer onto the brick faces with your 3/4-inch nap roller. One coat usually works, but porous brick may need two coats.
Step 5: Paint the First Coat
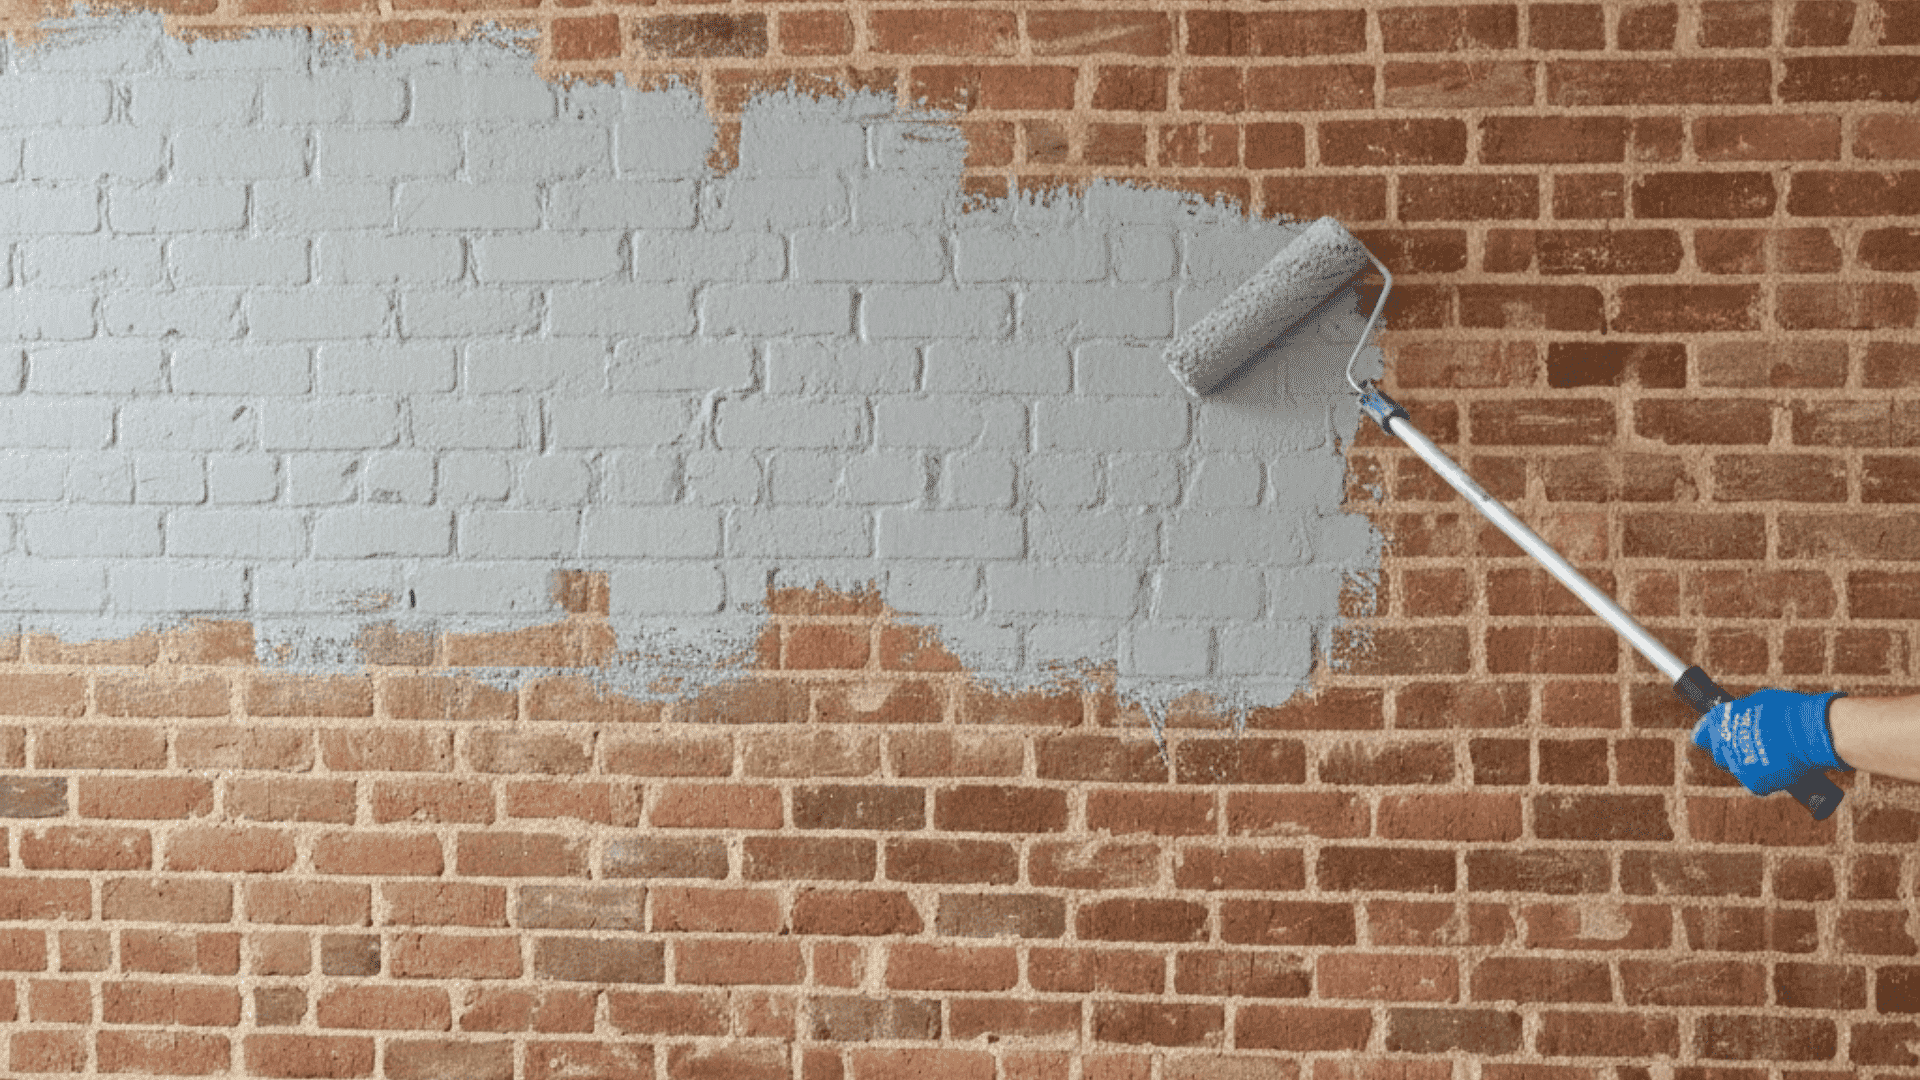
Wait for the primer to dry completely. Load your roller with acrylic latex paint and apply it in a W pattern.
Work in small sections from top to bottom. Get paint into all the textured areas and mortar joints.
Step 6: Add a Second Coat
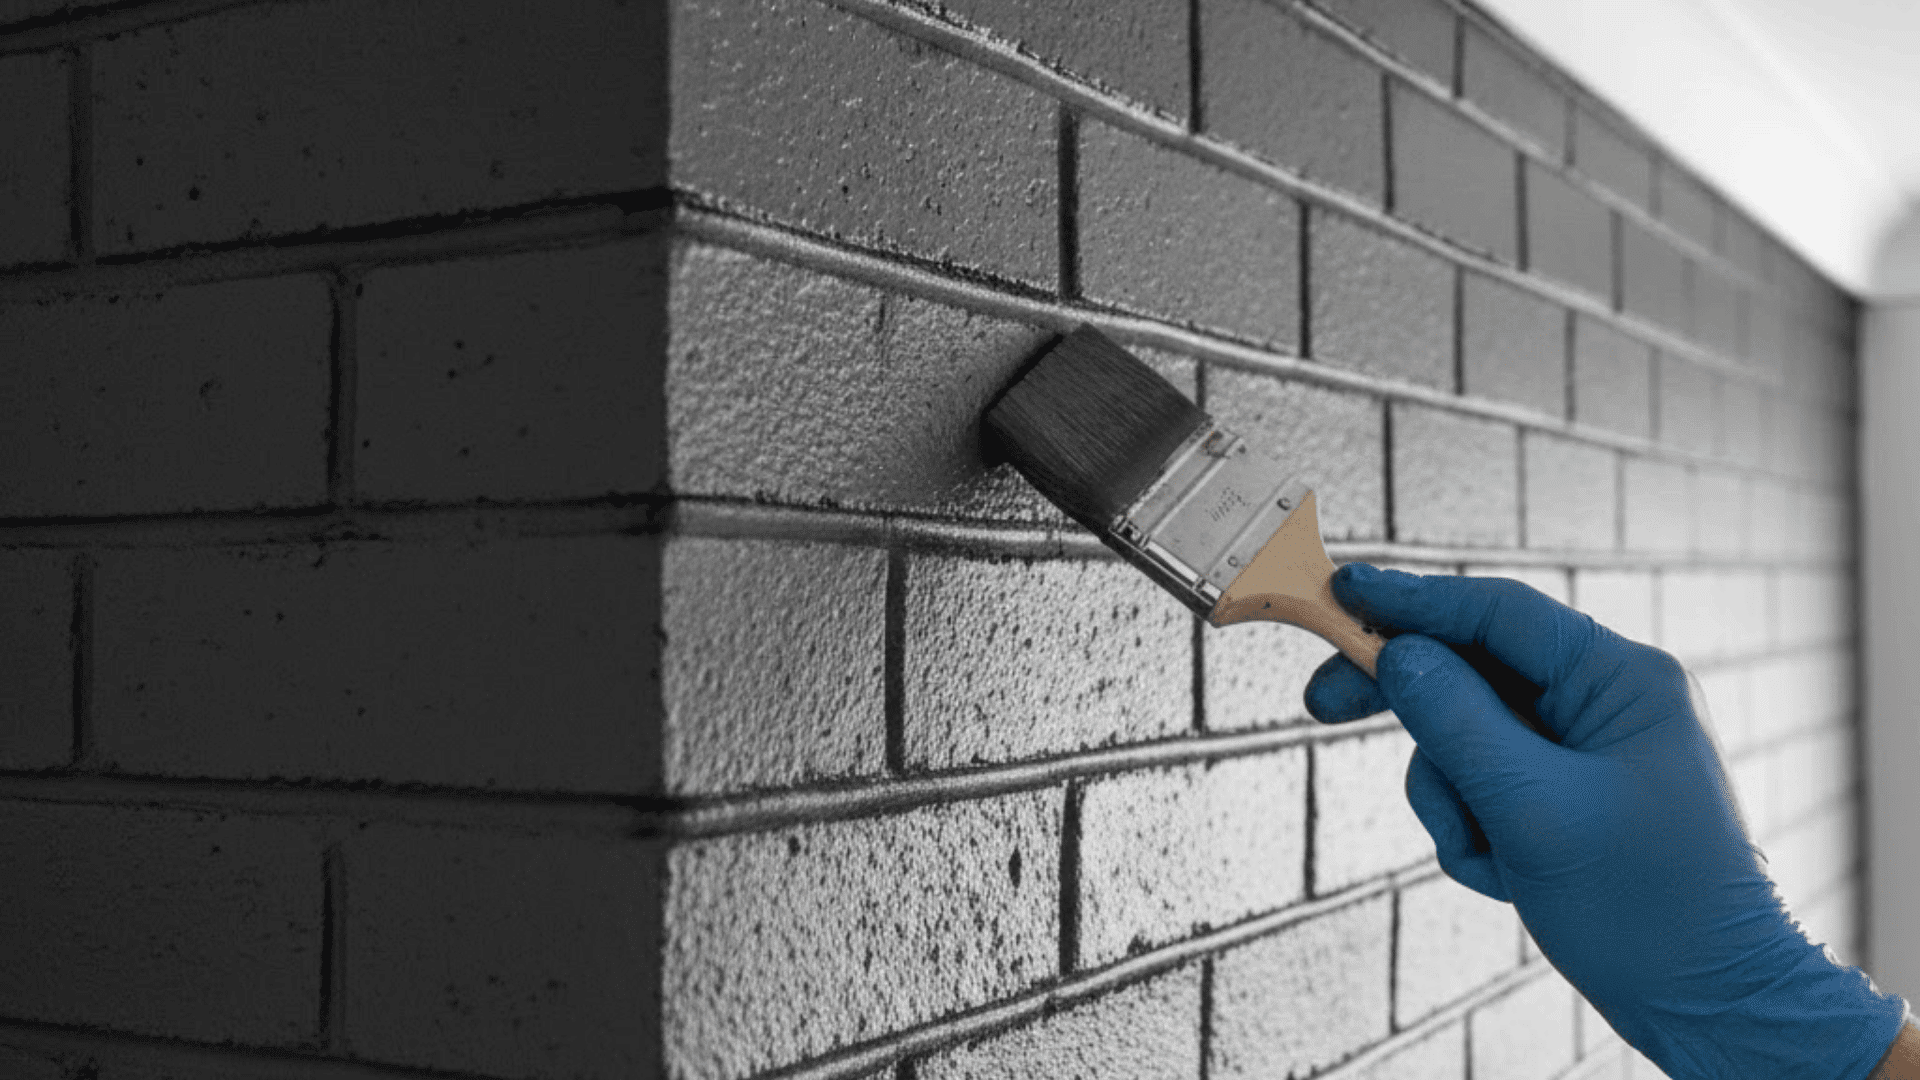
Check the first coat after four hours. Apply a second coat using the same technique for even coverage.
Two coats give you rich color and better protection. Let the final coat dry for 24 hours.
Step 7: Remove Tape and Clean Up
Peel off painter’s tape while the paint is slightly tacky. This prevents chipping along edges. Remove drop cloths carefully and dispose of them.
Touch up any missed spots with a small brush if needed.
Picking the Right Primer for Brick Wall
The right primer creates a strong base for your paint. Here’s how to choose.
| Primer Type | Key Benefits | Drying Time |
|---|---|---|
| Acrylic Latex Primer | Water-based, low odor, easy cleanup | 2-4 hours |
| Masonry Primer | Blocks efflorescence, seals pores | 4-6 hours |
| Stain-Blocking Primer | Covers stubborn marks, prevents bleed-through | 1-2 hours |
| High-Build Primer | Fills texture, smooths surface | 6-8 hours |
| Alkali-Resistant Primer | Neutralizes alkaline salts, prevents peeling | 4-5 hours |
| Oil-Based Primer | Strong adhesion, durable finish | 12-24 hours |
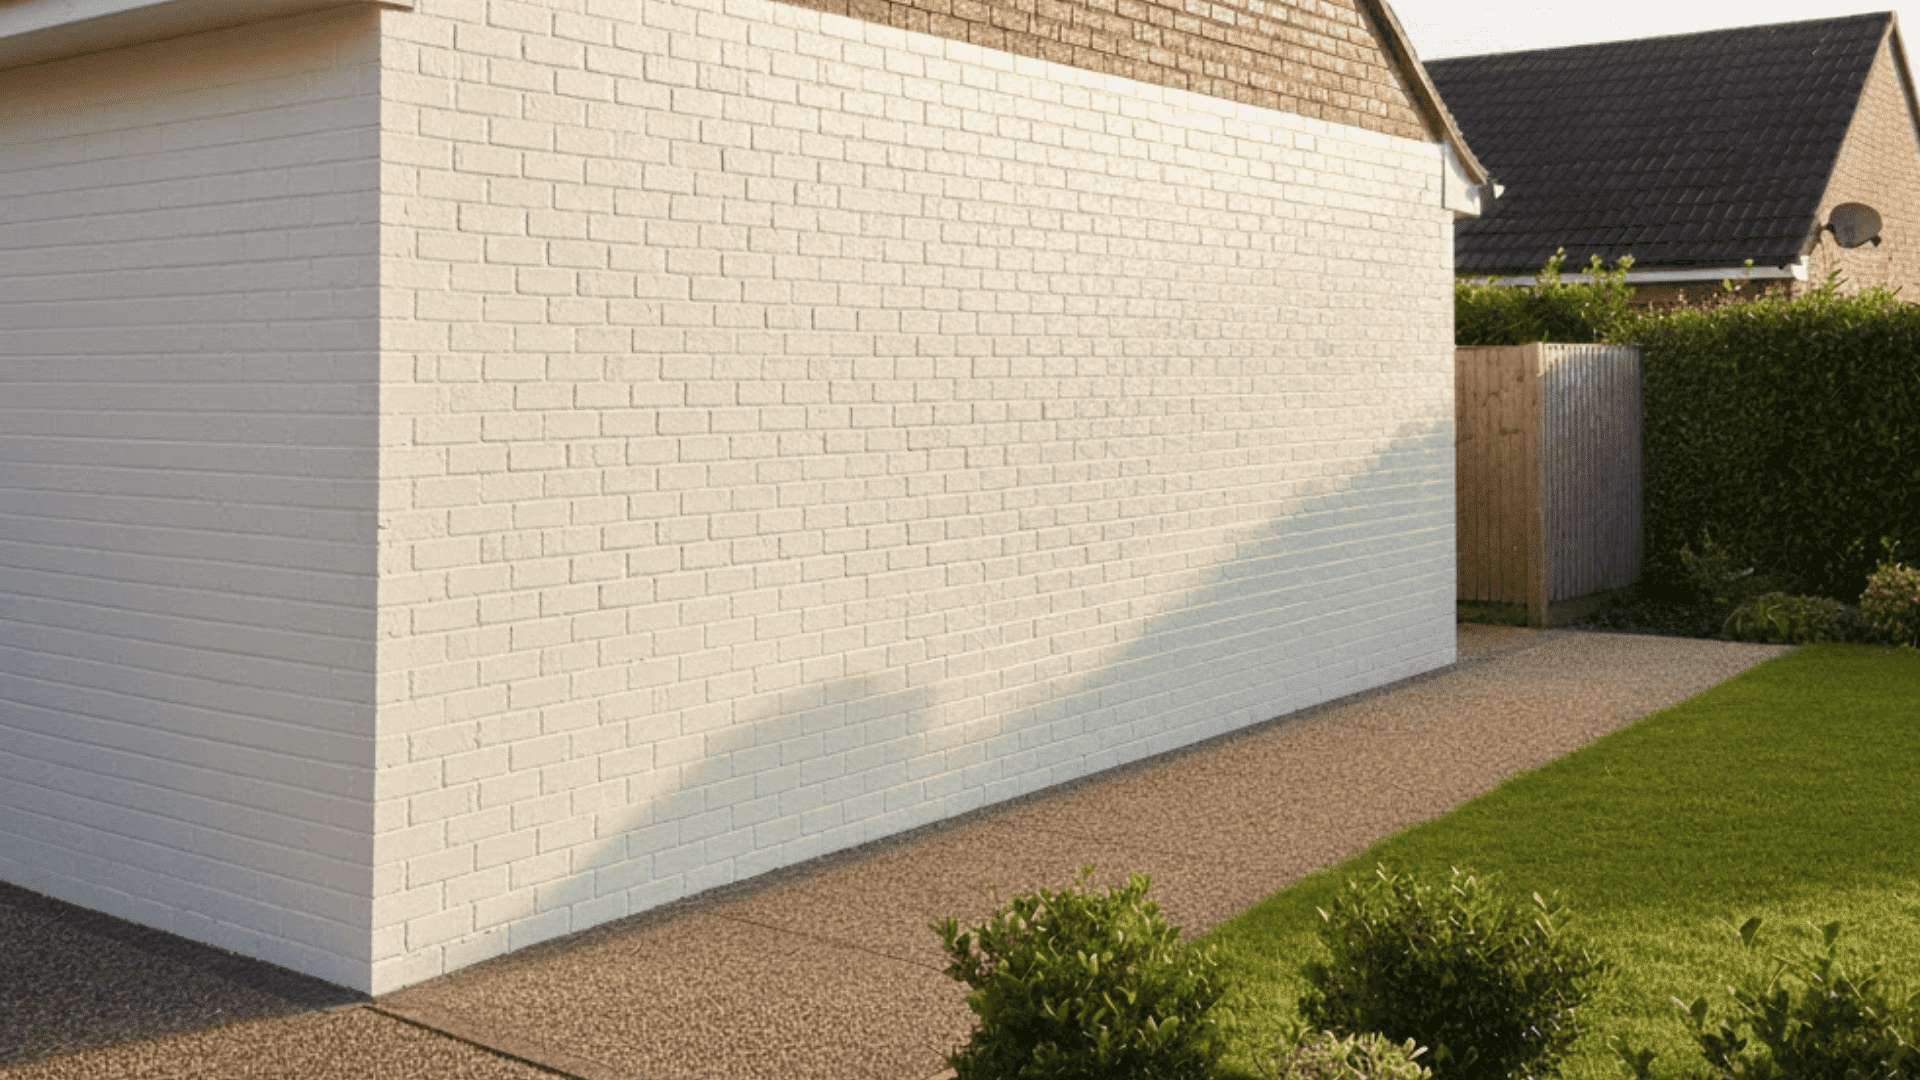
How to Paint Exterior Brick Wall
Outdoor brick faces harsher conditions. These steps will help your paint job last for years.
Step 1: Power Wash the Exterior Wall
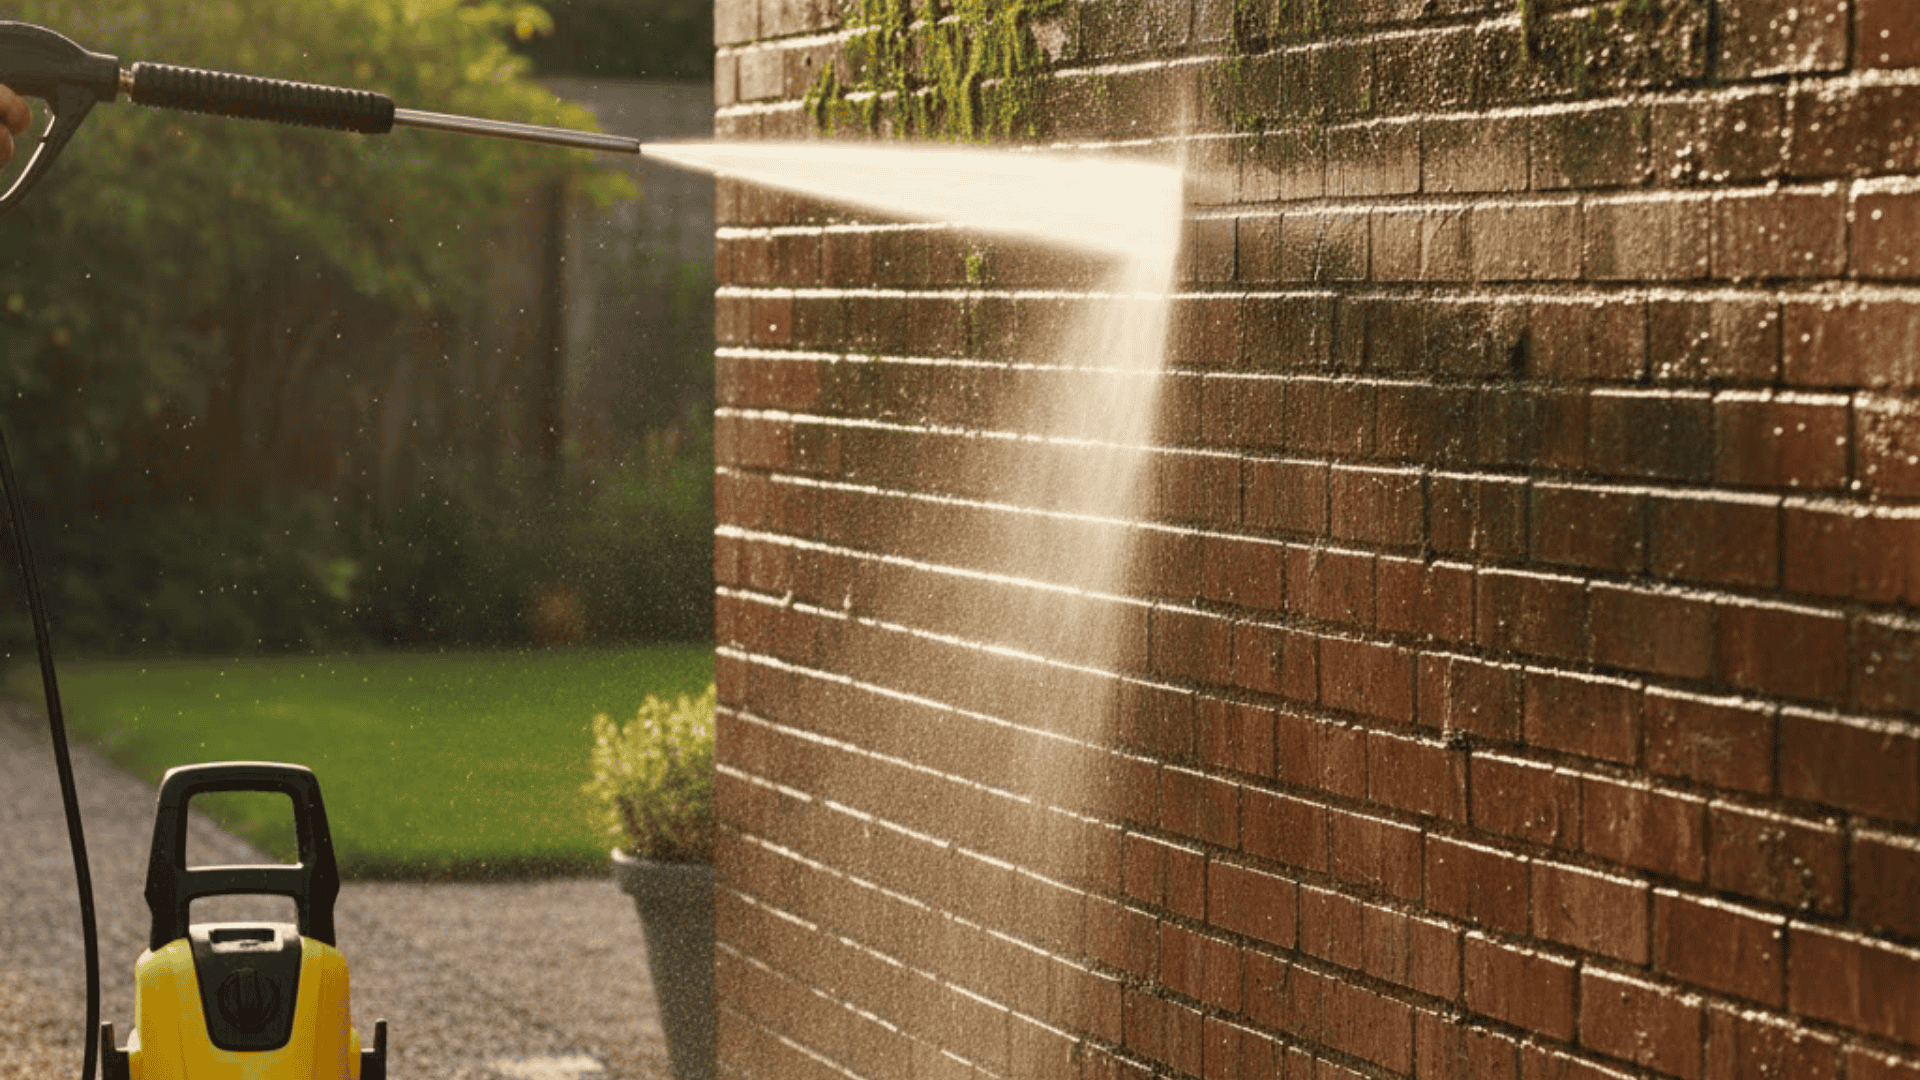
Rent or buy a pressure washer for deep cleaning. Spray the brick from top to bottom at medium pressure.
Remove mildew, moss, and built-up grime. Let the wall dry for at least 48 hours before continuing.
Step 2: Inspect and Fix Structural Issues
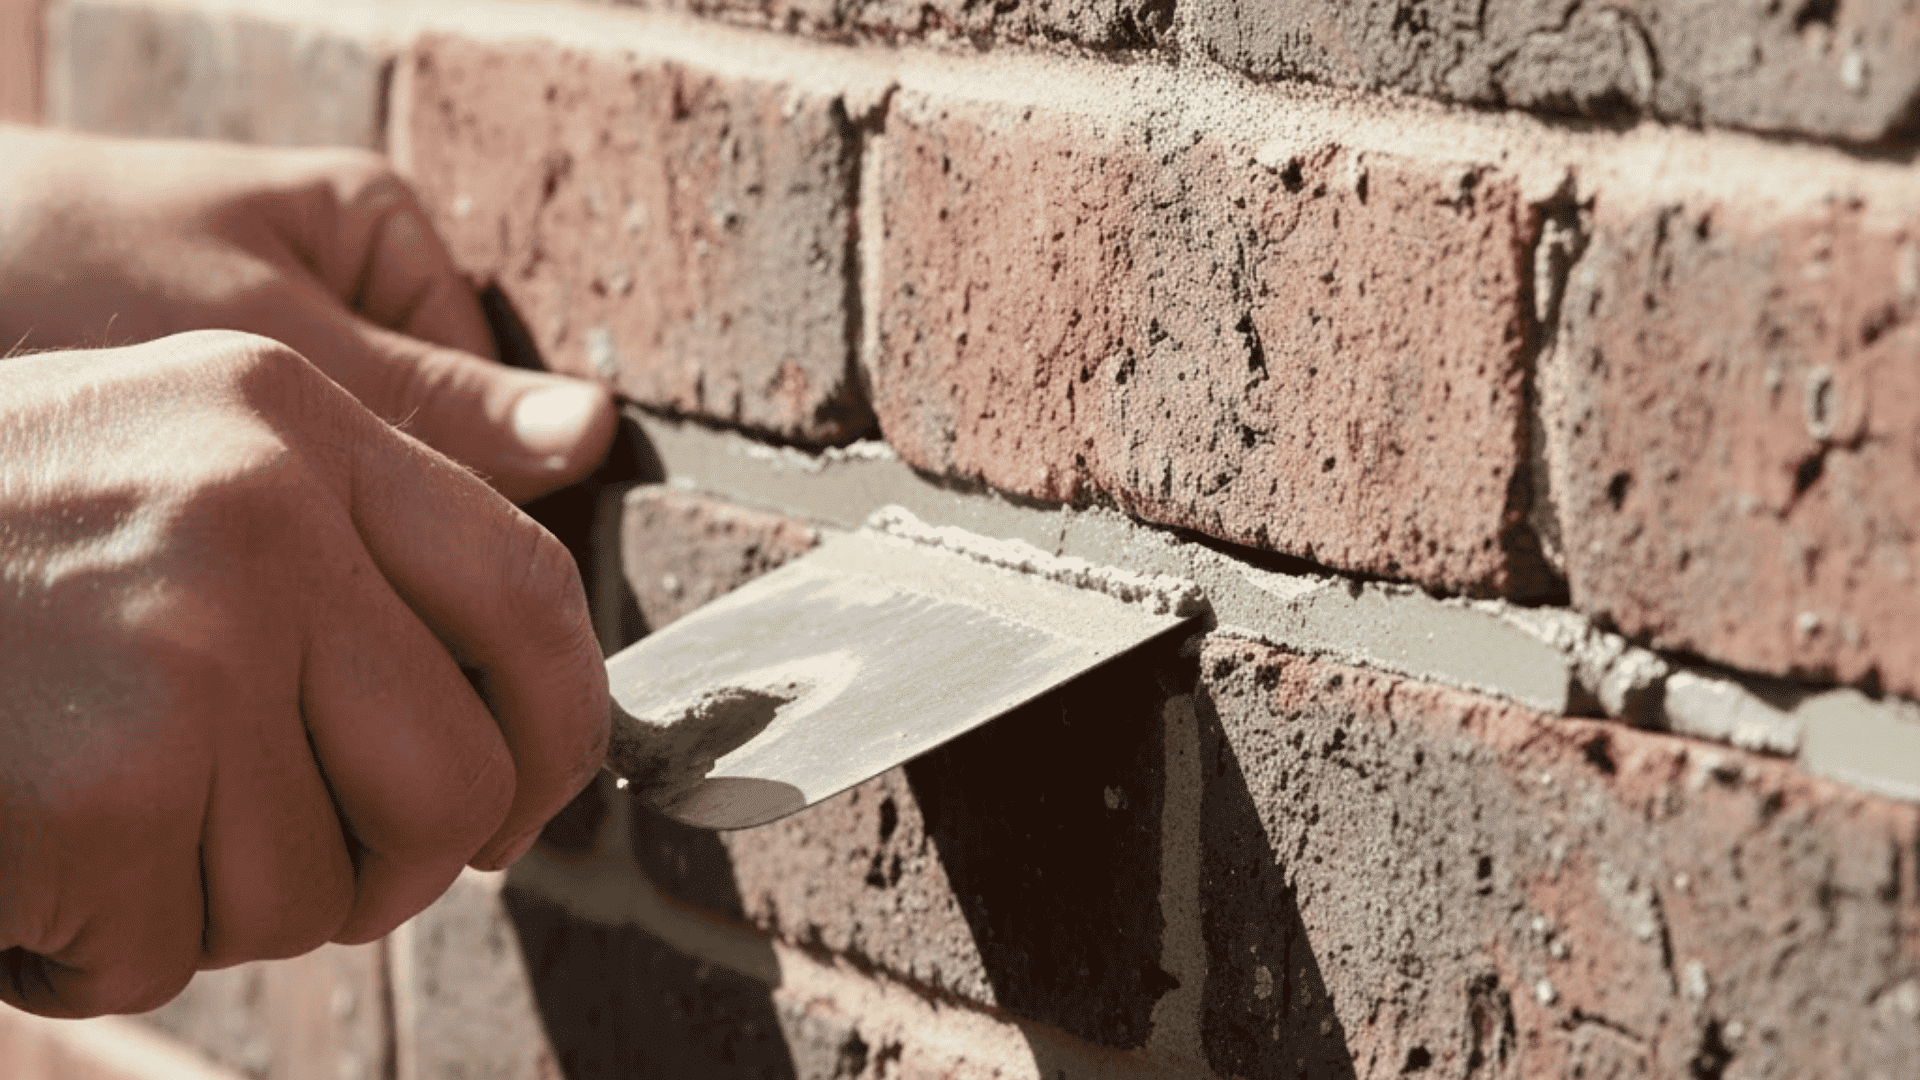
Look for crumbling mortar joints or damaged bricks. Repoint loose mortar with fresh masonry mix.
Replace broken bricks if necessary. Use masonry patching compound for hairline cracks. These repairs prevent future problems.
Step 3: Prime with Masonry Primer
Choose a dry day with temperatures between 50 and 85°F. Brush masonry primer into mortar lines first.
Roll it across brick faces with your 1-inch nap roller. This special primer blocks efflorescence and seals porous surfaces.
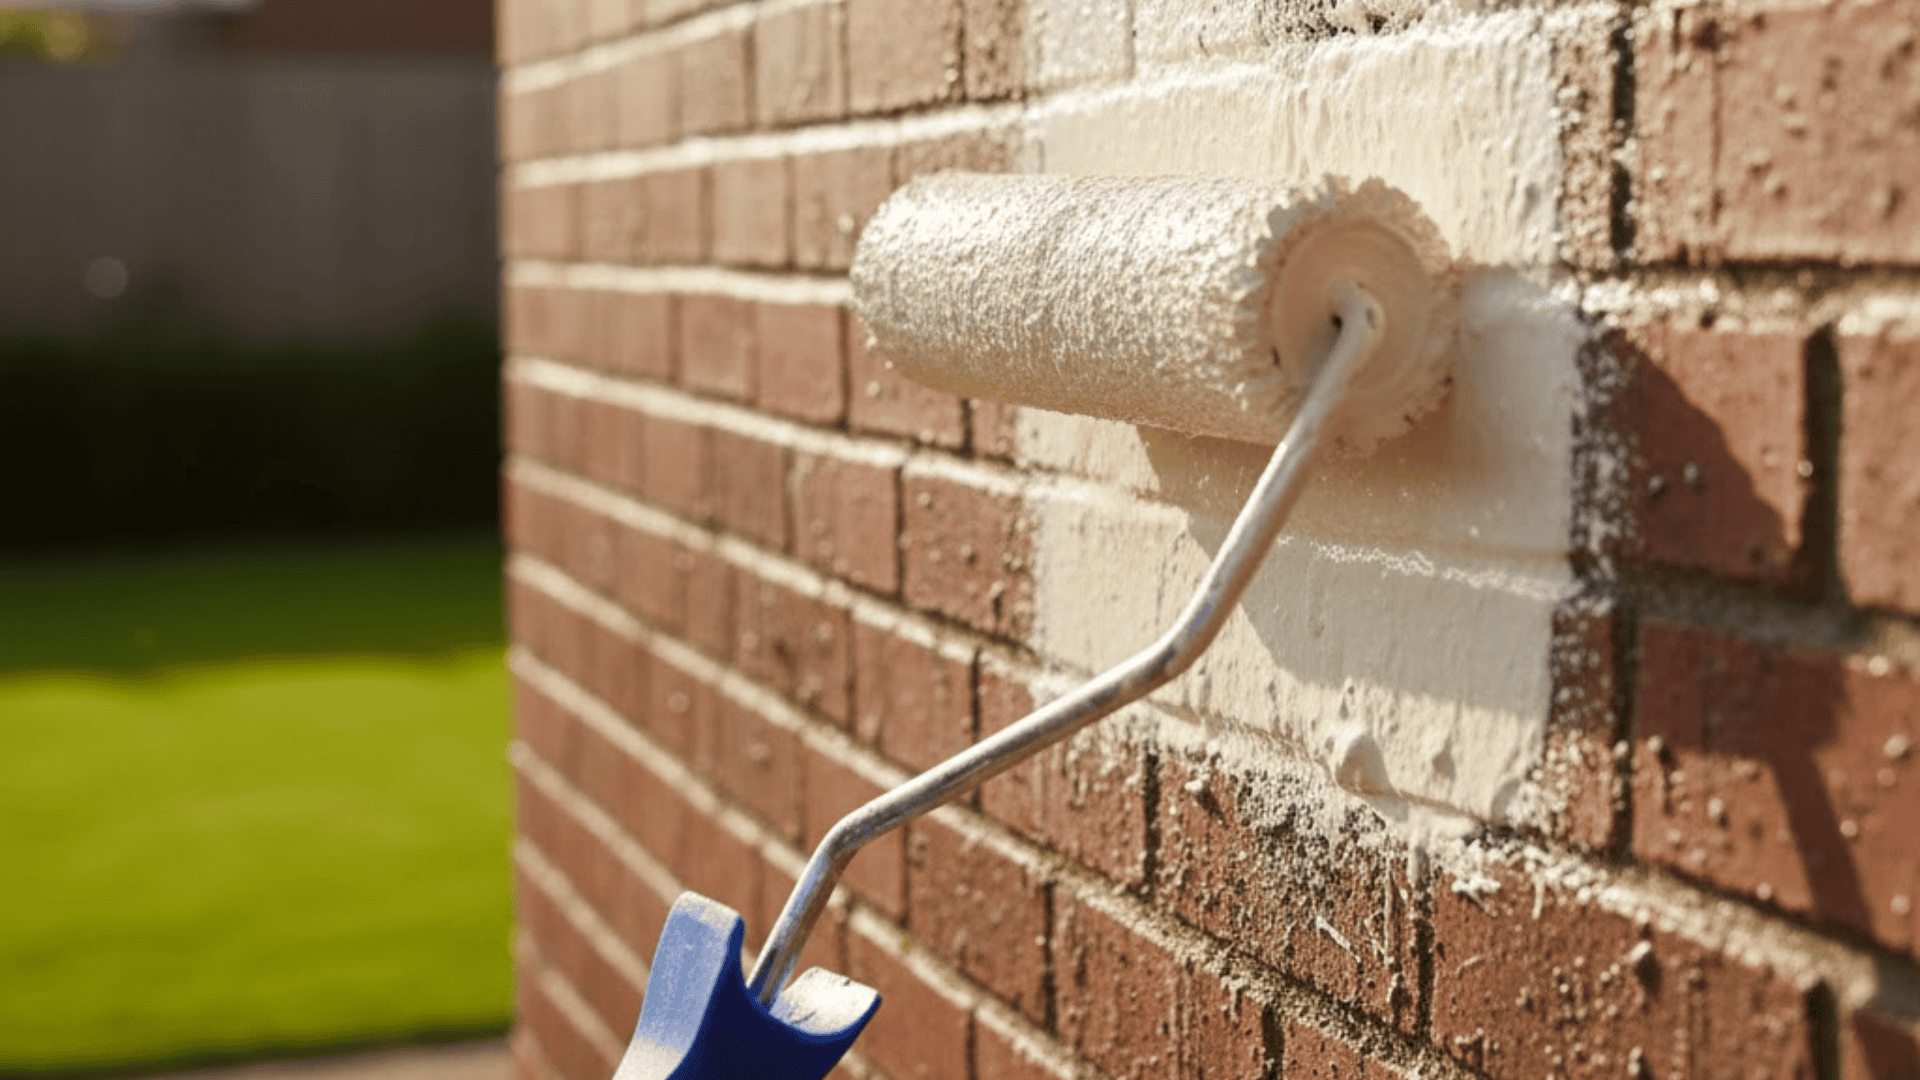
Step 4: Apply First Layer of Exterior Paint

Use elastomeric paint designed for outdoor masonry. Start at the top corner and work downward in sections.
Push paint into all crevices and textured spots. This flexible paint expands and contracts with temperature changes. After this dries, apply the second layer.
Step 5: Final Inspection and Cleanup
Walk around and check for thin spots or missed areas. Touch up any problems immediately.
Remove all plastic coverings and drop cloths. Clean your brushes and rollers thoroughly. Dispose of paint cans properly at a recycling center.
How Weather Conditions Affect Exterior Brick
Temperature plays a huge role in paint adhesion. Paint between 50°F and 85°F for best results.
Cold temperatures slow down drying time, while extreme heat causes paint to dry too fast and crack. Humidity matters just as much. High humidity extends drying time and can trap moisture under the paint film.
Aim for humidity levels below 70% when possible. Rain is your biggest enemy during exterior painting projects.
Wait at least 24 hours after rainfall before starting. The brick needs to be bone dry, not just surface dry.
Wind creates its own problems. It blows dust onto wet paint, causing uneven drying. Pick a calm day with no rain forecasted for at least 48 hours after you finish.
The Most Suitable Type of Paint
Choosing the right paint type makes all the difference in how long your finish lasts.
- Acrylic Latex Paint: This water-based option works great for interior brick. It dries fast and cleans up easily with soap and water. The finish breathes, letting moisture escape from the brick.
- Elastomeric Paint: Exterior walls need this thick, flexible coating. It stretches with temperature shifts and won’t crack. This paint also bridges small gaps in the mortar.
- Mineral Paint: Made from natural ingredients, this paint chemically bonds to brick. It allows vapor to pass through while blocking water. Many people like it for historic homes.
- Masonry Paint: Specifically formulated for porous surfaces like brick and concrete. It contains more binders than regular paint. The extra thickness helps it stick to textured surfaces better.
- Epoxy Paint: Best for high-traffic areas or basements with moisture issues. It creates a hard, waterproof shell over the brick. However, it doesn’t breathe like other options.
- Lime Wash: This traditional finish gives brick a matte, chalky appearance. It’s reversible if you change your mind later. The thin consistency requires multiple coats for full coverage.
Do’s and Don’ts of Painting Brick
| Do’s | Don’ts |
|---|---|
| Test paint on a small area first | Skip the primer step |
| Wait for dry weather conditions | Paint in direct sunlight |
| Use quality masonry products | Choose cheap flat paint |
| Clean thoroughly before starting | Paint over efflorescence |
| Allow proper drying time | Rush between coats |
| Work in comfortable temperatures | Paint below 50°F or above 90°F |
| Apply thin, even layers | Layer on thick, heavy coats |
| Check for moisture problems | Paint a damp brick |
| Invest in good brushes and rollers | Use worn-out tools |
| Follow the manufacturer’s instructions | Mix different paint brands |
| Seal old stains with stain blocker | Ignore water damage signs |
| Plan for two full coats | Expect one coat to suffice |
How Painted Brick Looks Over Time
- Interior painted brick lasts 10-15 years with the tiniest fading.
- Exterior painted brick needs repainting every 5-7 years.
- South-facing walls fade faster due to sun exposure.
- Quality paint extends longevity by 2-3 years.
- Proper surface preparation adds years to the finish.
- Humid regions require more frequent touch-ups.
- Elastomeric coatings last longer than standard paint.
- Regular cleaning prevents premature deterioration.
- Touch up chips and cracks as they appear.
- Sealed brick maintains its color better than unsealed brick.
- High-traffic areas show wear sooner.
Final Thoughts
Now that you know how to paint a brick wall in the best way, painting the brick changes your home’s appearance while protecting the surface underneath.
You have seen cleaning, priming, and applying the right paint for both indoor and outdoor projects. Preparation work determines your success. Take time to clean correctly and fix any damage before you start.
Choose paint made specifically for masonry surfaces, not just any leftover paint from your garage.
The process takes patience, but the results last for years when done correctly.