You know what separates houses that look professionally lit from the ones with drooping, tangled messes? It’s not money or fancy equipment.
Most people just don’t know the tricks that make everything easier.
Learning how to hang christmas lights doesn’t require special skills, but there are shortcuts that save time and headaches.
This guide covers what actually works, straight from people who’ve been doing this for years.
Choosing the Right Lights for Your House
LED bulbs are the smart choice. They use less electricity, last longer, and stay cool on your roof. You won’t replace burned-out sections every year.
Size matters. C9 bulbs are big and classic for larger homes. C7 bulbs fit most houses better.
Mini lights work great for bushes and dense coverage.
What to check before buying:
- Outdoor rating (indoor lights won’t hold up)
- Cord length between bulbs
- If they connect end to end
- Replacement bulb availability
Warm white gives a cozy glow. Cool white looks modern. Buy from the same brand if mixing colors, or the differences will show at night.
Consider your house color too, white lights pop against dark surfaces, colored ones stand out on lighter homes.
Various Methods to Hang Christmas Lights
There’s more than one way to get lights up, and what works best depends on your house and how much time you want to spend.
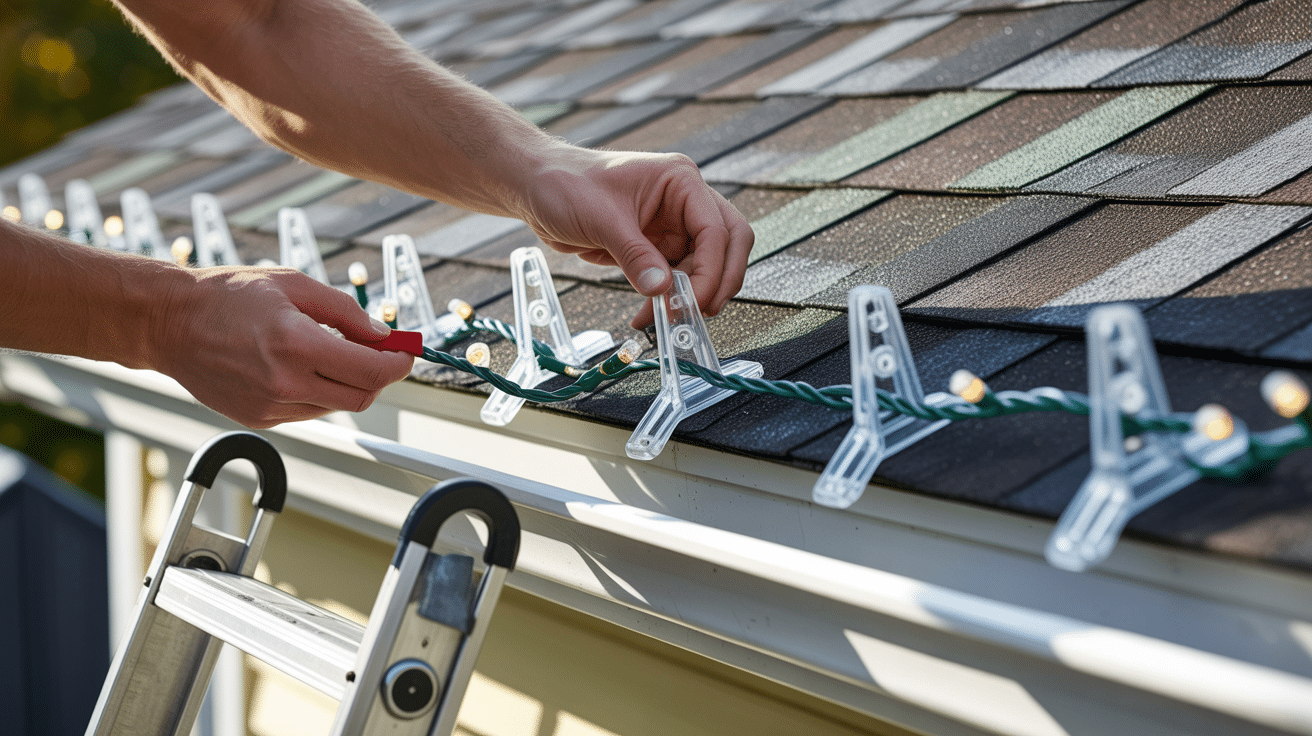
The Clip Method
This is the most popular approach. You attach clips to gutters, shingles, or trim, then snap lights into them.
It’s clean, damage-free, and holds up in bad weather. Takes a bit longer upfront, but makes next year way easier.
The Hook and Loop Method
Use adhesive hooks or screw-in cup hooks along your roofline. Weave the light cord through each hook as you go.
Works well where clips won’t fit, like under overhangs or around columns.
The Staple Method (not recommended)
Some people staple lights directly to wood trim. It’s fast but damages your house and the cords. One bad staple can short out an entire strand.
The All-in-One Light Track System
These are permanent tracks you install once, then lights slide right in. Expensive upfront, but super convenient if you light the same areas every year.
Popular with people who are tired of ladders.
How to Hang Christmas Lights (step-by-step)
Hanging lights doesn’t have to take all day.
The trick is working in order and not skipping steps. Here’s how people who do this every year get it done quickly.
Step 1: Map out Where the Lights Will Go
Walk around your house before touching a single strand. Look at the roofline, gutters, windows, and anywhere else you want lights.
Measure roughly how many feet you’ll need. Most strands are 25 feet, so count how many you’ll actually use.
Step 2: Install Clips on Gutters, Shingles, or Railings
Get your clips up first, then add lights. This is way easier than trying to do both at once on a ladder.
Common clip types:
- Gutter clips slide over the edge
- Shingle clips slide under without nails
- Railing clips wrap around or use zip ties
Space them about every 12 to 18 inches to prevent sagging.
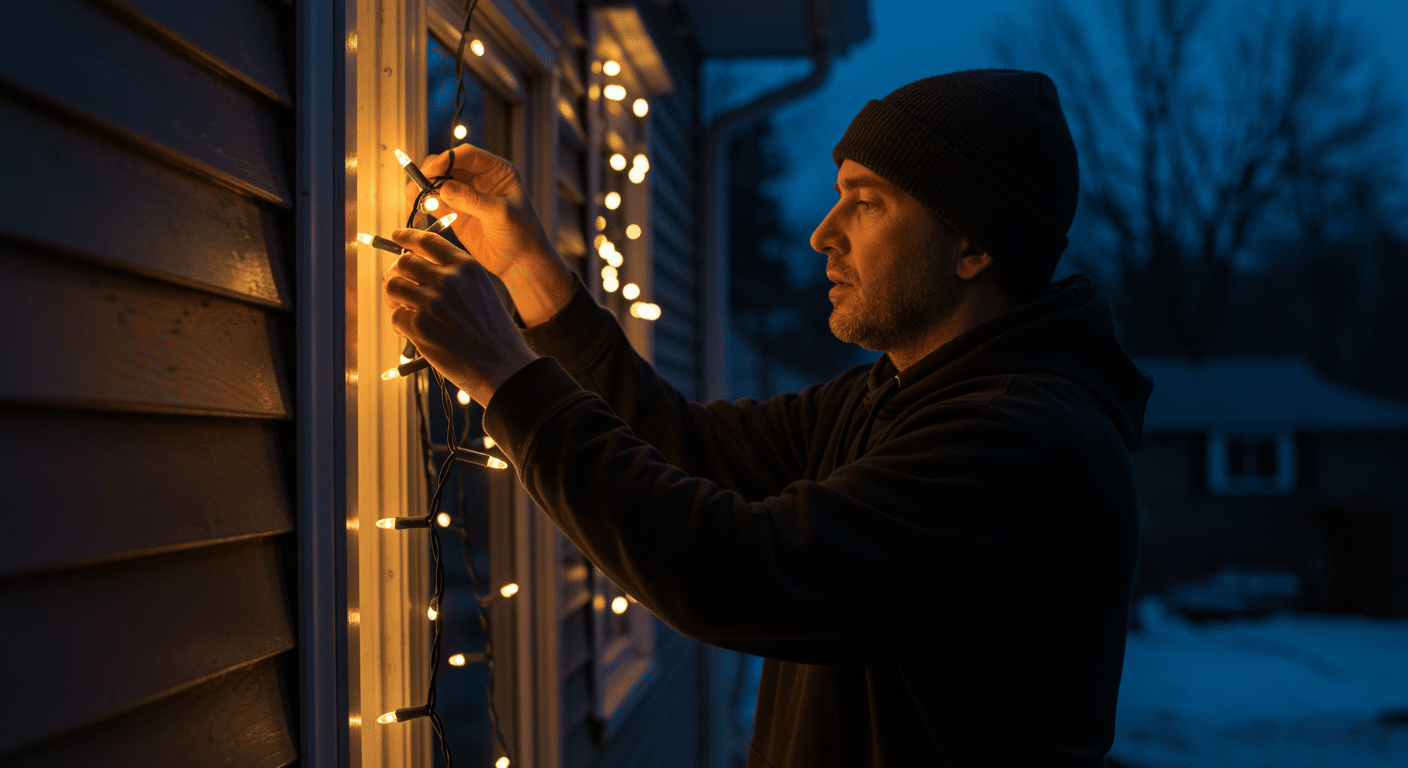
Step 3: Attach Lights While Standing on Secure Ground
Do everything you can reach from the ground first. Use an extension pole with a clip attachment if you’ve got one.
When you need a ladder, make sure it’s on flat ground and have someone hold it. Snap each bulb into its clip as you go.
Step 4: Plug in Sections as You Go to Avoid Surprises
Test each section right after hanging it. Nothing’s worse than finishing your whole house and finding out a strand is dead.
You can also see if spacing looks right while there’s still daylight.
Step 5: Do a Final Check After Sunset
Once it’s dark, go outside and really look at everything. You’ll spot gaps, sagging sections, or bulbs pointing the wrong way that you missed during the day.
Check that extension cords aren’t stretched across walkways where someone could trip.
Of course, even with careful planning, things can still go sideways.
Simple Fixes When Something Goes Wrong
Even when you do everything right, lights can act up. Here are the most common issues and how to fix them without taking everything down.
When a Strand Stops Working
Check the fuse in the plug first. Most strands have a sliding door near the prongs that hides two tiny fuses. Keep spares handy.
If the fuse is fine, look for a loose bulb. Wiggle each one to make sure it’s seated properly. Sometimes it’s just a tripped GFCI outlet, so hit the reset button.
When Lights Sag
Your clips are probably too far apart. Add more clips in the droopy sections, about every 12 inches. You don’t have to redo everything, just reinforce weak spots.
When Colors Don’t Match
Group the same colors instead of mixing batches. Or use colored lights as accents, outlining windows in one color and rooflines in another.
It looks intentional instead of mismatched.
How to Hang Lights on Different Parts of Your Home
Different surfaces need different approaches. What works for gutters won’t work for brick, and trying to force the wrong method just makes things harder.
Gutters
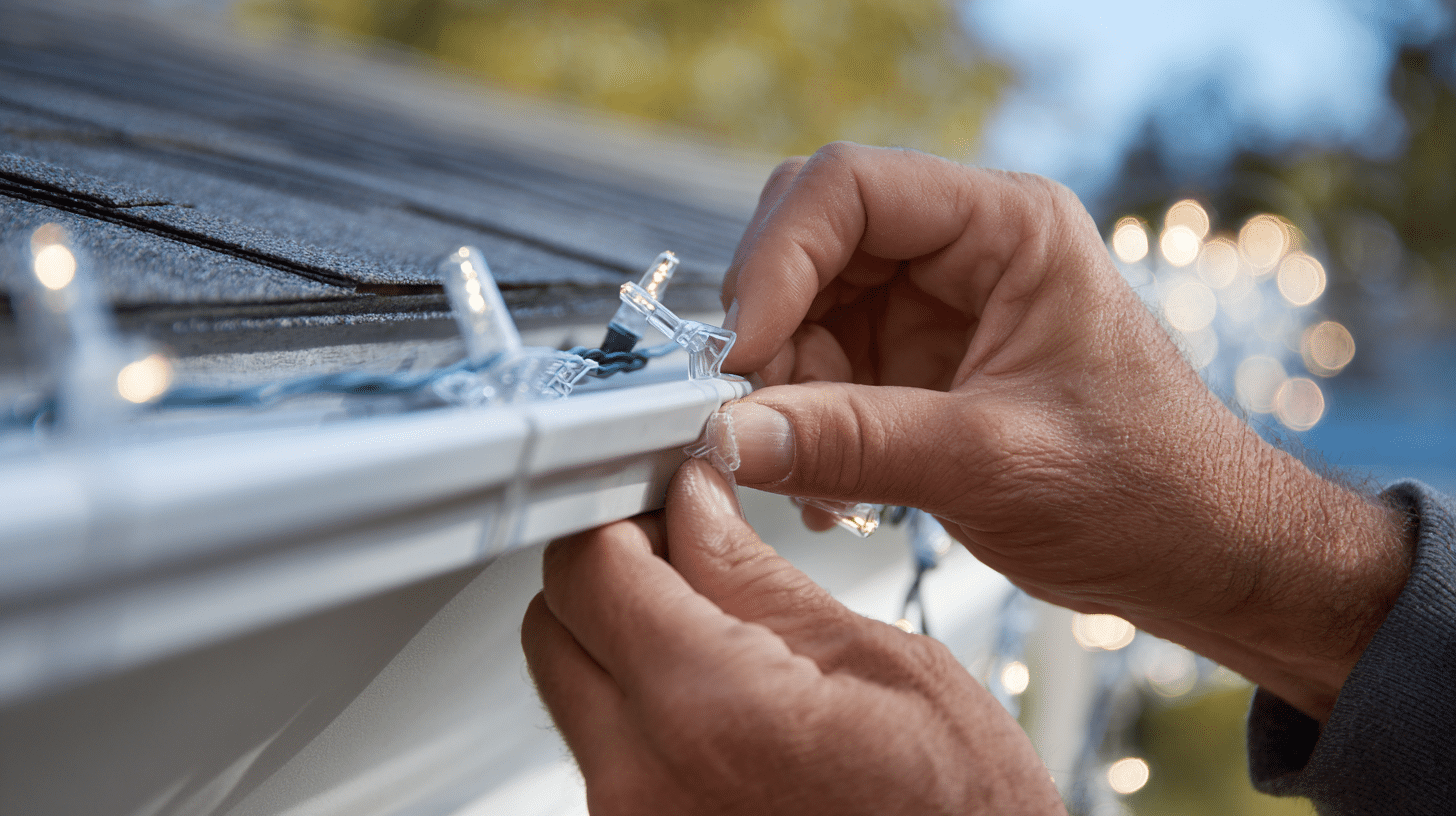
Gutter clips slide right over the edge and hold lights without tools or damage.
Make sure gutters are clean first, or clips won’t grip properly. Space them every 12 to 18 inches for a clean line with no sagging.
Roof Edges
Use clips that slide under shingles. Never staple into your roof because you’ll create leaks.
Start at one end and work across, leaving some slack between clips. Some people only do the peaks and skip the full roofline.
Brick or Stucco Walls
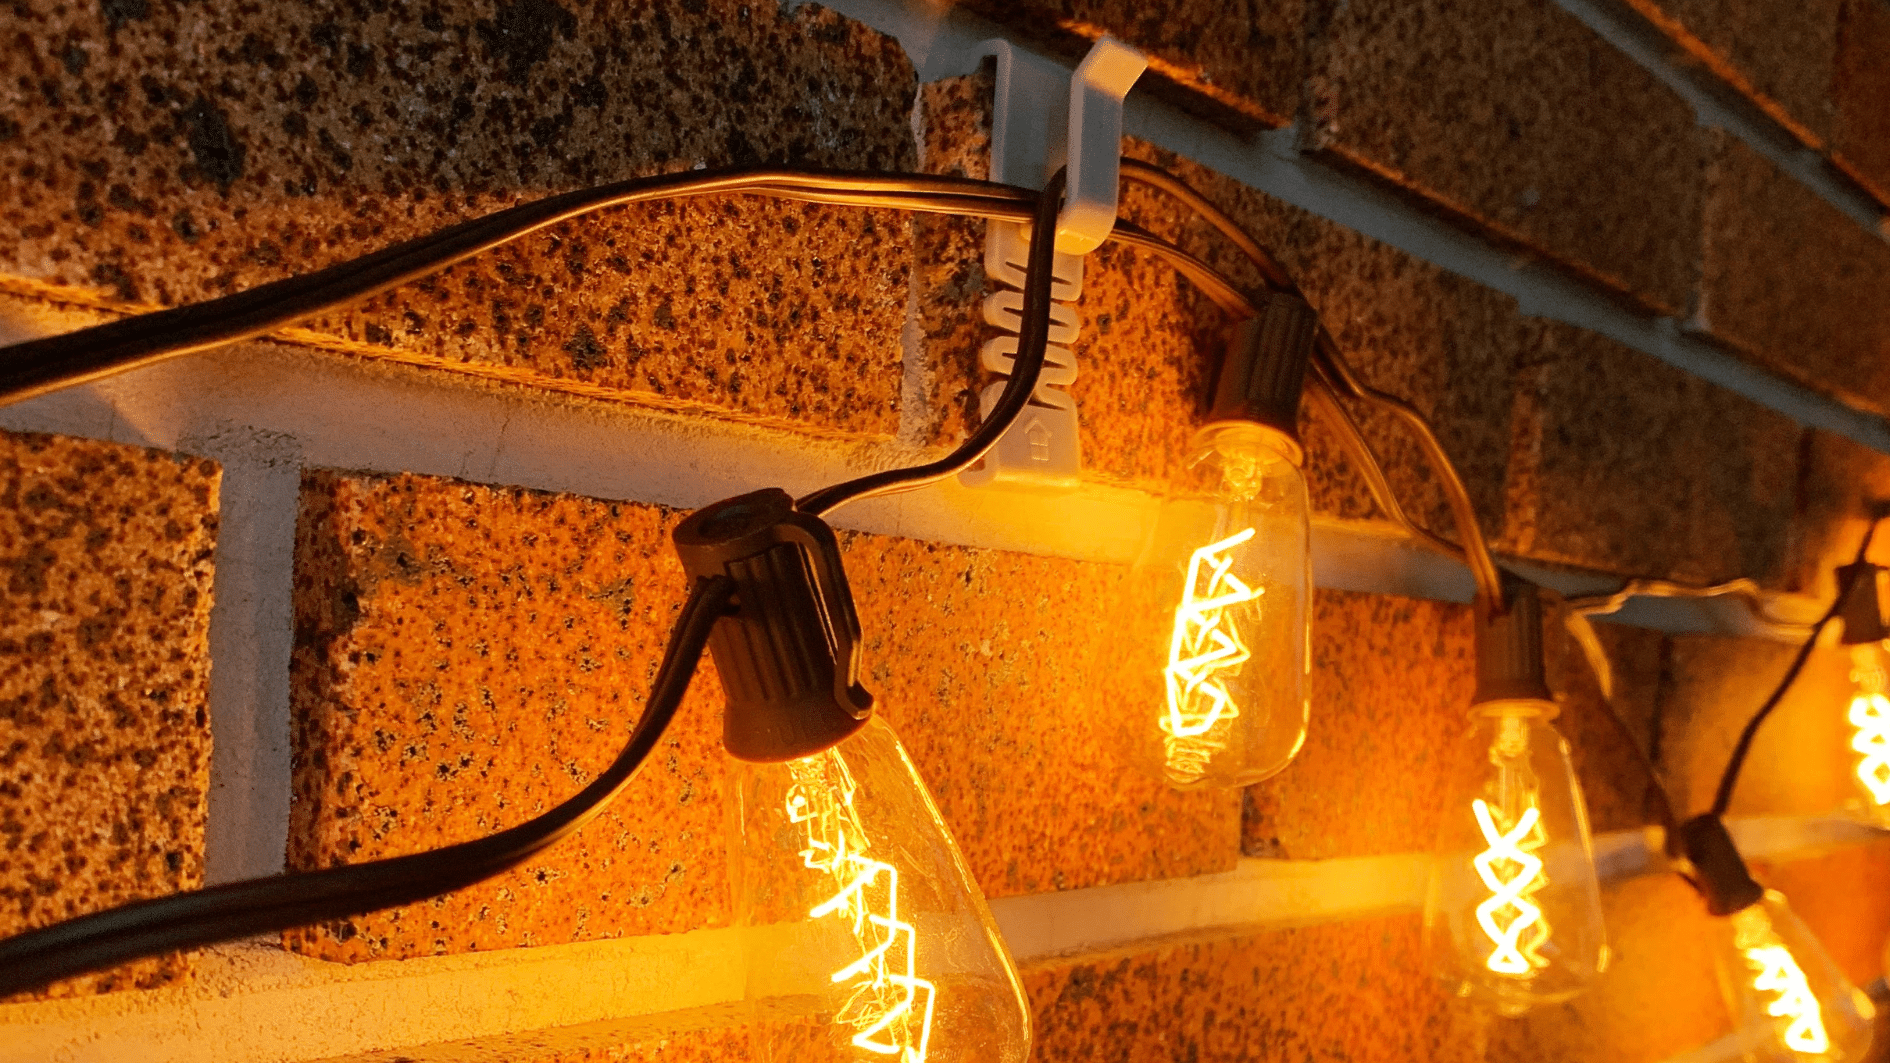
Adhesive hooks work well if you clean the surface with rubbing alcohol first. Brick clips wedge into mortar lines and come off clean.
Command strips rated for outdoor use are another option.
Windows and Doors
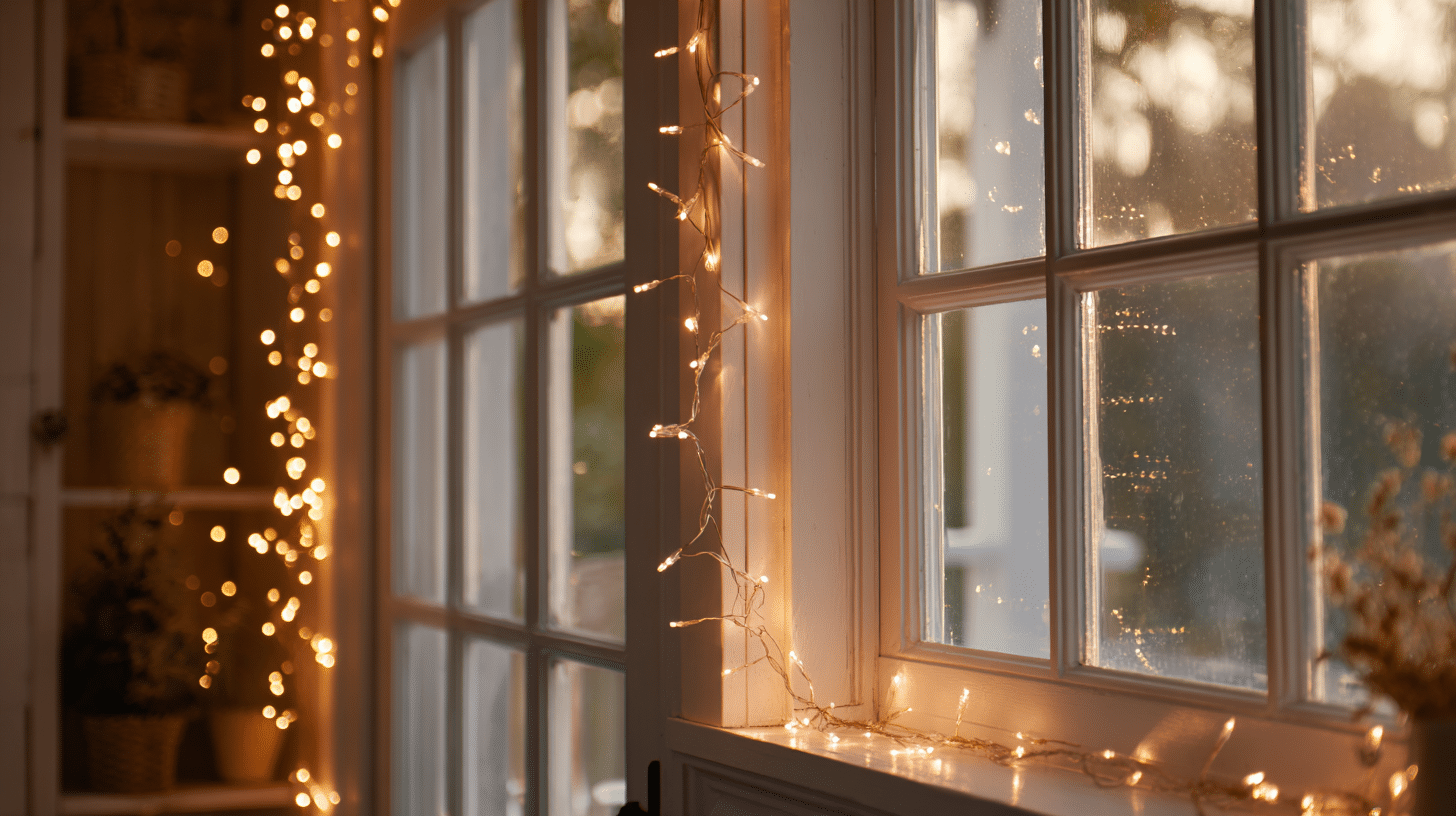
Use adhesive hooks on window frames instead of suction cups. For doors, hang lights around the frame rather than across the door itself.
Keep them high enough so they won’t catch when the door opens.
Safety Tips Homeowners Swear By
People who’ve been hanging lights for years have learned these lessons the hard way. Here’s what they wish they’d known from the start.
- Set ladders on flat, solid ground
- Have someone hold the base
- Keep your hips between the rails and don’t overreach
- Check cords for fraying before plugging anything in
- Use outdoor-rated extension cords only
- Don’t overload outlets (most can handle 1,800 watts max)
- Don’t hang lights in the rain or on icy roofs
- Wear rubber-soled shoes for better grip
- Tell someone you’re going up on the roof
One guy mentioned he now waits for a friend to come over instead of doing it alone. Takes longer to schedule, but way safer.
Smart Shortcuts People Use Every Year
Once you’ve done this a few times, you find ways to make it faster.
Label everything with masking tape. Write “front gutter” or “porch rail” on the plug end. Take photos of your setup before taking the lights down.
Leave clips up year-round. Most are small enough that nobody notices them. Next year, you just snap lights in, and you’re done in half the time.
Use a light tester tool. These cost about ten bucks and tell you exactly which bulb is bad instead of checking every single one.
Buy extra clips and bulbs at the end of the season when they’re on clearance. One person keeps a “light kit” with everything ready to go.
Of course, all these shortcuts only help if your lights survive storage without turning into a tangled mess.
Store Your Lights the Right Way
How you pack lights away determines whether next December is easy or frustrating.
Storage for String Lights
Wrap each strand around cardboard or old wrapping paper tubes. Cut notches so cords don’t slip off. Store each strand in its own plastic bag so they don’t tangle.
Quick tip: Test lights before storing them. Easier to toss broken ones now.
Storage for Clips and Hooks
Put all clips in a labeled ziplock bag. Some people use small plastic containers with compartments.
Storage for Extension Cords
Coil cords loosely and tie them with velcro straps. Label each cord with its length. Keep cords separate from lights so their weight doesn’t crush bulbs.
Store everything in a dry spot. One person’s basement flooded and ruined five years’ worth of lights.
Now you’ve got everything you need to get your lights up without the usual hassles.
Final Thoughts
Getting your lights up doesn’t have to be exhausting.
With the right clips, a solid plan, and smart shortcuts, you’ll be done faster than you think.
Once you’ve figured out how to hang christmas lights efficiently, every year gets easier.
You’ll spend less time on ladders and more time enjoying the results. Now grab your gear and get started.