I learned the hard way that leaving a wet rug to air dry can turn into a real nightmare.
You might think throwing it outside in the sun is enough, but there’s actually more to proper rug drying. The right method prevents mold, mildew, and that musty smell we all hate.
I’ve tried different techniques and found what really works.
Let me share some of the best methods so you can learn how to dry a rug correctly and avoid the costly mistakes I made along the way.
Why Proper Rug Drying is Crucial?
Learning how to dry a rug it’s essential to know because rushing the drying process always backfires.
When rugs stay damp too long, mold and mildew start growing within 24-48 hours. This creates that musty smell that’s hard to get rid of.
Wet rugs also damage easily; the backing can separate, colors can bleed, and fibers can weaken or shrink.
Poor drying affects your home’s air quality, too, especially if you have allergies. People may spend hundreds replacing rugs that could have been saved with proper drying.
Professional restoration costs even more, so getting it right the first time saves money and stress.
Tried & Tested Methods to Dry Your Rug
Knowing the right methods to how to dry a rug depends on your rug’s size and weight. I’ve tested different approaches over the years and found what works best for each situation.
1. How to Dry Small Rugs
Small rugs are easier to handle and dry quickly with the right techniques. These methods focus on convenience, efficiency, and gentle care to preserve rug quality without professional tools.
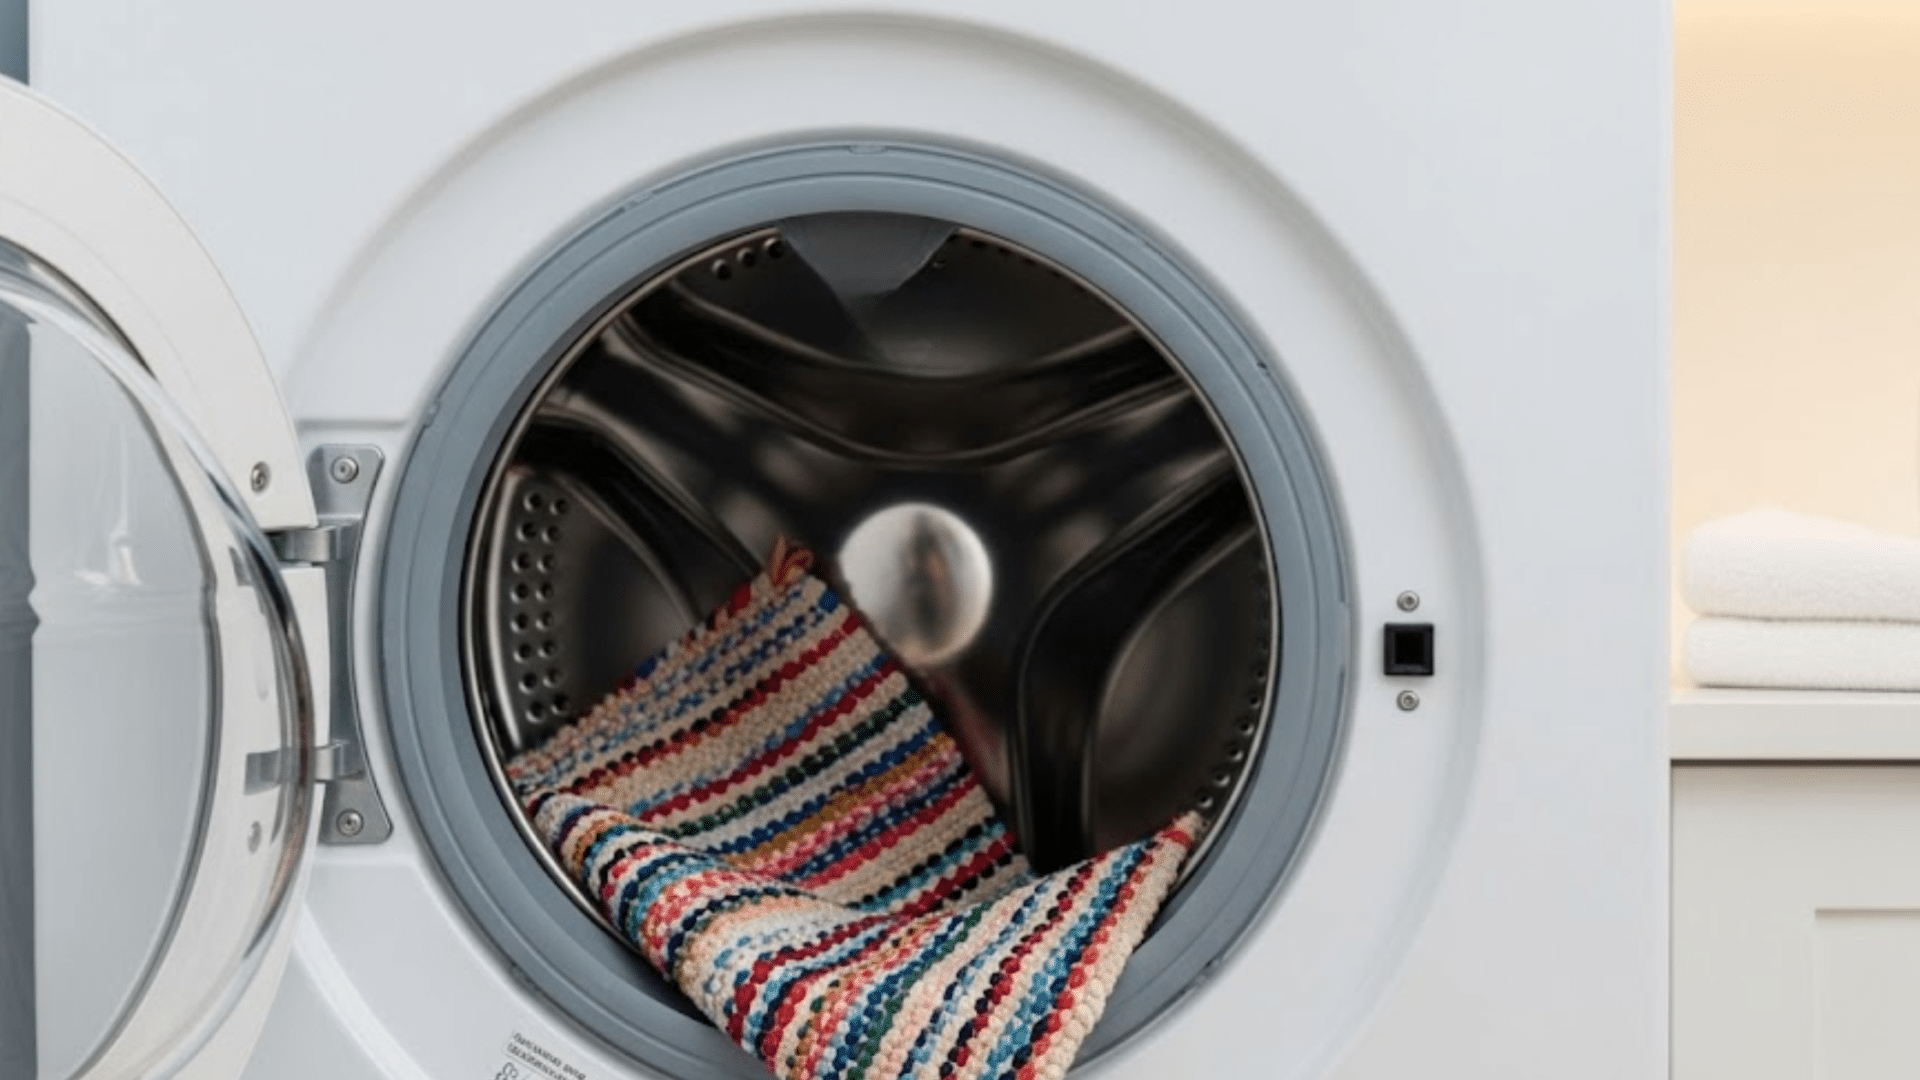
Use a Spin Cycle in the Washing Machine
If you’re dealing with a small or medium-sized rug that fits in your washing machine, the spin-only cycle can work wonders.
You skip water and detergent, letting the machine simply wring out the moisture. It’s a neat hack I’ve used on bath mats and thin rugs to cut drying time in half.
Most modern machines have this setting, and it removes excess water quickly and safely. Just be sure your rug doesn’t have a delicate backing or rubber lining that might tear.
Always check the label, but if it’s machine-safe, this method is a real time-saver.
Use Silica Gel Packs or Moisture Absorbers
For rugs that can’t handle heat or sunlight, such as wool, silk, or antiques, moisture absorbers are a gentle lifesaver.
You simply place large silica gel packs or calcium chloride-based moisture absorbers underneath and around the rug.
It’s not the fastest method, but it’s ideal when you want to protect fragile fibers or avoid musty odors indoors. Low effort, no energy use, and no damage, just smart passive drying.
DIY Drying Rack Using Laundry Poles
This method involves creating a temporary drying setup using laundry poles made of PVC, wood, or lightweight metal.
The poles can be balanced across sturdy surfaces like chairs or garden posts, allowing the rug to hang freely. It’s a great weekend DIY project that doesn’t need fancy tools.
Once you’re done, the whole rack can be dismantled and stored away easily; no permanent fixture required.
2. How to Dry Medium-Sized Rugs
These lighter rugs can be moved easily, giving you more drying options both indoors and outdoors.
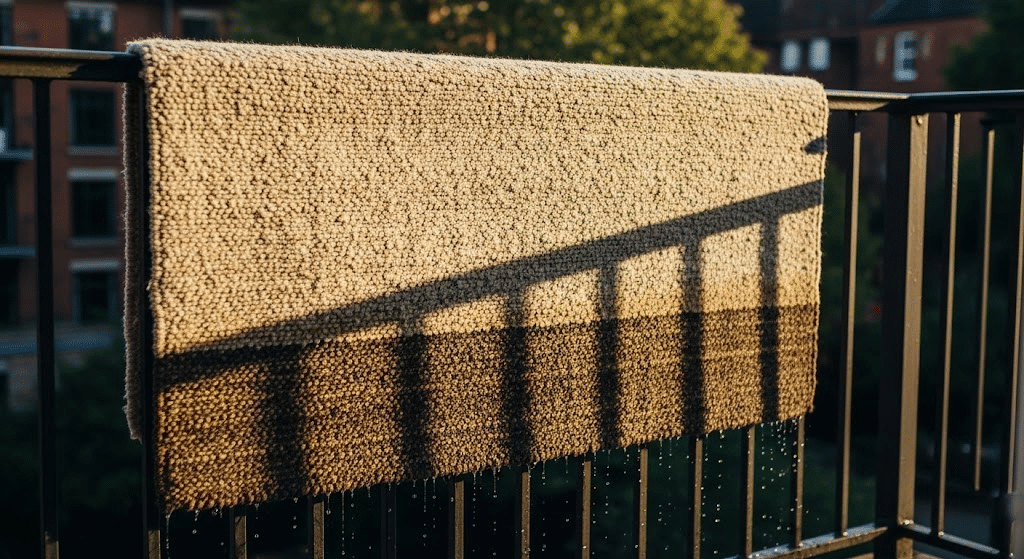
Air Drying Outdoors
Hang over railings or clotheslines in direct sunlight. UV rays kill bacteria while wind speeds up drying naturally.
I choose the sunniest spot in my yard and make sure both sides get equal exposure. Flip the rug halfway through the day to prevent moisture from getting trapped.
Avoid leaving it out overnight when dew forms, as this adds moisture back into the fibers.
Using Fans
Position fans above and below the rug. Lift the corners with books to improve air circulation underneath. I set up multiple fans if possible; one blowing air from above and another from below creates the best airflow.
Box fans work better than ceiling fans because I can aim them exactly where needed. This method usually takes 4-6 hours, depending on humidity levels.
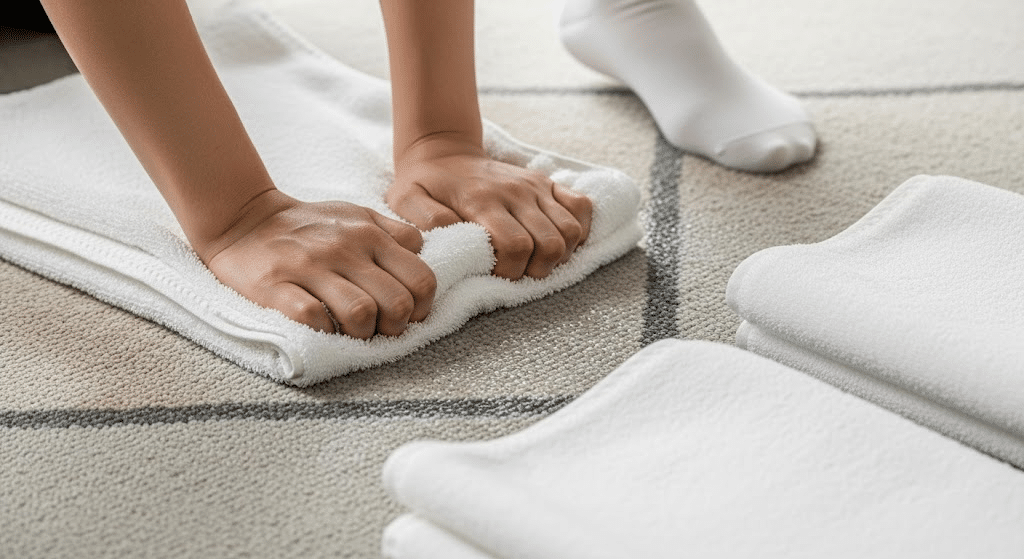
Towel Blotting
Press dry towels onto wet areas, then walk on them. Replace soaked towels until they stay mostly dry. I use old bath towels since they absorb more water than thin ones.
Walking on the towels helps push moisture up from deep in the fibers. This technique removes about half the water before using other drying methods, which cuts total drying time significantly.
Heated Air (Hair Dryer / Space Heater)
Use cool settings for small wet spots. Keep heat sources moving to prevent fiber damage.
I hold my hair dryer about 6 inches away and move it constantly in circular motions. For space heaters, I place them nearby but never directly on the rug.
High heat can shrink wool or synthetic fibers, so patience works better than rushing with hot air.
3. How to Dry Large Rugs
Heavy rugs require specialized techniques because moving them isn’t always possible or safe for your back.
Wet/Dry Vacuum Extraction
Make multiple passes in different directions. This removes about 80% of water before other drying methods. I go over each section slowly, letting the vacuum pull moisture from deep in the fibers.
I empty the tank frequently because it fills up fast with large rugs. This method works best immediately after cleaning, while the water hasn’t had a chance to soak in completely.
Dehumidifier Use
Close room doors and windows, then run the dehumidifier. Works great in basements or low-airflow areas.
I check the water collection tank every few hours and empty it when full. This method takes longer than others but prevents mold growth in damp spaces.
This method pulls moisture from both the air and the rug at the same time, which speeds up overall drying.
Flip and Air Cycle Technique
With large rugs that are tough to move or hang, alternating sides is key. Just prop the rug over two chairs, sawhorses, or stools and flip it every few hours.
I’ve used this method after deep-cleaning a living room rug, and it prevents that unpleasant “wet carpet” smell.
Flipping allows both sides to air out evenly and keeps moisture from pooling at the bottom. It’s especially helpful if you’re using fans or dehumidifiers; more surfaces get exposure, so drying is more balanced.
Compressed Air Blower
This method uses a portable air compressor to blast water out of the rug’s fibers. It’s surprisingly effective, especially for dense, plush rugs that hold moisture deep down. I’ve used this trick in a pinch when vacuuming didn’t quite cut it.
Just point the nozzle and blow out the moisture section by section. You do need a bit of control to avoid fraying, but it’s perfect when you need to dry fast without adding heat.
Think of it as pressure-washing in reverse, targeted and efficient.
Layered Drying with Microfiber Sheets
This low-tech method is all about smart absorption. You sandwich the wet rug between clean, dry microfiber sheets and press down gently.
I like using a few heavy books or flat weights to increase pressure without damaging the rug.
Microfiber is ultra-absorbent, so it pulls moisture out of the fibers without rubbing or rough handling. It’s especially handy for delicate rugs or high-pile styles that don’t take well to fans or vacuums.
It may take a few rounds of sheet replacement, but the process is quiet, mess-free, and gentle on your rug’s texture and colors.
The Do’s & Don’ts of Rug Drying
Following these basic rules prevents damage and ensures your rug dries properly without creating new problems.
| DO’S | DON’TS |
|---|---|
| Use fans and dehumidifiers to speed up drying | Never use direct heat like radiators or vents |
| Remove excess water first with a vacuum or towels | Don’t fold damp rugs; create permanent creases |
| Dry both sides by flipping or hanging | Avoid walking on wet rugs pushes water deeper |
| Test for complete dryness before putting back | Don’t leave on wooden floors causes staining |
| Work in sections for large rugs | Don’t rush with high heat can shrink fibers |
| Check the backing, too holds moisture longer | Don’t ignore the underside’s needs equal attention |
Care & Maintenance Tips
Regular maintenance keeps rugs looking good and makes future cleaning easier. I follow these simple steps to extend my rugs’ lifespan.
1. Regular vacuuming and rotation: Vacuum weekly and rotate quarterly to prevent uneven wear patterns from foot traffic.
2. Using underlay for airflow and floor protection: Quality pads prevent slipping while allowing air circulation underneath your rug.
3. Spot-cleaning tips: Clean spills immediately with blotting motions. Never rub stains as this pushes them deeper into the fibers.
4. Seasonal deep cleaning advice: Schedule professional cleaning annually or clean at home every 12-18 months, depending on traffic.
These habits prevent major problems and keep your rugs fresh between deep cleans.
To Conclude
Smart drying protects your investment and keeps your home healthy. I’ve seen too many rugs ruined by rushed or poor drying methods.
People often take shortcuts that end up costing hundreds in replacements.
The right method for your rug’s size matters: medium rugs work well with fans or outdoor drying, while large ones need vacuum extraction or dehumidifiers.
Taking time to dry properly pays off. Don’t rush with high heat, and your rugs will reward you with lasting beauty.