Your fireplace looks plain and boring, just sitting there adding nothing to your living room.
But you don’t need an expensive contractor or advanced carpentry skills to change that.
This blog shows you how to build a beautiful DIY fireplace surround. You’ll save money, customize it to match your style, and create something that looks professionally done.
You’ll get practical designs that upgrade your entire room, plus learn which materials are safe to use around heat.
What is a Fireplace Surround?
The frame around your fireplace is called the fireplace surround. It’s the structure that sits on the wall, bordering where the flames live.
Most surrounds include a mantel shelf on top for family photos or holiday decorations. The sides are called legs or columns and run vertically from floor to mantel.
Some add a hearth extension at the bottom. Together, these pieces create a finished look.
Without a surround, the fireplace is just a hole in the wall. With one, it becomes a focal point that draws the eye.
Safety Rules You Must Follow Before Building
Don’t skip these rules. They keep you safe and your home standing.
- Check local building codes first: Most areas require specific clearances between combustible materials and fireplace openings
- Maintain proper clearances: Keep wood and flammable materials at least 6 inches from the firebox opening
- Wear safety equipment: Use safety glasses, gloves, and a dust mask
- Turn off gas lines: Shut off the gas valve completely or have a professional disconnect it temporarily
- Use fire-rated materials: Use cement board or fire-rated drywall near heat, not regular drywall
- Keep a fire extinguisher nearby: Have one rated for wood and electrical fires within reach
- Test for asbestos in older homes: Homes built before 1980 might contain asbestos; get it tested professionally
- Unplug tools when changing bits: Always unplug before swapping bits or blade.
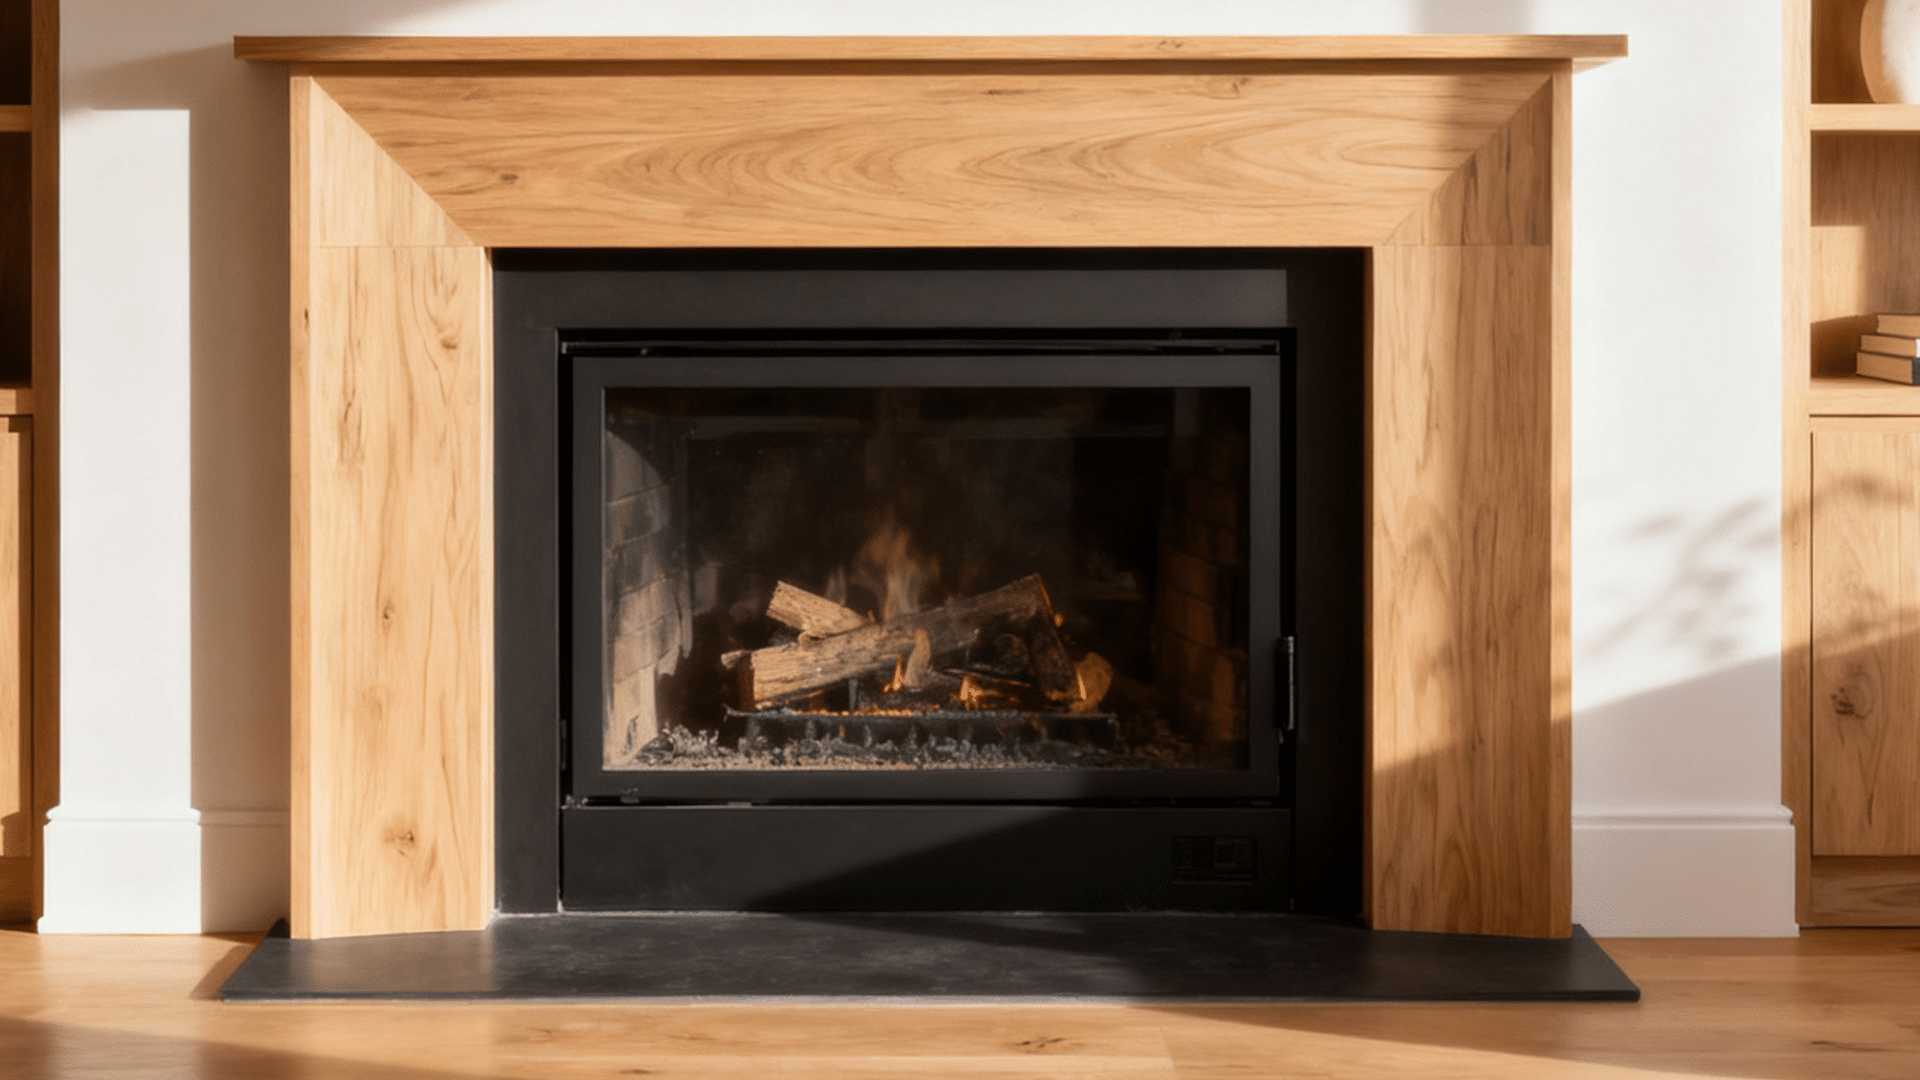
Building a Basic Wood Fireplace Surround
This is where most beginners should start their first project. Wood is forgiving when you make mistakes. You can paint or stain it any color you want.
Step-By-Step DIY Fireplace Surround
Here’s how to DIY a fireplace frame with a simple wood surround that looks professional.
Step 1: Gather These Tools and Materials
To build a sturdy and professional-looking fireplace surround, start by collecting the tools and materials listed below.
| Tools | Materials |
|---|---|
| Miter saw | Wood boards (1×6, 1×8) |
| Drill | Wood screws |
| Level | Wood glue |
| Tape measure | Sandpaper |
| Pencil | Paint or stain |
| Nail gun | Finishing nails |
| Safety glasses | Primer |
Step 2: Measure Your Fireplace Opening
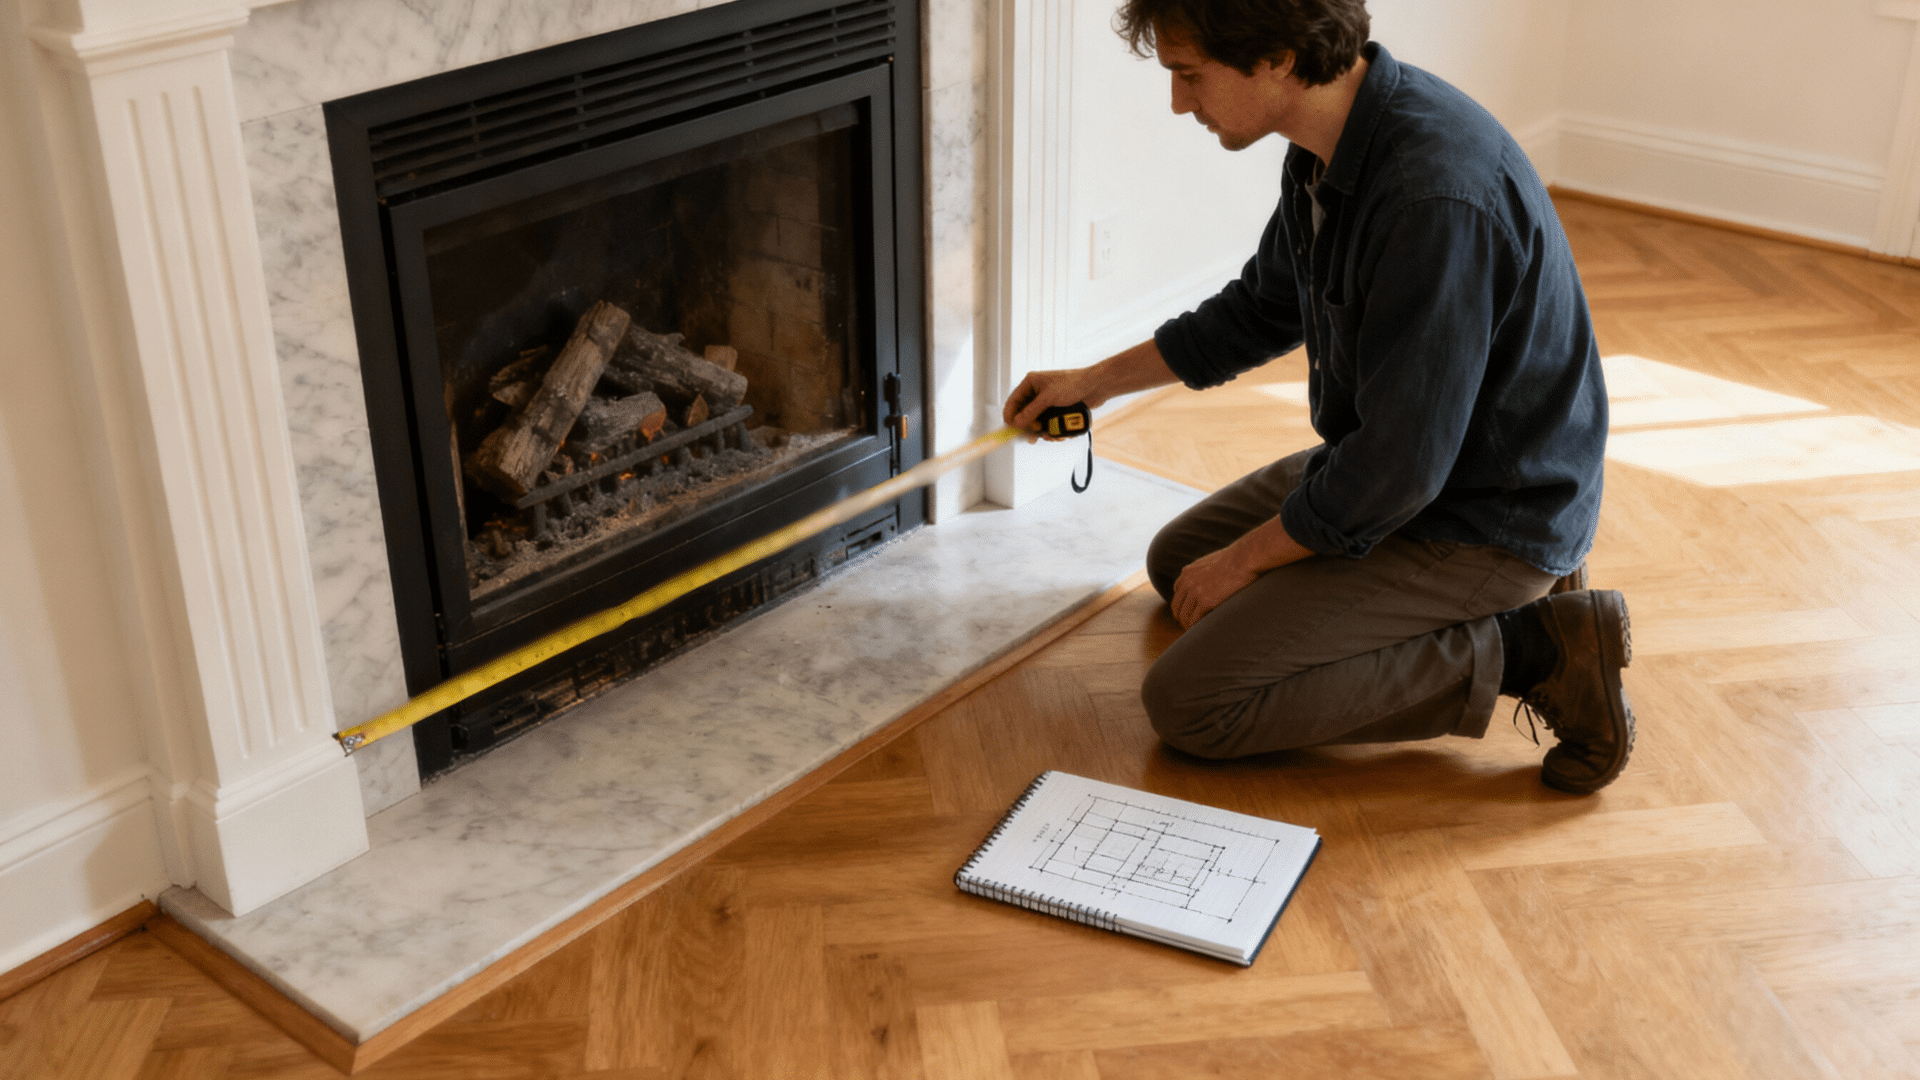
Measure the height and width of your fireplace. Add 3-6 inches on each side for the surround. Write down these numbers.
Double-check them before cutting anything. One wrong measurement ruins the whole project.
Step 3: Cut the Mantel Piece
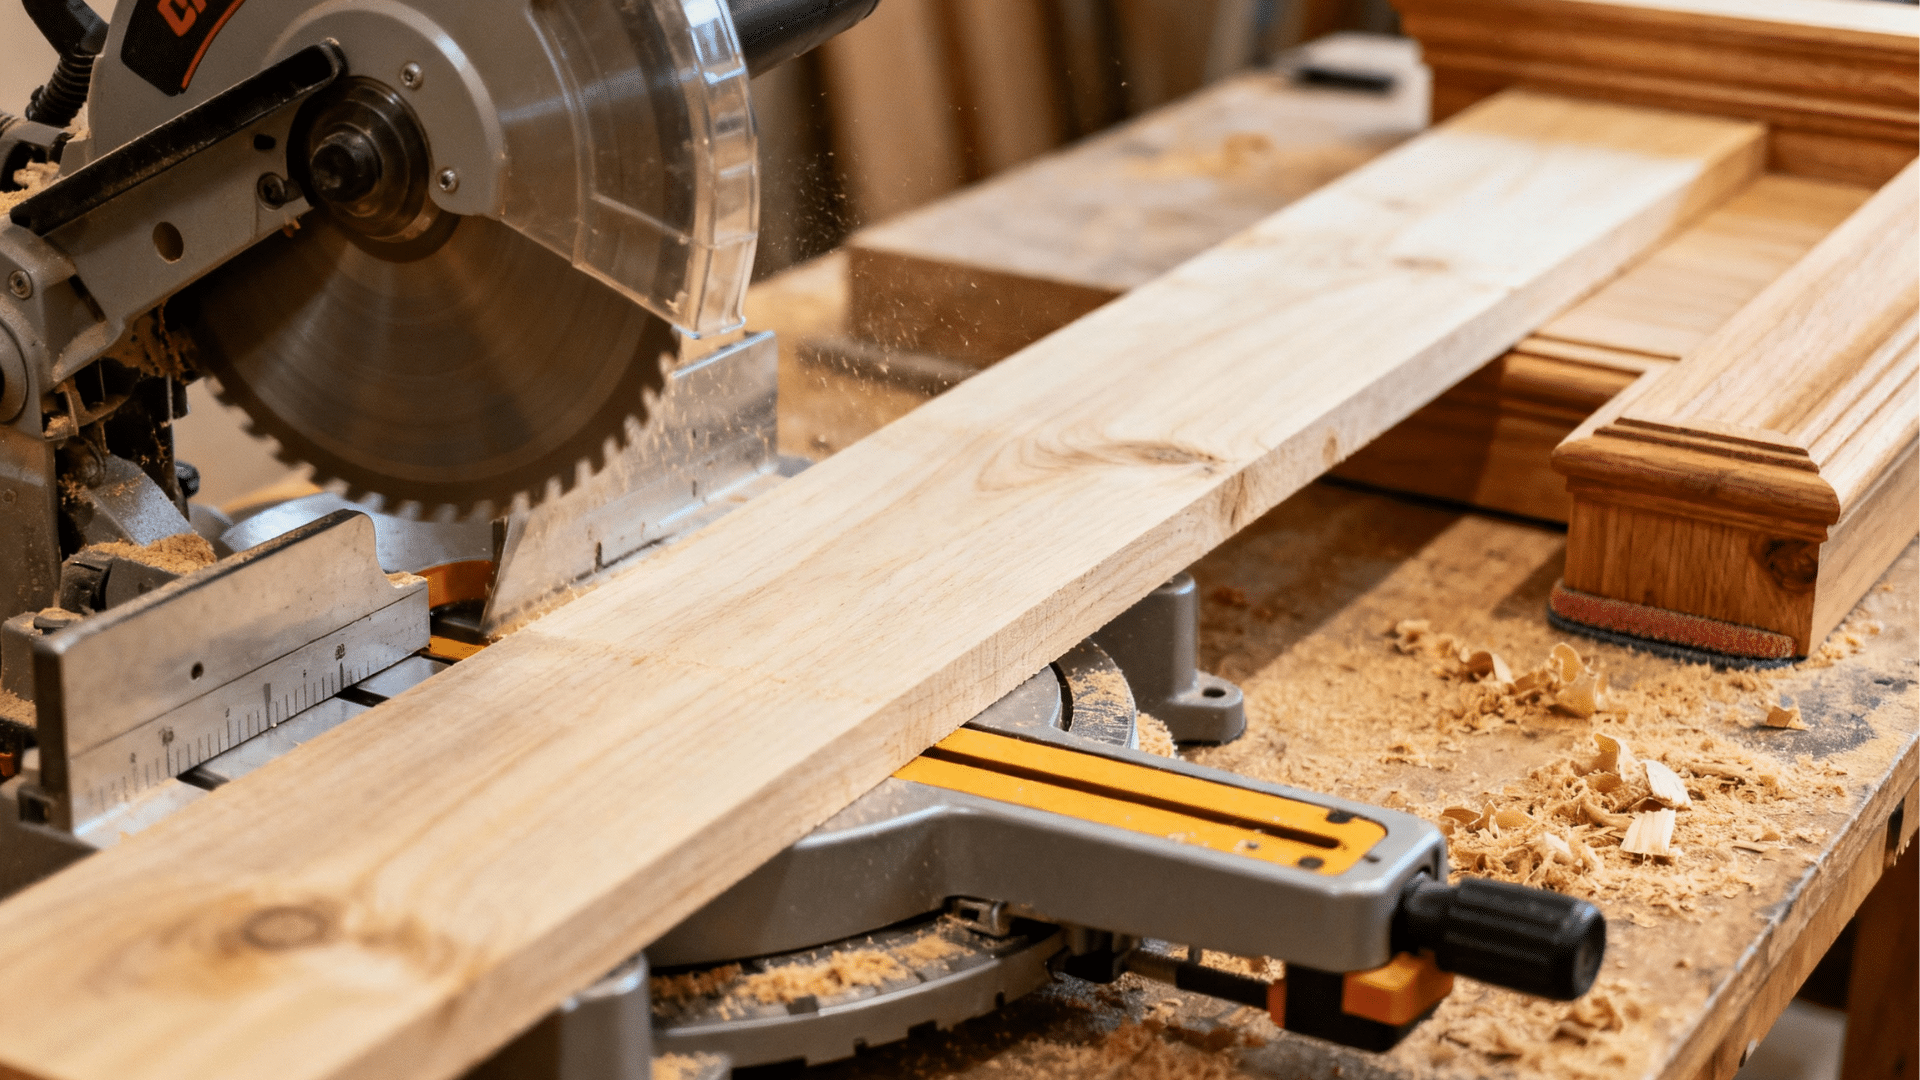
Use your miter saw to cut the top mantel board. Make it longer than the fireplace by at least 6 inches.
Sand all edges smooth. This piece sits on top, so it needs to look perfect.
Step 4: Cut the Vertical Legs
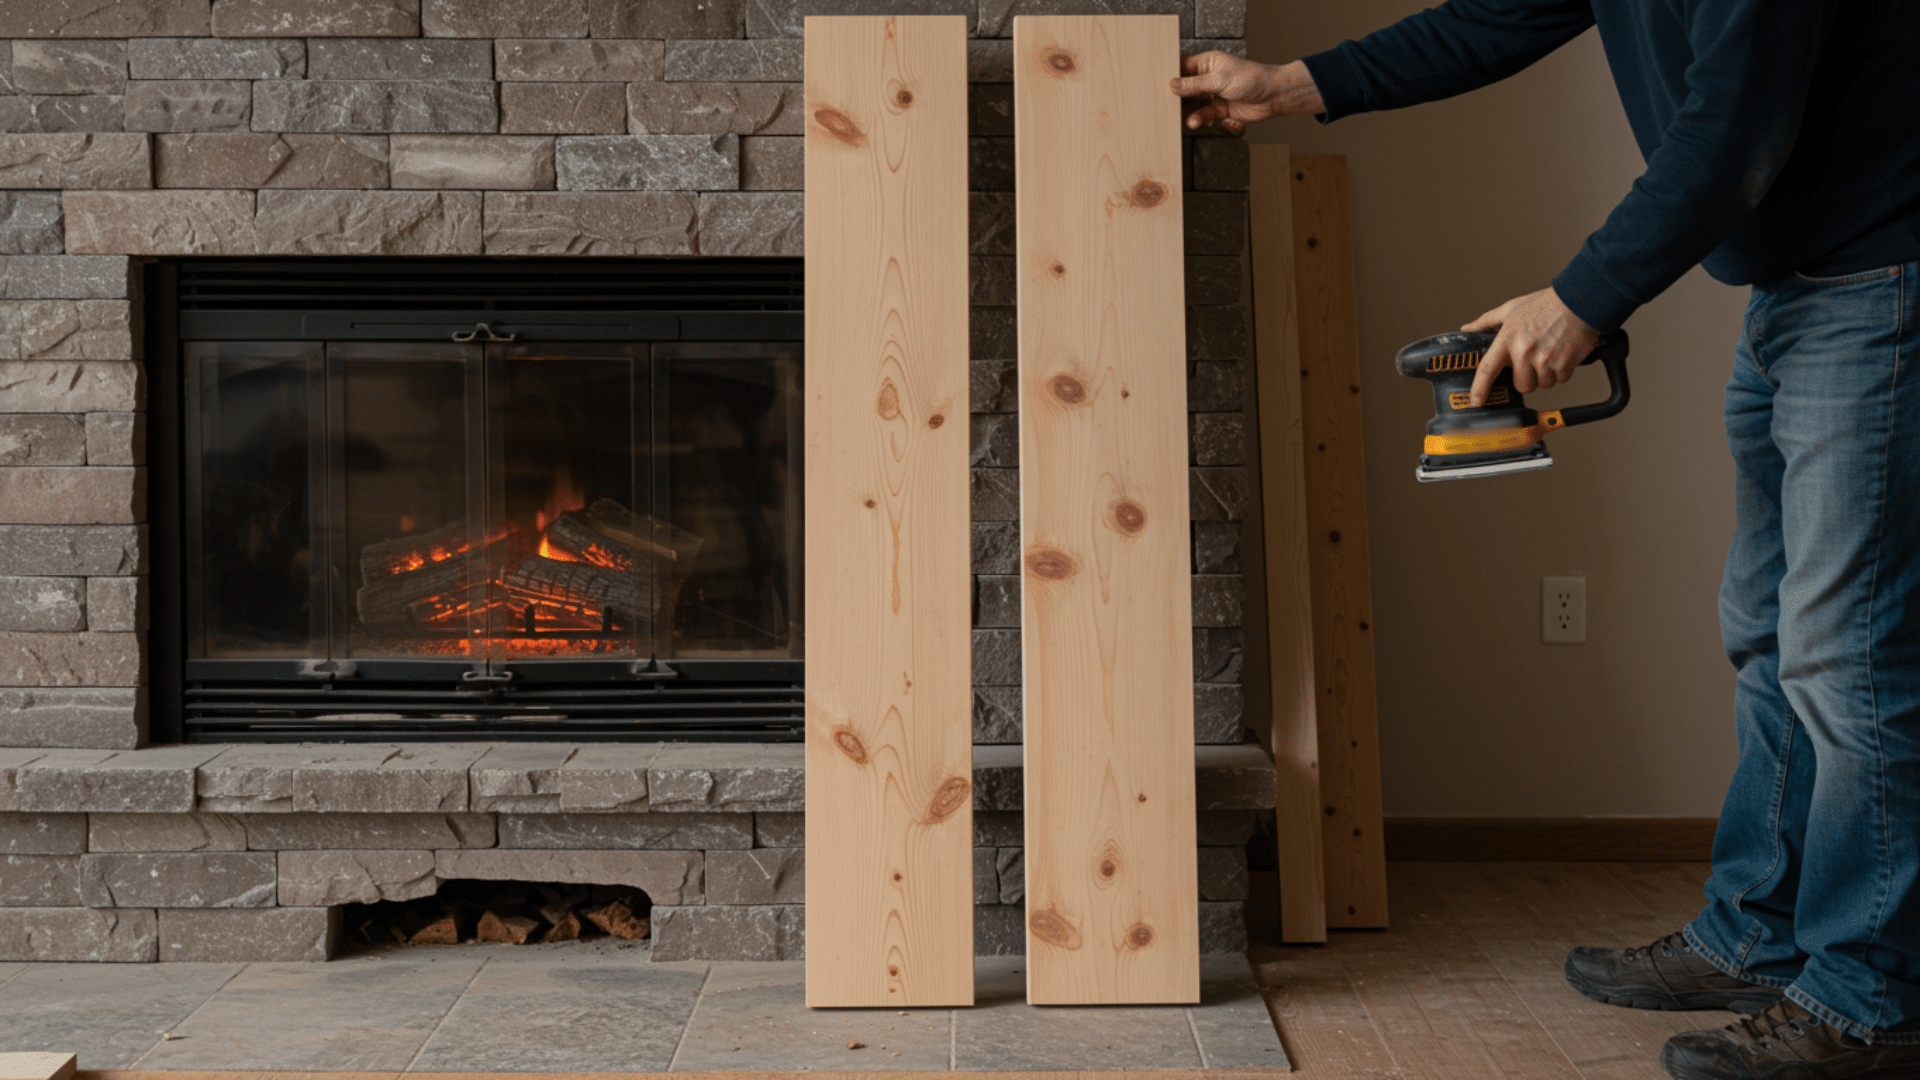
Cut two boards for the sides. They should run from the floor to the mantel. Sand these down too.
Test-fit them against your fireplace before moving forward. Adjustments are easier now than later.
Step 5: Attach the Legs to the Wall
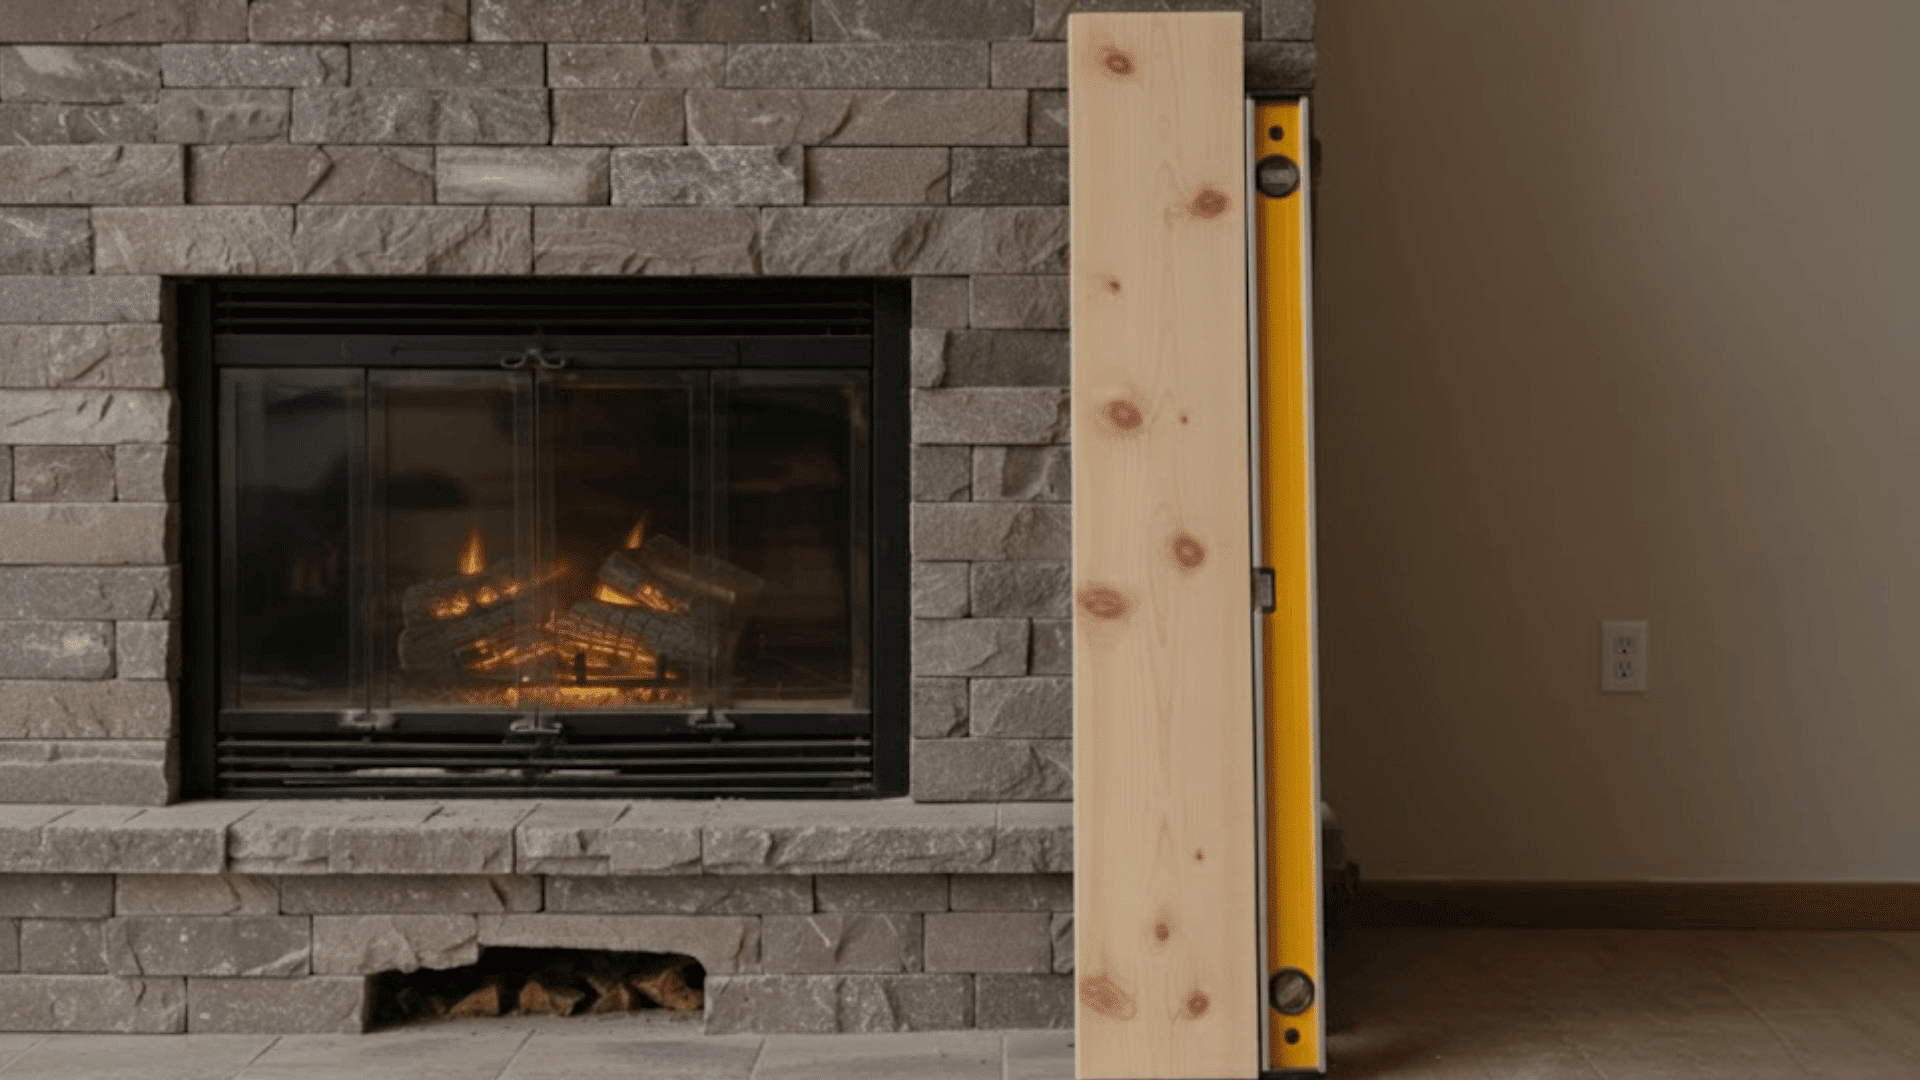
Mark where the studs are located. Drill pilot holes through the legs. Screw them into the wall studs securely.
Use your level constantly. Even a slight tilt looks terrible once everything’s installed.
Step 6: Install the Mantel
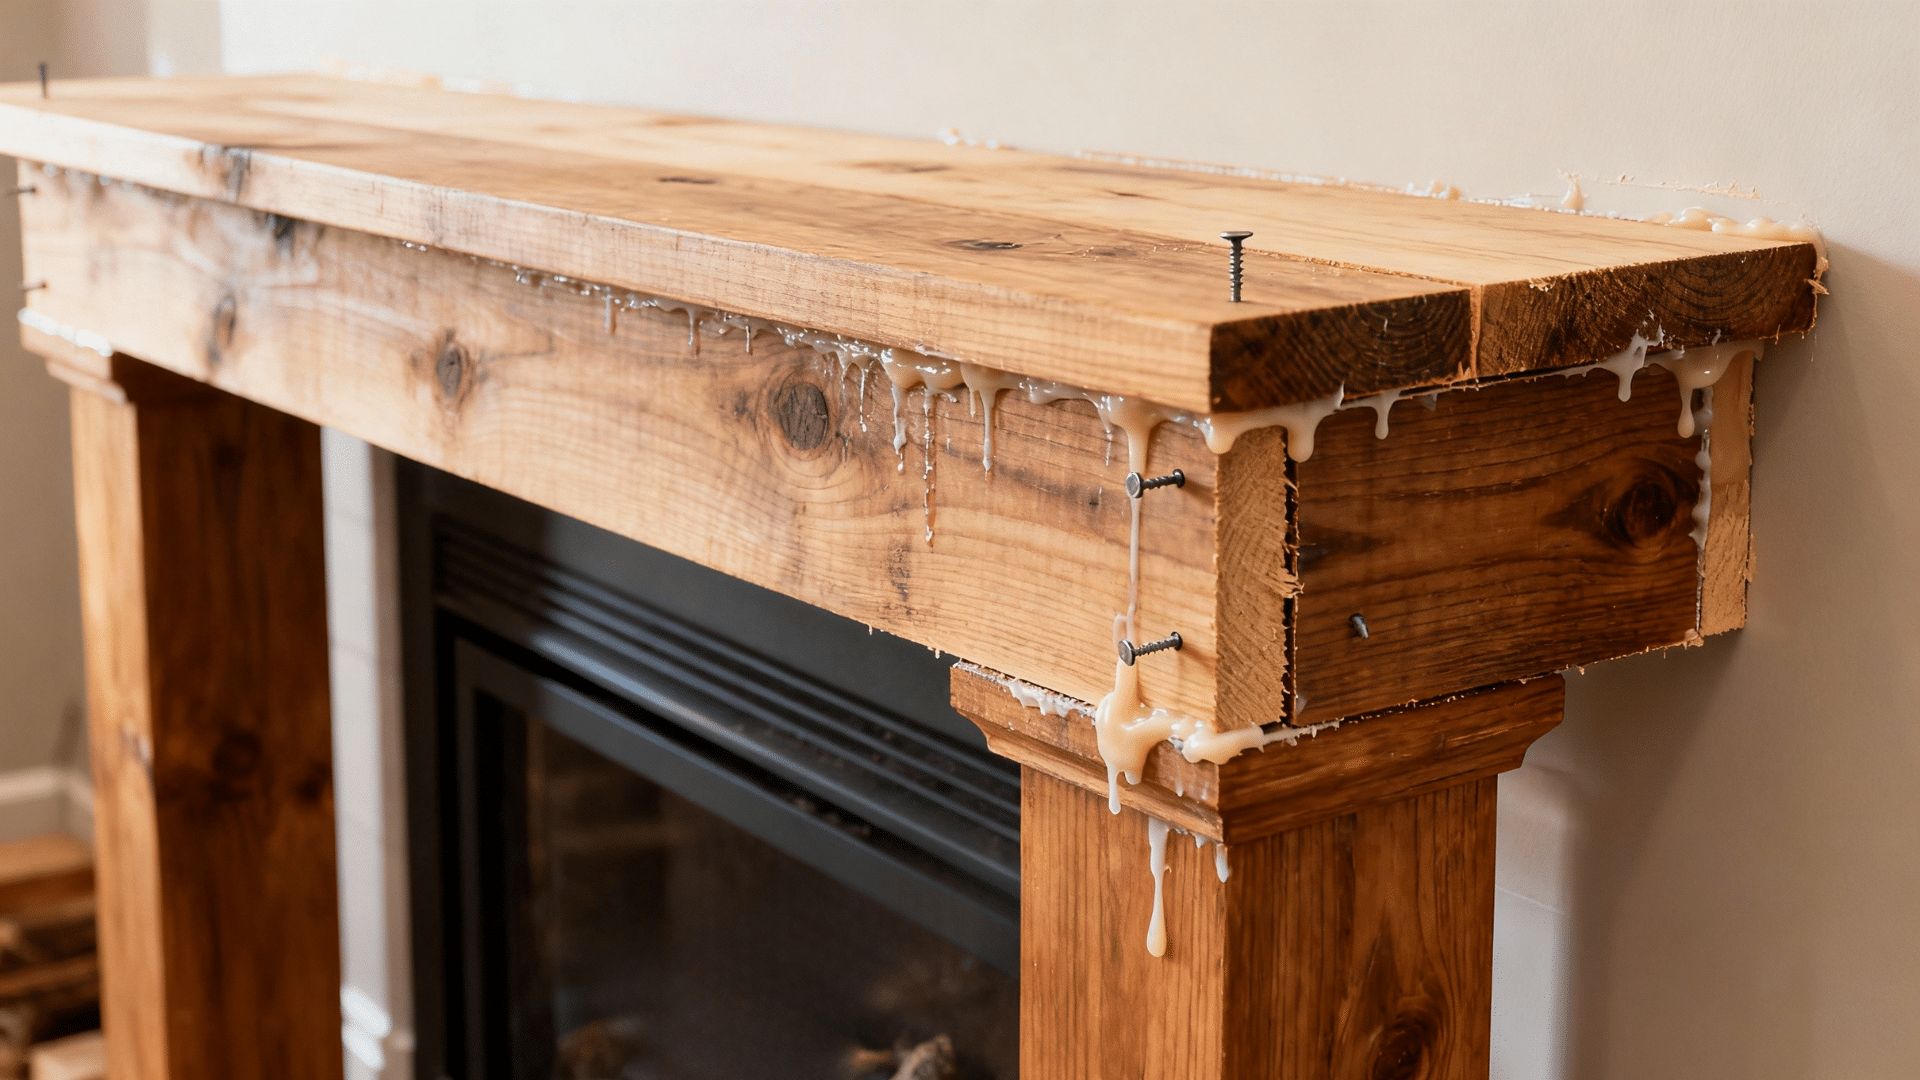
Place the mantel on top of the legs. Apply wood glue to the contact points.
Secure with finishing nails from the top. Wipe away any excess glue immediately. Let it dry completely before touching.
Step 7: Add Trim and Details
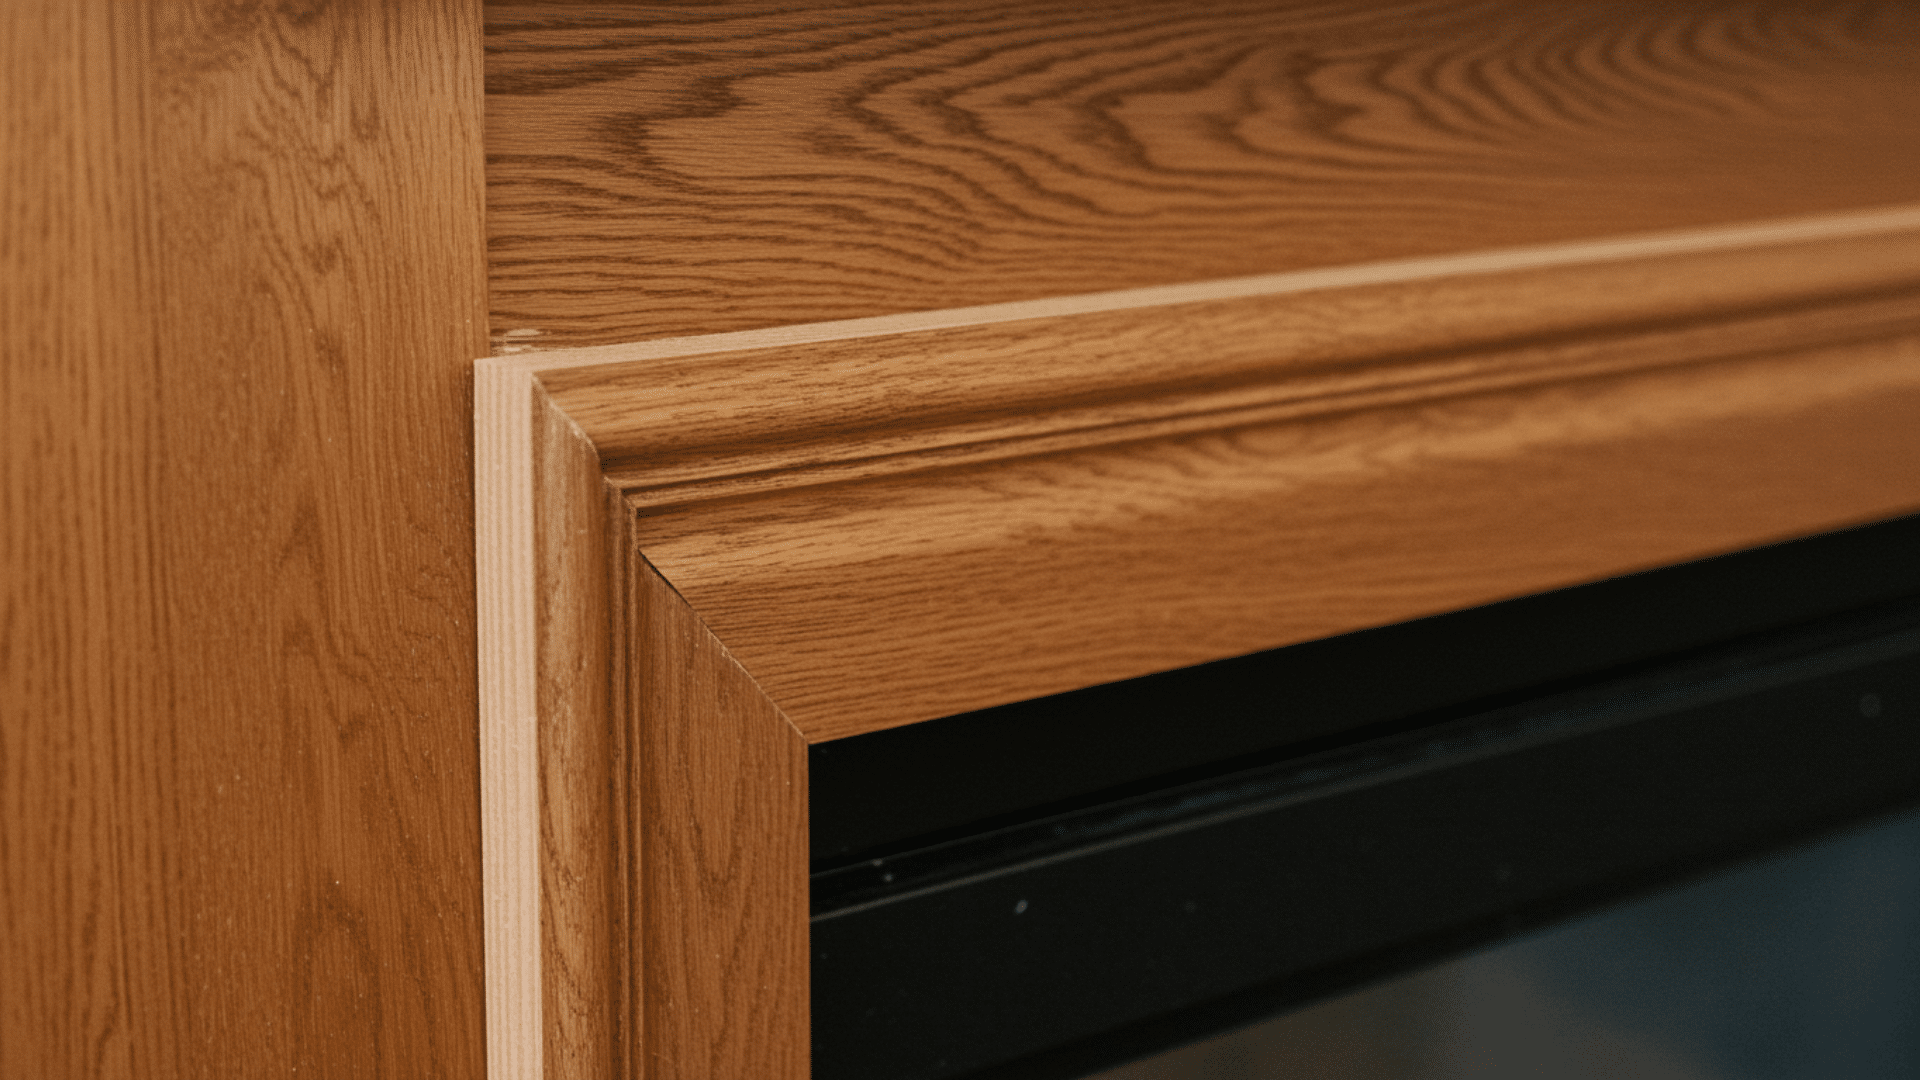
Cut smaller trim pieces for a polished look. Attach them around the inner edge of the opening.
Use finishing nails and wood glue. Fill any nail holes with wood filler. This step makes it look store-bought.
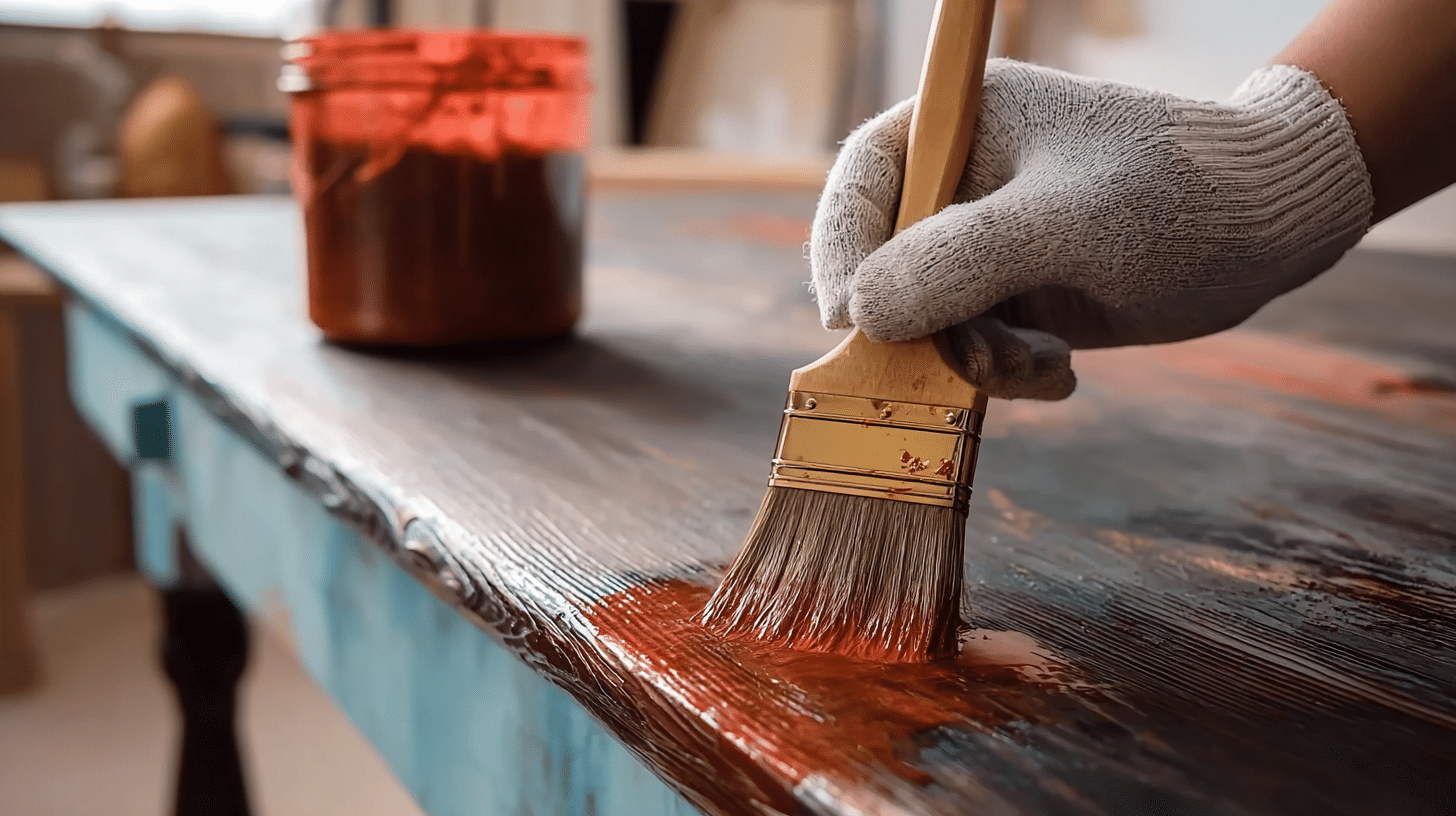
Step 8: Sand, Prime, and Paint
Sand the entire surround one final time. Apply primer first, then two coats of paint.
Or use stain if you prefer the wood grain showing through. Let each coat dry completely before applying the next.
Other DIY Fireplace Surround Setups
Beyond basic wood, there are plenty of creative options to try. Stone veneer adds texture and weight to your design. Tilework offers endless pattern possibilities.
Step-By-Step Mantel DIY Fireplace Surround
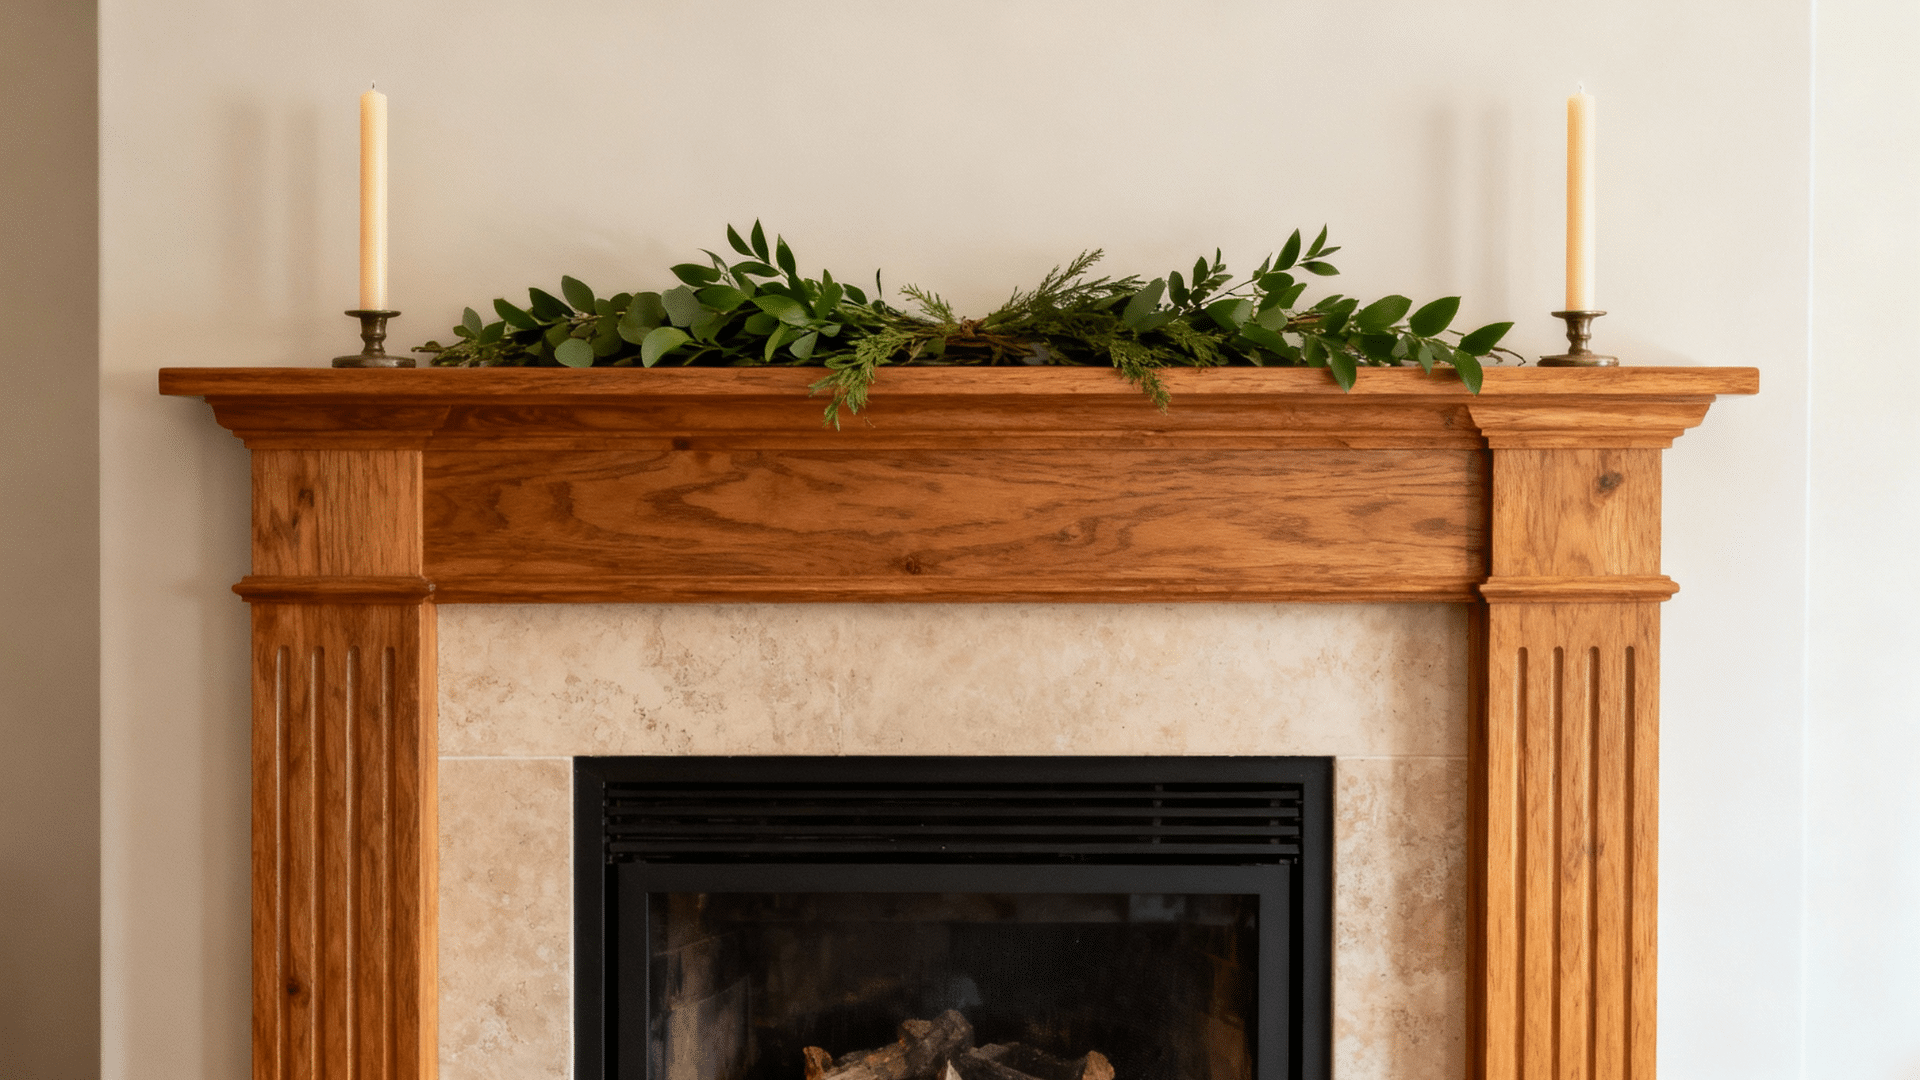
Installing a mantel changes everything about how your fireplace looks. It gives you a focal point and display space. This project takes just a few hours to complete
Step 1: Tools and Materials Required
| Tools | Materials |
|---|---|
| Circular saw | Solid wood beam (mantel) |
| Stud finder | L-brackets |
| Drill with bits | Lag bolts |
| Carpenter’s square | Wood screws |
| Clamps | Wall anchors |
| Sander | Wood filler |
| Paintbrush | Finish of choice |
Step 2: Choose and Prepare Your Mantel Beam
Pick a solid wood beam that fits your style. Barn wood works well for a rural look.
Sand it thoroughly to remove splinters. Stain or seal it now, before installation. Working on it while it’s down is much easier.
Step 3: Locate Wall Studs
Use your stud finder across the area where the mantel will sit.
Mark each stud location with a pencil. You need at least two studs for secure mounting. If studs don’t line up, you’ll need heavy-duty wall anchors instead.
Step 4: Attach L-Brackets to the Mantel
Flip your mantel upside down on a flat surface. Attach two or three L-brackets to the back side.
Space them evenly across the length. Pre-drill holes to prevent wood splitting. These brackets hold all the weight.
Step 5: Mount the Mantel to the Wall
Hold the mantel at your desired height. Use a level to check it’s straight. Mark where the brackets meet the wall.
Drill pilot holes into studs. Secure brackets with lag bolts. Mantels are heavy and awkward.
Step 6: Finish and Style
Fill any visible screw holes with wood filler. Touch up stain or paint where needed.
Let everything cure for 24 hours. Now add your decorations. The mantel is ready to hold whatever you love displaying.
Step-By-Step Electric Fireplace Insert DIY Fireplace Surround Setup
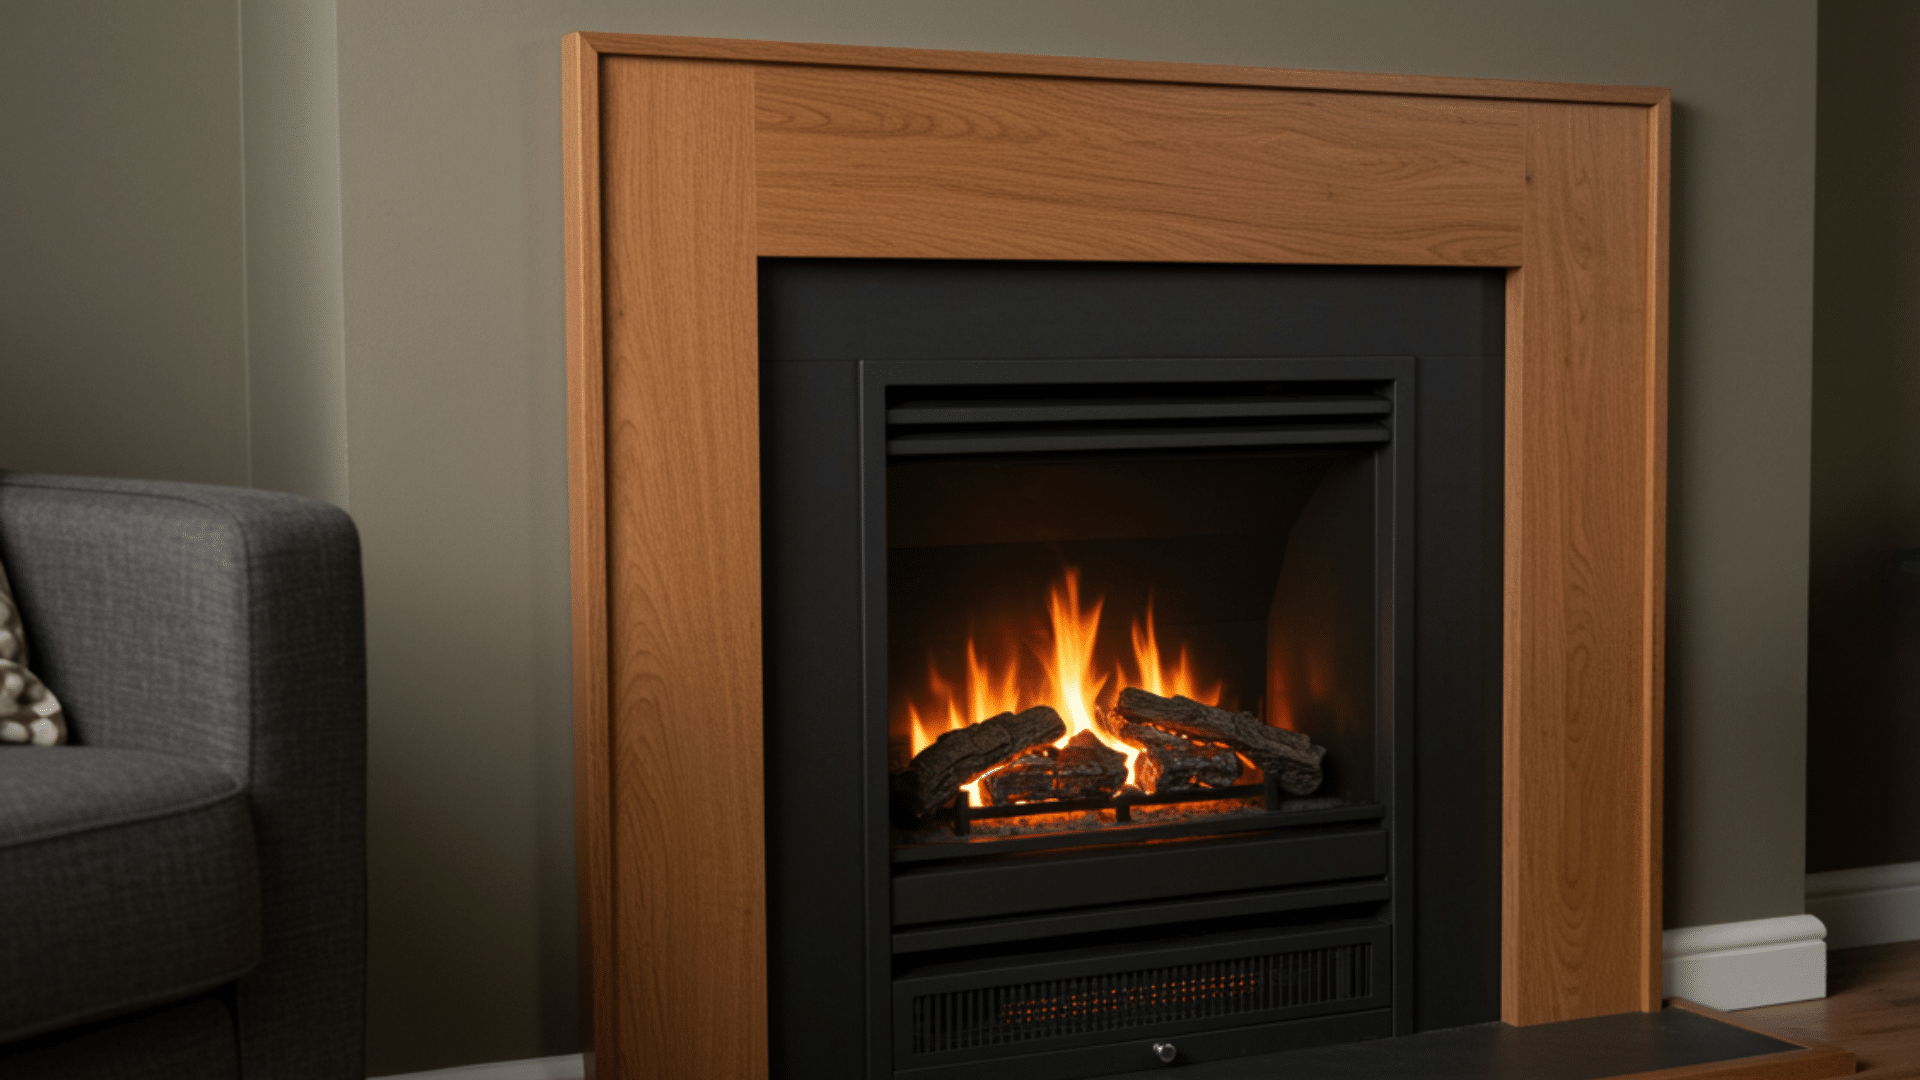
Building around an electric insert is easier than you think. You don’t need to worry about heat clearances as much.
You get the cozy fireplace look without a chimney.
Step 1: Collect These Tools and Materials
| Tools | Materials |
|---|---|
| Jigsaw | Plywood sheets |
| Electric drill | 2×4 lumber |
| Level | Drywall screws |
| Measuring tape | Electrical outlet |
| Framing square | Extension cord |
| Screwdriver | Trim boards |
| Wire stripper | Paint or veneer |
Step 2: Build the Frame Base
Cut 2x4s to create a frame that fits your insert. Leave the exact opening size the manufacturer specifies.
Screw the frame pieces together. Attach this frame securely to the wall studs. This supports everything else you’ll build.
Step 3: Install the Electric Insert
Slide your electric fireplace into the frame opening.
Make sure it fits snugly but not too tightly. Check that the power cord reaches an outlet easily. Don’t plug it in yet. Secure the insert according to the manufacturer’s instructions provided.
Step 4: Add Plywood Facing
Cut plywood to cover the frame on all sides. Leave the insert opening clear, obviously. Screw the plywood into the 2×4 frame.
Keep everything flush and even. This creates the surface you’ll decorate later with paint or stone.
Step 5: Attach Trim and Mantel
Cut trim boards to frame the insert opening nicely. Nail them directly to the plywood facing.
Add your mantelpiece on top using the bracket method. Paint or stain everything to match your room. Let it dry completely before use.
Step 6: Connect Power and Test
Plug in your electric fireplace insert now. Turn it on to test both heat and flame effects.
Make sure nothing blocks the vents. Check that the surround doesn’t get too hot anywhere. Adjust decorations away from heat sources if needed.
Fireplace Surround Materials: What Works Best
| Material | Pros | Cons | Best For |
|---|---|---|---|
| Wood | Easy to work with | Can warp near heat | Mantels and frames |
| MDF | Affordable and smooth | Not heat-resistant | Electric fireplaces only |
| Stone veneer | Looks original | Heavy and pricey | Traditional styles |
| Tile | Heat-resistant | Needs skill to install | Active fireplaces |
| Marble | subtle appearance | Very expensive | Formal rooms |
| Brick | Classic look | Permanent installation | Rustic designs |
| Concrete | Modern | Requires mixing | modern spaces |
Common Mistakes to Avoid
- Ignoring local building codes and clearance requirements.
- Using flammable materials too close to actual flames.
- Choosing MDF or regular wood for gas fireplaces.
- The mantel is installed too low above the opening.
- Rushing through sanding and leaving rough edges.
- Applying only one coat of paint or primer.
- Blocking air vents that need to stay clear.
- Installing without a helper for heavy pieces.
- Skipping the test fit before final installation.
- Not accounting for trim thickness in measurements.
- Placing electrical outlets where they’ll be hidden.
Final Thoughts
Building a DIY fireplace surround isn’t as hard as it looks.
You’ve got the steps, the materials list, and the mistakes to avoid. Now it’s just about getting started.
Pick the style that fits your space and skill level. Wood surrounds work for most people.
Electric inserts are perfect if you’re renting or don’t have a chimney. Take your time with each step. And don’t stress if it’s not perfect, small imperfections add character. Your living room deserves this upgrade.
So grab your tools this weekend and get to work.