")
Your shower floor takes a beating every single day.
Water, soap, and constant foot traffic can make even the best tiles look tired and outdated. You want something that lasts and looks good without breaking the bank.
A concrete shower floor gives you exactly that. It’s durable, affordable, and surprisingly simple to install yourself. Plus, you can customize it to match your style perfectly.
This blog is going to walk you through the complete process of creating your own concrete floor with some design ideas.
Pros and Cons of a Concrete Floor
A concrete floor isn’t perfect for everyone. Before you start mixing cement, you need to know what you’re getting into.
| Pros | Cons |
|---|---|
| Lasts for decades with minimal maintenance | Requires proper sealing every 1-2 years |
| Costs significantly less than tile or stone | Can crack if not installed correctly |
| Fully customizable with colors and textures | Takes 3-7 days to fully cure before use |
| Creates a smooth, modern look | Feels cold underfoot without heating |
| Naturally slip-resistant when textured | Needs a precise slope for proper drainage |
| Waterproof when sealed properly | DIY mistakes can lead to water damage |
| Easy to clean with no grout lines | May need floor reinforcement |
| Can be repaired without replacing the entire floor | Stains can show if not sealed well |
How to Construct a DIY Concrete Shower Floor
Building a concrete floor takes patience and attention to detail. But if you follow each step carefully, you’ll end up with a durable, professional-looking floor.
Prepare the Shower Base and Remove Old Materials
Start by removing your existing shower floor completely. Take out all tiles, mortar, and debris until you reach the subfloor.
Check for any water damage or rot in the wood. If you find soft spots, replace those sections before moving forward. Clean the area thoroughly and make sure it’s completely dry before you continue with the next steps.
Install a Waterproof Membrane Layer
Apply a waterproof membrane across the entire shower base and up the walls at least six inches.
Use a brush or roller to spread it evenly. Pay extra attention to corners and seams where water likes to sneak through.
Let the first coat dry completely, then add a second coat for maximum protection.
This membrane is your main defense against leaks and water damage to your home.
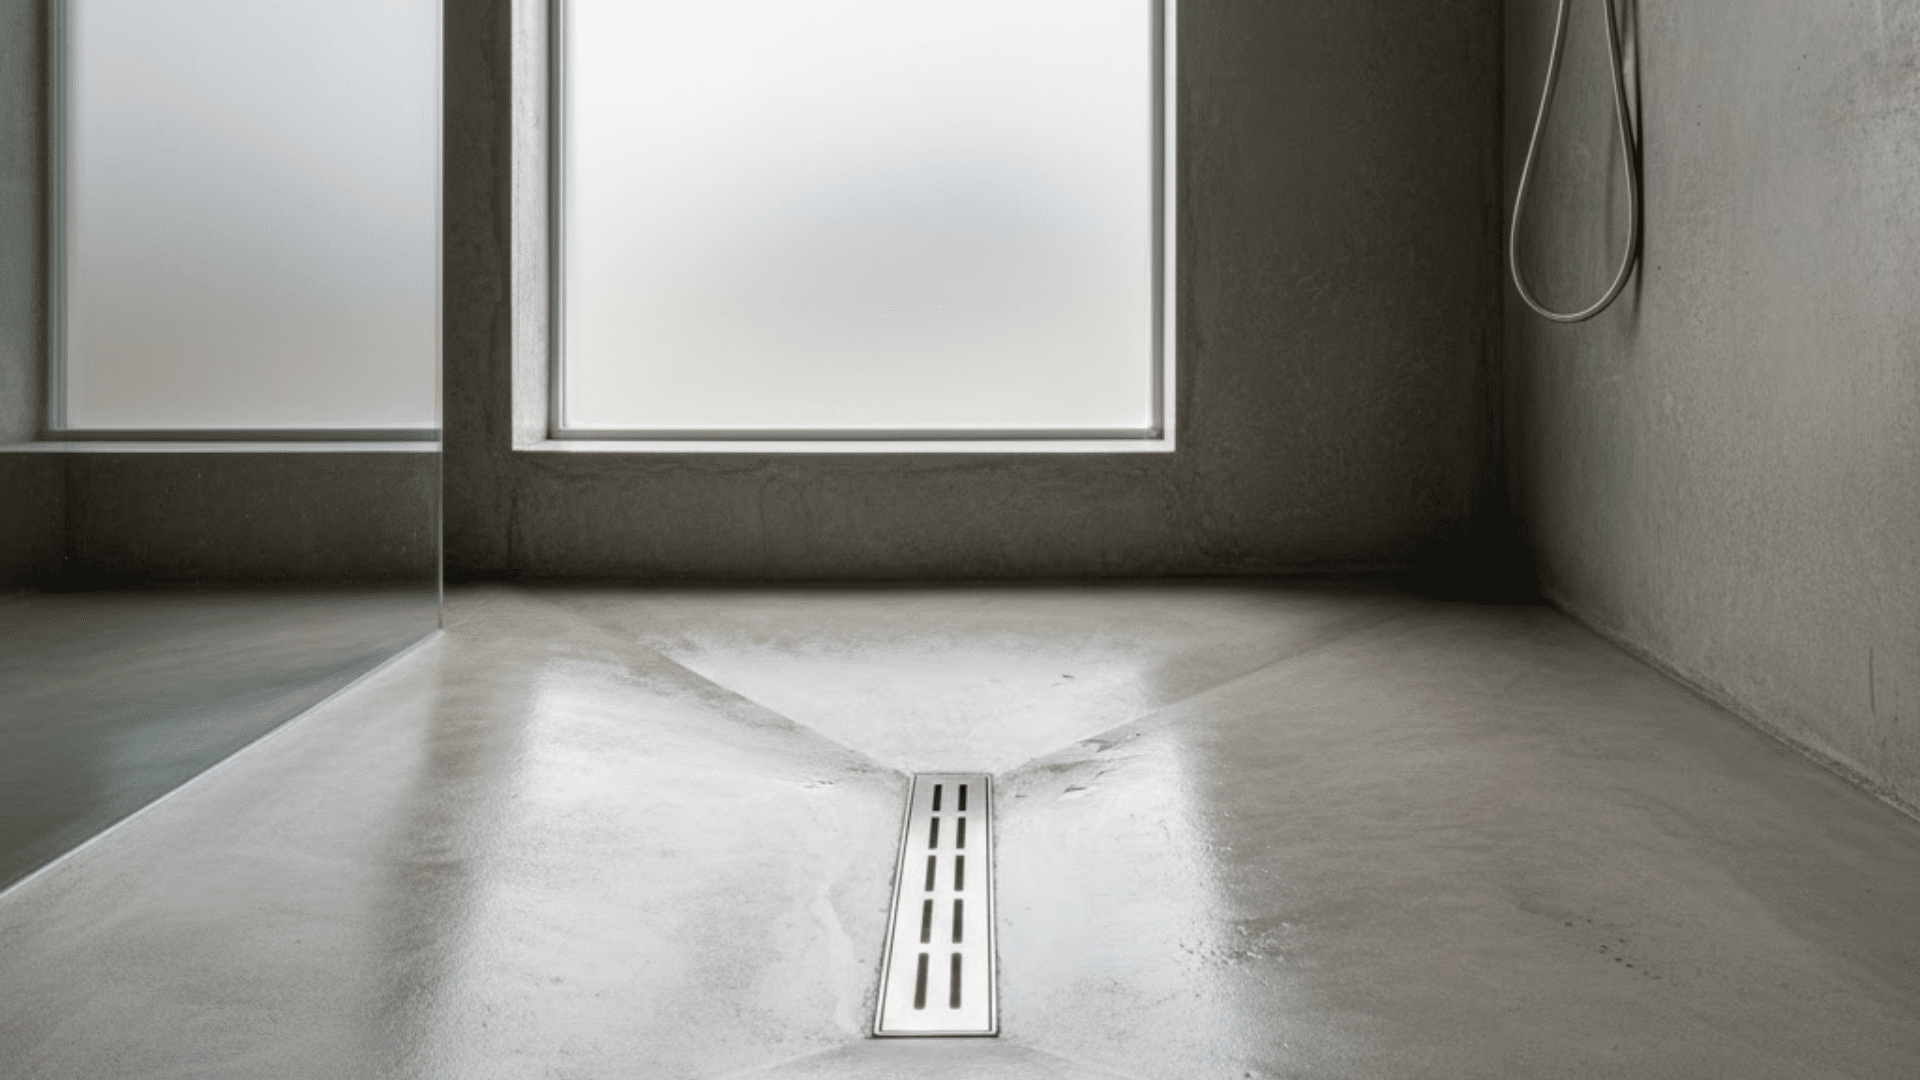
Create the Proper Slope for Drainage
Build a slope that runs toward your drain at a ratio of one-quarter inch per foot. Use a level and measuring tape to check your angles constantly.
Mix a small batch of mortar to create this base slope. Smooth it out carefully and let it cure for at least twenty-four hours.
The slope ensures water flows directly to the drain instead of pooling on your floor surface.
Mix Your Concrete to the Right Consistency
Follow the manufacturer’s instructions on your concrete mix bag carefully.
Add water slowly and mix thoroughly until you get a thick, peanut butter-like consistency.
Test it by scooping some up; it should hold its shape but still spread easily. Mix only what you can use in thirty minutes to prevent it from hardening in your bucket.
Note: Don’t add too much water, thinking it’ll be easier to work with watery concrete, this weakens and cracks easily.
Pour and Spread the Concrete Evenly
Pour your mixed concrete onto the shower base, starting from the back corner.
Work your way toward the drain systematically. Use a trowel to spread it evenly across the entire surface.
Keep checking your slope as you work to maintain proper drainage. Smooth out any bumps or uneven spots immediately.
Work quickly but carefully since concrete starts setting within an hour or two.
Note: Don’t pour all the concrete at once. Work in sections to maintain control over the slope and smoothness.
Smooth and Texture the Surface
Once the concrete is spread, use a steel trowel to create a smooth finish. Go over the surface multiple times in sweeping motions.
For slip resistance, use a broom or texture tool to add light grooves. Let the concrete set for about thirty minutes until it’s firm but not hard.
Then do a final smoothing pass to perfect the surface before it fully hardens.
Let the Concrete Cure Completely
Allow your concrete floor to cure for at least three to seven days before using it. Keep the area well-ventilated but avoid direct sunlight or heat.
Spray the surface lightly with water once a day to prevent it from drying too fast.
Cover it with plastic sheeting to maintain moisture levels. Proper curing makes your concrete stronger and prevents cracks from forming over time.
Note: Don’t rush to use your shower; concrete needs full curing time, or it’ll crack under water pressure and weight.
Apply a Waterproof Concrete Sealer
After the concrete has cured completely, clean the surface thoroughly and let it dry. Apply a high-quality concrete sealer designed specifically for wet areas.
Use a brush or roller to spread it evenly across the entire floor. Let the first coat dry according to package directions, then apply a second coat.
This sealer protects your concrete from water absorption, stains, and damage from soap and shampoo products.
Bathrooms with Concrete Shower Floor – Ideas and Inspirations
Your concrete floor doesn’t have to be plain gray and boring. There are tons of ways to add personality and style to match your bathroom.
1. Polished Concrete Finish
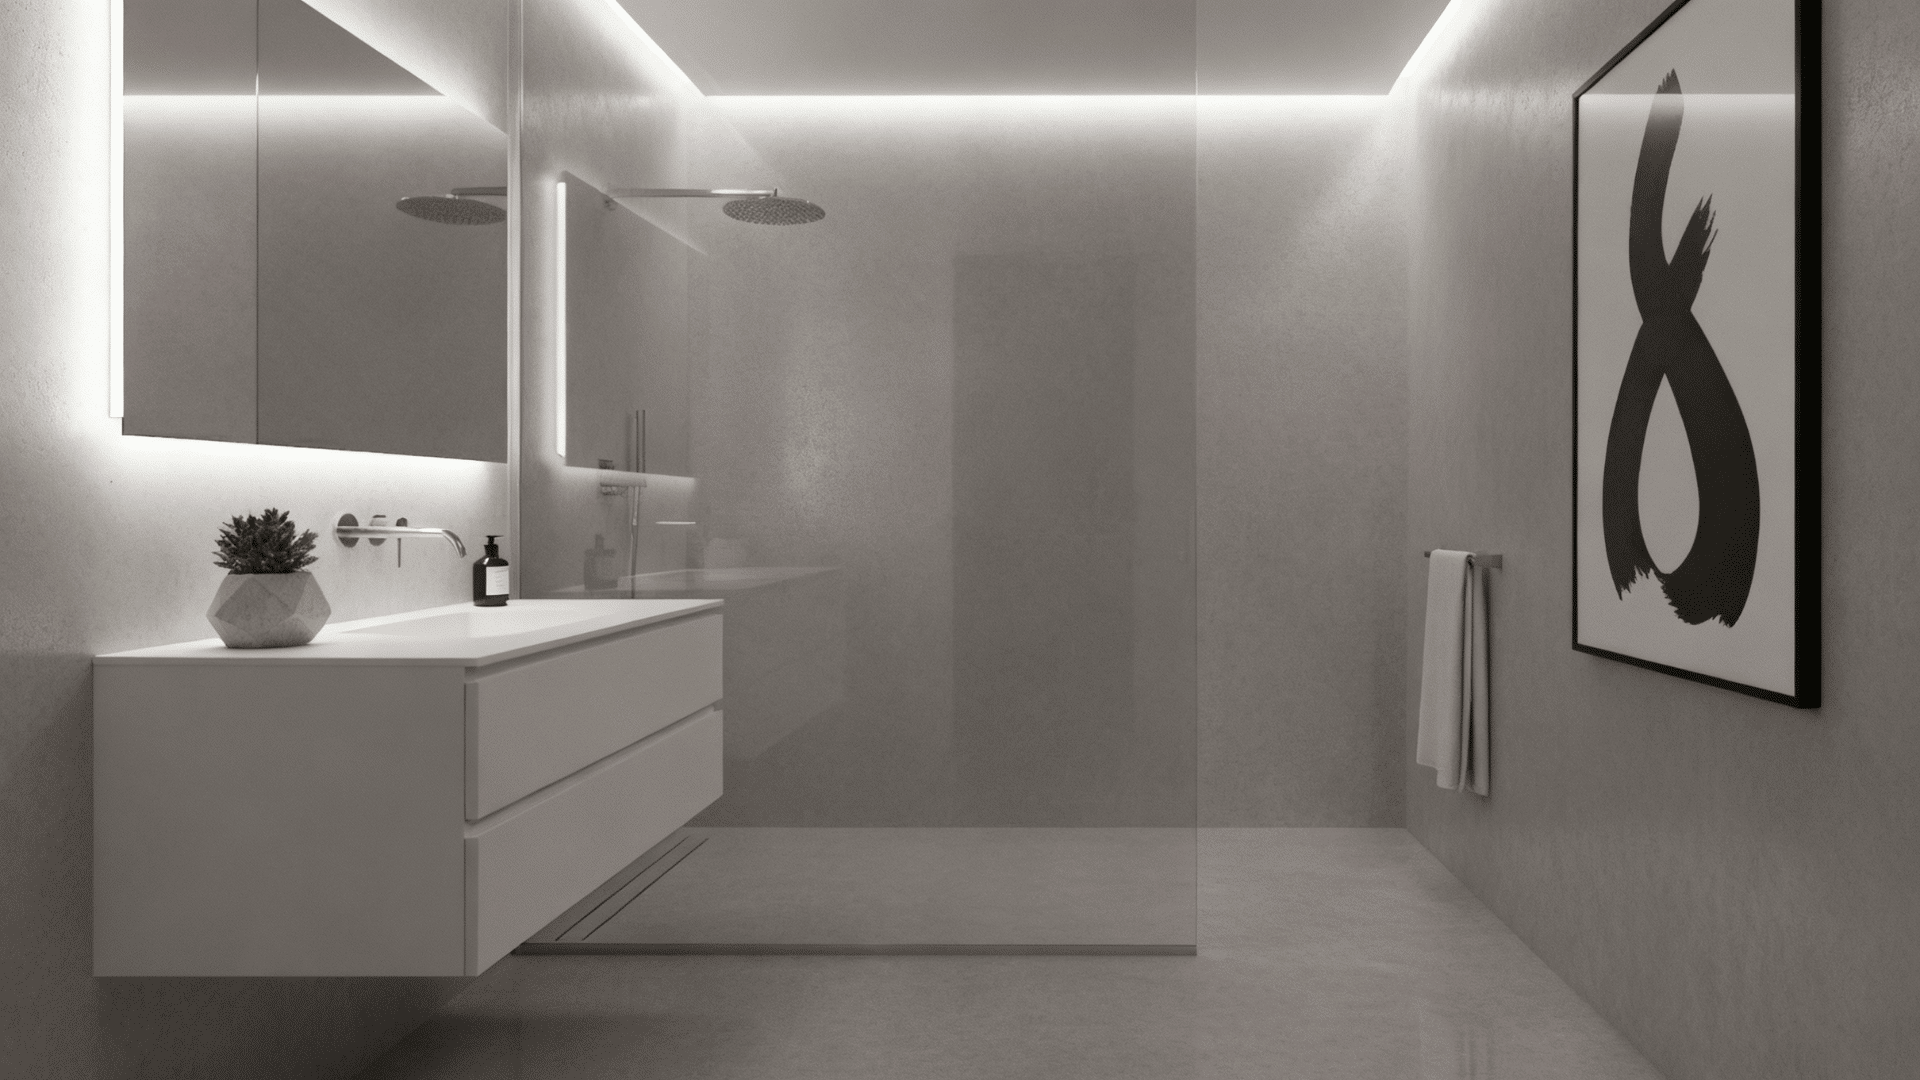
A polished concrete floor gives you that sleek, modern look that’s popular in luxury bathrooms today.
The smooth, glossy surface reflects light beautifully and makes small spaces feel bigger.
2. Stained Concrete in Earth Tones

Add color to your concrete by using acid stains in warm browns, tans, or terracotta shades.
These earth tones create a natural, spa-like feel that’s calming for your daily routine.
3. Dark Industrial Retreat
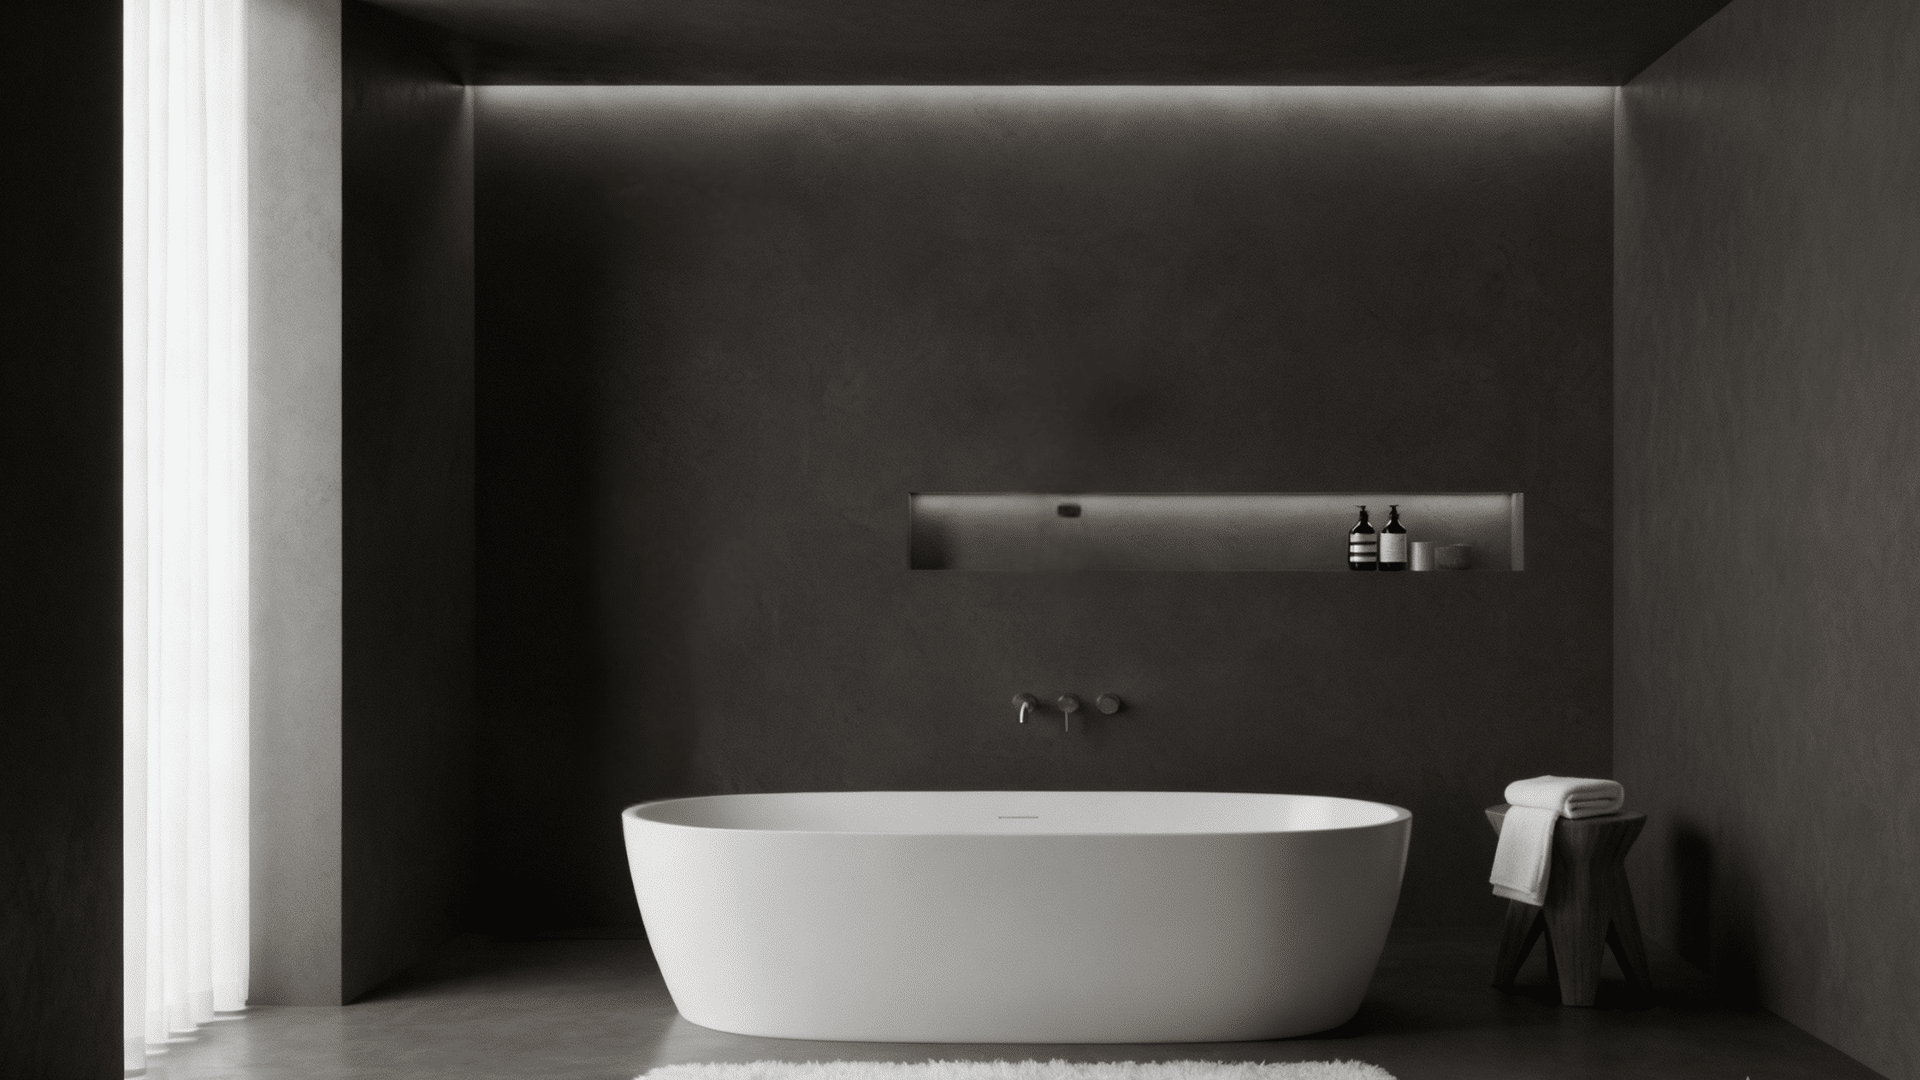
Create a moody, industrial-style bathroom with dark gray or charcoal concrete floors paired with black fixtures and exposed pipes.
This bold design works perfectly for loft-style homes and modern spaces.
4. Zen Wood-Concrete Balance
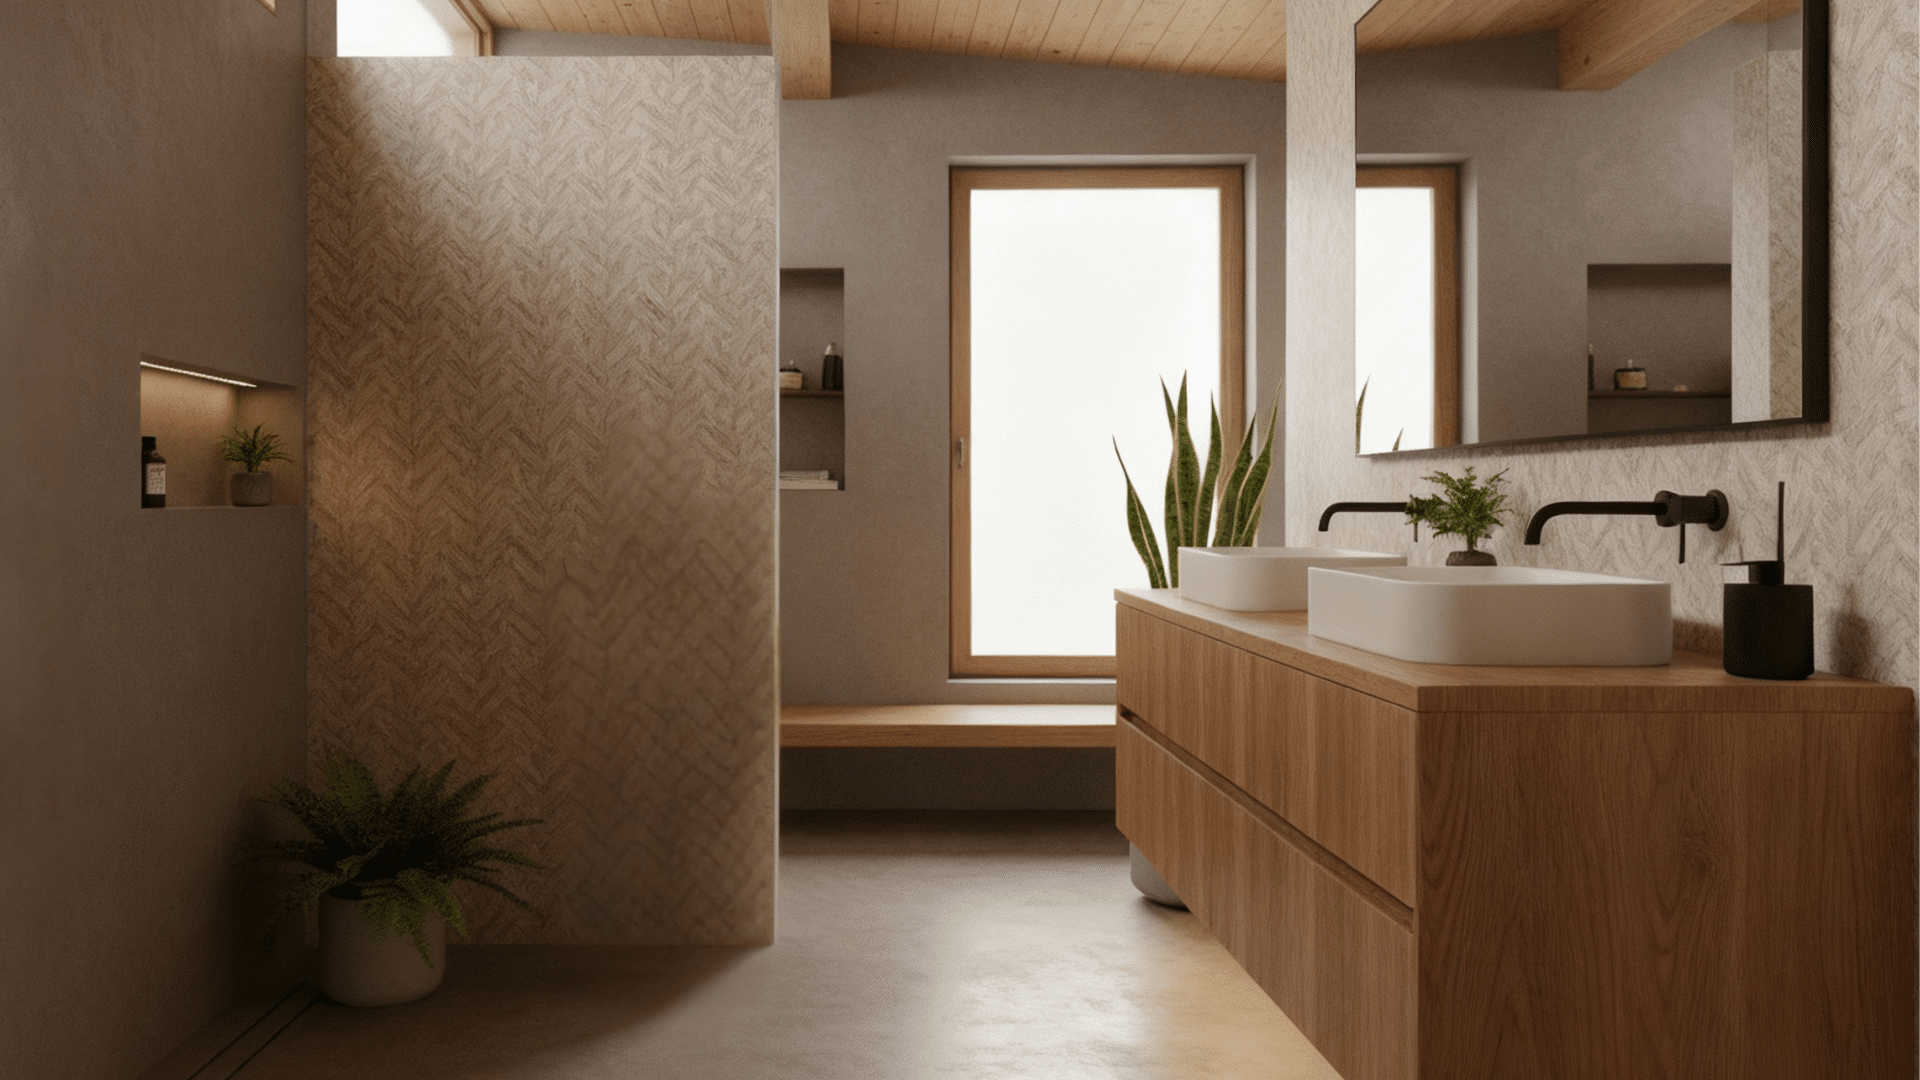
Combine smooth concrete floors with warm wood accents on walls or shelving for a balanced, calming atmosphere.
The contrast creates a coolness while maintaining a clean, minimalist look throughout.
5. Light and Airy Neutral
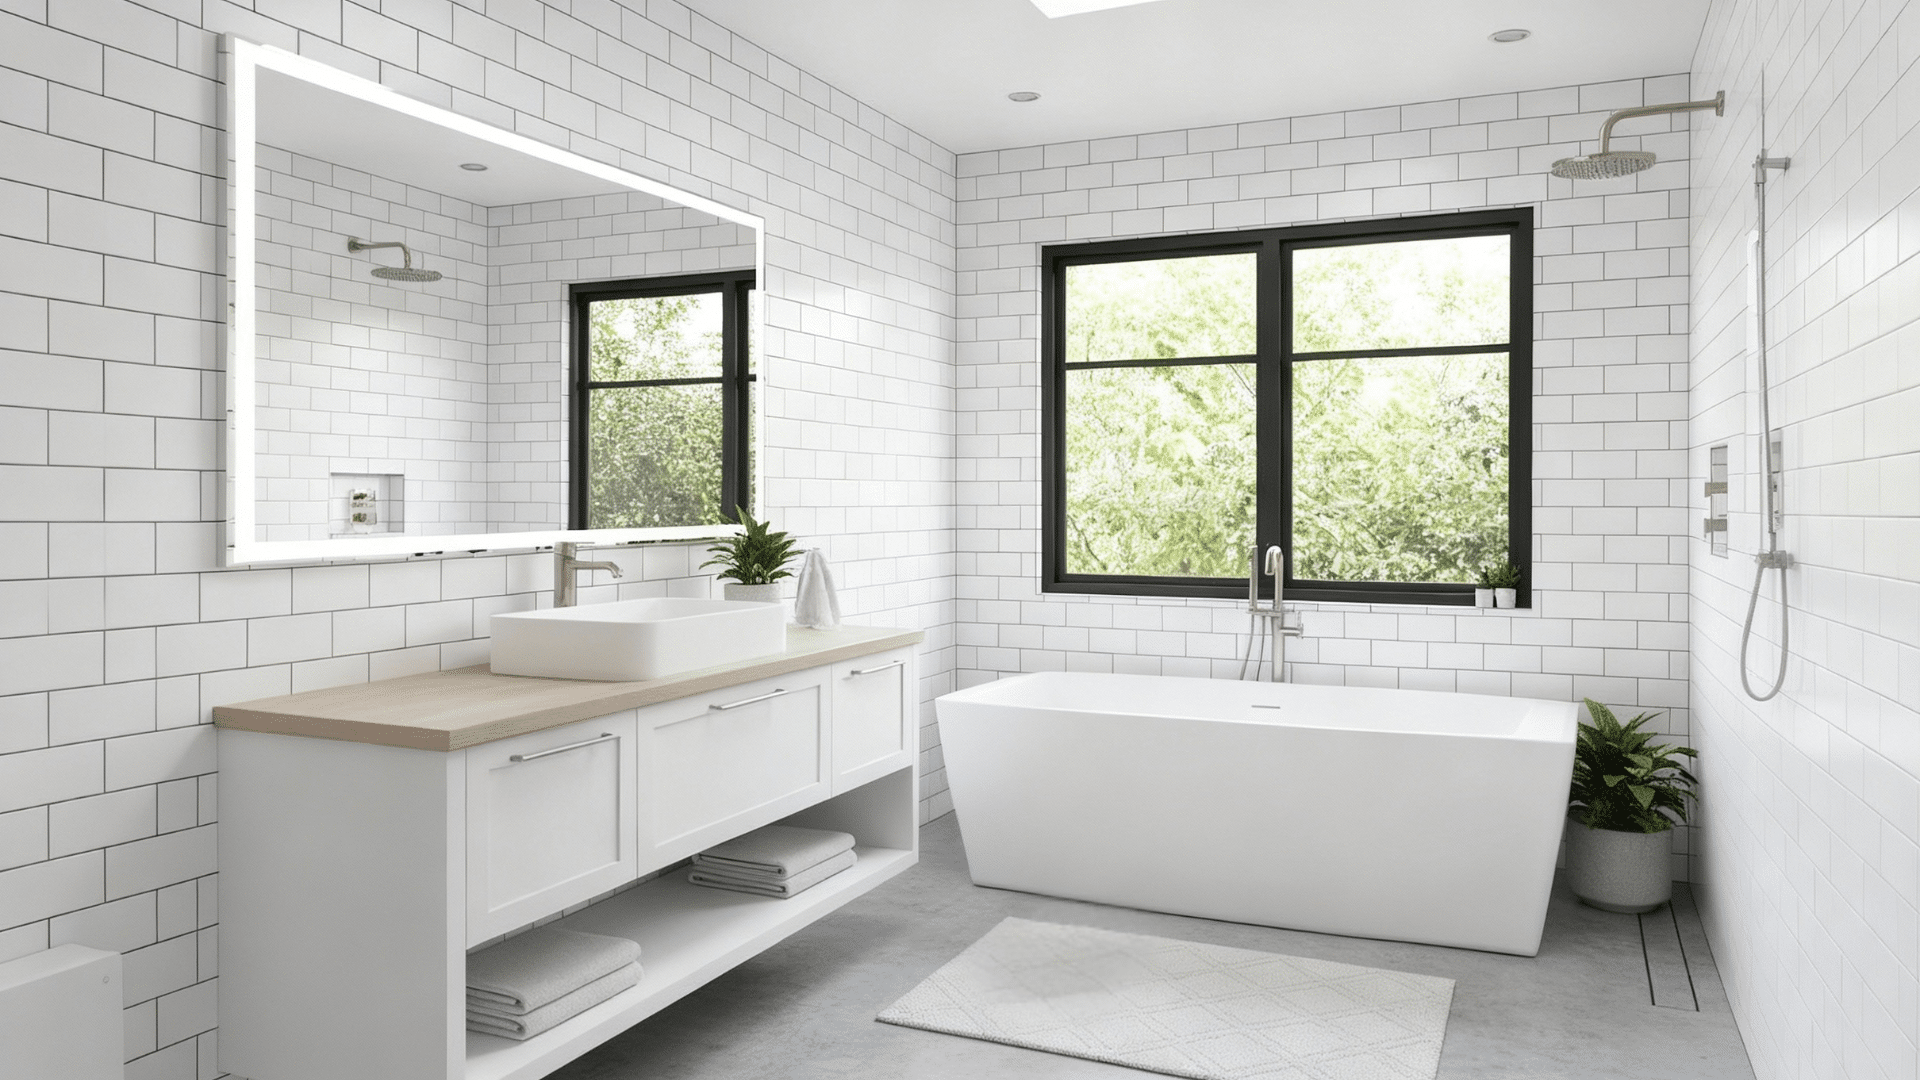
Use light gray or off-white concrete stain to create a bright, spacious feel in smaller bathrooms.
This color scheme makes your shower area feel open and inviting while hiding water spots effectively.
Professional vs. DIY
Deciding between hiring a professional or doing it yourself comes down to your budget, skills, and time.
Both options have their advantages and drawbacks that you need to consider carefully.
| Aspect | Professional Installation | DIY Installation |
|---|---|---|
| Cost | $2,000 to $5,000, depending on size and complexity | $200 to $600 for materials and tools |
| Time Required | 2-3 days, including prep and curing time | 1-2 weeks, including learning curve and curing |
| Quality of Finish | Consistent, professional-grade finish guaranteed | Varies based on your experience and technique |
| Warranty | Usually comes with a 1-5 year warranty | No warranty, you fix your own mistakes |
| Drainage Accuracy | Precise slope ensures perfect water flow | Risk of improper slope causing standing water |
| Repair Responsibility | Contractor handles fixes during the warranty period | You handle all repairs and maintenance yourself |
Tips to Maintain a Concrete Floor
Your concrete shower floor will last for decades if you take care of it properly.
Maintenance isn’t difficult or time-consuming, but you need to stay consistent.
- Reseal every 1-2 years: Apply a fresh coat of concrete sealer regularly to maintain waterproofing and prevent stains from setting in.
- Clean with pH-neutral products: Avoid harsh chemicals or acidic cleaners that break down the sealer and damage the concrete surface over time.
- Wipe down after each use: Use a squeegee or towel to remove excess water and prevent mineral deposits from building up on the surface.
- Address cracks immediately: Fill small cracks with concrete filler as soon as you spot them to prevent water from seeping underneath and causing bigger problems.
- Avoid abrasive scrubbing tools: Use soft cloths or sponges instead of steel wool or hard brushes that scratch the sealer and concrete.
- Inspect the sealer regularly: Look for areas where water no longer beads up on the surface, which means the sealer is wearing thin.
Wrapping It Up
So there you have it. Installing a concrete shower floor isn’t as scary as it sounds.
Sure, it takes some effort and patience. But the money you’ll save and the satisfaction of doing it yourself are totally worth it.
Remember, the key is taking your time with each step. Don’t rush the curing process. Don’t skip the waterproofing. And definitely don’t forget that sealer at the end.
Your new concrete floor will serve you well for years if you build it right.