Looking to save money on a kitchen upgrade? Making DIY shaker cabinet doors is much simpler than you think.
You don’t need fancy equipment or years of carpentry experience. Just some basic tools, decent wood, and a free afternoon.
Shaker doors have that clean, timeless look everyone loves, and building them yourself costs a fraction of what you’d pay at the store.
Plus, you get to say you made them. Let’s get into it.
What are Shaker Cabinet Doors?
Shaker doors follow a simple design that’s been around since the 1700s. The Shaker religious community created them, and they believed in keeping things plain and functional.
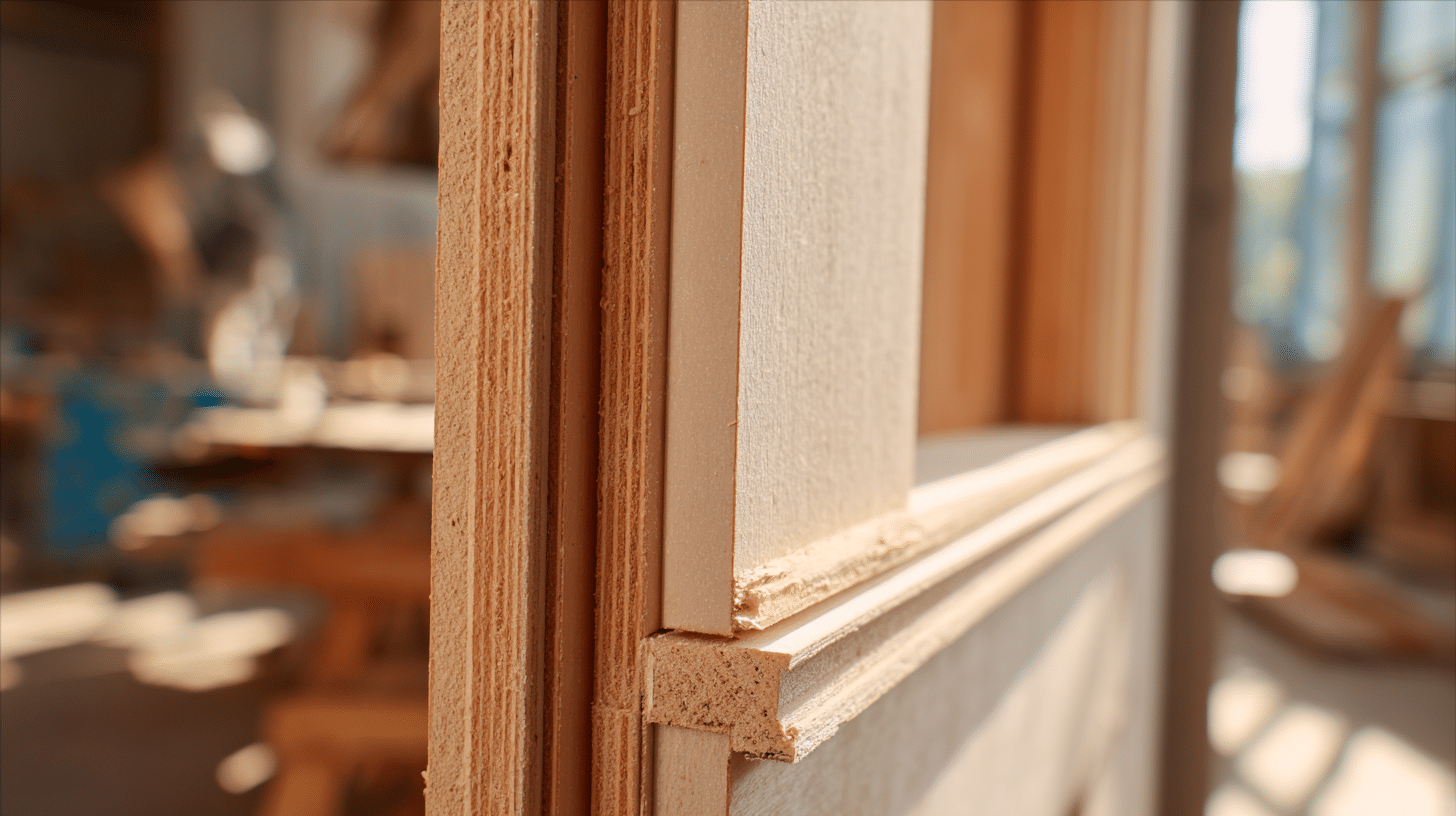
The basic structure is straightforward. You’ve got a flat center panel surrounded by four pieces of wood that form a frame.
The two vertical pieces are called stiles, and the two horizontal pieces are rails. That’s it.
The frame usually sticks out a bit from the center panel, creating a subtle shadow line. What makes these doors so popular is their versatility.
They work in modern kitchens, traditional spaces, and everything in between.
The clean lines don’t compete with other design elements.
Also Read: Shaker Cabinet Doors for Kitchen
Basics You Should Know Before You Start
You don’t need a professional workshop, but you do need some essential tools and knowledge before diving in.
Tools You’ll Actually Use:
- Table saw for precise cuts
- Router with a groove bit for panel channels
- Clamps to hold everything together
- Drill, measuring tape, and sandpaper
Choosing Your Wood:
Poplar is cheap and paints well. Maple and oak are harder and great for staining.
Your frame pieces should be around 3/4 inch thick, and the center panel can be 1/4 to 1/2 inch thick.
Safety First:
- Keep your fingers away from the blade
- Use push sticks when cutting narrow pieces
- Wear safety glasses every time
Table saws can be dangerous if you’re not paying attention. No exceptions here.
One more thing: give yourself extra time on your first door. It’ll probably take longer than you expect, and that’s fine. Once you get the hang of it, the rest goes faster.
Step-By-Step DIY: How To Make Shaker Cabinet Doors
Building these doors is all about taking it one step at a time.
Rush through any part, and you’ll end up with gaps or doors that don’t fit right.
Measure and Plan Your Door
Measure your cabinet opening in three spots and use the smallest measurement.
Subtract about 1/8 inch from both dimensions for clearance. Most people use 2 to 2.5-inch-wide rails and stiles.
Cut the Stiles and Rails
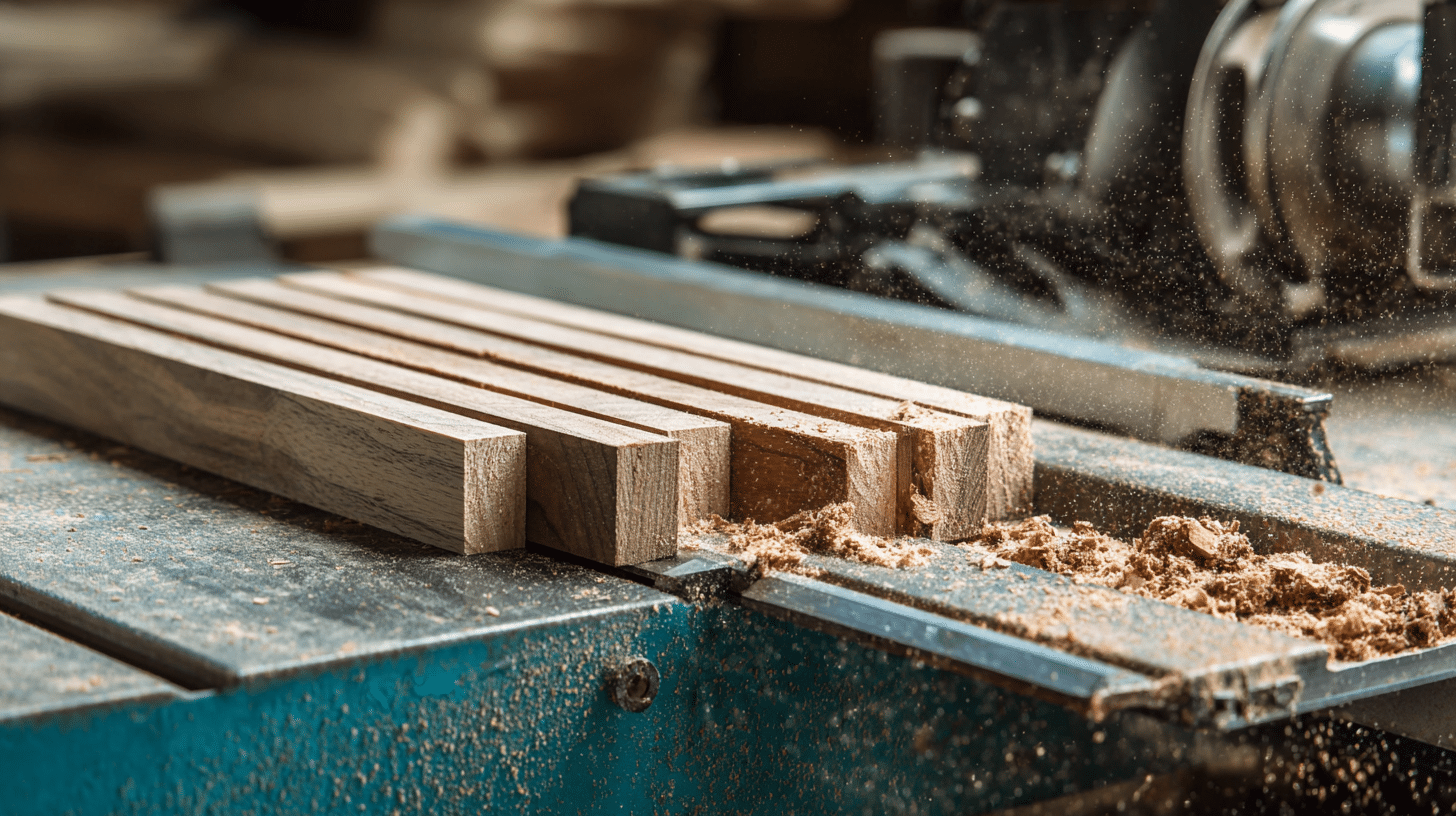
Cut the stiles to your full door height. For the rails, subtract the width of both stiles from your total door width, then add back the depth of your grooves on each end.
Double-check measurements before cutting.
Create the Center Panel
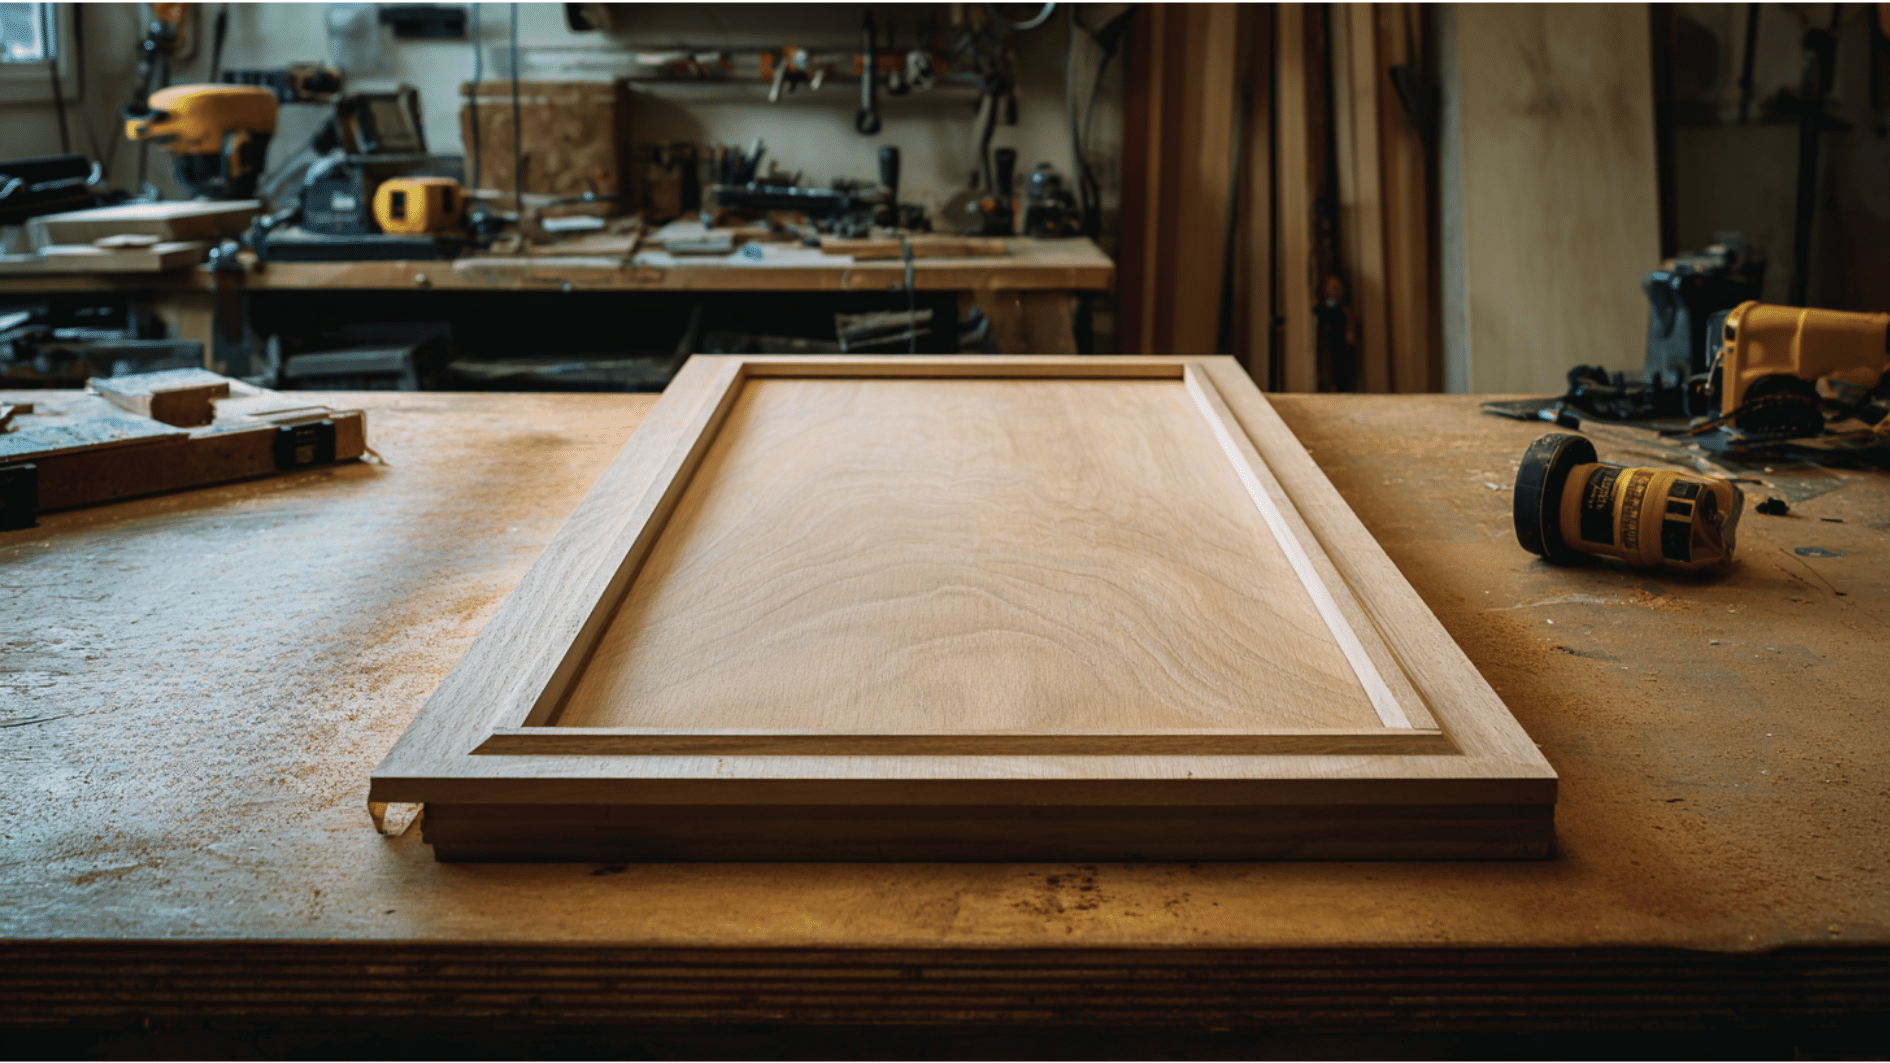
The panel needs to be slightly smaller than the space between your grooves so it can float freely.
Cut your panel to size and sand it now before assembly, since it’s harder to reach later.
Assemble the Frame
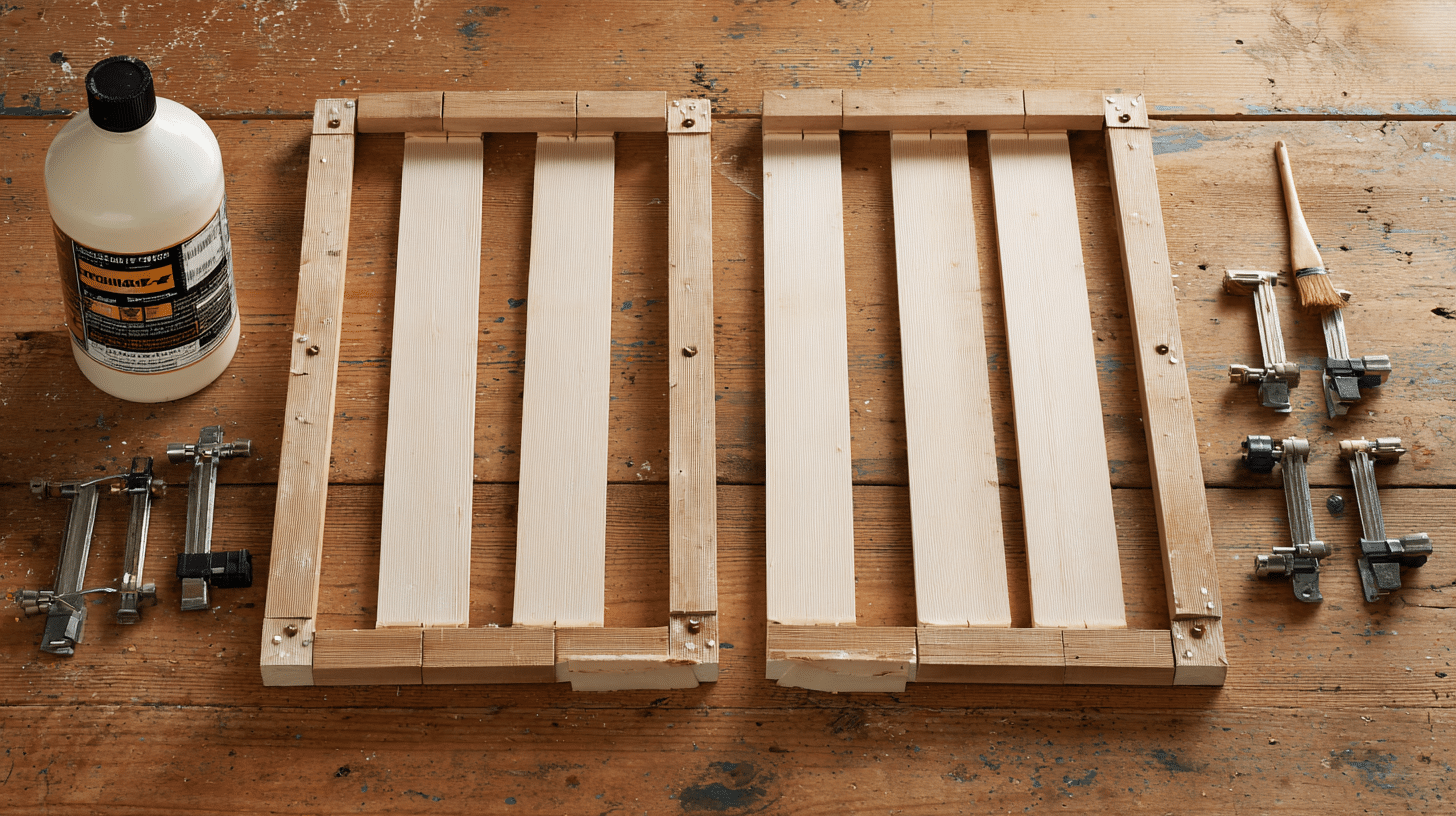
Cut grooves along the inside edges of all four frame pieces. These should be about 1/4 inch wide and 3/8 inch deep.
Apply wood glue to the joints where rails meet stiles, but don’t glue the panel. Clamp the frame and check that it’s square.
Attach the Center Panel
The panel just sits inside those grooves without any glue. This lets the wood move without cracking.
Let the glue dry for at least an hour before removing the clamps.
Sand and Finish
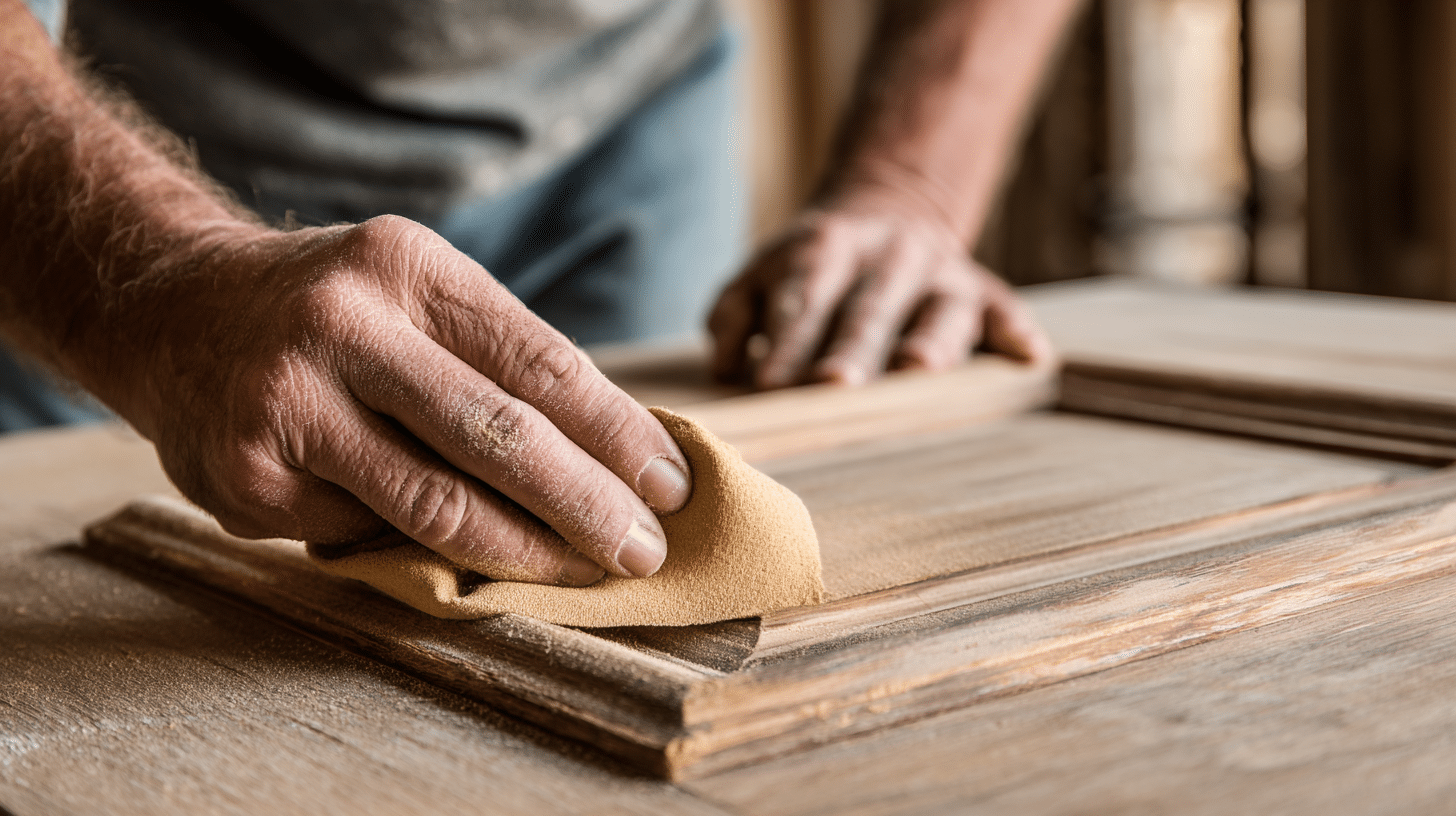
Start with 120-grit sandpaper and work up to 220-grit. For paint, use a primer and two coats.
For stain, apply it evenly and wipe off the excess. Add a clear topcoat and let everything dry completely.
With your doors built and finished, you might run into a few issues during or after the process.
Common Problems and How to Fix Them
Even experienced builders run into issues. Here’s what usually goes wrong and how to handle it.
Gaps Between Joints
The fix: Sand down any high spots and use wood filler to fill small gaps before painting. For stained doors, you might need to recut the piece if the gap is obvious.
Door Won’t Fit the Opening
The fix: Use a hand planer or sander to shave down the edges little by little. Test the fit frequently so you don’t take off too much.
Finish Looks Blotchy
The fix: Use a pre-stain wood conditioner next time. For the current door, you might need to sand it back down and start the finishing process over.
Panel Rattles Inside the Frame
The fix: Add a tiny drop of glue in the center of the panel only. Don’t glue near the edges, or you’ll prevent it from expanding.
Wood Splits When Clamping
The fix: Use scrap wood between the clamps and your door to distribute pressure evenly. Tighten just enough to close the joints, not more.
Grooves Aren’t Consistent
The fix: Set up a guide fence for your router so it stays at the same depth. If the grooves are already cut unevenly, you’ll probably need to start with fresh wood.
Why People Make Their Own Shaker Cabinet Doors
The biggest reason is money. Custom cabinet doors from a shop can cost $50 to $150 per door.
Making them yourself might cost $15 to $30 per material. That’s a huge difference when you’re doing a whole kitchen.
What You Get by Building Them Yourself
- Complete control over exact sizes for odd openings
- Choice of any wood species you want
- Perfect fit for vintage or non-standard cabinets
- The satisfaction of saying you built them
Some people just enjoy the process.
If you’ve already got basic woodworking tools and a workspace, this becomes a fun weekend project that saves you serious cash.
Conclusion
Building your own DIY shaker cabinet doors takes patience, but the payoff is worth it.
You’ll save hundreds of dollars and end up with doors that fit your space perfectly.
Once you learn how to make cabinet doors, start with one to get comfortable with the process before tackling your entire kitchen.
Don’t worry if your first attempt isn’t perfect. Each one gets easier and faster.
Ready to transform your cabinets?