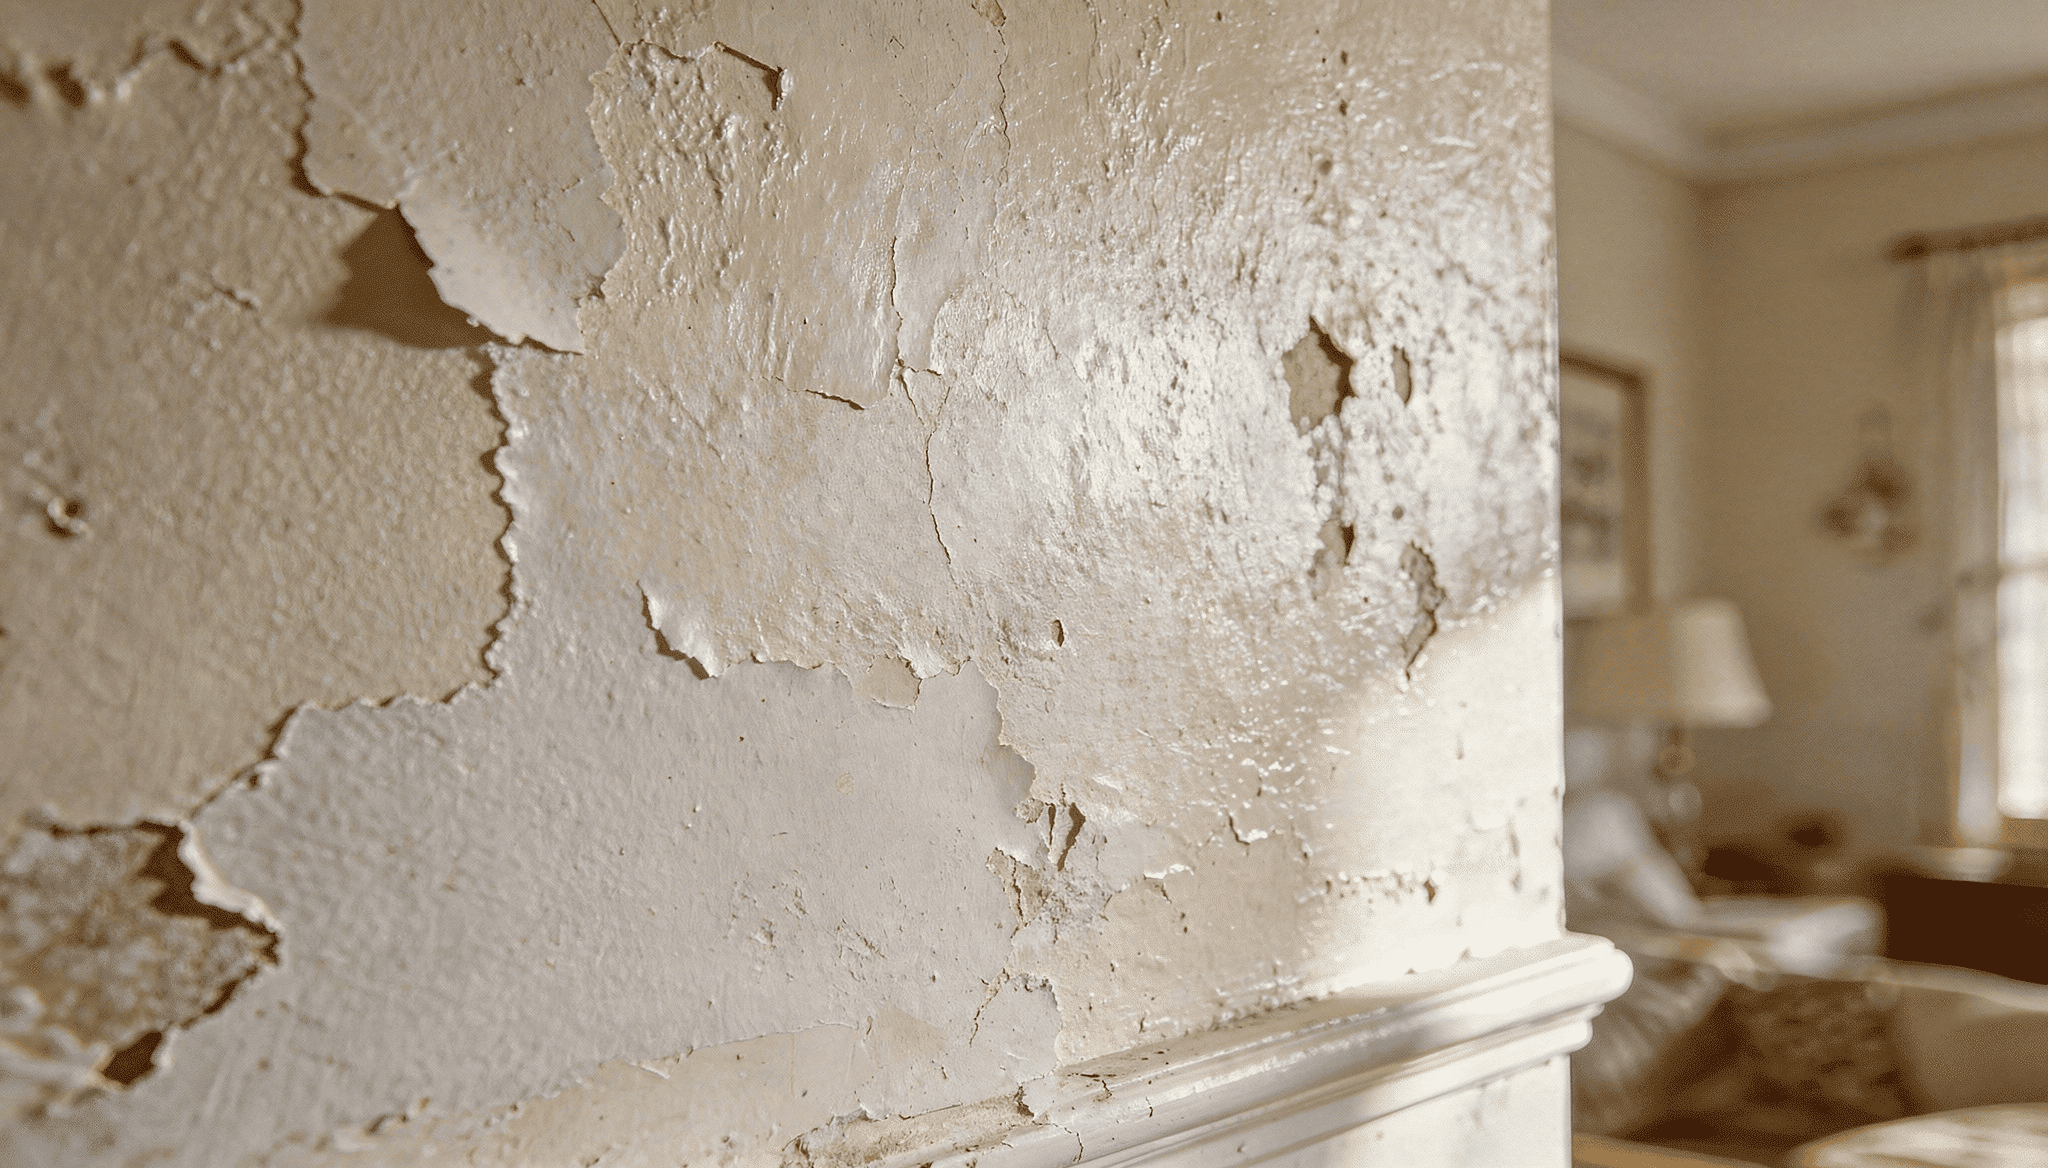
Old paint doesn’t just look bad. It prevents new coats from sticking properly and hides the beauty underneath.
You need it off, but choosing the wrong approach wastes time and damages surfaces.
What if you could strip paint confidently using methods that match your project perfectly?
Learning how to strip paint with techniques that deliver clean results gets you ready to prep surfaces the right way.
Know This Before You Take Off Paint
Not all paint comes off the same way. The method that works for your wooden deck might damage your metal patio furniture.
Before you start scraping or spraying chemicals, figure out what you’re dealing with.
Check what’s underneath first. Is it wood, metal, drywall, or concrete? Each material needs a different approach.
Homes built before 1978 might have lead-based paint, so grab a test kit from the hardware store before doing anything. Oil-based and latex paints also respond differently to removal methods.
Knowing these details upfront saves you from costly mistakes.
Safety Steps to Follow First
Paint removal can be dangerous if you skip the basics. Chemical strippers burn skin, sanding creates harmful dust, and heat guns start fires.
Protective gear you need:
- Chemical-resistant gloves (not latex)
- Safety goggles to block splashes and dust
- Respirator mask for fumes and particles
- Long sleeves and pants
Open windows and doors for ventilation. Never use chemical strippers in closed rooms. Keep kids and pets away from your workspace since paint chips and chemicals are toxic.
Have cleanup supplies nearby in case stripper gets on your skin.
Tools and Supplies You Will Need
The right tools make paint removal faster and easier. You don’t need everything, just what matches your method.
| Method | Tools Needed |
|---|---|
| Chemical Stripping | Paint stripper (gel or liquid), putty knife or plastic scraper, steel wool or abrasive pads, old paintbrush |
| Sanding | Orbital sander or sanding block, sandpaper (60, 80, 120 grit) |
| Heat Removal | Heat gun, metal scraper, fire extinguisher |
Basic supplies for all methods:
- Drop cloths
- Bucket of water
- Clean rags
- Painter’s tape
Start with scrapers and sandpaper for small test areas. You can grab specialized tools later if needed.
How to Strip Paint – DIY Methods That Work
You’ve got four main ways to remove paint. Chemical strippers dissolve it. Sanding grinds it down. Heat softens it. Manual scraping removes loose paint.
Pick based on your surface and how much work you’re ready to do.
Let’s break down each option.
1. Using Paint Stripper
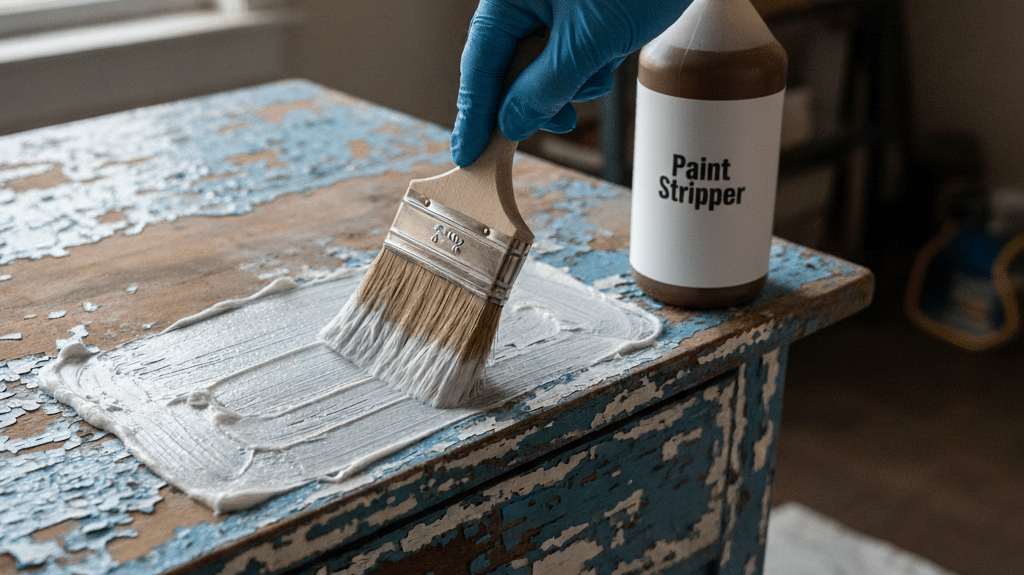
Chemical strippers break down paint so you can scrape it away.
Types of Strippers:
- Solvent-based: Fast, powerful, strong fumes. Works in minutes.
- Biochemical: Soy or citrus-based. Safer but takes up to 24 hours.
- Caustic: Handles multiple layers but can darken wood and burn skin.
How to Use It
Brush on a thick layer. Let it sit 15 to 30 minutes until the paint bubbles. Scrape off with a putty knife. Wipe with mineral spirits or water.
- Best for: Thick layers, detailed woodwork
- Watch out for: Strong fumes, messy application
2. Sanding Paint Off
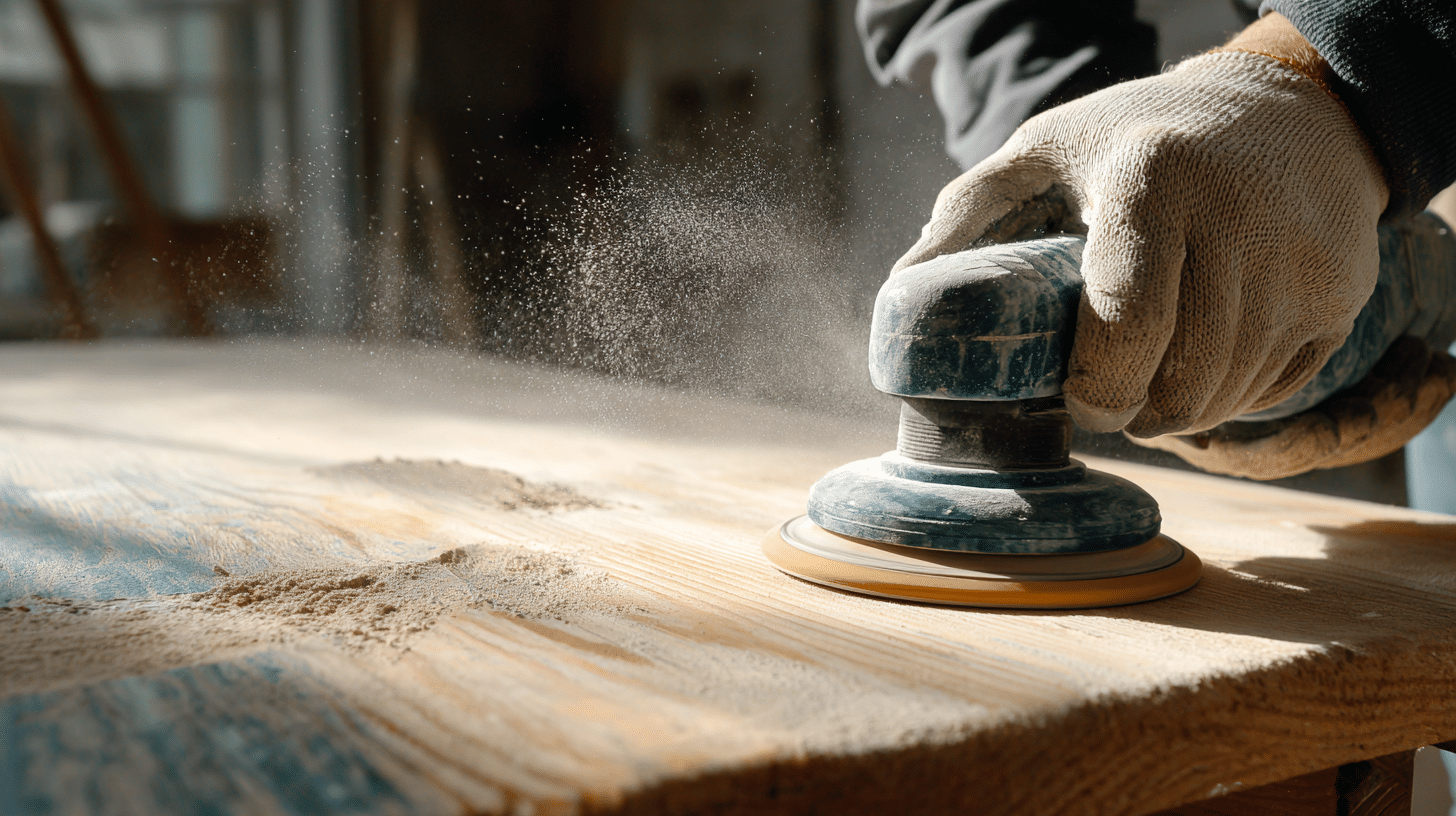
Sanding grinds paint away but creates dust.
Manual vs. Power Sanding
Hand sanding works for small areas. Power sanders handle large surfaces faster. Belt sanders are aggressive. Orbital sanders are gentler.
Grit Sequence
Start with 60-grit to remove paint. Use 80-grit for smoothing. Finish with 120-grit. Sand with the grain.
- Best for: Flat wooden furniture, doors, trim
- Watch out for: Dust, time-consuming, poor for details
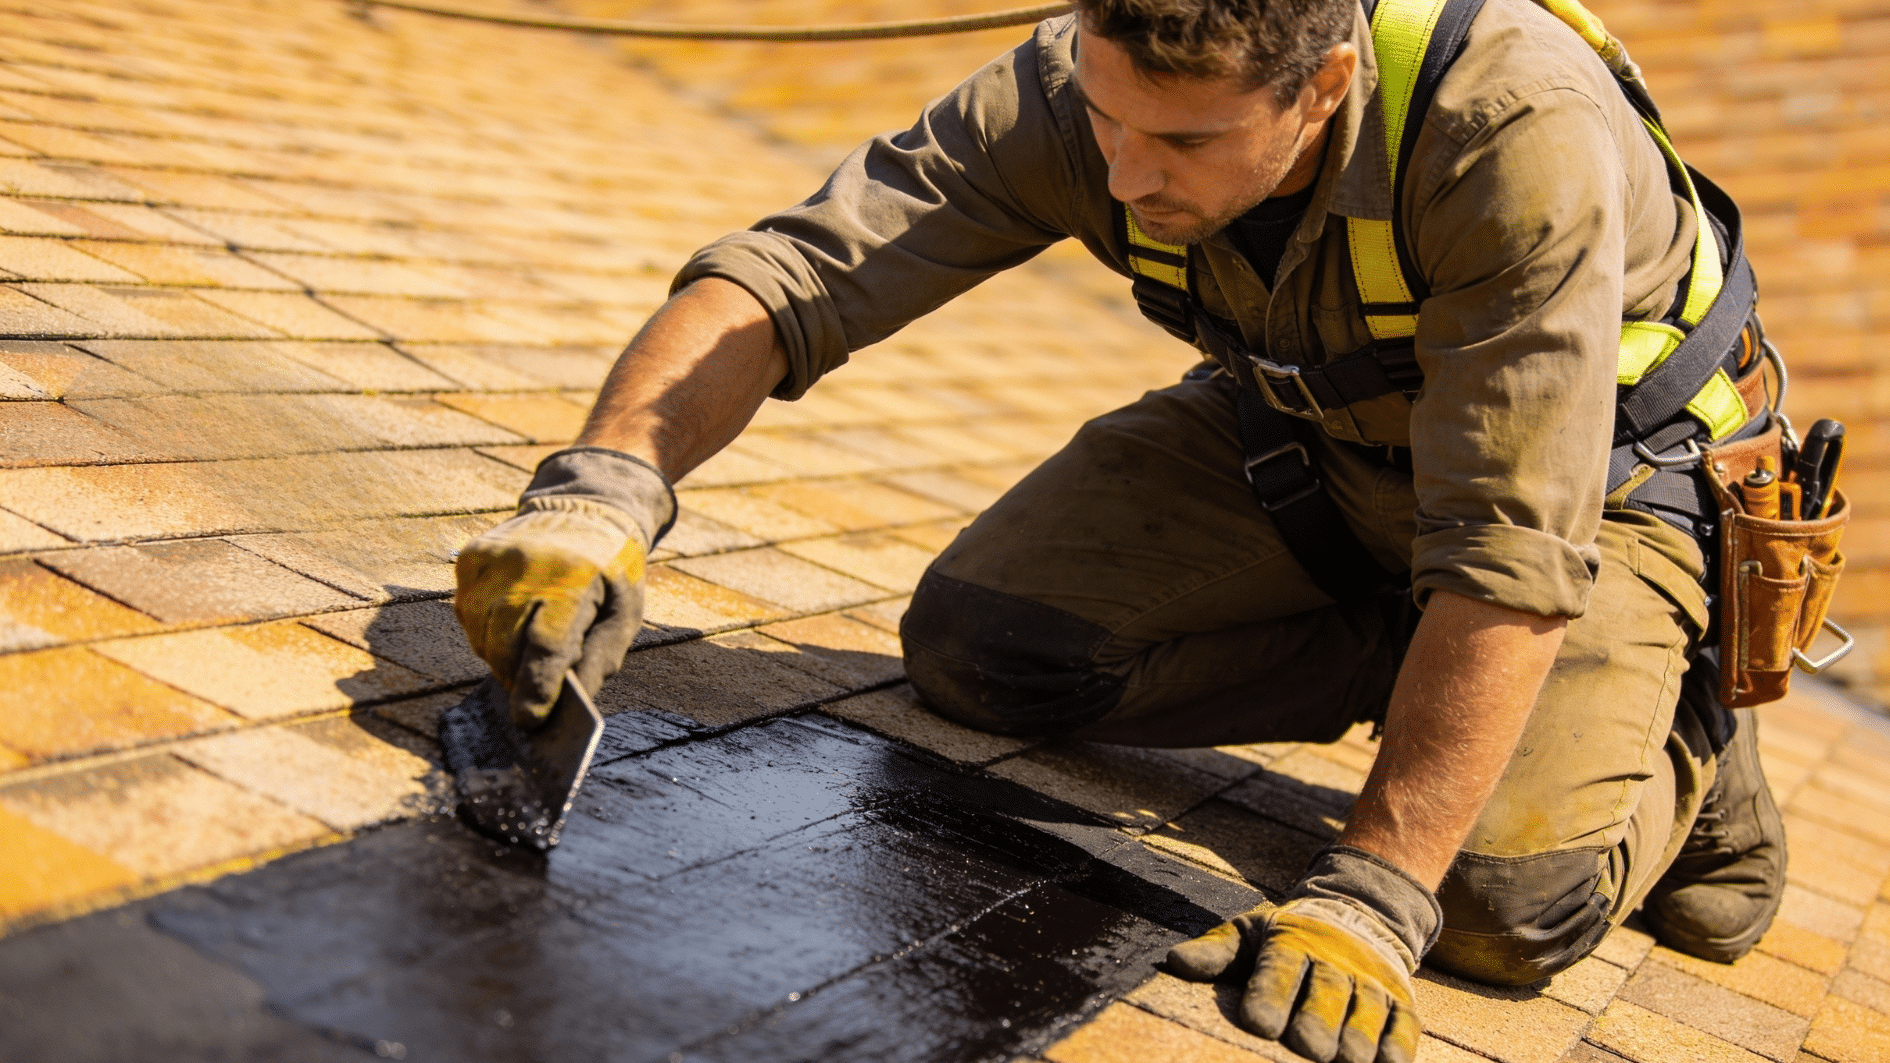
3. Heat Method for Paint Removal
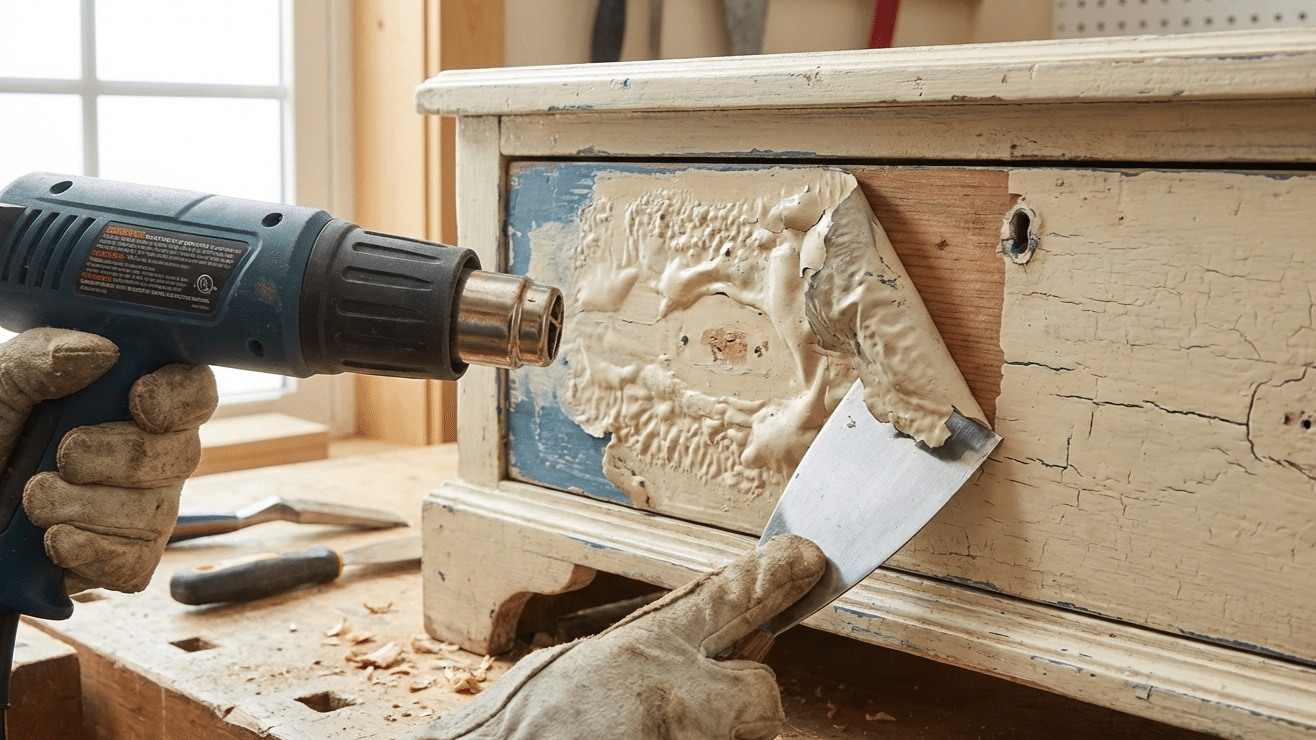
Heat guns soften paint so it peels away without chemicals.
Using a Heat Gun
Hold the gun a few inches away. Move it slowly. Paint bubbles within seconds. Scrape while warm with a metal putty knife.
Work in small sections. Never hold in one spot, or you’ll scorch wood or start a fire. Keep it moving.
Infrared Paint Removers
These heat paints evenly and reduce fire risk. Hold against the surface for 20 to 30 seconds, then scrape.
- Best for: Wooden siding, furniture
- Watch out for: Fire hazard, fumes, difficulty with metal
4. Scraping Paint Manually
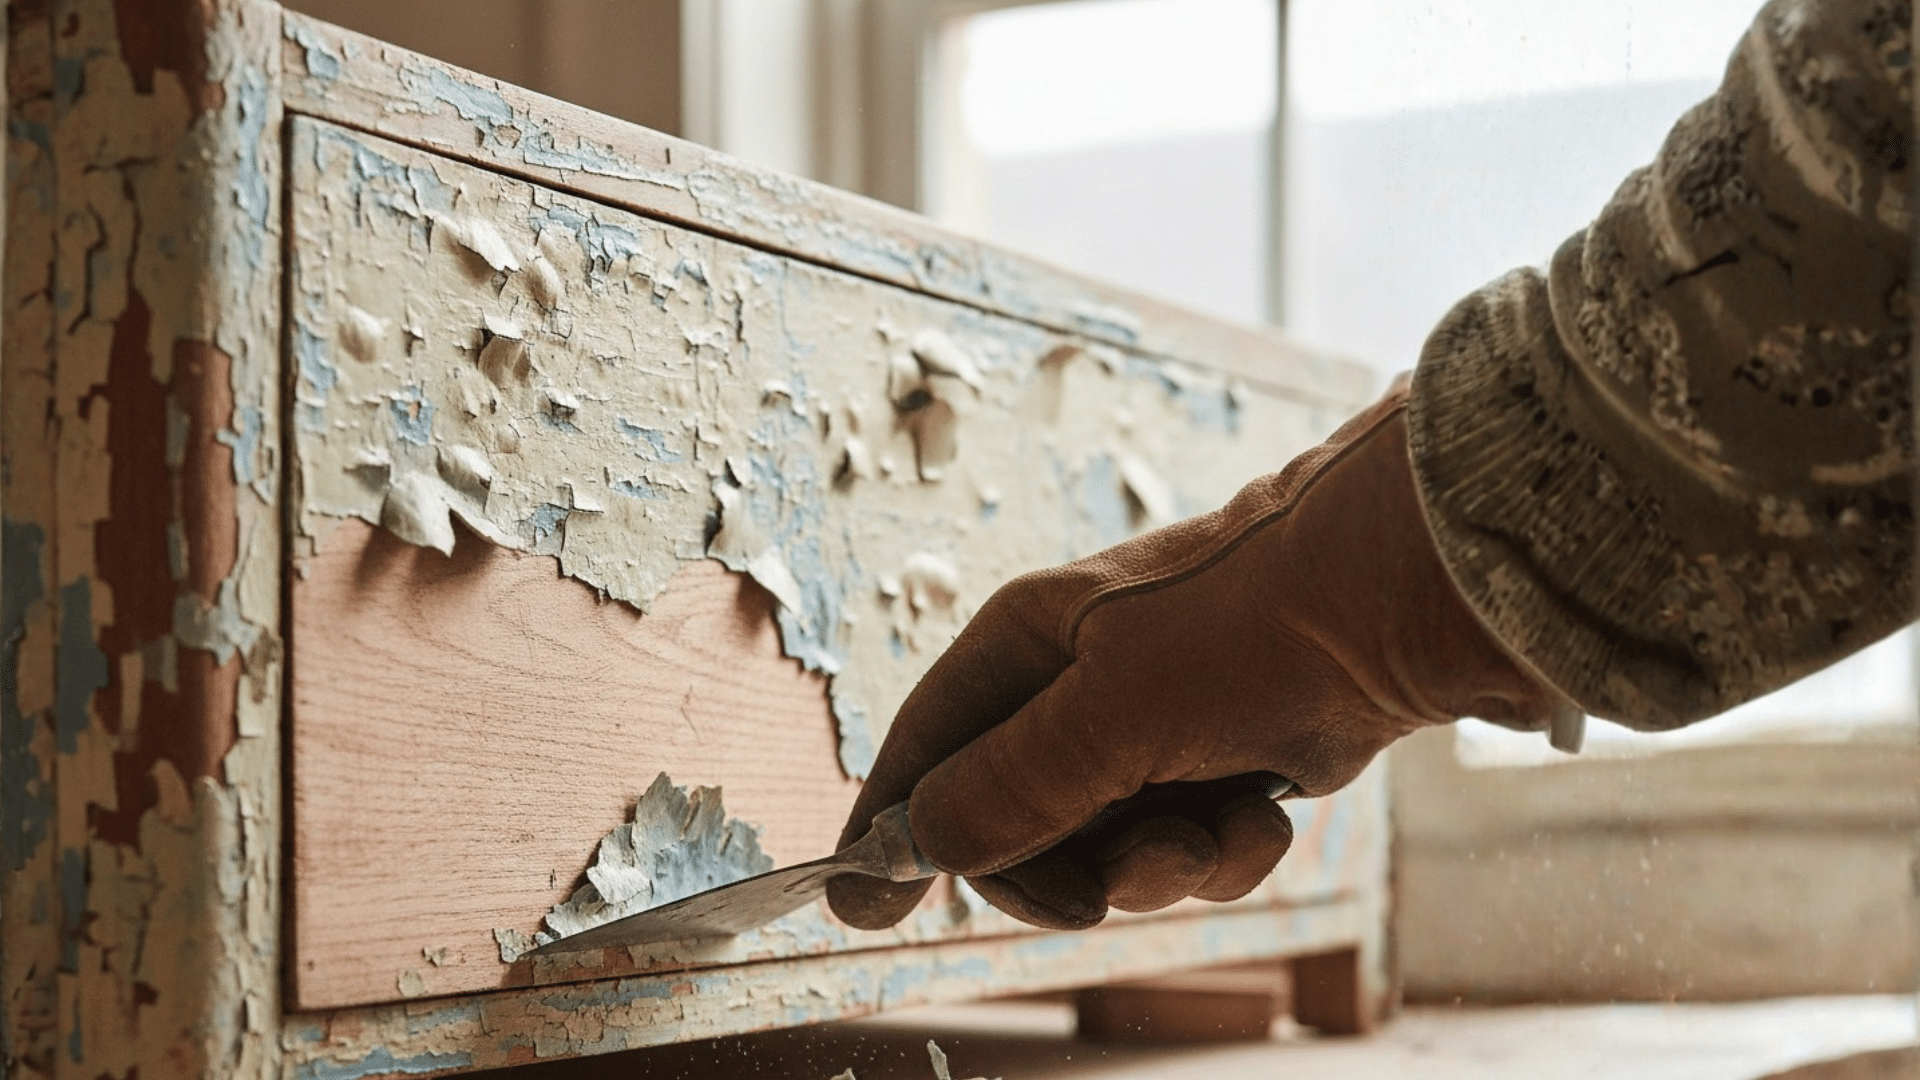
Manual scraping works when the paint is already peeling.
Tools and Techniques
Use a putty knife, paint scraper, or wire brush. Hold at a low angle and push with steady pressure. Scrape with the grain on wood. Wire brushes work for textured surfaces. Add water to soften old paint.
This only works on loose paint, not fresh coats.
- Best for: Touch-ups, small peeling areas
- Watch out for: Slow, only works on loose paint.
Manual scraping is perfect for quick fixes. For bigger jobs, combine methods.
Step-by-Step: How to Take Off Paint Safely
Here’s how to put these methods into action. Adjust based on your chosen technique.
Step 1: Prep Your Workspace
Lay down drop cloths, Open windows for ventilation. Tape off areas you don’t want stripped. Put on safety gear.
Step 2: Test a Small Area
Try your method on a hidden spot first. This shows how the paint reacts without ruining the whole surface.
Step 3: Apply Your Method
For strippers, brush on a thick coat and wait for bubbling. With heat, move the gun slowly until the paint softens. For sanding, start with coarse grit. Manual scraping needs steady pressure.
Step 4: Remove the Paint
Scrape softened paint with a putty knife, following the grain on wood. Work in sections. Reapply stripper or heat to stubborn spots.
Step 5: Clean the Surface
Wipe down with mineral spirits or water, depending on stripper type. Let dry completely.
Step 6: Smooth and Inspect
Lightly sand with fine-grit paper. Check for missed spots and touch up as needed.
Following these steps keeps the work organized and safe. Different surfaces need slightly different approaches, though.
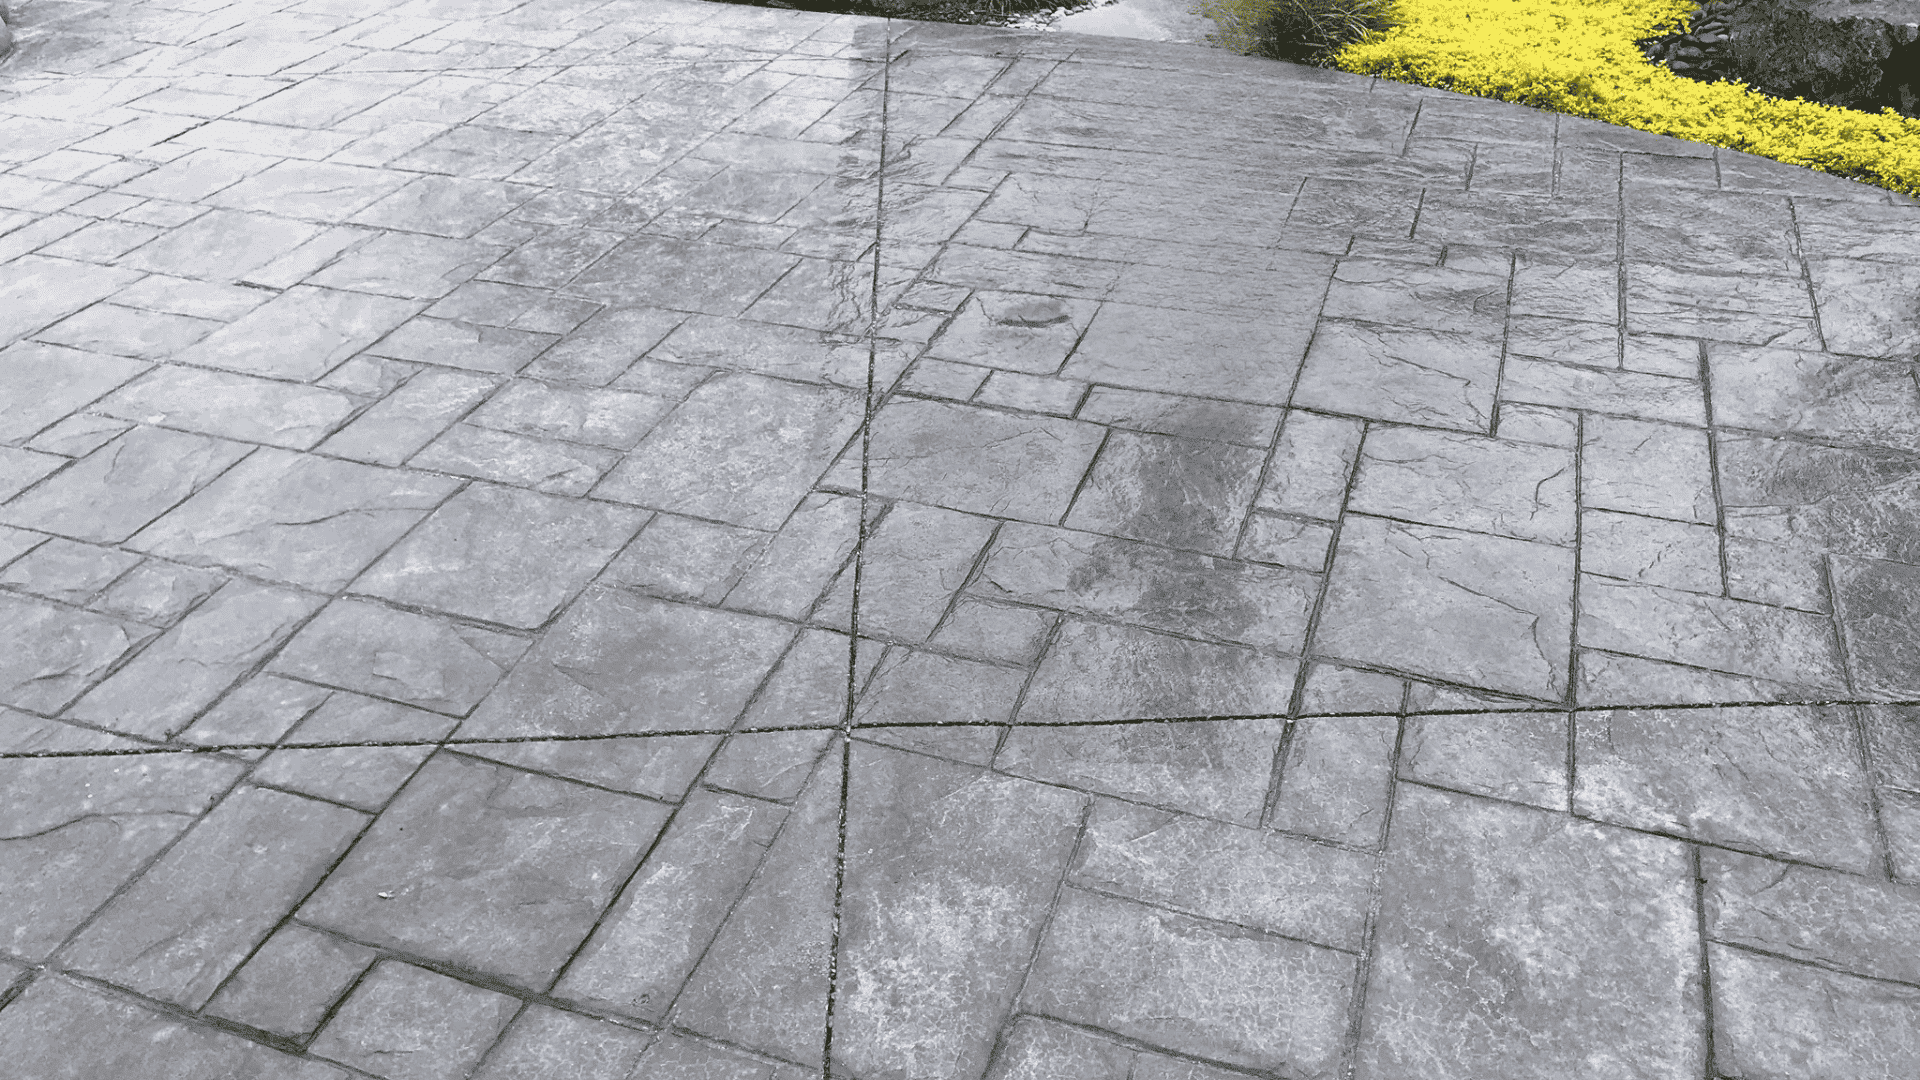
Best Way to Remove Paint Based on Surface
Not every surface handles paint removal the same way. Match your method to the material for best results.
| Surface | Best Methods | Avoid | Tips |
|---|---|---|---|
| Wood | Chemical strippers, heat guns, and sanding | Caustic strippers, stationary heat, and aggressive sanding | Work with the grain. Sand with 120-grit before refinishing. |
| Metal | Chemical strippers for metal, wire brushes, and sandblasting | Heat guns, harsh caustics, coarse sandpaper | Clean rust first. Prime quickly after stripping. |
| Walls | Gel strippers, light sanding (120-grit+), gentle scraping | Heat guns, belt sanders, harsh strippers | Work in small sections. Sand and paint over the bonded paint. |
| Concrete | Masonry strippers, pressure washing, and a concrete grinder | Regular strippers, light sanding | Let the stripper soak up to an hour. Use a stiff brush. |
Mistakes to Avoid When Removing Paint
Even experienced people make these errors. Avoid them to save time and frustration.
- Skipping the lead test: If your home was built before 1978, test for lead paint first. Disturbing it creates serious health risks.
- Using the wrong stripper: Not all strippers work on all paints. Match the product to your paint type, or waste time and money.
- Rushing the process: Strippers need time to penetrate. Heat must be applied slowly. Rushing causes uneven results and surface damage.
- Working without ventilation: Chemical fumes build up fast in closed spaces. Always open windows and use fans.
- Forgetting to neutralize residue: Leftover chemicals prevent new paint from sticking. Wipe surfaces clean after stripping.
Avoiding these mistakes makes the job smoother. Once paint is off, proper cleanup sets you up for success.
What to do After Paint is Removed?
Getting the paint off is half the job. Proper cleanup ensures your next coat looks professional.
Clean the surface: Wipe down with mineral spirits or water. Remove all dust and residue.
Sand smooth: Lightly sand with 120 to 150-grit sandpaper. Wipe away dust.
Inspect for damage: Fill gouges with wood filler or spackling compound, Sand flush after drying.
Prime the surface: Bare surfaces need primer to seal and help paint stick.
Dispose of waste properly: Paint chips and chemical rags are hazardous. Check local disposal regulations.
Final Thoughts
Removing old paint doesn’t have to feel overwhelming once you understand the right approach for your project.
Whether you’re using chemicals, heat, sanding, or scraping, taking your time and following safety steps makes all the difference. Match your method to the surface, avoid common mistakes, and finish with proper cleanup.
Now you know how to strip paint like a pro and create a smooth base for whatever comes next.
Got questions or tips? Drop them in the comments below.