Want to add a cozy fire feature to your backyard? Building a DIY outdoor fireplace might seem tough at first.
Many homeowners worry they lack the skills or tools to complete this project. But it’s easier than most people think.
With the right materials and a clear plan, anyone can build a beautiful outdoor fireplace. This article breaks down the entire process into simple steps.
You’ll learn exactly what materials to buy, how to prepare your site, and how to safely build a fireplace that lasts for years.
Why Build Your Own Outdoor Fireplace?
An outdoor fireplace creates a gathering spot for family and friends, extending the time people can spend outside, even on cool evenings.
The warmth makes fall and spring nights more comfortable.
Building it yourself saves money compared to hiring contractors. Professional installation can cost thousands of dollars. A DIY project significantly cuts those expenses.
It’s also a practical way to use outdoor space year-round.
Instead of heading indoors when temperatures drop, everyone can stay outside and enjoy the fire.
What Bricks are Best for Building a Fireplace?
Choosing the right bricks determines how long the fireplace lasts. Not all bricks handle high heat the same way.
For the Firebox Interior:
Fire bricks are non-negotiable here. They’re designed to withstand temperatures up to 2,000 degrees Fahrenheit. Regular bricks crack and crumble under intense heat.
Fire bricks cost more but prevent costly repairs later. They come in standard sizes and fit together easily.
For the Outer Structure:
- Concrete blocks: Affordable and strong for the exterior walls
- Standard clay bricks: Work fine for areas that don’t touch flames directly
- Natural stone: Creates an attractive look but requires more skill to install
The key is keeping fire bricks where heat concentrates. Everything else can use regular masonry materials.
What to Consider Before Building
Before starting construction, several important factors need attention.
1. Check Local Building Codes and Permits: Most areas require permits for outdoor fireplaces, so verify requirements with the local building department first.
2. Choose the Right Location: The fireplace should sit at least 10 feet from structures, away from trees, and on level ground for safety.
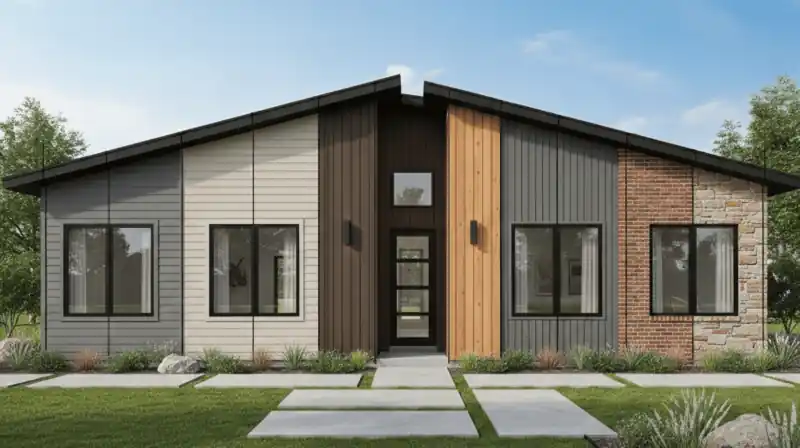
3. Decide on Fireplace Size and Style: Pick dimensions that fit the space and a design that matches the home’s exterior look.
4. Set Your Budget: Expect to spend between $300 and $1,500 on materials, depending on size and chosen materials.
5. Gather Required Tools and Materials: Collect all necessary tools and supplies beforehand to avoid interruptions during construction.
How Long Does the Whole Process Take?
Building an outdoor fireplace isn’t a weekend project. The timeline depends on experience level and weather conditions.
- Foundation work takes about one day. This includes digging, adding gravel, and pouring concrete. Then comes the mandatory 48-hour curing period before continuing.
- Building the structure typically requires two to three days. This covers laying blocks, constructing walls, installing the firebox, and adding the chimney. Beginners might need an extra day or two.
- The curing period is the final, adding another week. No shortcuts here. The mortar must harden completely before the first fire.
Total timeline: roughly 10 to 14 days from start to finish. Weather delays can extend this. Rain stops work and slows concrete curing.
Collect the Materials & Tools
Having the right supplies makes the building process much easier. Here’s what to gather before starting.
| Materials | Purpose | Tools | What It Does |
|---|---|---|---|
| Fire bricks | Line the firebox interior for heat resistance | Shovel | Digs foundation and moves materials |
| Concrete blocks or bricks | Forms the outer structure | Level | Ensures walls stay straight |
| Mortar mix | Bonds bricks together | Trowel | Spreads mortar smoothly |
| Gravel or crushed stone | Creates drainage under the foundation | Wheelbarrow | Hauls heavy materials around |
| Sand | Levels the base layer | Tape measure | Checks dimensions accurately |
| Rebar | Reinforces the structure | Chalk line | Mark’s straight guidelines |
| Metal grate | Holds firewood safely | Rubber mallet | Taps bricks into place gently |
| Concrete mix | Forms the solid foundation pad | Work gloves | Protects hands from rough materials |
| Chimney cap | Keeps rain and animals out | Safety glasses | Shield eyes from debris |
How to Build Your DIY Outdoor Fireplace
Construction happens in stages. Follow each phase carefully for a sturdy, long-lasting fireplace.
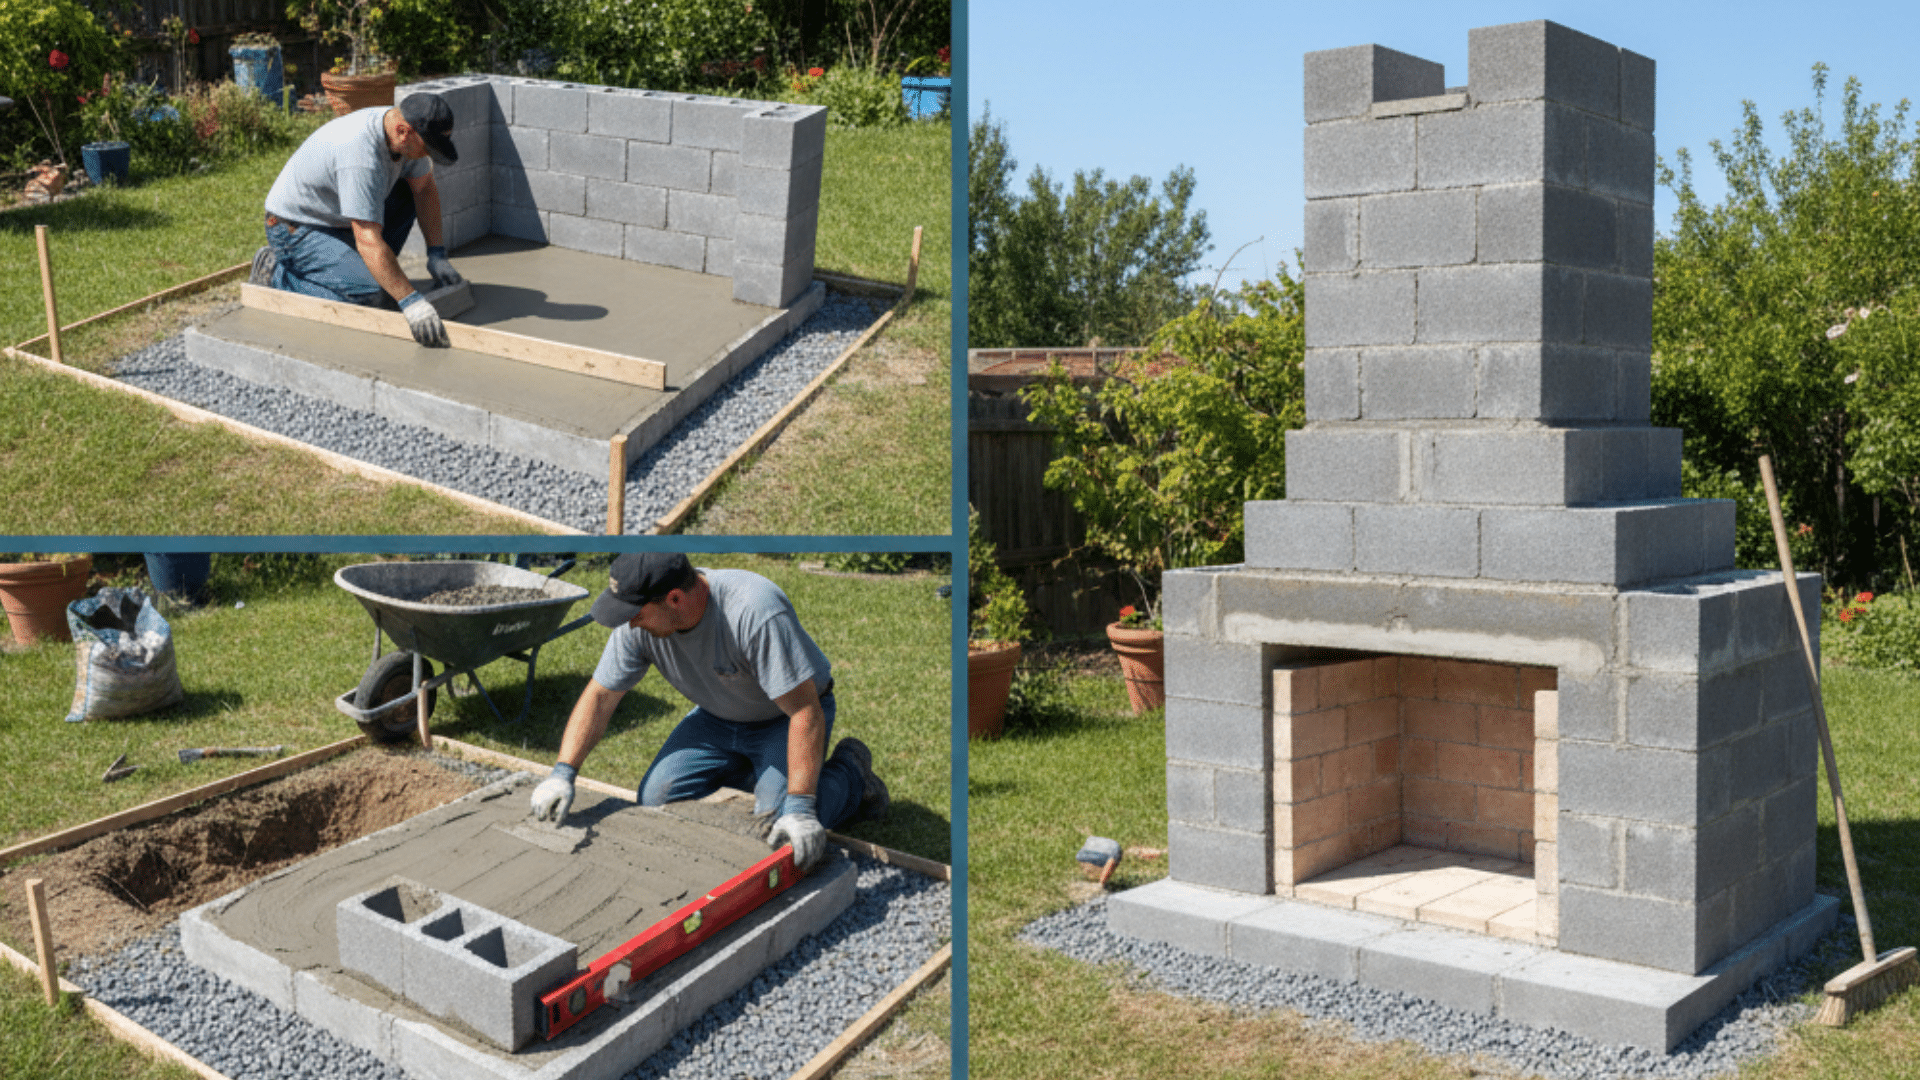
Step 1: Prepare the Foundation
Mark the fireplace location using stakes and string. Excavate to a depth of 6 inches.
Fill with gravel and compact thoroughly. This provides drainage and stops future sinking. Pour 4-inch-thick concrete over the gravel. Check flatness with a level.
Allow 48 hours for hardening.
Step 2: Lay the First Course of Blocks
Prepare mortar following package instructions. The texture should resemble thick peanut butter.
Apply mortar across the cured concrete. Position the initial block and verify straightness with a level. Tap gently with a rubber mallet if needed.
Add blocks around the outer edge one by one. Create an entry space at the front where fires will burn.
Step 3: Build Up the Walls
Spread mortar along the completed first layer. Offset the next row so seams don’t match up vertically. This pattern increases strength.
Continue stacking rows methodically. Verify the level after each layer, and clean any excess mortar with a wet cloth while it is still soft. Stop when walls reach 3 to 4 feet tall for the burning chamber.
Step 4: Install the Firebox
Line the interior with fire-resistant bricks using refractory mortar.
Standard bricks can’t handle extreme temperatures. Cover the floor first, then construct the rear wall and both sides. Fill every gap with mortar.
Standard dimensions run 24 to 30 inches wide and 16 to 20 inches deep. These proportions accommodate typical wood-burning needs.
Step 5: Add the Chimney
Extend walls vertically to create the smoke channel. Taper the opening inward as height increases for better airflow.
Rise at least 2 feet above the burning area. A greater height pulls smoke more effectively. Continue verifying straightness.
A metal liner inside enhances airflow and shields masonry from thermal stress.
Step 6: Finish and Cure
Shape mortar seams after partial setting for clean, professional lines. Use a stick or specialized tool.
Wait seven full days before lighting fires. The bonding material requires a complete hardening time. Sweep away debris once fully set. The fireplace is now ready for use.
Safety Guidelines You Must Follow
Follow these essential rules to prevent accidents and injuries.
- Keep proper clearances: Maintain at least 10 feet of distance from buildings, fences, trees, and other structures to prevent fire spread.
- Use fire-rated materials only: Always use fire bricks for the firebox interior and refractory mortar designed for high heat exposure.
- Install on stable ground: Build on a solid, level foundation that won’t shift or settle over time under the structure’s weight.
- Keep a fire extinguisher nearby: Have a working extinguisher or water source within easy reach during every fire session.
- Check for proper ventilation: Ensure the chimney draws smoke upward correctly and doesn’t blow back toward seating areas or the house.
Avoid These Common Fireplace Building Mistakes
Learning from others’ errors saves time and money. Watch out for these frequent problems during construction.
Using the wrong type of bricks
Regular bricks crack and crumble under intense heat. Only fire-rated bricks belong inside the firebox area.
Skipping the gravel base
Without proper drainage underneath, water pools and causes frost heaving in cold climates. This damages the foundation over time.
Making the opening too large
An oversized firebox won’t draw smoke properly. It also wastes heat instead of radiating warmth toward seating areas.
Ignoring wind patterns
Building without considering prevailing winds means smoke constantly blows toward guests. Test wind direction at different times before choosing the final spot.
Rushing the curing process
Lighting fires too soon weakens the mortar bonds. Patience during the drying period ensures long-term durability.
Forgetting expansion joints
Temperature changes cause masonry to expand and contract. Without small gaps in the right places, cracks develop quickly.
Poor mortar mixing
Too much water makes weak joints. Too little creates dry spots that crumble. Follow mixing instructions exactly for proper consistency.
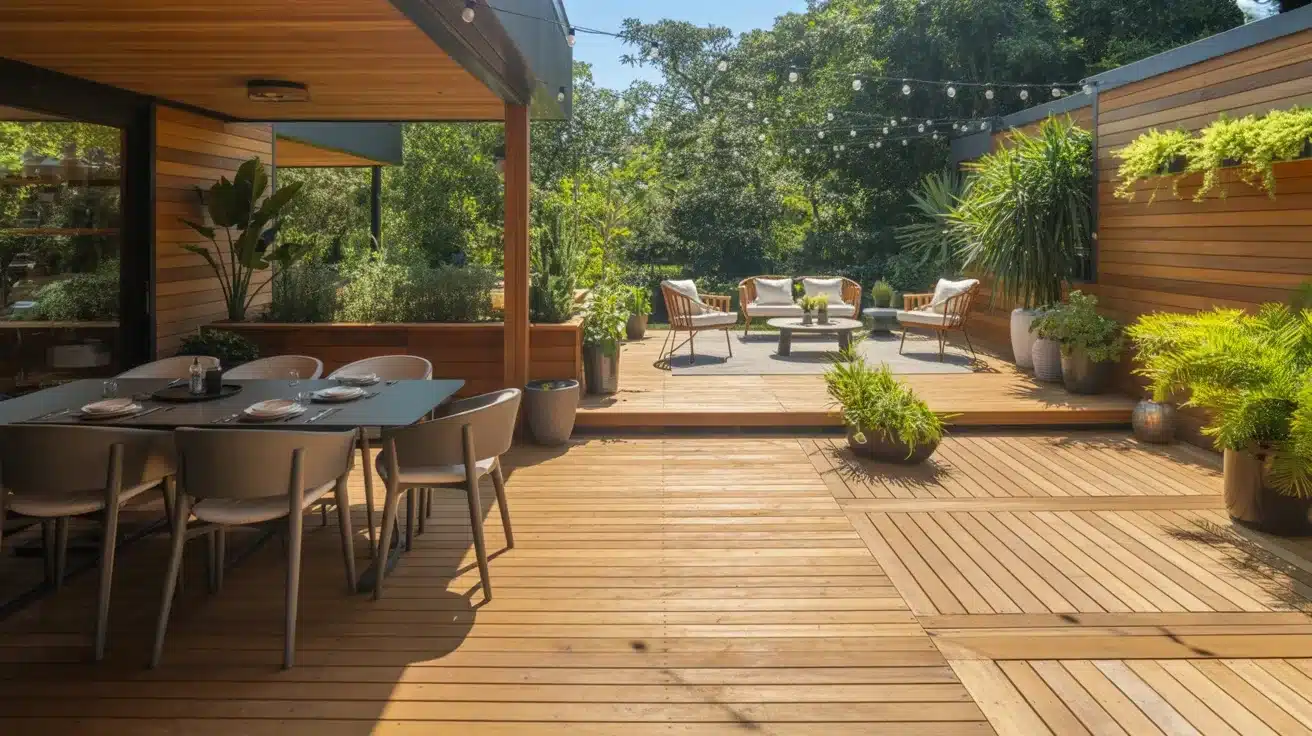
Decorating Your Outdoor Firepit
Once construction finishes, personalizing the space makes it more inviting. Here are simple ways to enhance the area.
1. Add Seating Around the Fire
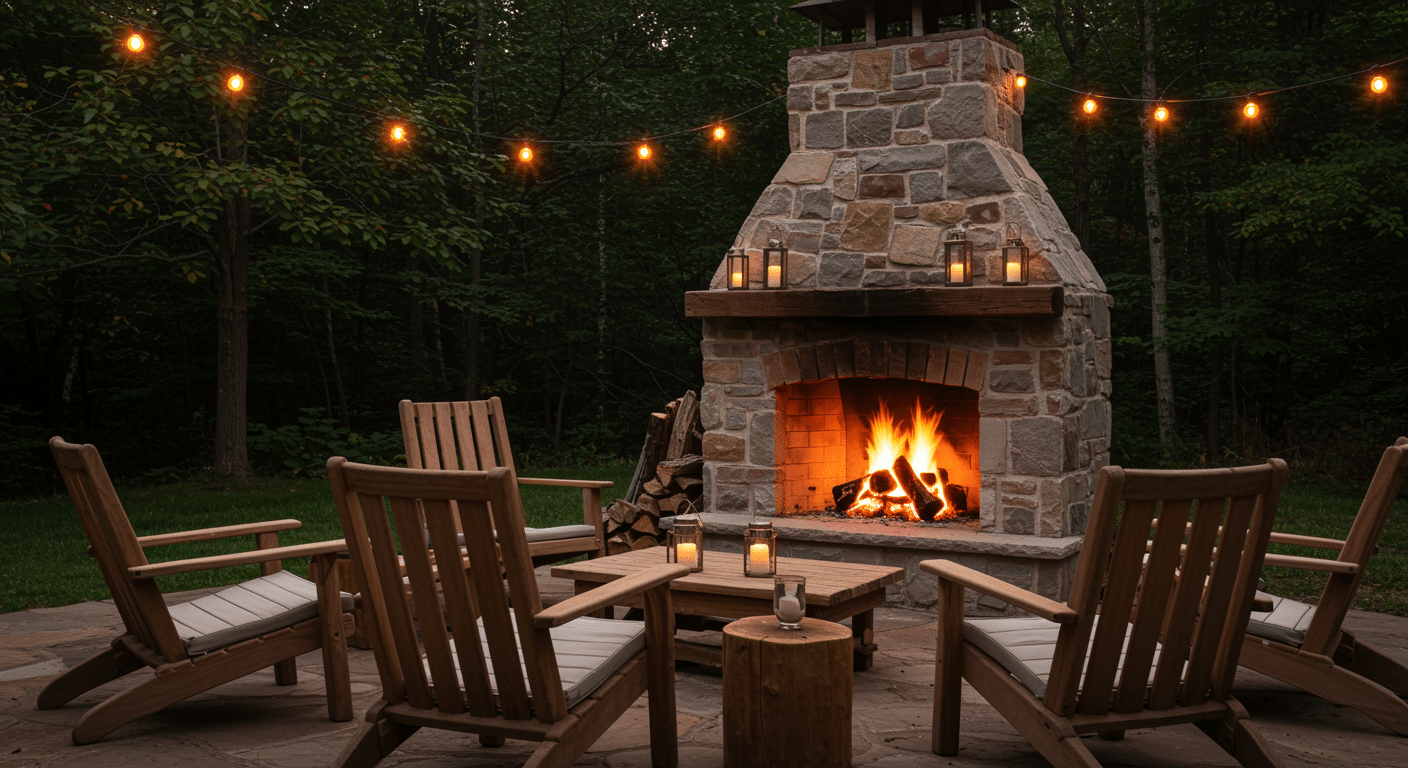
Arrange chairs or benches in a semicircle facing the fireplace. Leave enough space for people to move comfortably.
Weather-resistant furniture works best for outdoor use.
2. Create a Stone or Paver Patio
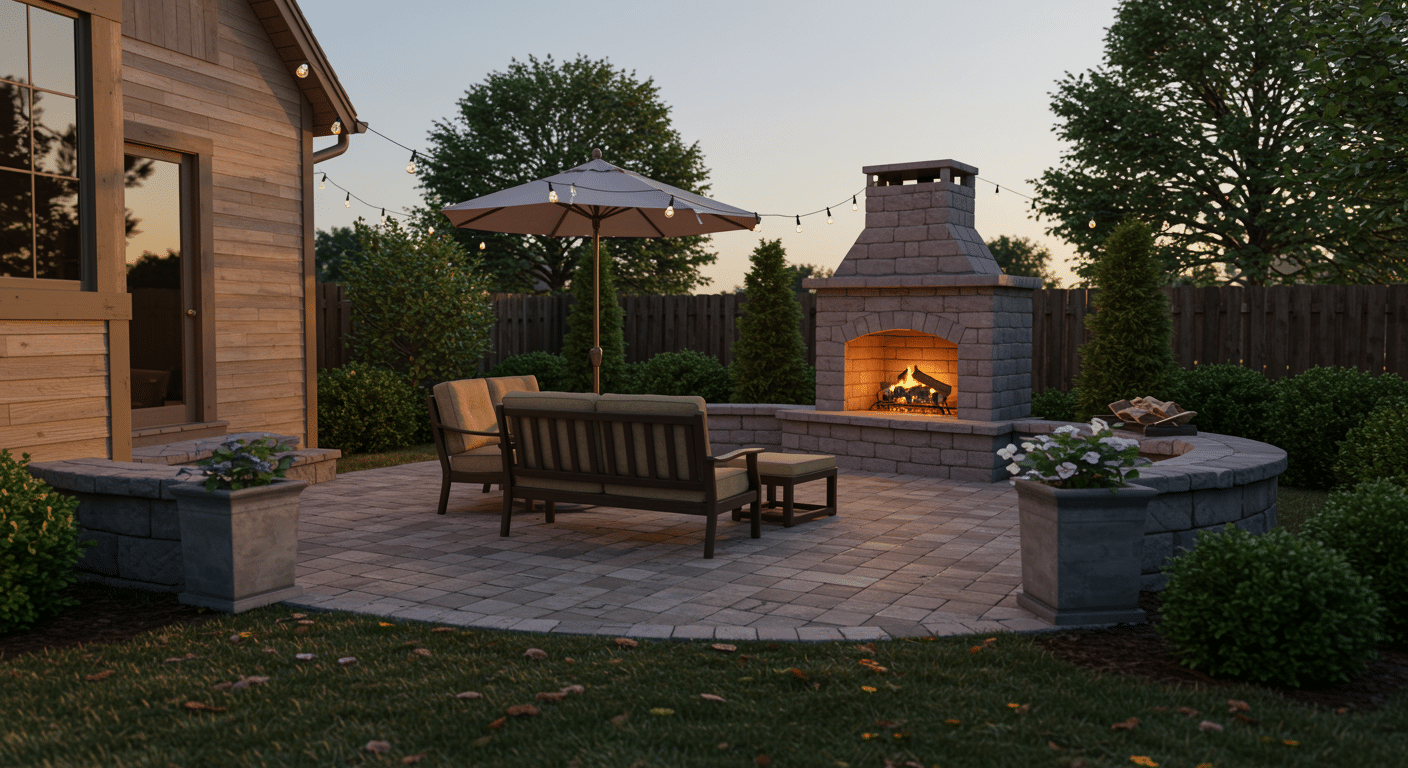
Extend the concrete base with pavers or flagstone.
This defines the fireplace zone and provides a clean surface, and it also prevents muddy feet during wet weather.
3. Install Outdoor Lighting

String lights overhead, or place solar stakes around the perimeter, to extend usability after dark.
It also creates an atmosphere for evening gatherings.
4. Build a Wood Storage Box
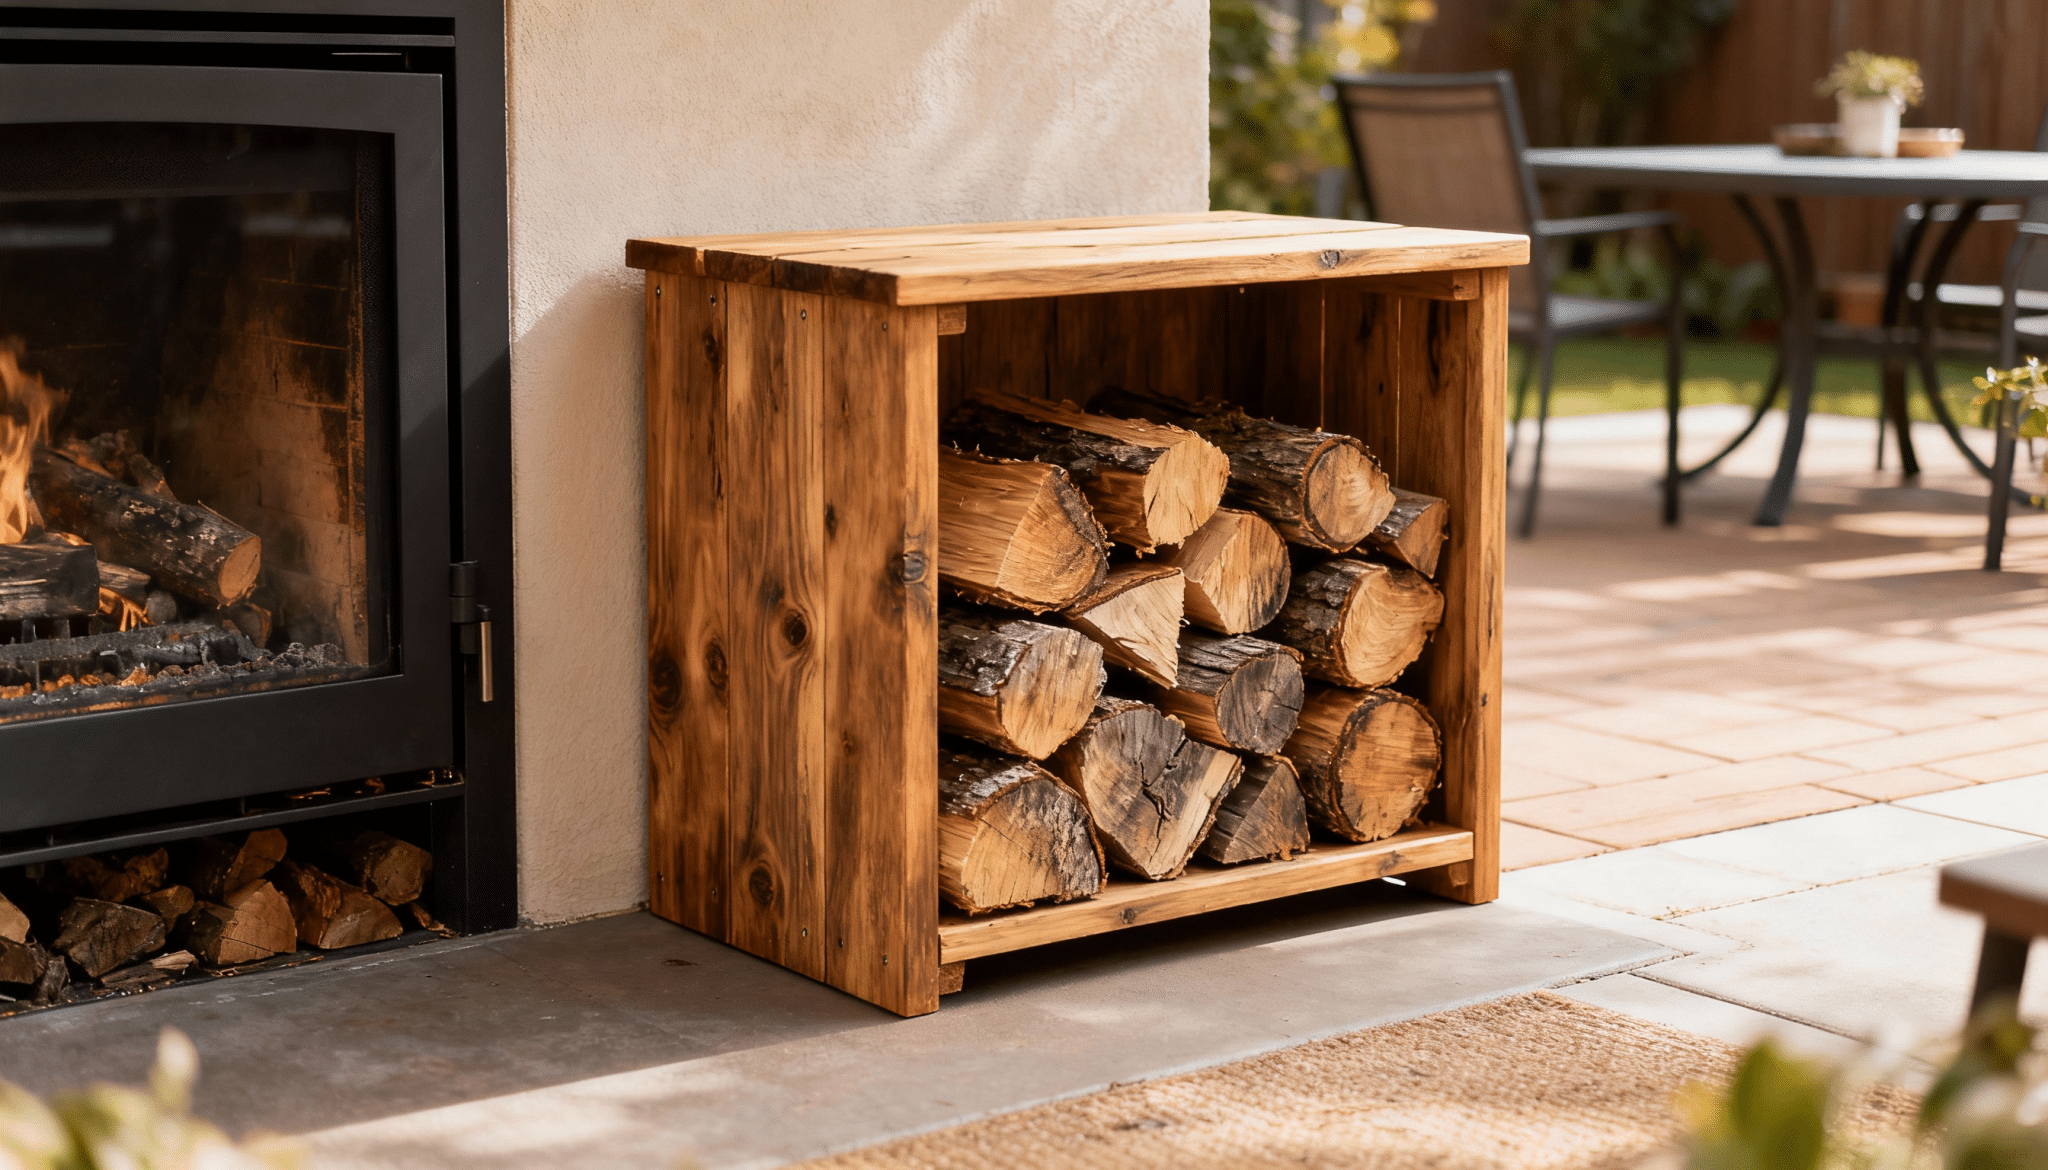
Keep firewood close by in a weatherproof container. This eliminates trips back to the garage mid-fire.
Cedar or treated lumber resists moisture damage.
5. Add Planters or Greenery

Place potted plants around the fireplace area, and choose heat-tolerant varieties that won’t wilt in the warmth.
Herbs like rosemary or lavender smell great when nearby.
Wrapping Up
A DIY outdoor fireplace changes how a backyard gets used. It creates warmth on chilly evenings. Friends and family gather around the flames naturally.
The construction process takes effort and planning. But it’s achievable for most homeowners.
Following the steps outlined here prevents expensive mistakes and safety issues down the road.
The key is starting with a solid foundation and using proper materials. Take time with each stage. Don’t rush the curing process.
Once finished, the fireplace becomes a main point for outdoor living. Cool fall nights feel warmer. Spring evenings last longer. Summer gatherings gain something special.