Finding the right cabinet style feels impossible.
But what if I told that you can build your own cabinet doors? Even if you’ve never touched a table saw before, this skill is within reach.
Making cabinet doors saves you serious money while giving you exactly what you want.
No compromises on size, style, or finish. In this blog, you will learn how to make cabinet doors.
You’ll learn about materials, cost, when to try advanced methods, mistakes to avoid, and practical tips. Let’s get started.
Cabinet Door Options
You’ve got options when it comes to cabinet door styles. Each one brings something different to your kitchen.
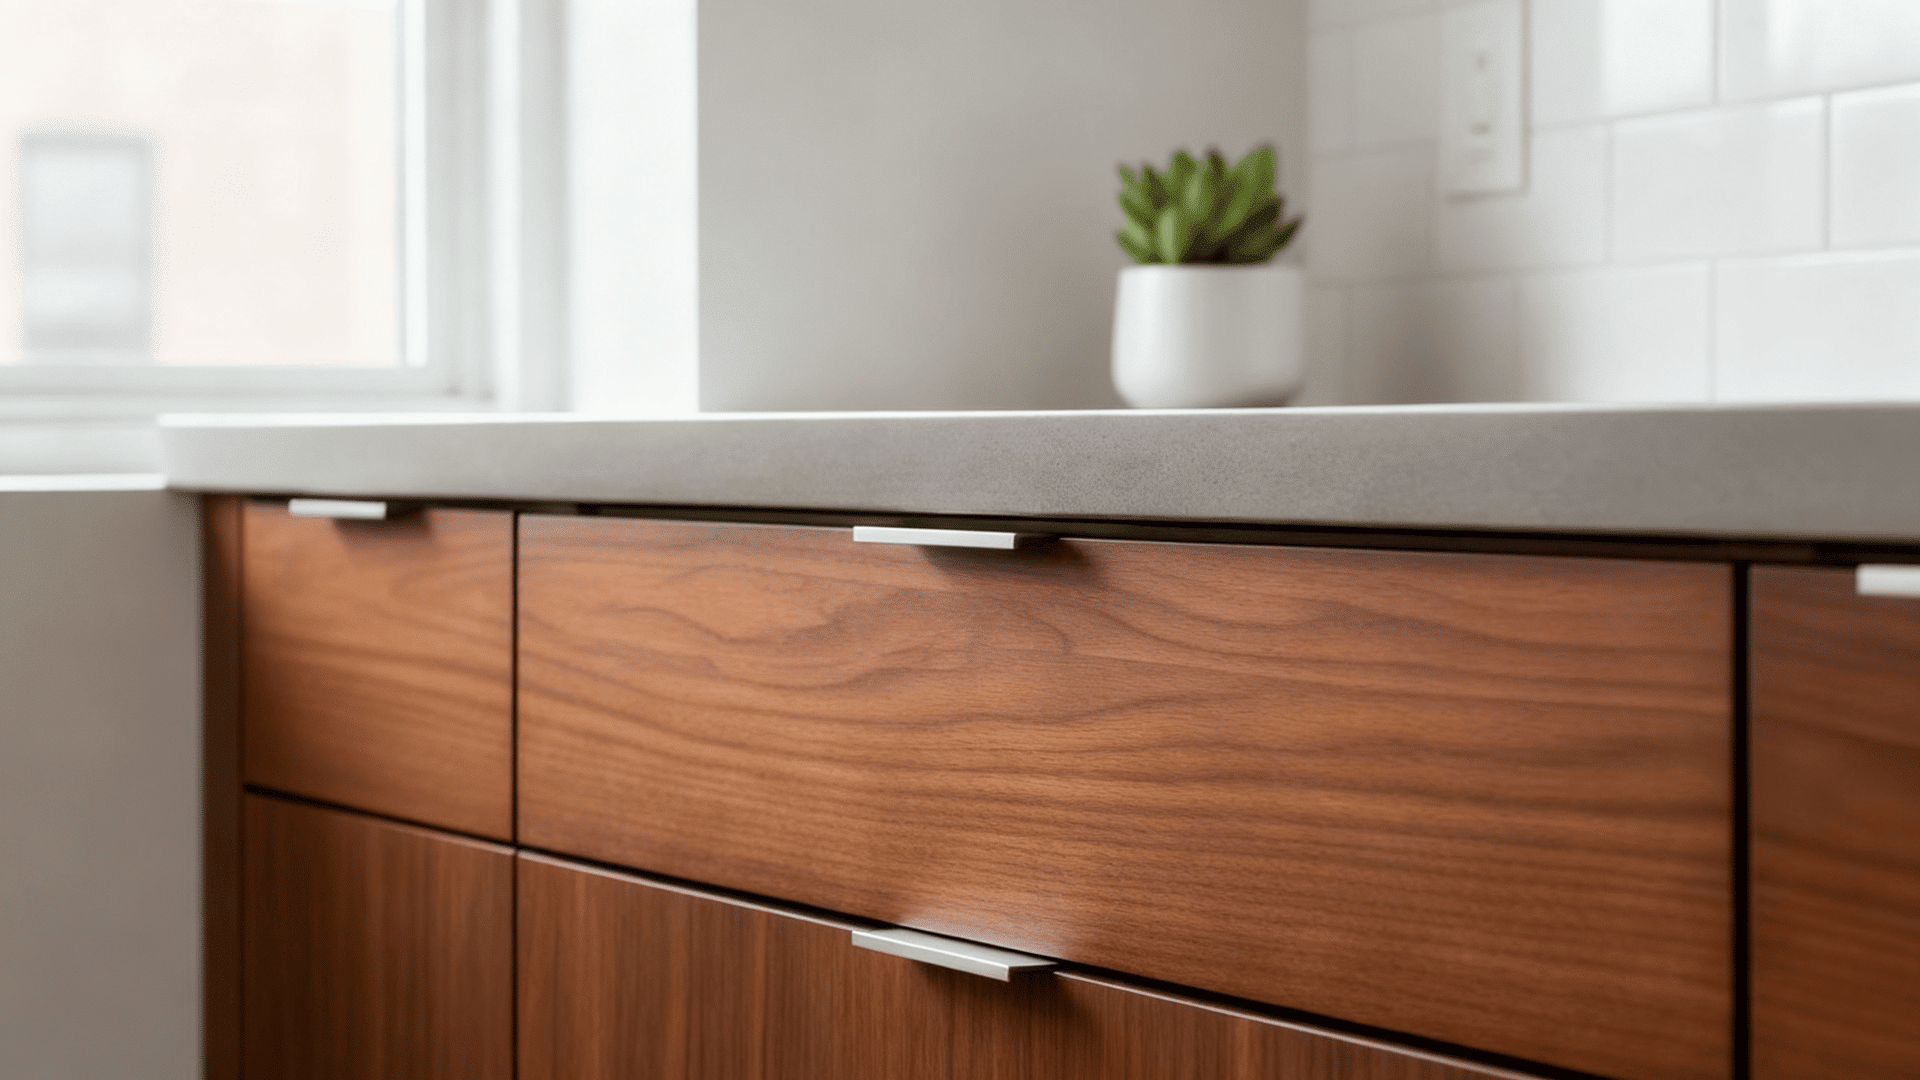
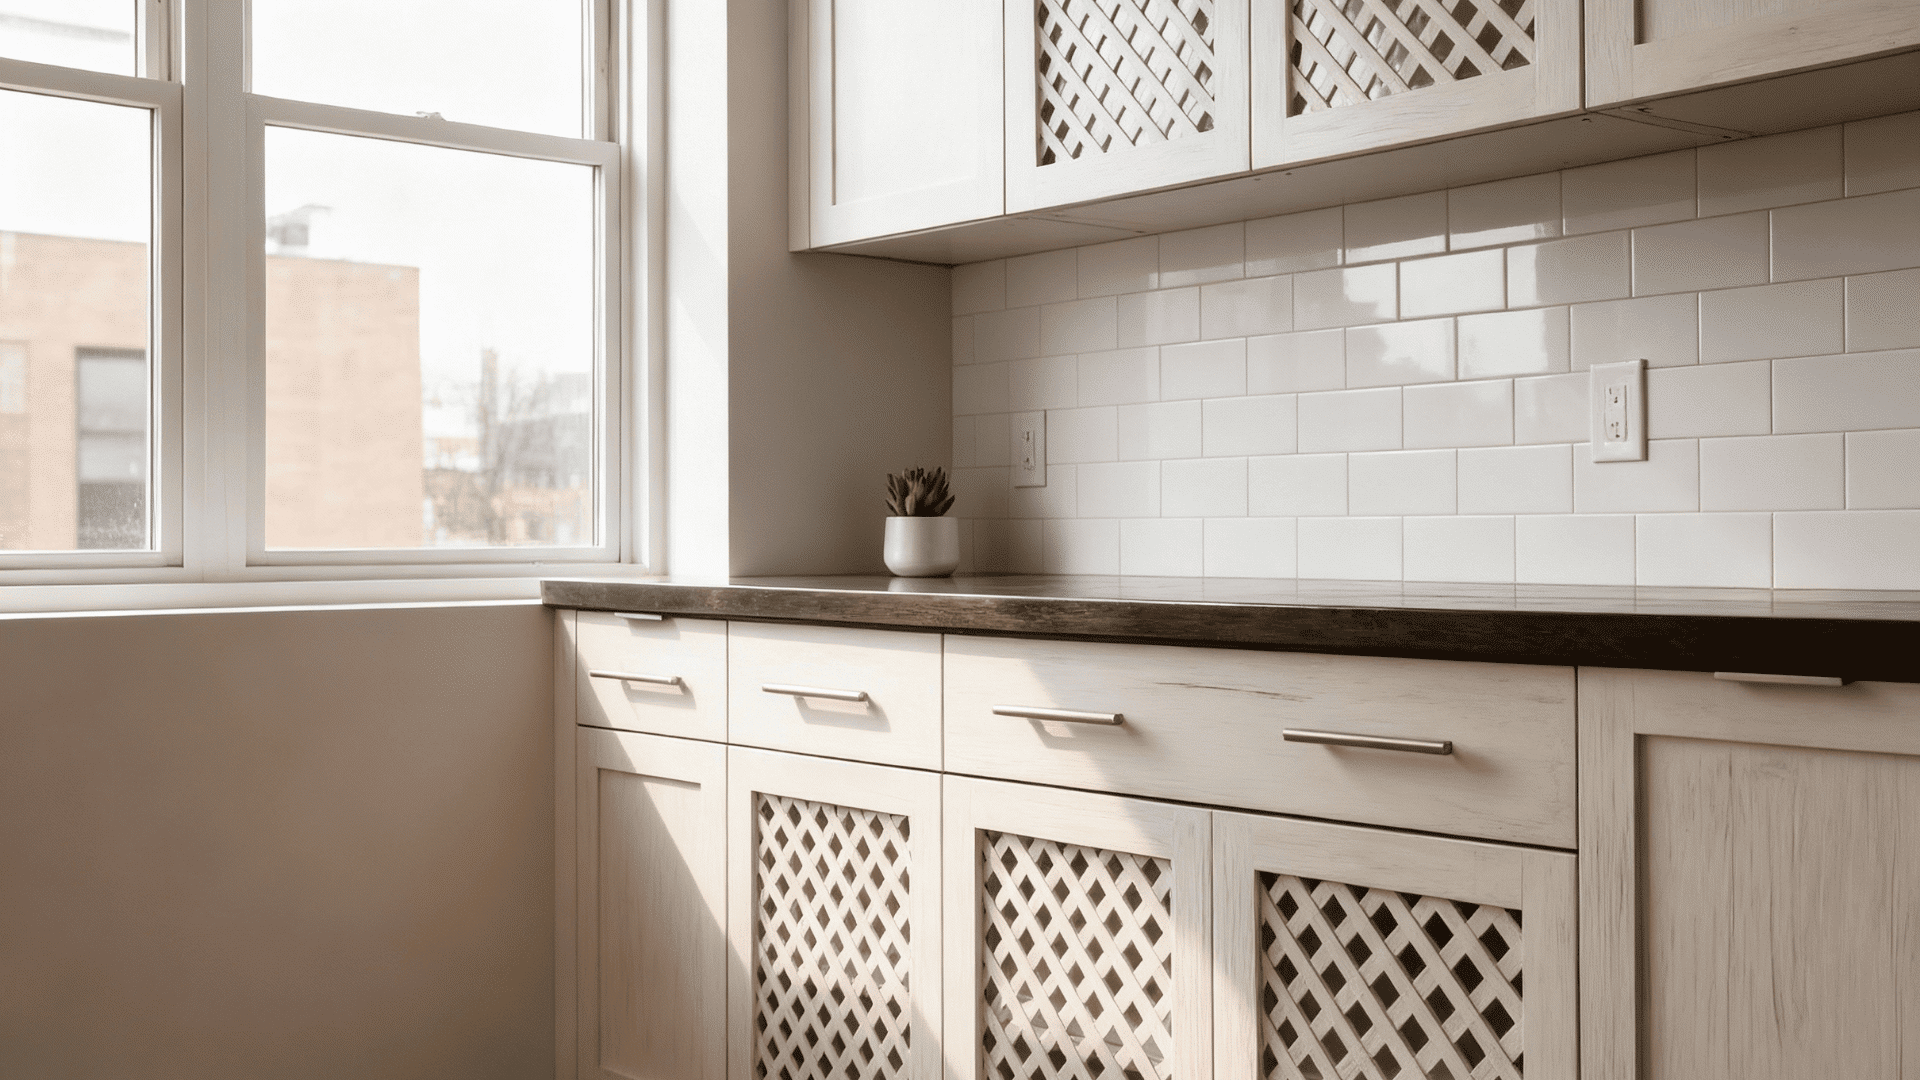
- Slab Doors: The simplest and most beginner-friendly option, these are flat panels that offer a clean, modern look.
- Shaker Doors: An effortless classic featuring a flat center panel surrounded by a simple frame, suitable for almost any kitchen design.
- Raised Panel Doors: These add depth and visual interest with a center panel that sits higher than the surrounding frame, requiring a bit more skill to build.
- Beadboard Doors: Perfect for a cottage feel, these feature vertical grooves running down the center panel, adding texture and charm.
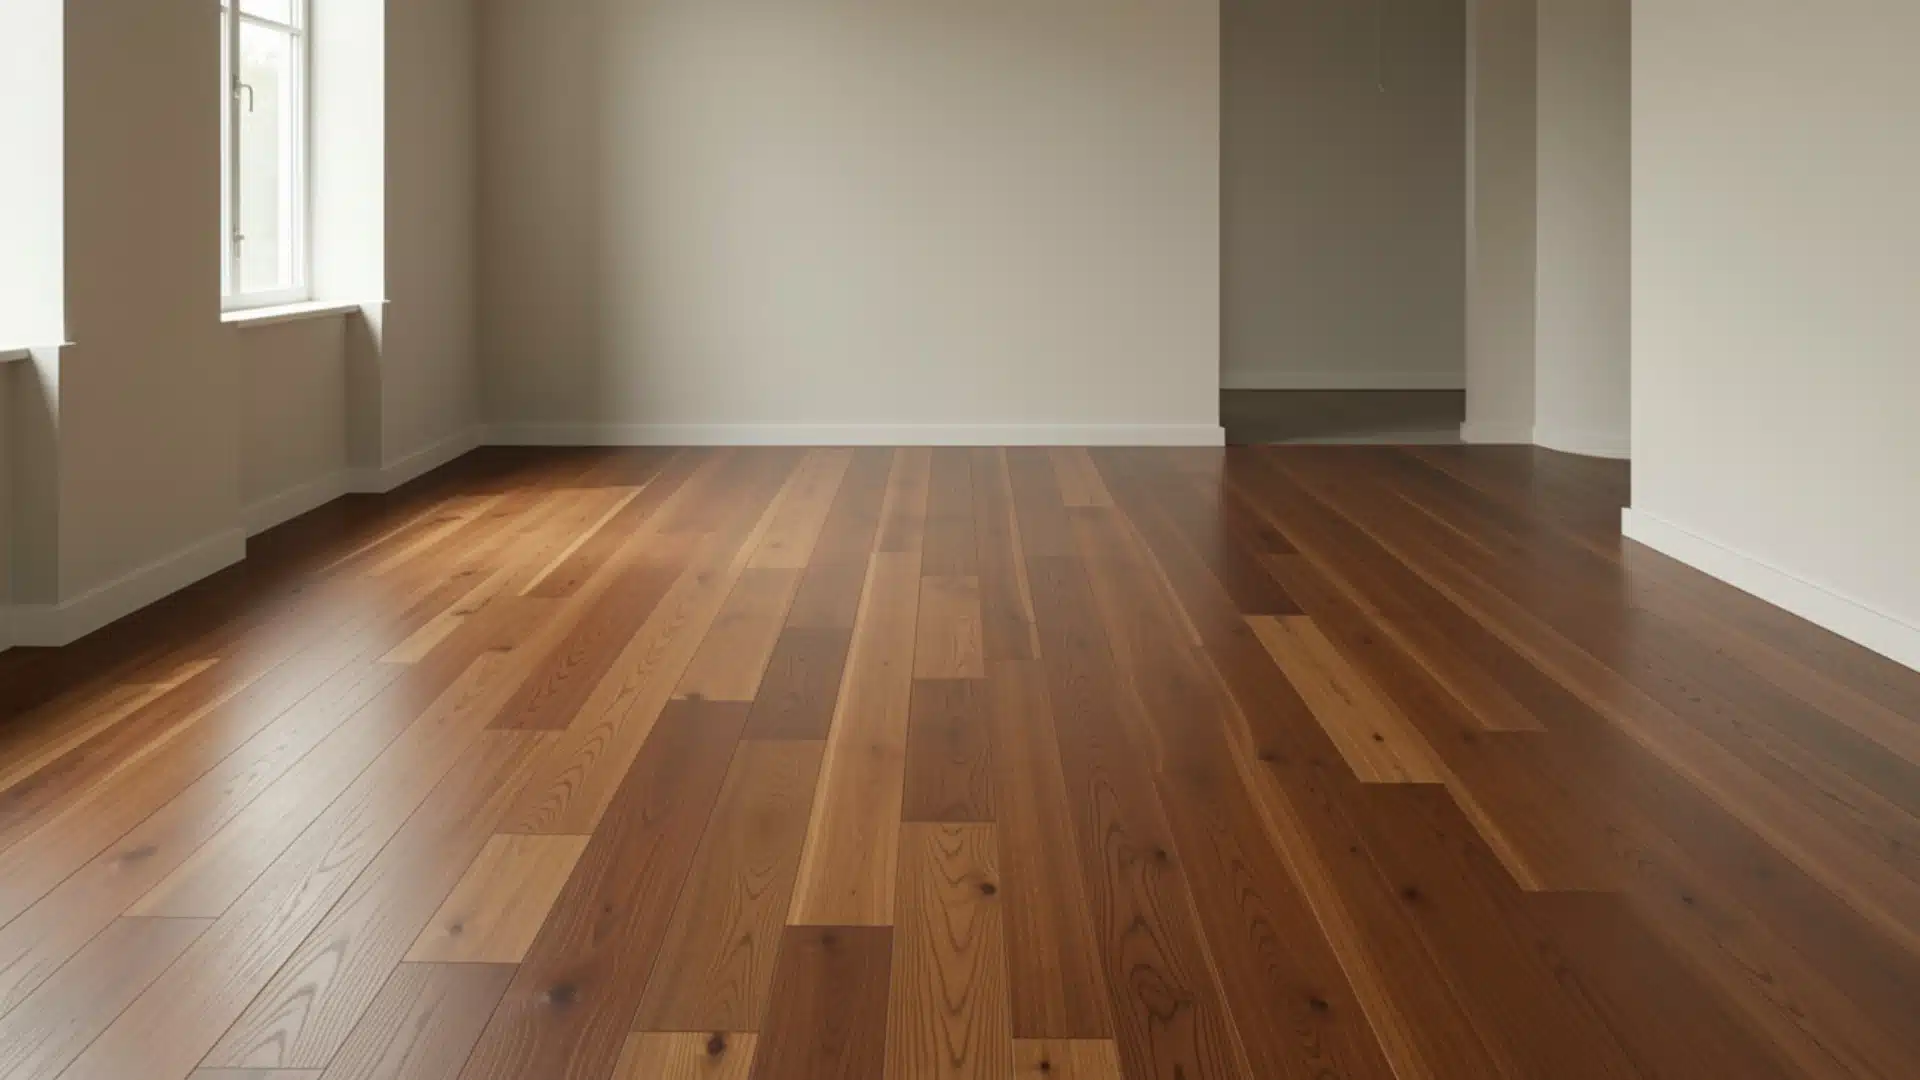
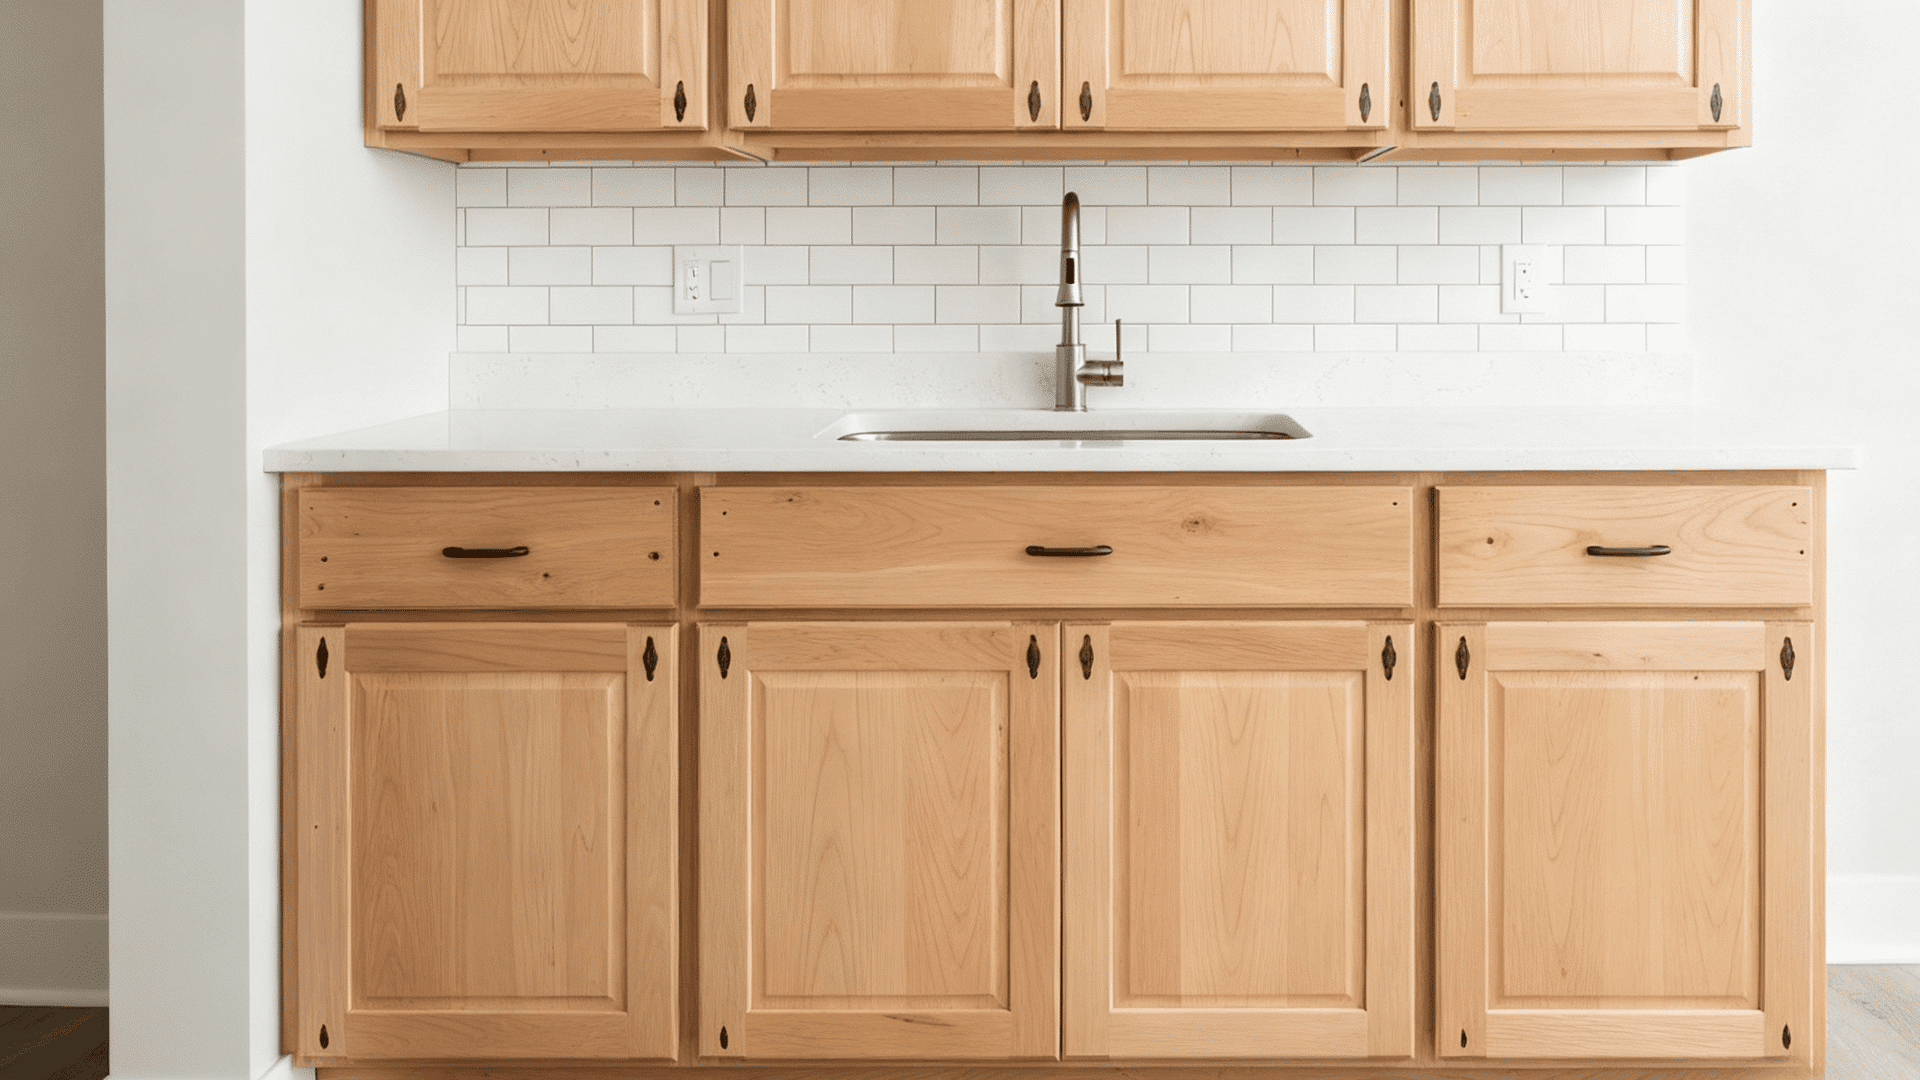
Best Material for Cabinet Doors
| Material | Pros | Cons | Best For |
|---|---|---|---|
| Oak | Strong and durable, beautiful grain | Heavy, can be expensive | Traditional kitchens |
| Maple | Smooth surface, takes paint well | Grain is less visible | Painted finishes |
| Cherry | Rich color, ages beautifully | Most expensive hardwood | High-end looks |
| Birch | Affordable hardwood, consistent grain | It can be hard to stain evenly | Budget-friendly projects |
| Pine | Very affordable, easy to work with | Soft, dents easily | cottage styles |
| MDF | Perfectly smooth, great for paint | Not water-resistant, heavy | Painted modern doors |
| Plywood | Stable, won’t warp, lightweight | Edges need covering | Slab doors |
| Poplar | Inexpensive hardwood, paints nicely | A greenish tint shows the stain | Painted frame doors |
Things to Remember for a Professional Finish
- When accounting for clearance gaps, always subtract 1/8 inch from each side.
- Using warped or twisted wood, check every board before you start cutting.
- Rushing the glue-drying time; patience here prevents weak joints later.
- Do not check whether the door is square during assembly. Measure the diagonals to confirm.
- Cutting all pieces at once without testing makes one door your prototype first.
- Ignore wood grain direction; match grain patterns for a professional look.
- Measuring the cabinet box instead of the opening measure where the door actually sits.
- Skipping edge sanding and leaving rough edges makes installation difficult and gives the installation an unfinished look.
- Using dull saw blades gives you cleaner cuts and safer operation, while sharp blades give you cleaner cuts and safer operation.
How to Make Cabinet Doors – Various Techniques
Each technique has its own approach, and you will see how to do it. From beginner level to expert level, these techniques make it easy to build.
1. Slab Style Cabinet Door
This is the easiest door you can make. It’s one flat piece with no frame or fancy details. Perfect for modern kitchens or if you’re starting.
|
Tools and Materials: Plywood or MDF sheet, circular saw or table saw, sandpaper, edge banding (optional). |
DIY step-by-step instructions:
- Step 1: Measure your cabinet opening and subtract 1/8 inch from each side for clearance.
- Step 2: Mark your measurements on the plywood sheet using a straightedge and pencil.
- Step 3: Cut the panel to size using your saw, keeping the blade steady for clean edges.
- Step 4: Sand all edges smooth, working from coarse to fine-grit sandpaper.
- Step 5: Apply edge banding to cover the raw plywood edges if desired.
- Step 6: Sand the banding flush with the panel surface.
2. Frame and Panel Door Using Lattice Trim
This method uses thin lattice strips to create a frame look. It’s budget-friendly and gives you that paneled appearance without complicated joinery.
| Tools and Materials: Plywood panel, lattice trim strips, wood glue, brad nailer, and miter saw. |
DIY step-by-step instructions:
- Step 1: Measure and cut lattice strips for the frame border using the miter saw.
- Step 2: Apply wood glue to the back of each lattice strip.
- Step 3: Position the strips on the panel face to create your frame design.
- Step 4: Secure strips with brad nails, spacing them every 6 inches.
- Step 5: Wipe away excess glue immediately with a damp cloth, and let the assembly dry for at least 2 hours.
3. Frame and Panel Door with Pocket Holes
Pocket holes make strong joints without visible hardware. You’ll need a special jig, but the results look professional and hold up well.
| Tools and Materials: Hardwood boards for the frame, plywood for the panel, pocket-hole jig, screws, wood glue, router (optional). |
DIY step-by-step instructions:
- Step 1: Cut four frame pieces to length two stiles (vertical) and two rails (horizontal).
- Step 2: Drill pocket holes on the inside ends of both rail pieces.
- Step 3: Cut a groove along the inside edge of all frame pieces for the panel.
- Step 4: Cut your center panel to fit inside the grooved frame and apply glue.
- Step 5: Add the rails, driving pocket screws to connect them to the stile.
- Step 6: Clamp the assembly square and let the glue dry completely.
4. Frame and Panel Door with Routed Back Side
This technique creates a groove from the back, hiding the joinery. The front stays completely smooth and clean-looking.
| Tools and Materials: Hardwood for the frame, plywood panel, a router with a straight bit, wood glue, and clamps. |
DIY step-by-step instructions:
- Step 1: Cut all frame pieces to your door dimensions.
- Step 2: Assemble the frame using glue and clamps, keeping corners square.
- Step 3: Let the frame dry overnight for maximum strength.
- Step 4: Mark the panel groove location on the back side of the frame.
- Step 5: Set your router to cut a groove deep enough for the panel thickness.
- Step 6: Rout the groove carefully around the inside perimeter of the frame.
- Step 7: Cut the panel slightly smaller than the groove opening to ensure a snug fit.
- Step 8: Slide the panel into the groove from the back.
- Step 9: Secure the panel with small brads, or leave it floating to accommodate wood movement.
5. Frame and Panel Door with Mitered Corners or Tongue & Groove
Mitered corners give you angled joints that look refined. Tongue-and-groove adds mechanical strength that outlasts simple glue joints.
| Tools and Materials: Hardwood frame stock, panel material, miter saw, table saw or router, wood glue, and clamps. |
DIY step-by-step instructions:
- Step 1: Determine your final door size and calculate frame piece lengths.
- Step 2: Cut all frame pieces with 45-degree miters on each end.
- Step 3: Cut a centered groove along the inside edge of each frame piece.
- Step 4: Dry-fit the entire door to check all joints and panel fit, and apply glue to the mitered corners and panels.
- Step 5: Assemble one corner at a time, working around the frame.
- Step 6: Clamp all four corners, then check that the door is square using a measuring tape.
- Step 7: Allow the glue to cure for 24 hours before removing the clamps
Cost Breakdown
| Item | Estimated Cost | Notes |
|---|---|---|
| Plywood sheet (4×8 ft) | $40-$80 | MDF is cheaper at $30-$50 |
| Hardwood frame stock | $3-$8 per linear foot | Oak and maple cost more |
| Lattice trim | $2-$4 per strip | Comes in 8-foot lengths |
| Wood glue | $5-$10 | One bottle handles multiple doors |
| Pocket hole screws | $8-$12 per box | You’ll have extras left over |
| Edge banding | $8-$15 per roll | Only needed for slab doors |
| Sandpaper pack | $10-$15 | Buy assorted grits |
| Brad nails | $5-$8 per box | A small box goes a long way |
| Finish (stain/paint) | $15-$40 per quart | Depends on quality and brand |
| Total per door | $25-$75 | DIY saves you 50-70% vs. buying |
When to Try Advanced Joinery Methods
You don’t need fancy joints for your first few doors.
But once you’re comfortable, these techniques take your work to the next level.
Mortise-and-tenon joints
The gold standard for cabinet doors.
The tenon fits snugly into the mortise, creating a mechanical lock that doesn’t rely solely on glue for strength.
Dowel Joints
Wooden pegs align and strengthen the corners of your frame.
They’re easier than mortise-and-tenon joints, but still provide excellent holding power for frame assemblies that will last.
Biscuit Joints
A biscuit joiner cuts matching slots in both pieces.
The oval biscuits expand when glue is applied, pulling the joint tight and keeping everything perfectly aligned during assembly.
Cope-and-Stick Router Bits
These specialized bits create interlocking profiles on frame pieces.
The shaped edges fit together like puzzle pieces, giving you a professional look with built-in panel grooves.
Dovetail Joints
Reserved for drawer fronts and high-end work, dovetails are incredibly strong.
The interlocking pins and tails resist pulling apart, even without glue holding them together.
Half-Lap Joints
Each piece gets cut halfway through, then they overlap.
Simple to make with a table saw or router, they provide good strength for lighter doors and decorative applications.
Tips for Strong and Long-Lasting Doors
- Use quality interior-grade wood glue; cheap glue fails over time.
- Apply finish to all six sides of the door to prevent moisture absorption.
- Choose quarter-sawn lumber when possible; it resists warping better than flat-sawn lumber.
- Install doors with proper hinge placement; top and bottom hinges prevent sagging.
- Leave small gaps around floating panels so wood can expand and contract.
- Sand between finish coats for better adhesion and a smoother final surface.
- Use hardwood for frame pieces and save softwood or plywood for panels.
- Apply multiple thin finish coats rather than a single thick coat for better protection.
- Keep shop temperature consistent during construction; big swings cause wood movement.
Final Thoughts
Now, you know how to make cabinet doors. From simple slabs to complex frame designs, each method works.
Start with one door. Test your skills and see how it turns out. That first success will give you confidence for the rest.
Professional woodworkers made mistakes when they started too.
So grab your tools and get to work. Measure twice, cut once, and take your time. Before you know it, you’ll be hanging doors you built with your own hands.