Repainting just changes the color. Repairing fixes what’s broken, but upcycling is different.
When I upcycle, I completely reimagine a piece. It might turn an old ladder into a bookshelf or convert drawers into wall shelves. It goes beyond a fresh coat of paint.
You’re not just fixing furniture, you’re creating something new. Something nobody else holds.
And you’re keeping perfectly good materials out of landfills. You don’t need fancy skills.
In this blog, you will see practical ways to give old furniture new life. You’ll learn simple DIYs that work, even if you’ve never picked up a paintbrush before.
How to Start Upcycling: Basic Steps for Beginners
These simple steps will help you start your first upcycling project without feeling devastated.
- Choosing the right piece: Start with something small and sturdy. A wooden stool or side table works great. Avoid pieces with major structural problems. You want a solid base to work with.
- Checking for damage: Look for loose joints, cracks, or rot. Minor scratches are fine; you’ll fix those. But serious damage means more work than you need right now. Save complicated repairs for later.
- Cleaning and prep: Remove all dirt, grease, and old finish. Use soap and water first. Then sand lightly to create a smooth surface. This step makes everything else easier and improves your results.
- Picking simple tools and safe products: You need sandpaper, paintbrushes, and basic paint. Choose low-odor, water-based products. They’re safer to use indoors and can be cleaned with soap and water.
- Setting a small, doable goal for the first project: Don’t plan a complete furniture makeover yet. Try painting one chair or adding new hardware to a drawer. You can tackle bigger projects once you learn.
How to Pick the Right Paint and Finish for Your Project
| Paint Type | Best For | Finish Options | Drying Time | Key Benefit |
|---|---|---|---|---|
| Latex Paint | Indoor furniture, walls | Matte, satin, semi-gloss | 1-2 hours | Easy cleanup with water |
| Chalk Paint | Vintage looks, no prep | Matte only | 30 minutes | No sanding needed |
| Milk Paint | Old finish | Flat, needs wax | 30 minutes | Non-toxic, eco-friendly |
| Oil-Based Paint | High-traffic pieces | Glossy, durable | 6-8 hours | Long-lasting protection |
| Spray Paint | Small items, metal | All finishes | 15-30 minutes | Fast, even coverage |
| Acrylic Paint | Detail work, crafts | Varies by brand | 20-30 minutes | Good for small areas |
| Exterior Paint | Outdoor furniture | Weather-resistant | 2-4 hours | Protects from elements |
| Primer | All projects first coat | Matches the top coat | 1-2 hours | Helps paint stick better |
Upcycled Furniture DIY Ideas
Here are practical ideas to get you started. Each one changes something old into something useful and fresh.
1. Old Dresser into Bathroom Vanity
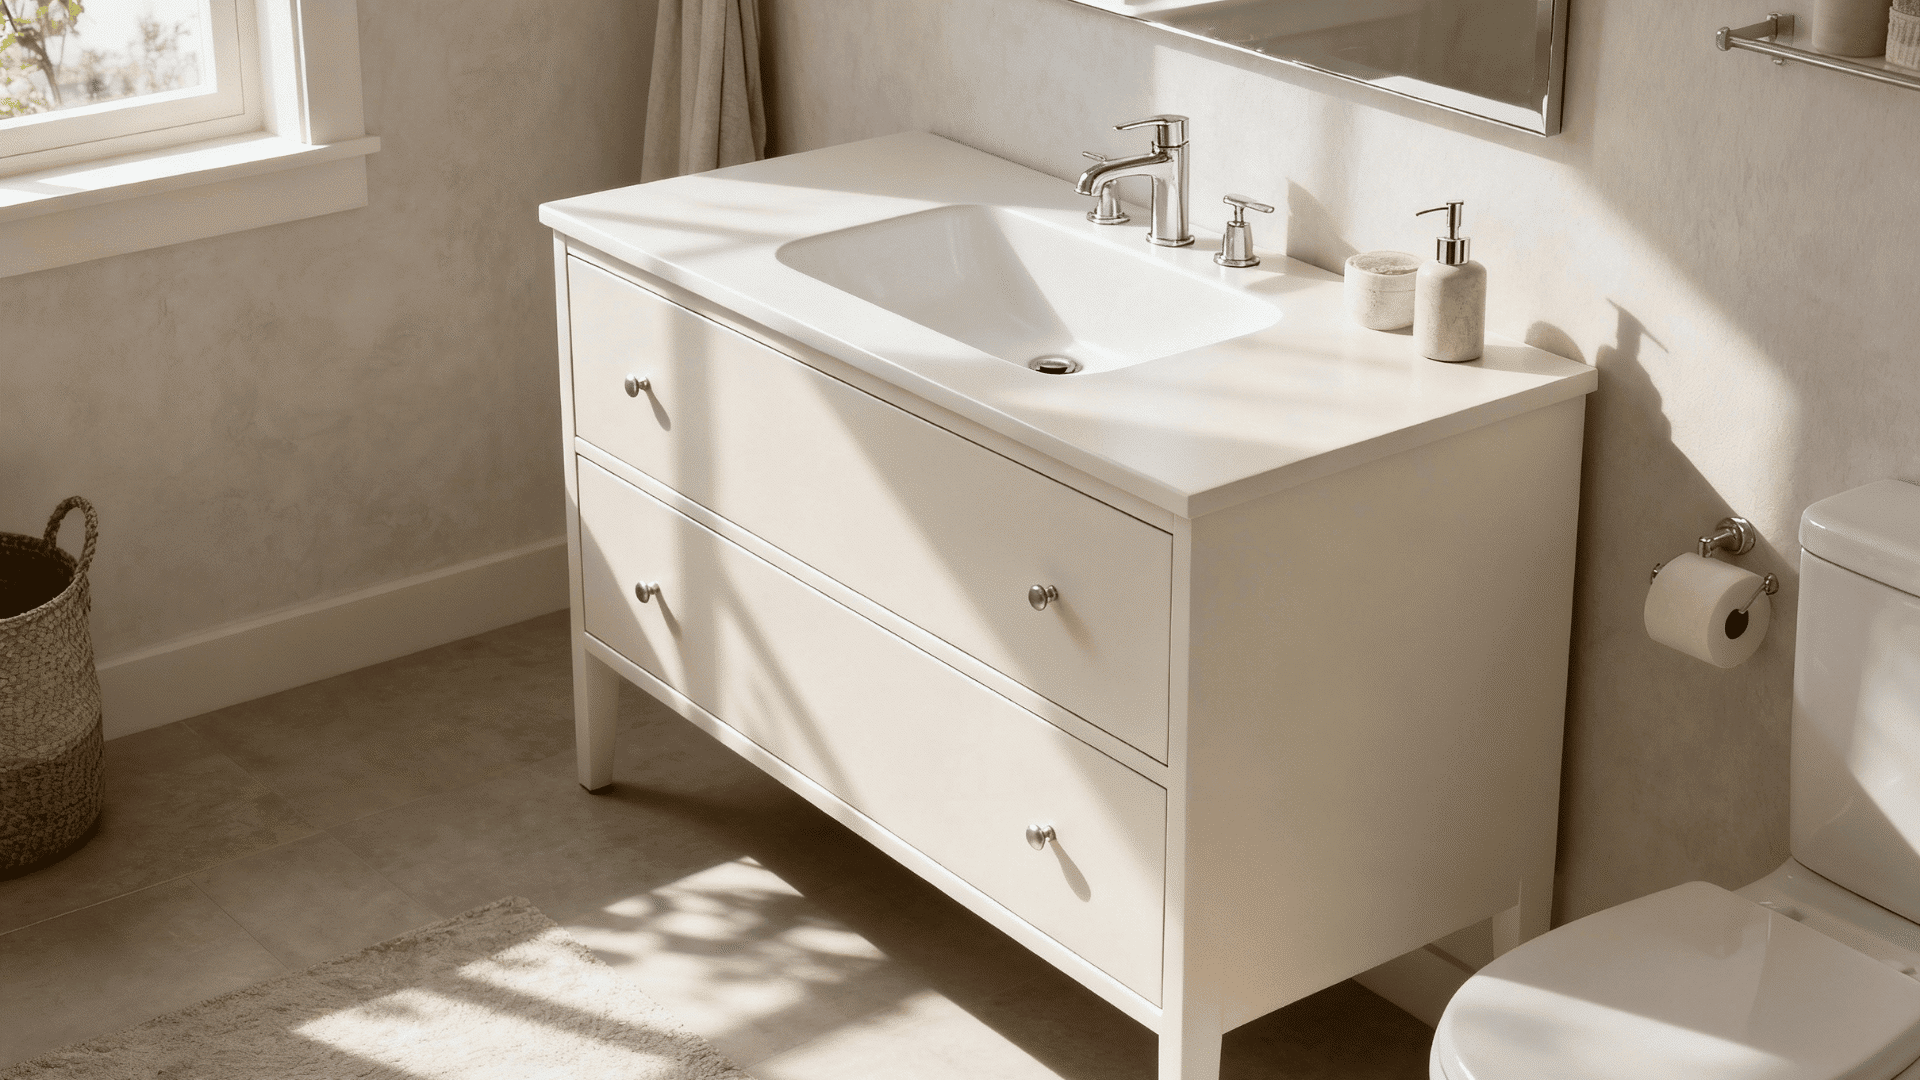
Turn that dated dresser into a stylish bathroom vanity. Cut out space for the sink and add plumbing.
DIY Step-By-Step Process
- Step 1: Remove the top drawers and cut a hole for the sink basin.
- Step 2: Sand the entire surface, then apply a waterproof sealant.
- Step 3: Paint or stain to match your bathroom style.
- Step 4: Install sink fixtures and connect plumbing.
Budget Range: $50-$150
2. Wooden Ladder into Plant Stand
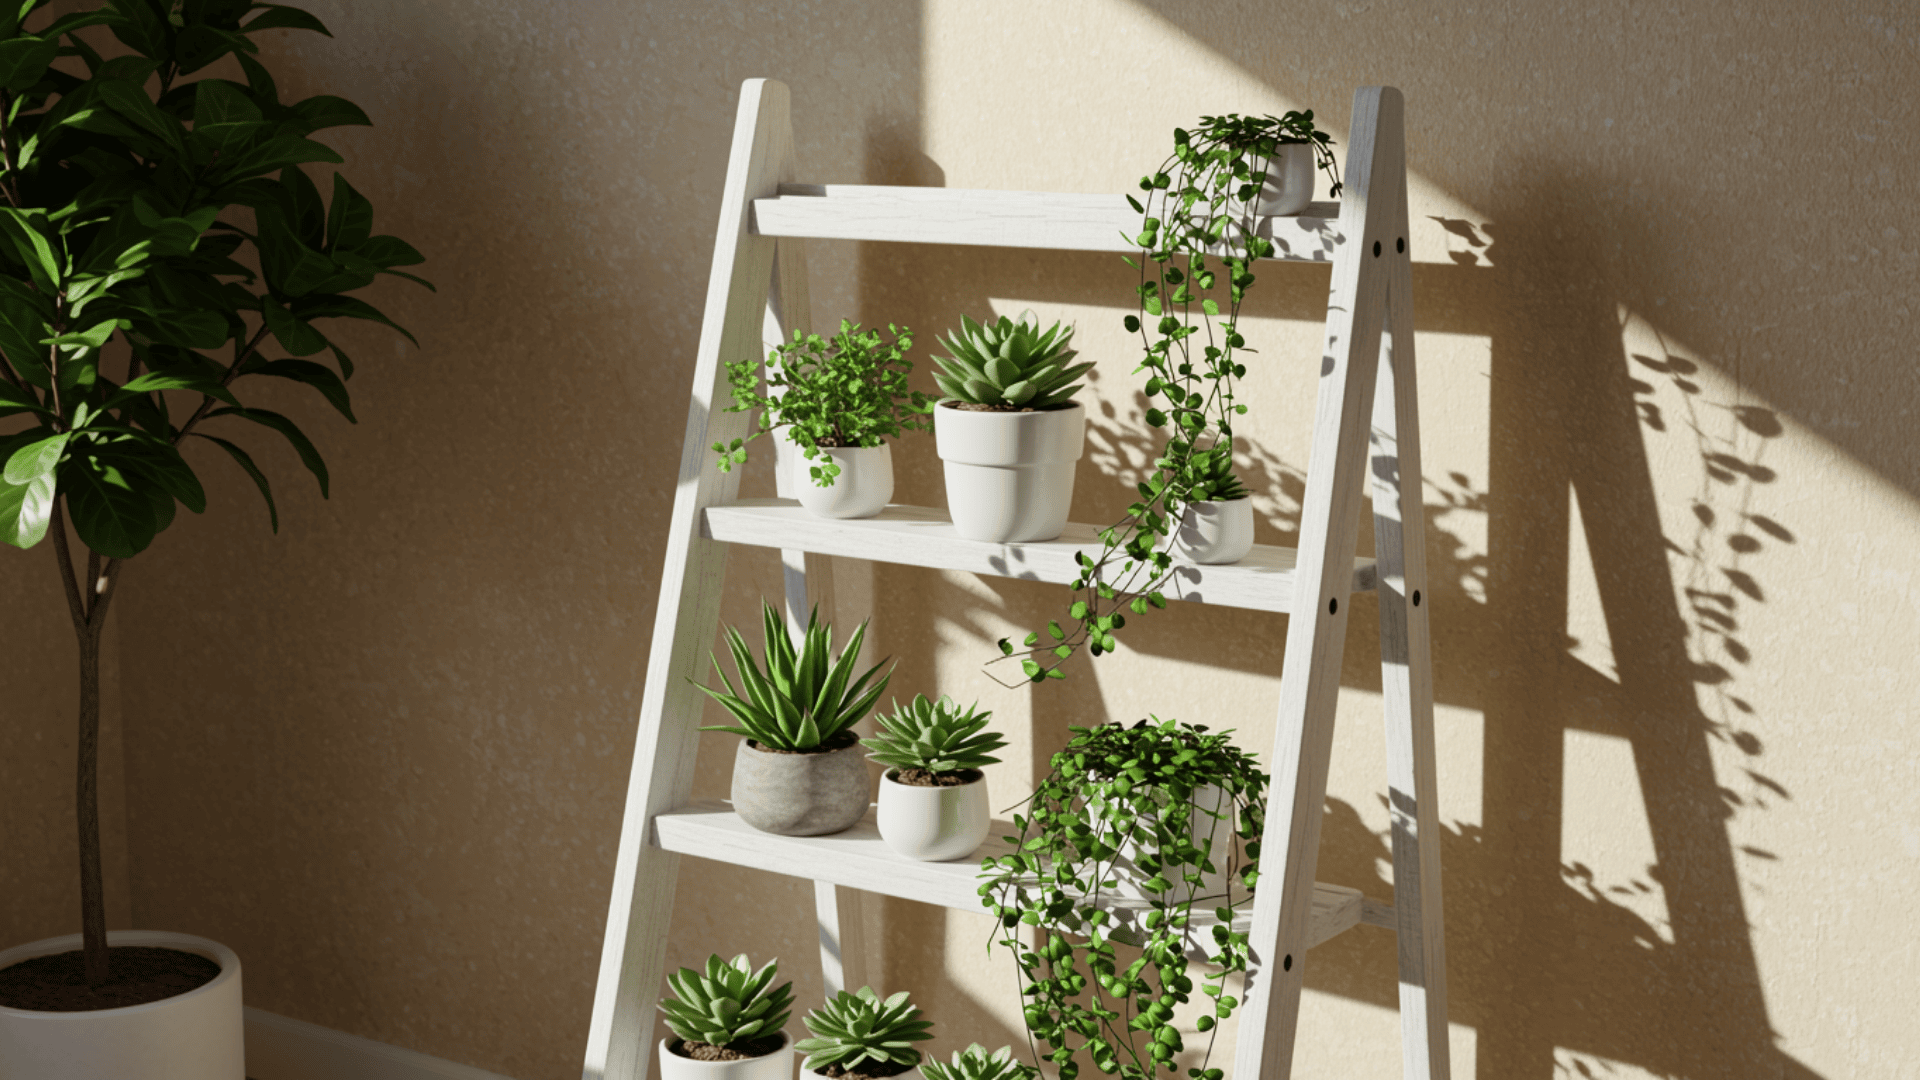
An old ladder becomes a charming display for your plants. It adds vertical interest to any room.
DIY Step-By-Step Process
- Step 1: Clean the ladder and check for stability.
- Step 2: Sand rough spots and apply wood conditioner.
- Step 3: Paint or leave natural, then apply a clear coat.
- Step 4: Place pots on rungs at different heights.
- Step 5: Secure to the wall if needed for safety.
Budget Range: $10-$30
3. Bar Stools into Towel Rack
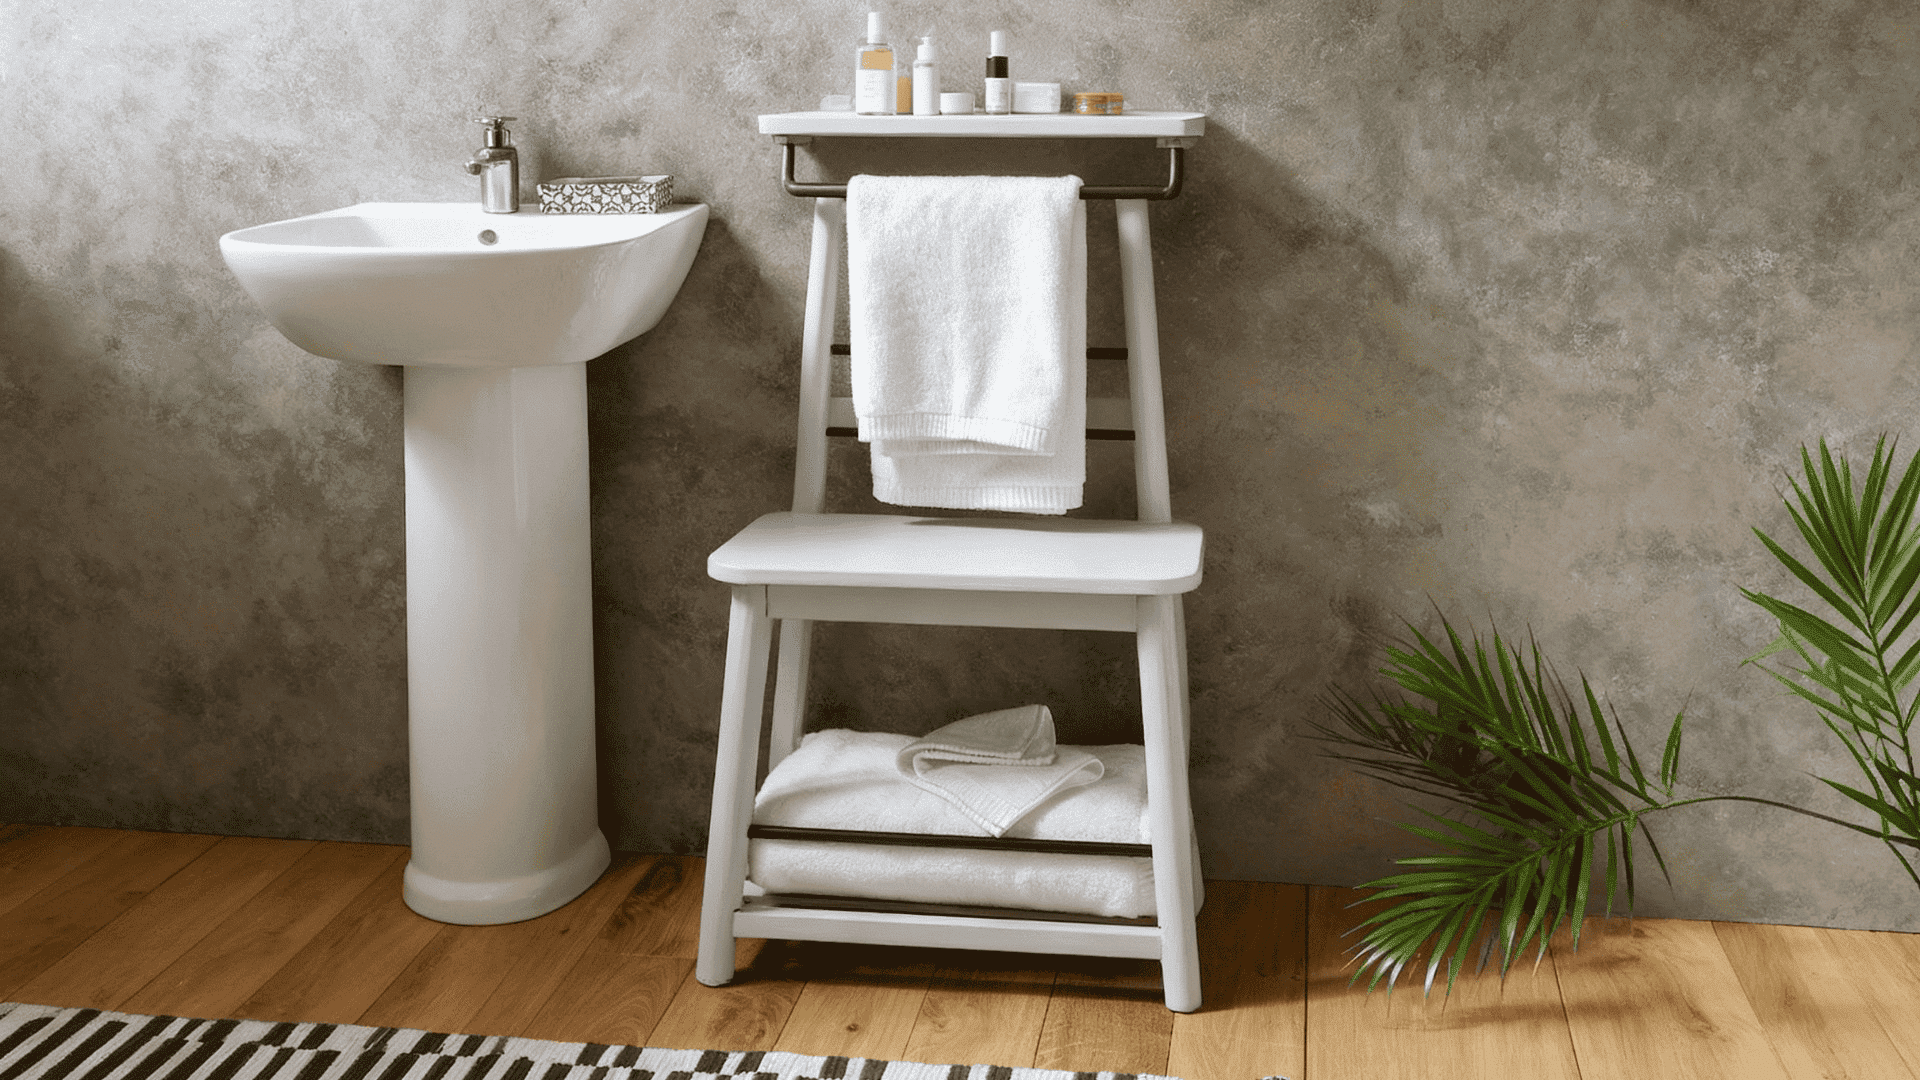
Turn broken bar stools into functional bathroom storage. The seat becomes a shelf, and the legs hold towels.
DIY Step-By-Step Process
- Step 1: Carefully remove the seat from the stool frame.
- Step 2: Sand all parts and paint the desired color.
- Step 3: Mount the seat piece to the wall as a shelf.
- Step 4: Attach legs horizontally below for towel bars.
- Step 5: Add hooks on legs for extra hanging space.
- Step 6: Seal with a waterproof finish for bathroom use.
Budget Range: $15-$40
4. Kitchen Chairs into Garden Bench
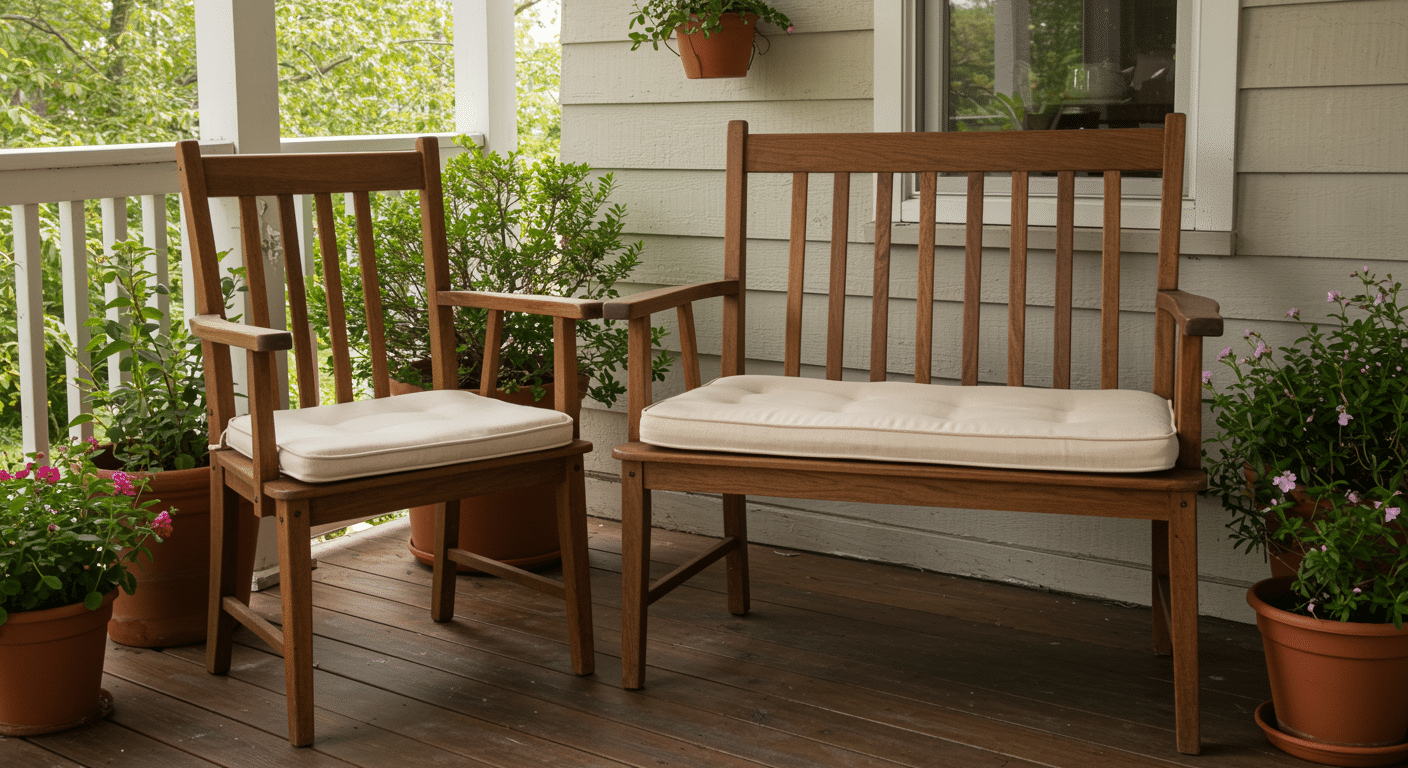
Combine two matching chairs to create outdoor seating. This upcycled furniture idea works great for porches.
DIY Step-By-Step Process
- Step 1: Remove chair seats but keep the frames intact.
- Step 2: Connect chairs with wooden planks across the back and seat.
- Step 3: Sand everything smooth and apply outdoor primer.
- Step 4: Paint with weather-resistant exterior paint.
Budget Range: $20-$50
5. Old Door into Headboard
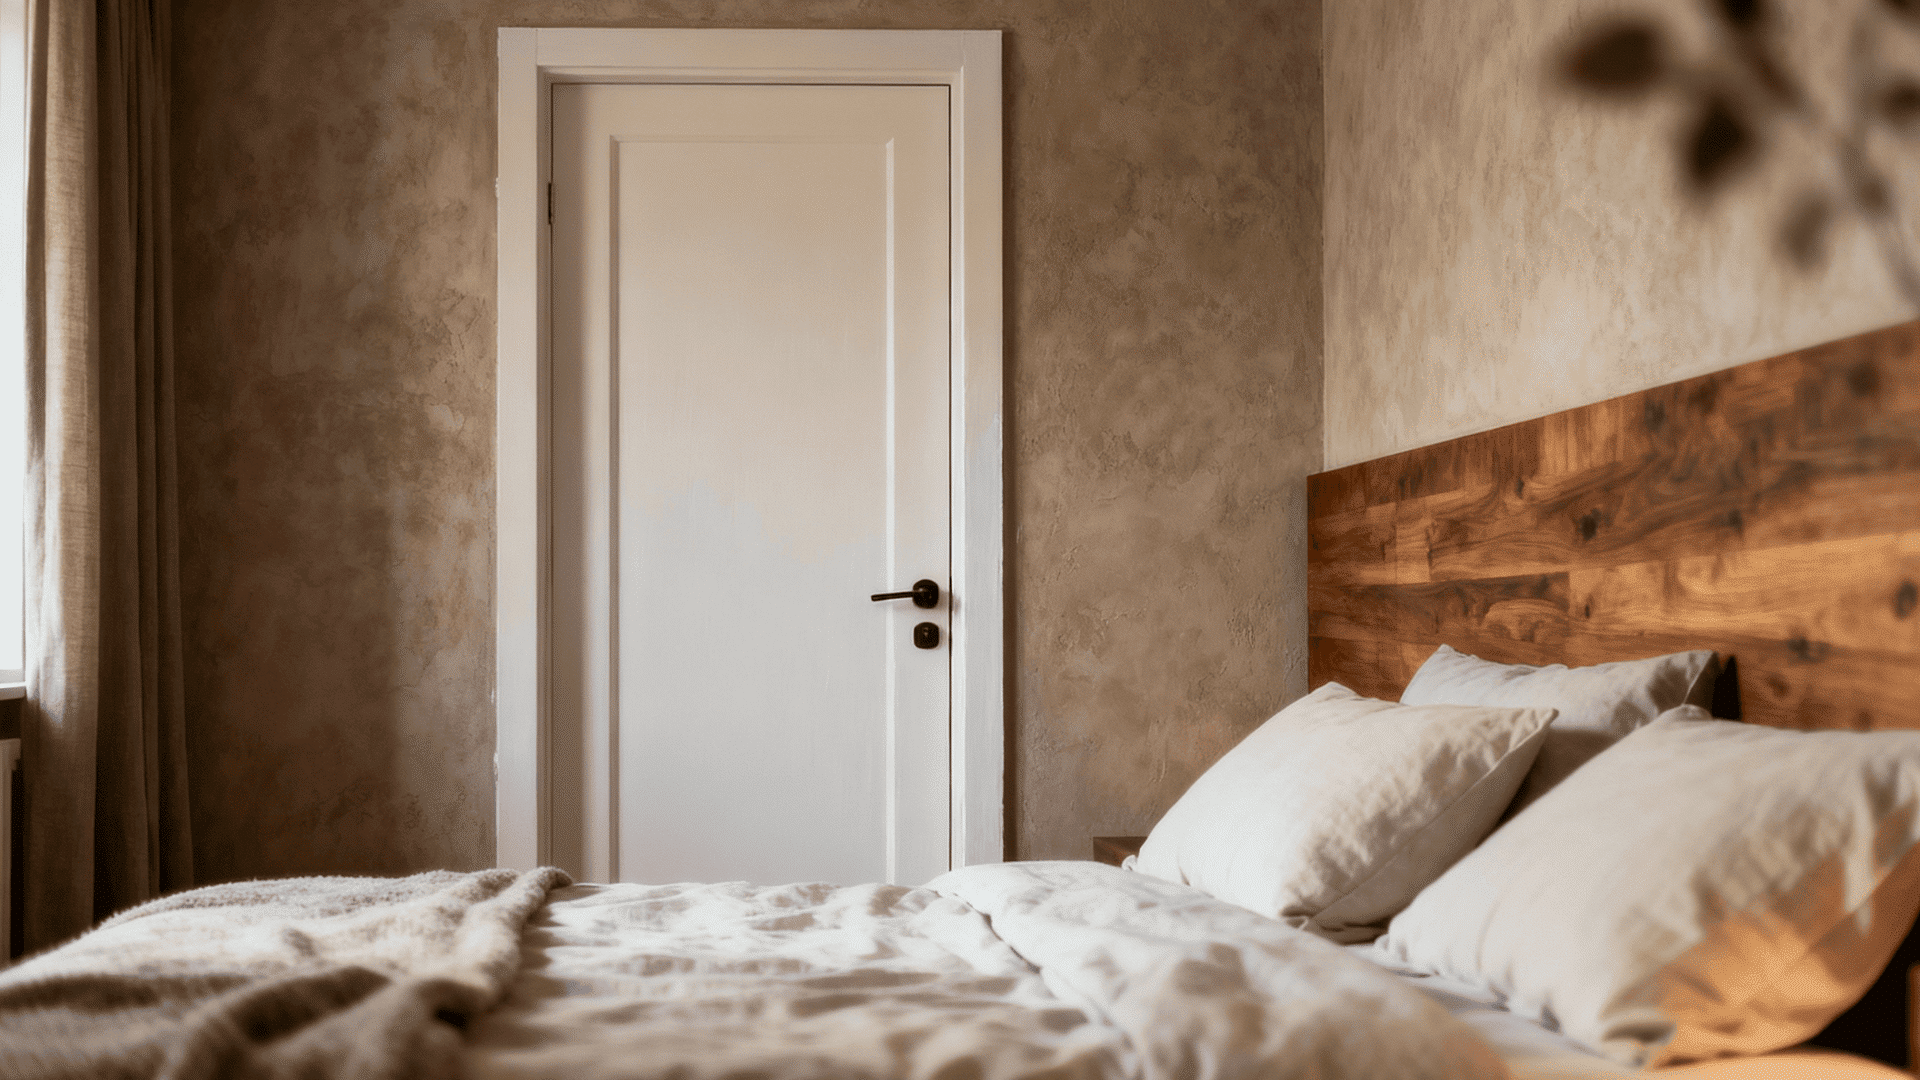
A vintage door makes a lovely focal point for your bedroom. The character and detail can’t be bought new.
DIY Step-By-Step Process
- Step 1: Clean the door and remove all hardware.
- Step 2: Sand lightly and fill any unwanted holes.
- Step 3: Paint, stain, or leave the weathered look.
- Step 4: Mount securely to the wall behind the bed.
- Step 5: Add decorative trim if desired.
- Step 6: Apply a protective finish to prevent chipping.
Budget Range: $25-$60
6. Drawer into Wall Shelf
Single drawers from broken dressers get new life as shelves. They’re perfect for displaying small items.
DIY Step-By-Step Process
- Step 1: Remove drawer handles and hardware.
- Step 2: Sand and paint the exterior.
- Step 3: Attach mounting brackets to the back.
- Step 4: Hang on the wall at the desired height.
Budget Range: $5-$20
7. Wine Crates into Coffee Table
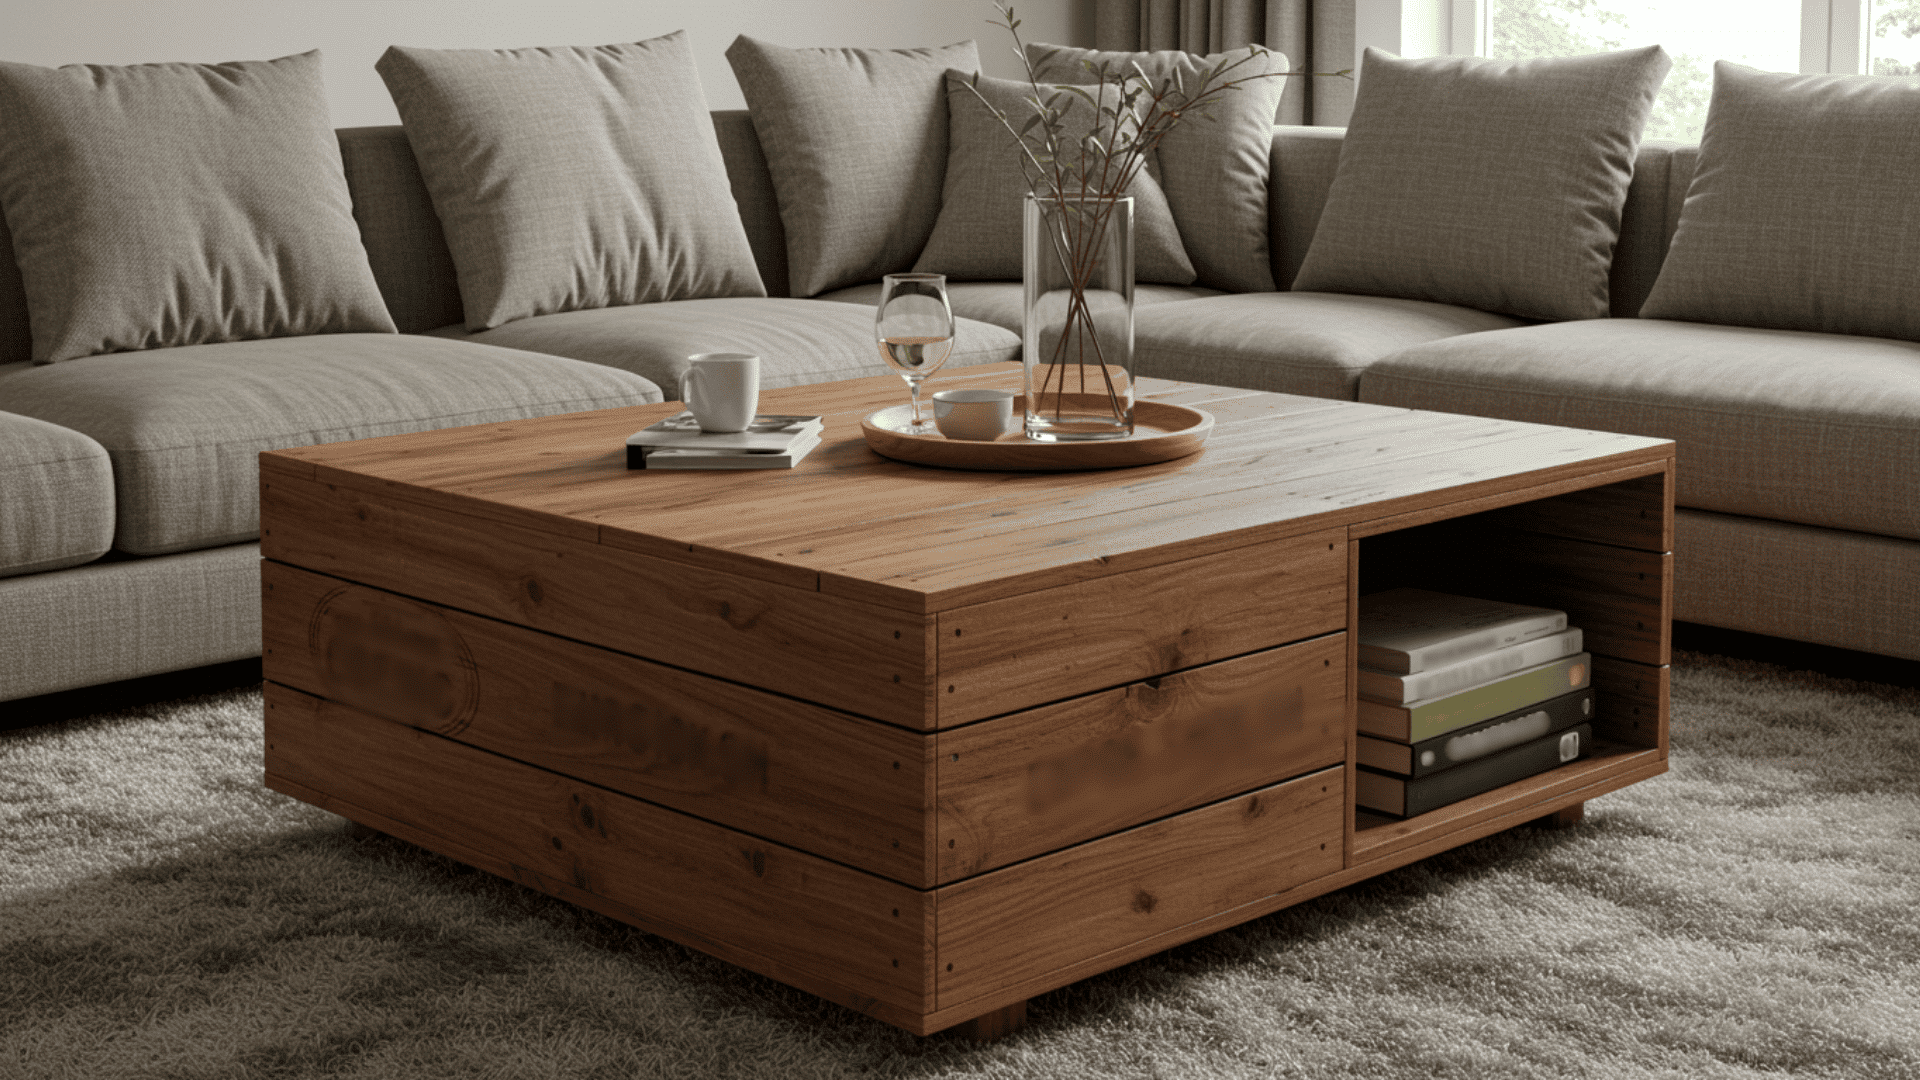
Stack wooden wine crates for rural storage and style. You get both a table and organization.
DIY Step-By-Step Process
- Step 1: Clean crates and sand any rough edges.
- Step 2: Arrange four crates in a square formation.
- Step 3: Secure crates together with wood screws.
- Step 4: Add a glass or wooden top surface.
- Step 5: Attach caster wheels for mobility.
Budget Range: $30-$70
8. Old Window Frame into Photo Display
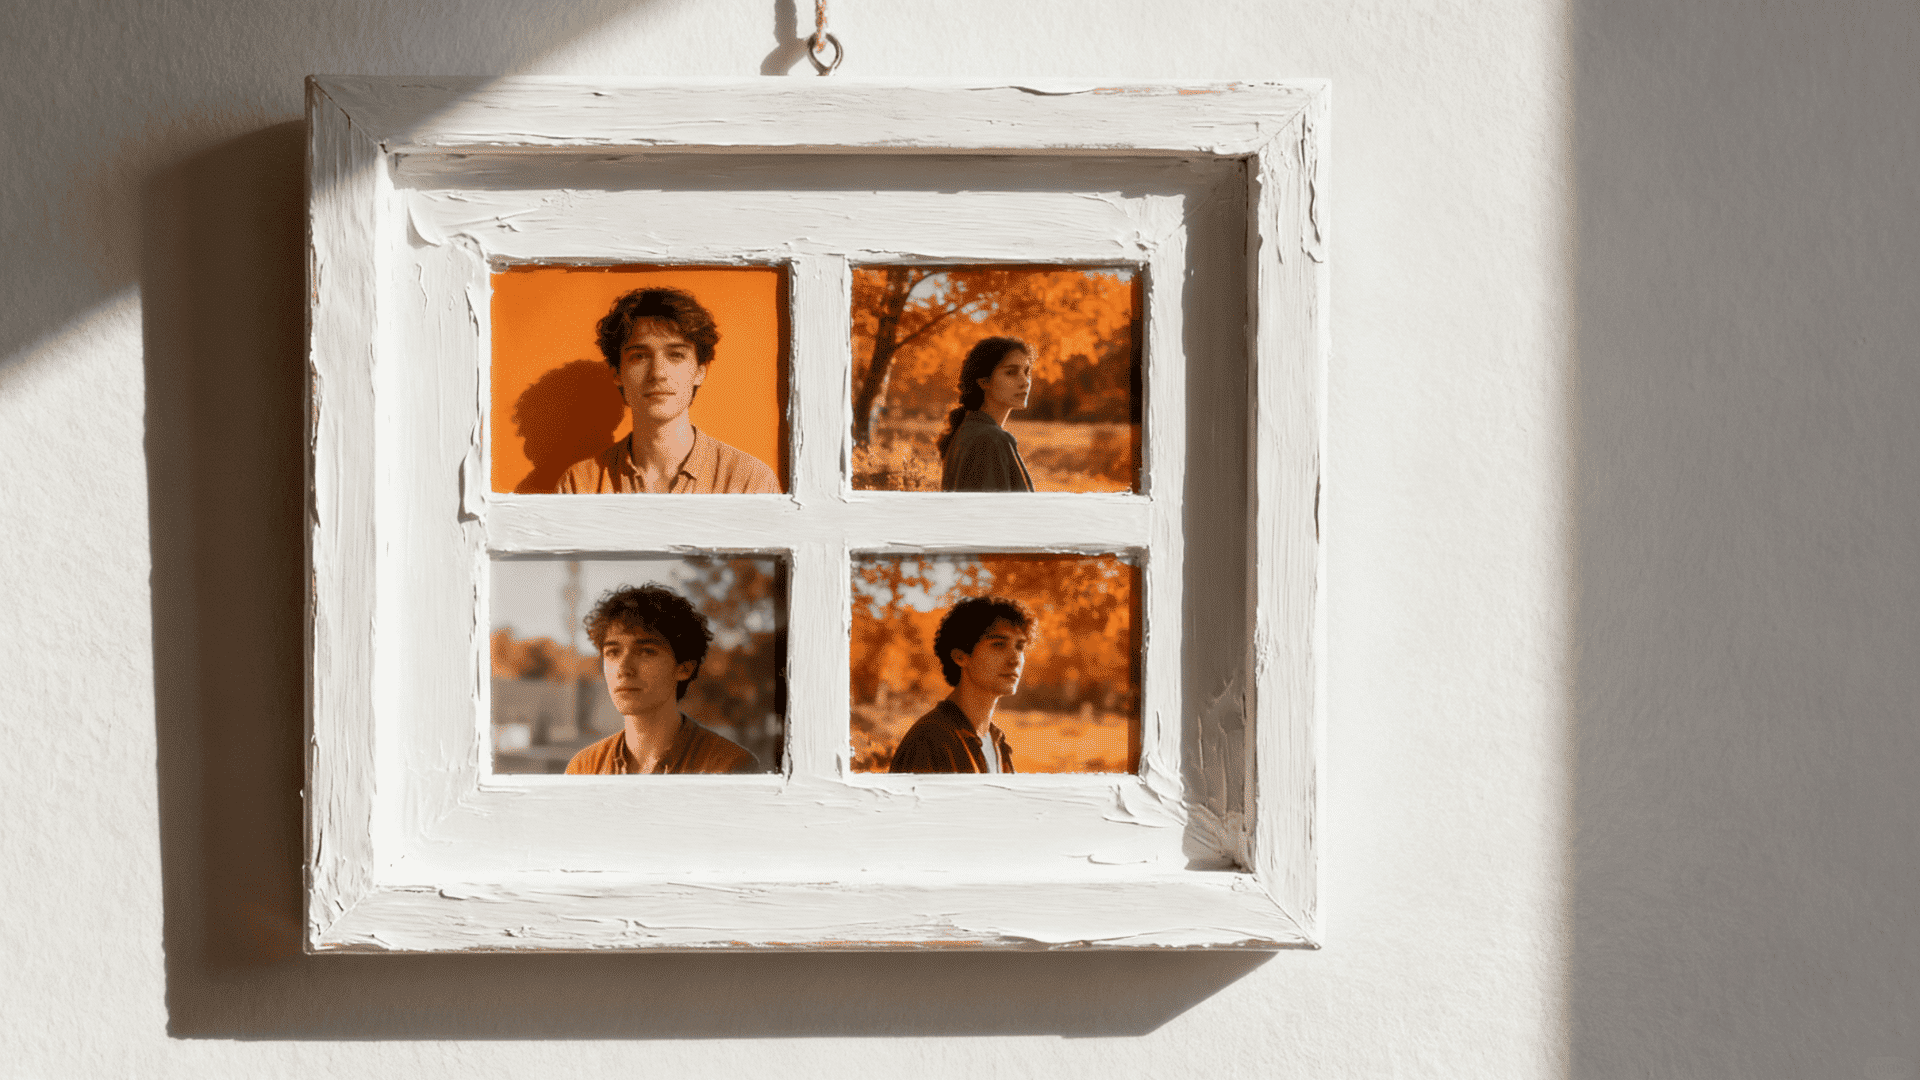
Vintage windows become charming picture frames. The multiple panes hold several photos at once.
DIY Step-By-Step Process
- Step 1: Clean glass panes and window frame.
- Step 2: Carefully remove any loose or broken glass.
- Step 3: Paint or distress the frame as preferred.
- Step 4: Attach photos to the back of each pane with tape.
Budget Range: $10-$35
9. Wooden Pallets into Outdoor Sofa
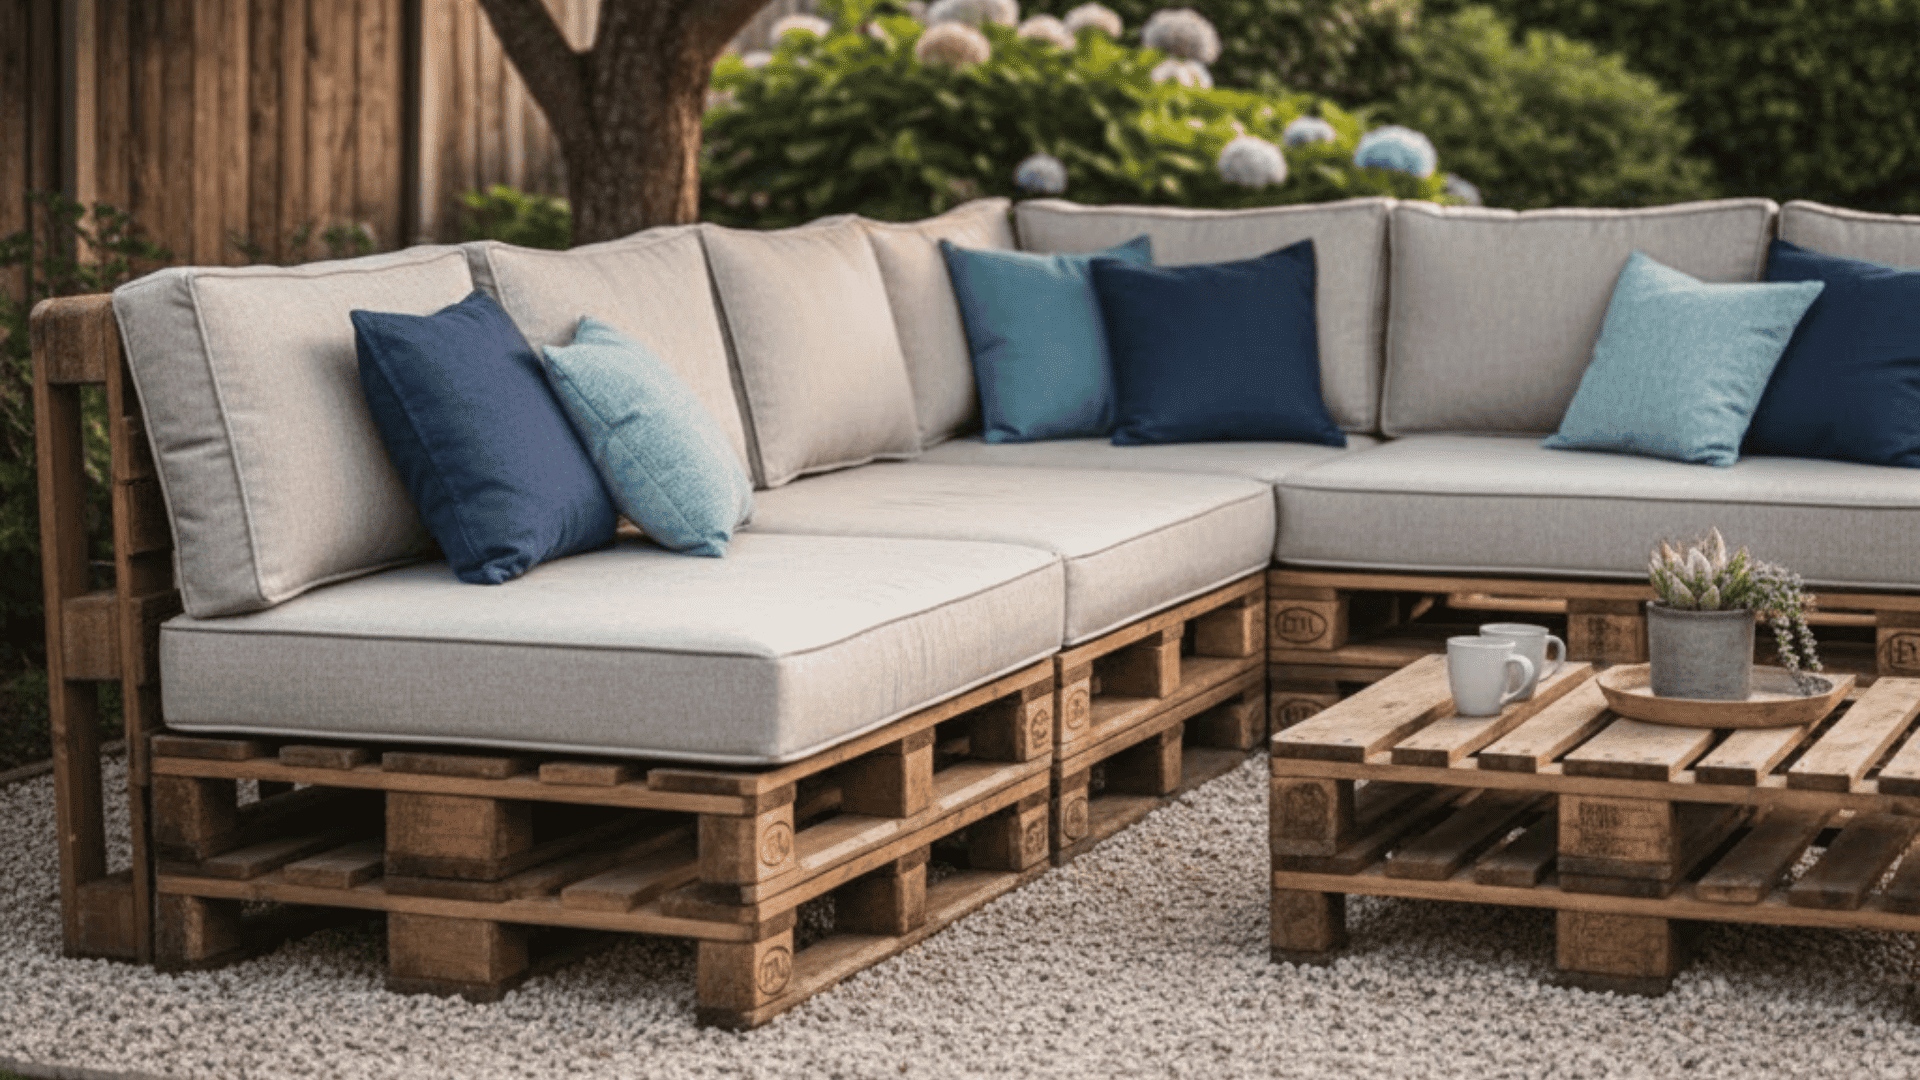
Pallets stack to form budget-friendly patio furniture. Add cushions, and you’ve got comfortable seating.
DIY Step-By-Step Process
- Step 1: Find pallets in good condition, free of damage.
- Step 2: Sand thoroughly to remove splinters.
- Step 3: Stack and secure pallets for the seat and back.
- Step 4: Apply outdoor wood stain or paint.
- Step 5: Top with weather-resistant cushions.
- Step 6: Add armrests if desired for extra comfort.
Budget Range: $40-$100
10. Filing Cabinet into Kitchen Island
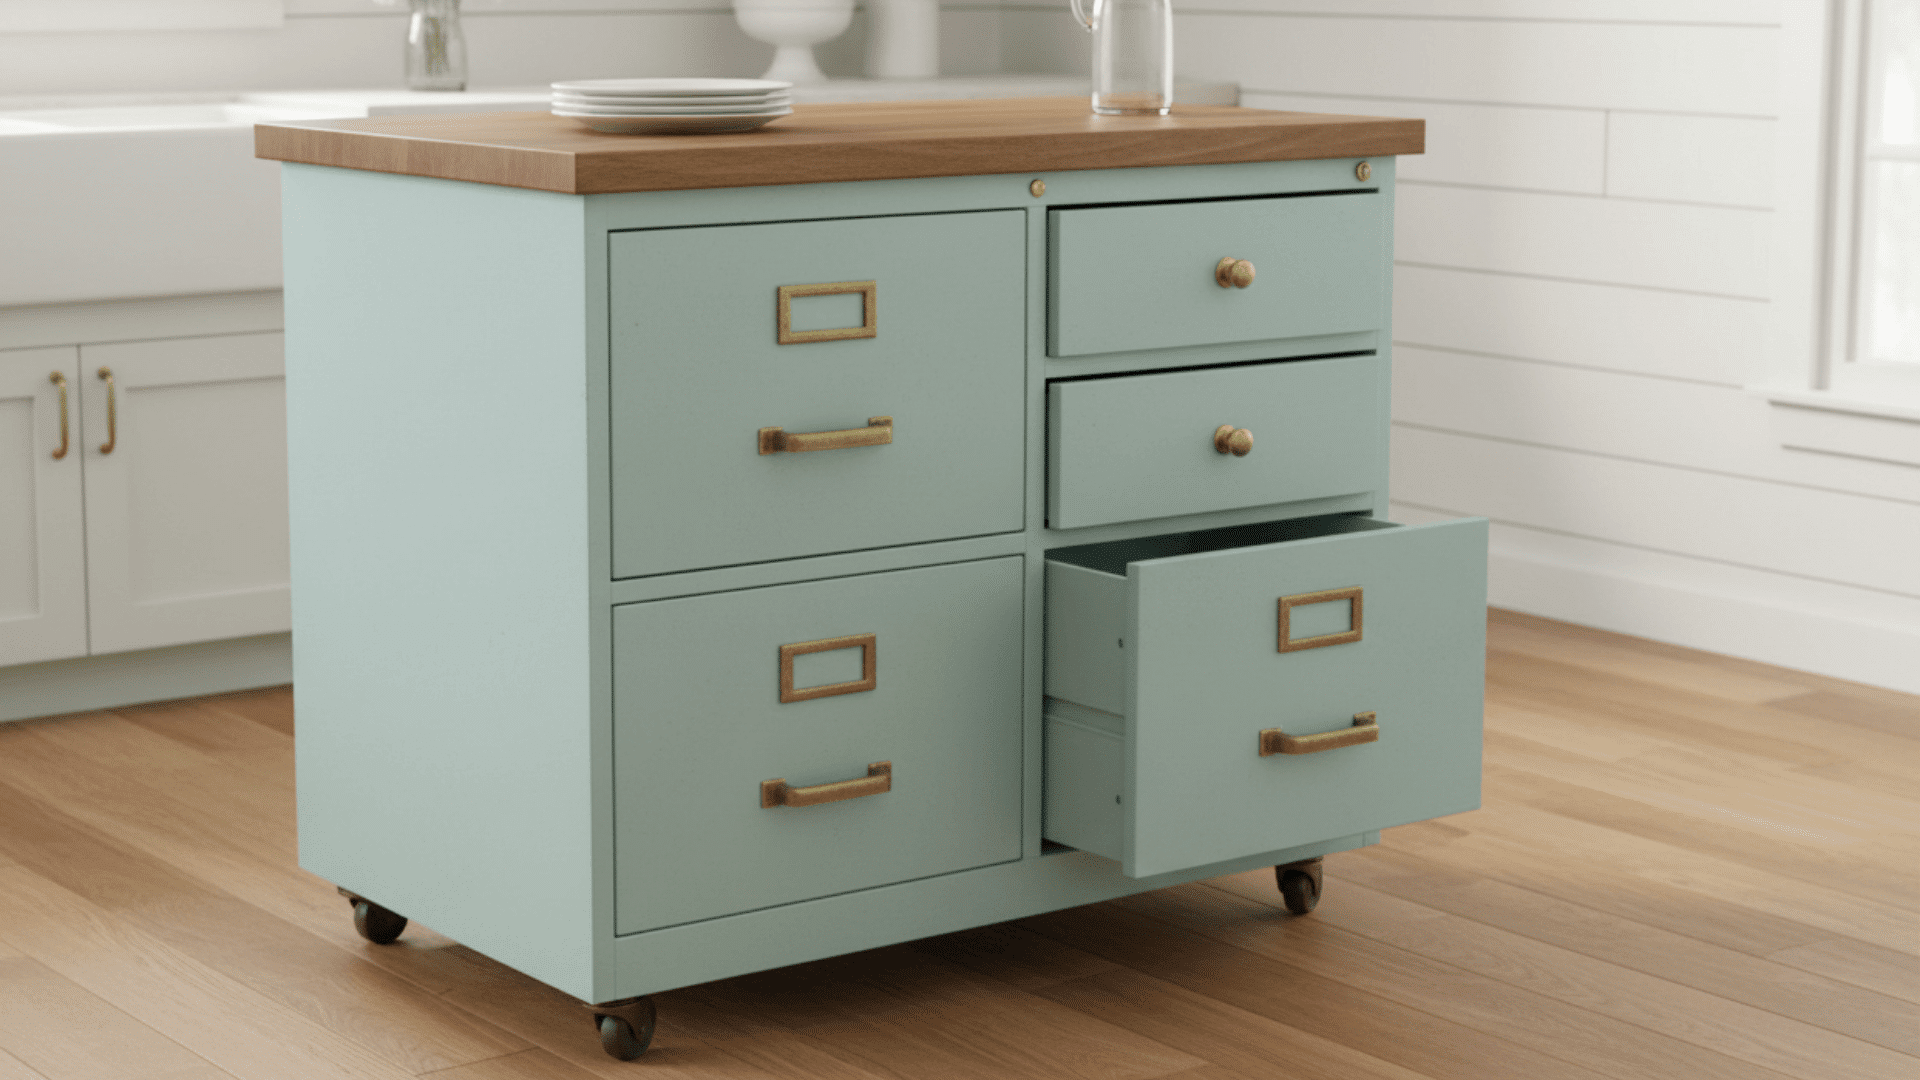
Metal filing cabinets offer sturdy storage for kitchens. Paint them and add a countertop for function.
DIY Step-By-Step Process
- Step 1: Empty the cabinet and remove all drawers.
- Step 2: Clean with a degreaser and let it dry completely.
- Step 3: Apply metal primer, then paint the color of your choice.
- Step 4: Replace drawers and add new pulls.
- Step 5: Attach a butcher block or wood top.
Budget Range: $35-$80
11. Bookshelf into Kitchen Pantry
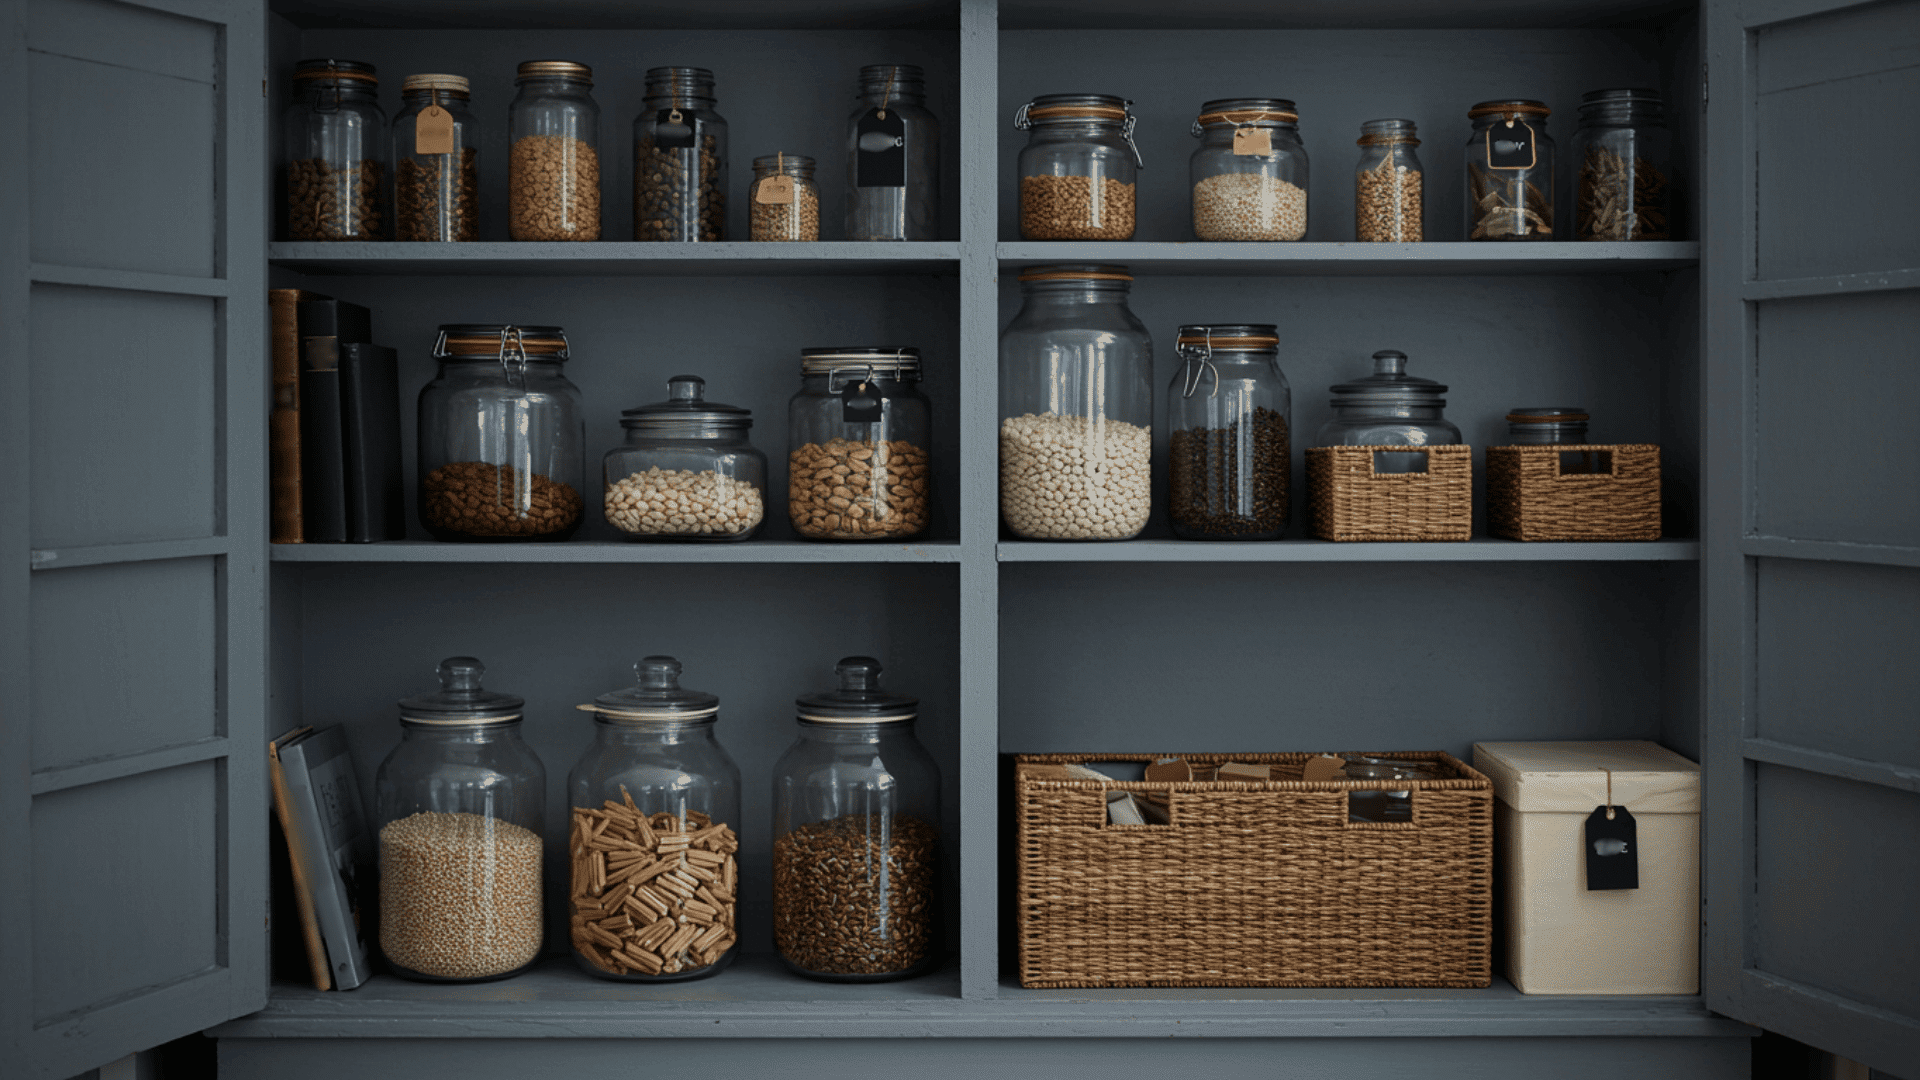
Repurpose an old bookshelf for organized food storage. It works especially well in small kitchens.
DIY Step-By-Step Process
- Step 1: Clean the shelf and remove any damaged sections.
- Step 2: Sand and paint in a kitchen-friendly color.
- Step 3: Add hooks to the sides for hanging items.
- Step 4: Install baskets or bins on shelves.
Budget Range: $15-$45
12. Piano Bench into Entryway Storage
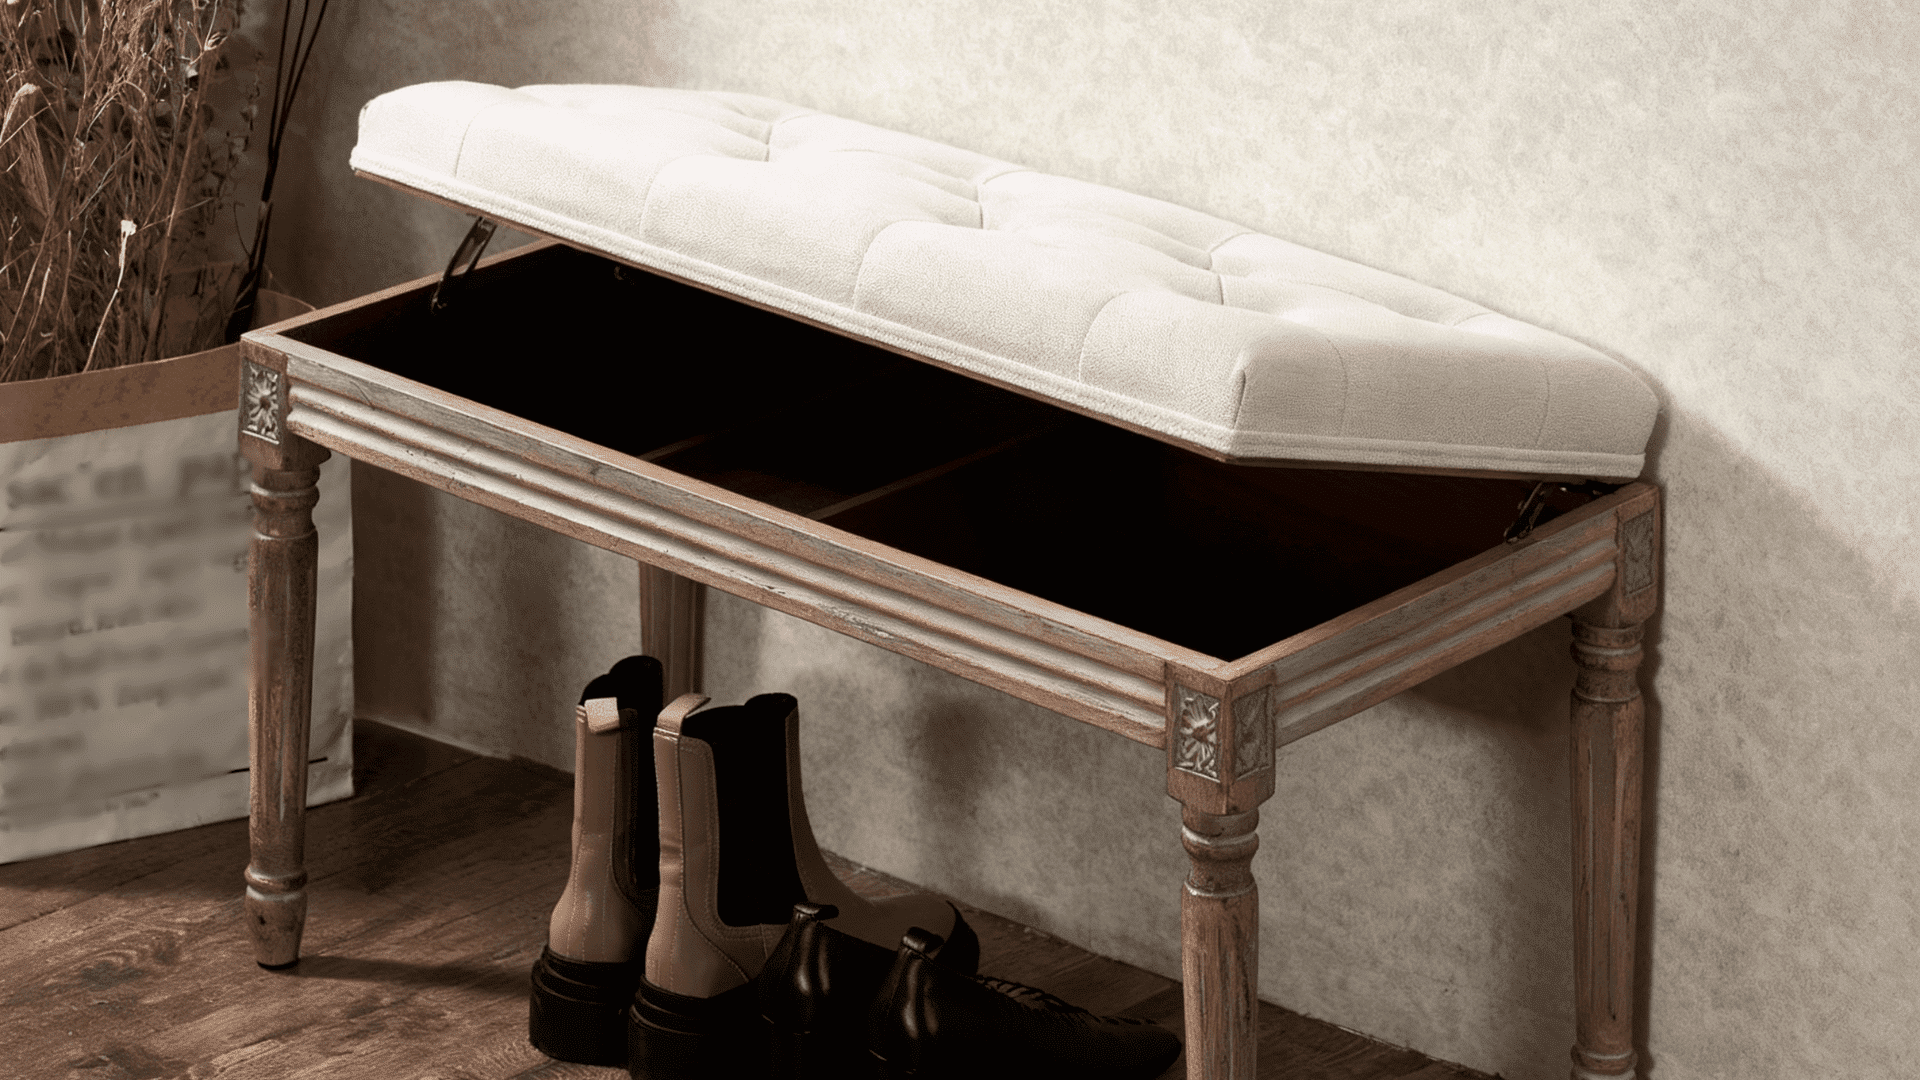
Convert an old piano bench into functional entry seating. The hidden storage is a bonus.
DIY Step-By-Step Process
- Step 1: Remove piano bench hardware and hinges.
- Step 2: Sand the entire bench, including the seat top.
- Step 3: Paint or refinish in the desired color.
- Step 4: Reattach hinges for storage access.
- Step 5: Add cushion to top for comfort.
- Step 6: Install decorative hardware for an upgraded look.
Budget Range: $20-$50
13. Bed Frame into Porch Swing
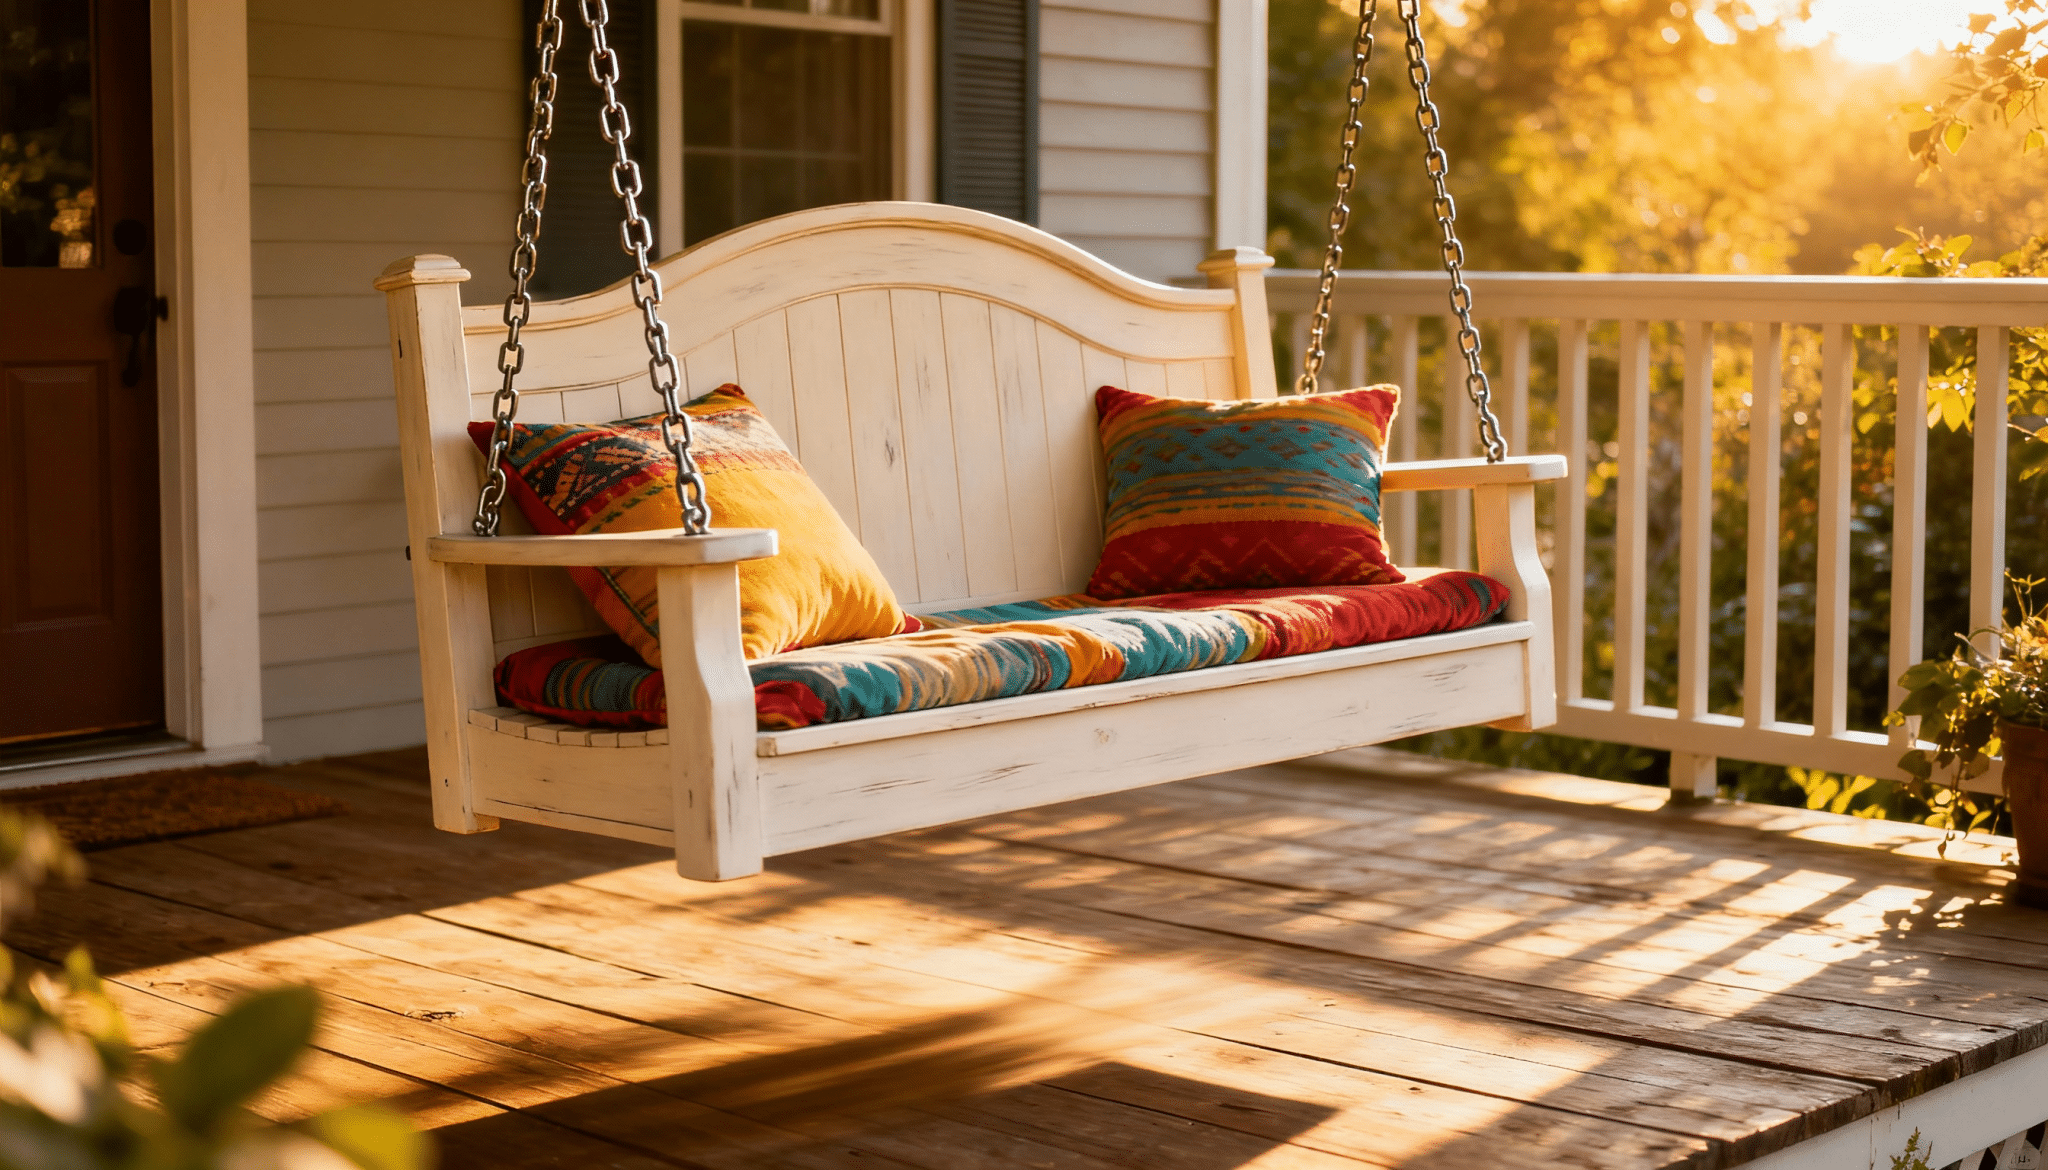
Turn a headboard and footboard into swinging seating. This upcycled furniture piece creates a cozy outdoor spot.
DIY Step-By-Step Process
- Step 1: Disassemble the bed frame, keeping the two end pieces.
- Step 2: Build a seat platform between the pieces.
- Step 3: Sand all wood surfaces to a smooth finish.
- Step 4: Paint or stain for outdoor durability.
- Step 5: Attach heavy-duty chains and hang securely.
Budget Range: $50-$120
14. Shutters into Room Divider
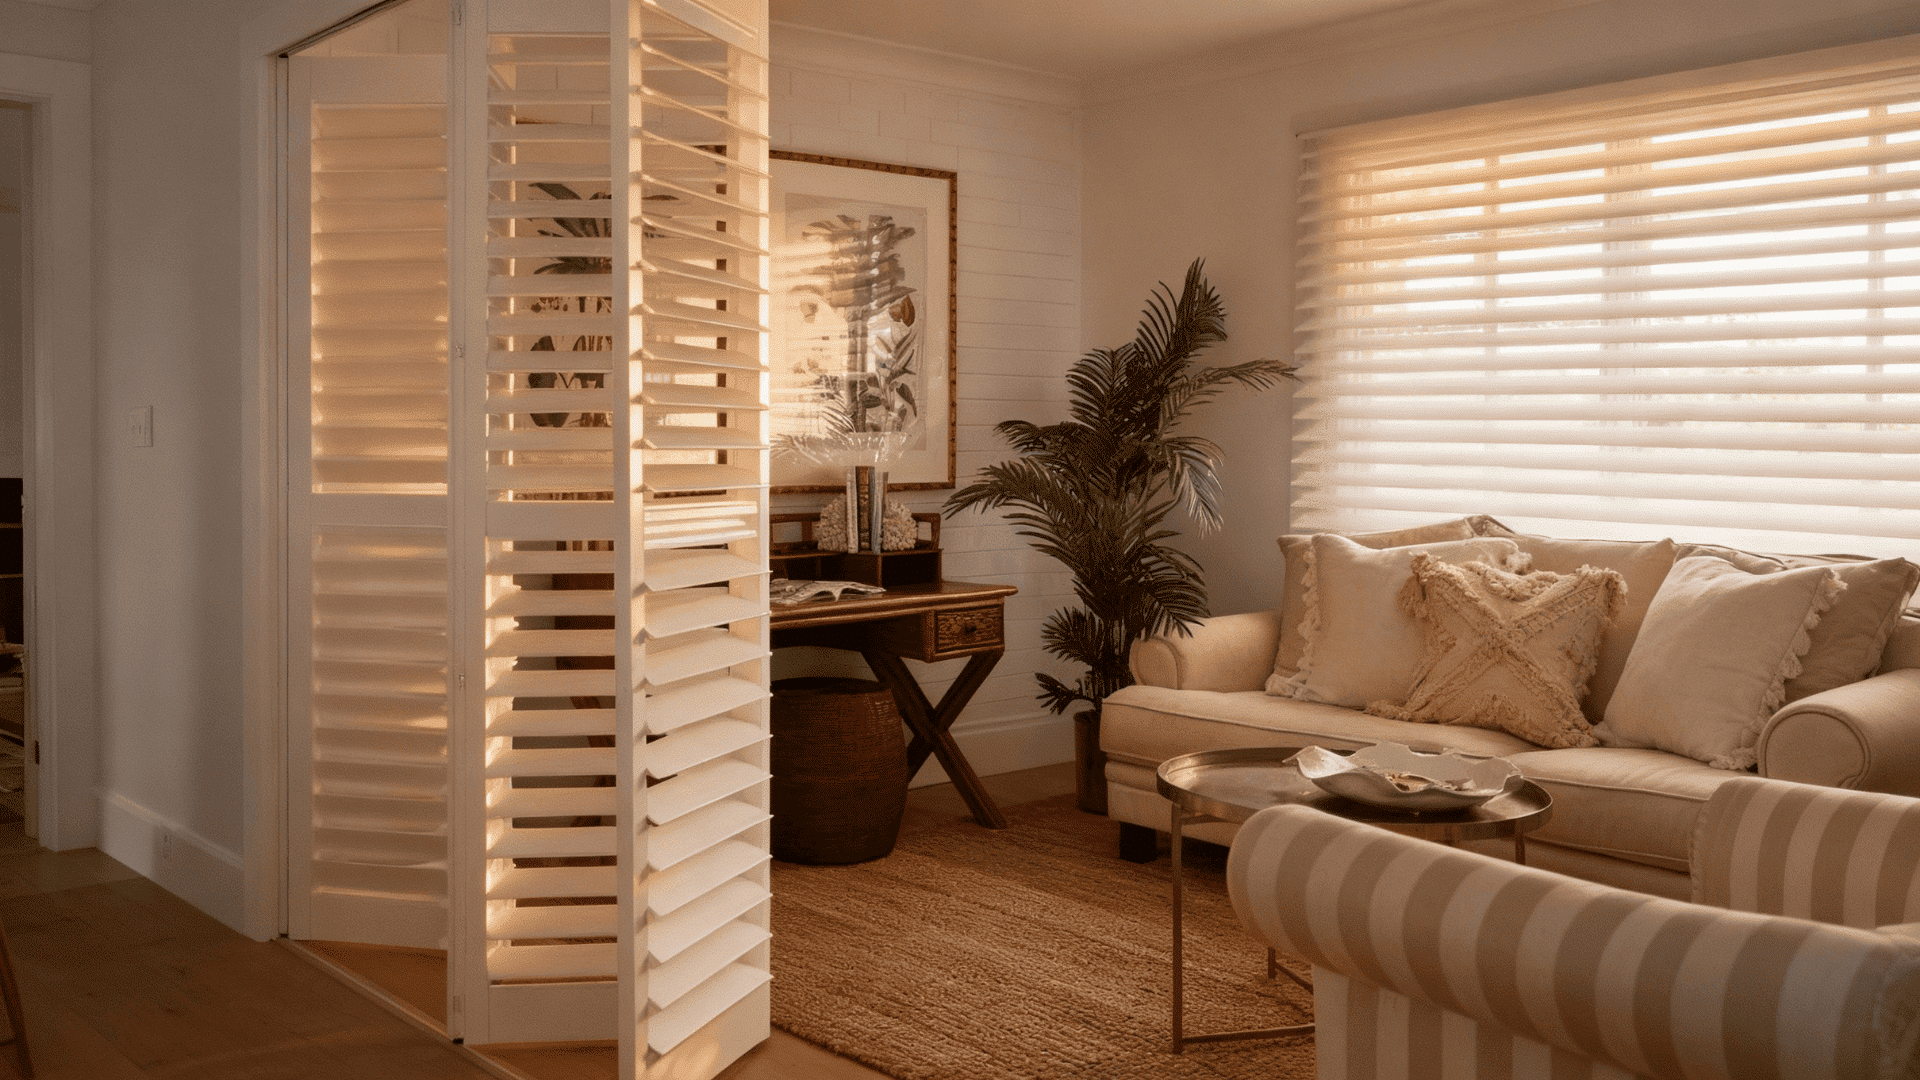
Old shutters create privacy without blocking light completely. They add texture to open floor plans.
DIY Step-By-Step Process
- Step 1: Collect matching shutters of the same size.
- Step 2: Sand and paint in coordinating colors.
- Step 3: Connect shutters with small hinges.
- Step 4: Add felt pads to the bottom edges.
Budget Range: $25-$60
15. Tire into Ottoman

An old tire becomes trendy seating with a rope wrap. It’s surprisingly comfortable and conversation-starting.
DIY Step-By-Step Process
- Step 1: Clean the tire thoroughly with soap and water.
- Step 2: Cut two plywood circles for the top and bottom.
- Step 3: Attach circles with strong adhesive.
- Step 4: Wrap the entire tire with a thick rope using glue.
- Step 5: Add a cushion on top for soft seating.
- Step 6: Apply fabric protector spray to the cushion.
Budget Range: $20-$45
16. Cabinet Doors into Serving Tray

Unused cabinet doors make beautiful serving pieces. Add handles, and you’re ready to entertain.
DIY Step-By-Step Process
- Step 1: Select a flat cabinet door without damage.
- Step 2: Sand smooth and clean thoroughly.
- Step 3: Paint or stain the surface.
- Step 4: Attach decorative handles on two sides.
Budget Range: $10-$25
17. Crib into Desk
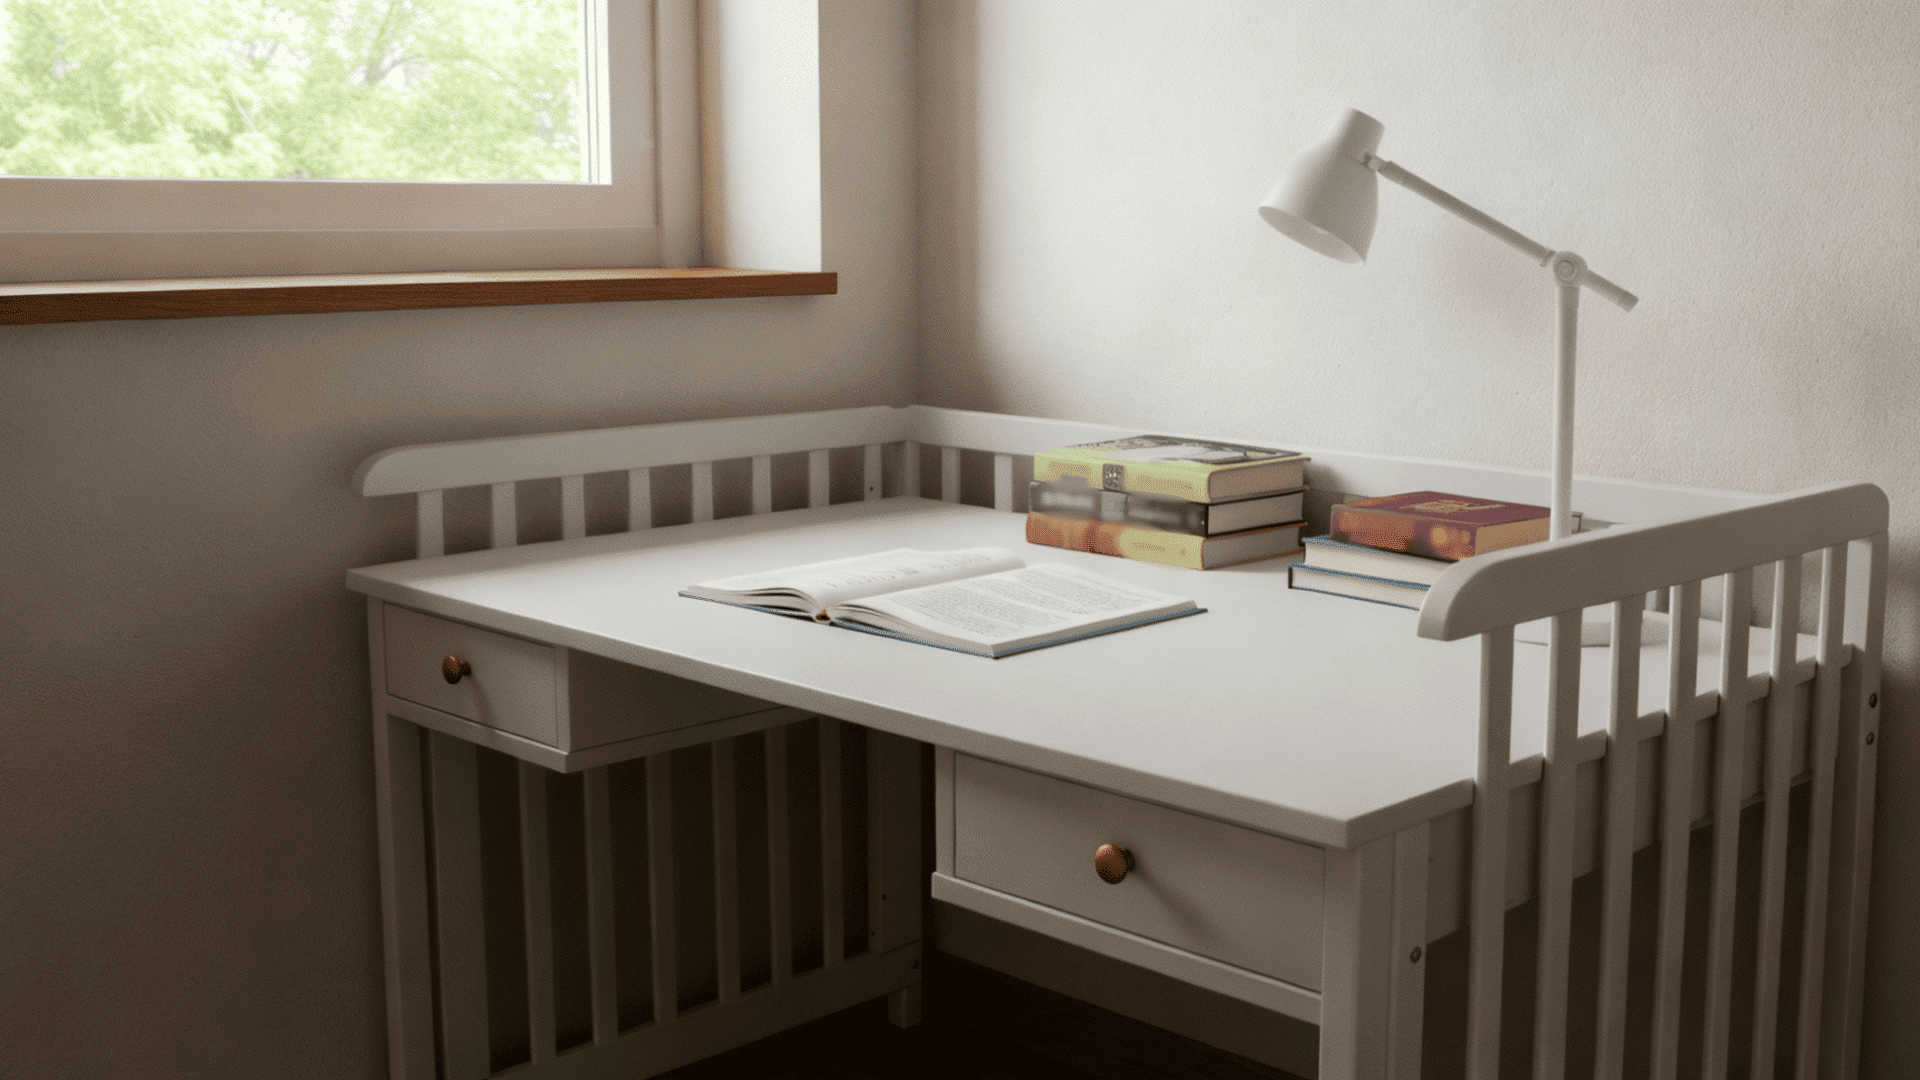
When kids outgrow cribs, the wood can live on. One side becomes a unique workspace.
DIY Step-By-Step Process
- Step 1: Disassemble the crib and select the best side panel.
- Step 2: Cut panel to desired desk height.
- Step 3: Attach legs or mount to wall brackets.
- Step 4: Sand and refinish the wood surface.
- Step 5: Add a desktop if the panel isn’t wide enough.
- Step 6: Install cable management clips for cords.
Budget Range: $30-$75
Creative Ways to Add Character to Upcycled Furniture
| Technique | Materials Needed | Cost | Effect | Best For |
|---|---|---|---|---|
| Distressing | Sandpaper, candle wax | Under $5 | Worn look | Wood furniture |
| Stenciling | Stencil, paint | $5-$10 | Pattern and detail | Flat surfaces |
| Decoupage | Paper, Mod Podge | $3-$8 | Custom designs | Drawers, tabletops |
| Two-Tone Paint | Leftover paint colors | Free | Modern contrast | Chairs, cabinets |
| Rope Wrapping | Thick rope, glue | $8-$12 | Textured accents | Legs, handles |
| Fabric Panels | Scrap fabric, staples | $2-$5 | Soft backing | Cabinet doors |
| Washi Tape | Decorative tape rolls | $3-$6 | Colorful borders | Edges, trim |
| Wood Stain | Stain, cloth | $6-$10 | Rich wood tones | Natural wood |
| Metallic Accents | Gold/silver paint pen | $4-$7 | Highlights | Details, corners |
| Contact Paper | Adhesive sheets | $5-$10 | Faux marble, wood | Surfaces, sides |
Budget-Friendly Ways to Upgrade Old Furniture
You don’t need to spend much to make old furniture look new. There are plenty of cheap ways to upgrade pieces.
Swap out hardware first. New knobs and pulls cost just a few dollars but change everything. Hit thrift stores for affordable supplies like brushes and sandpaper. Use leftover paint from other projects.
Mix colors to create custom shades. Contact paper works great for drawer liners and costs next to nothing.
Replace just the cushions instead of the whole chair. Fabric remnants are cheaper than full yards.
Add decorative trim with hot glue for instant detail. Check free online listings for furniture that needs minor repairs. Sometimes, all it needs is cleaning and tightening screws
Common Mistakes to Avoid
- Skipping the cleaning step before you start painting.
- Not sanding between paint coats for smooth results.
- Using indoor paint on outdoor furniture pieces.
- Forgetting to remove hardware before painting.
- Not letting each coat dry completely before adding the next.
- Ignoring structural damage that needs fixing first.
- Rushing the prep work to get to painting faster.
Final Thoughts
Upcycled furniture gives you creative control and saves money. You’ve learned the basics, from picking the right piece to adding finishing touches. Start with one small project this weekend.
That old chair in your garage could become your favorite seat. Or that drawer could turn into a stylish shelf.
Paint peels sometimes. Colors don’t always match your vision. But that’s how you learn and improve.
Now go find that piece you’ve been meaning to fix.