Safety Rules Every Builder Must Follow
Before you grab your hammer, keep these points in mind. I always start by checking if my tree is strong enough.
Keep your build away from power lines and at a height that makes sense for your kids. Most treehouses sit between 6 and 10 feet off the ground.
Look for healthy branches that are at least 8 inches thick. Dead or cracked limbs won’t hold up.
Location matters too. You need to know how much weight your platform can handle.
And don’t skip checking with your local building department if needed. Some areas require permits for structures like this. Better to be safe than take any risk.
Tools and Materials Needed While Building a Treehouse
Here’s your complete list.
Tools You’ll Need:
- Circular saw
- Power drill with bits
- Level
- Tape measure
- Hammer
- Wrench set
- Safety goggles
- Work gloves
- Ladder
Materials You’ll Need:
- 2×6 boards for platform base
- 2×4 boards for frame support
- 4×4 posts for corners
- Galvanized bolts for tree attachment
- Lag screws for the frame
- Deck screws for boards
- Metal brackets
- Plywood sheets for flooring
- Rope for railings
- Wood stain or paint
How to Build a Treehouse? Easy Instructions
Now comes the central part. I’ll walk you through each step so you can build with confidence.
Step 1: Choose a Strong and Healthy Tree
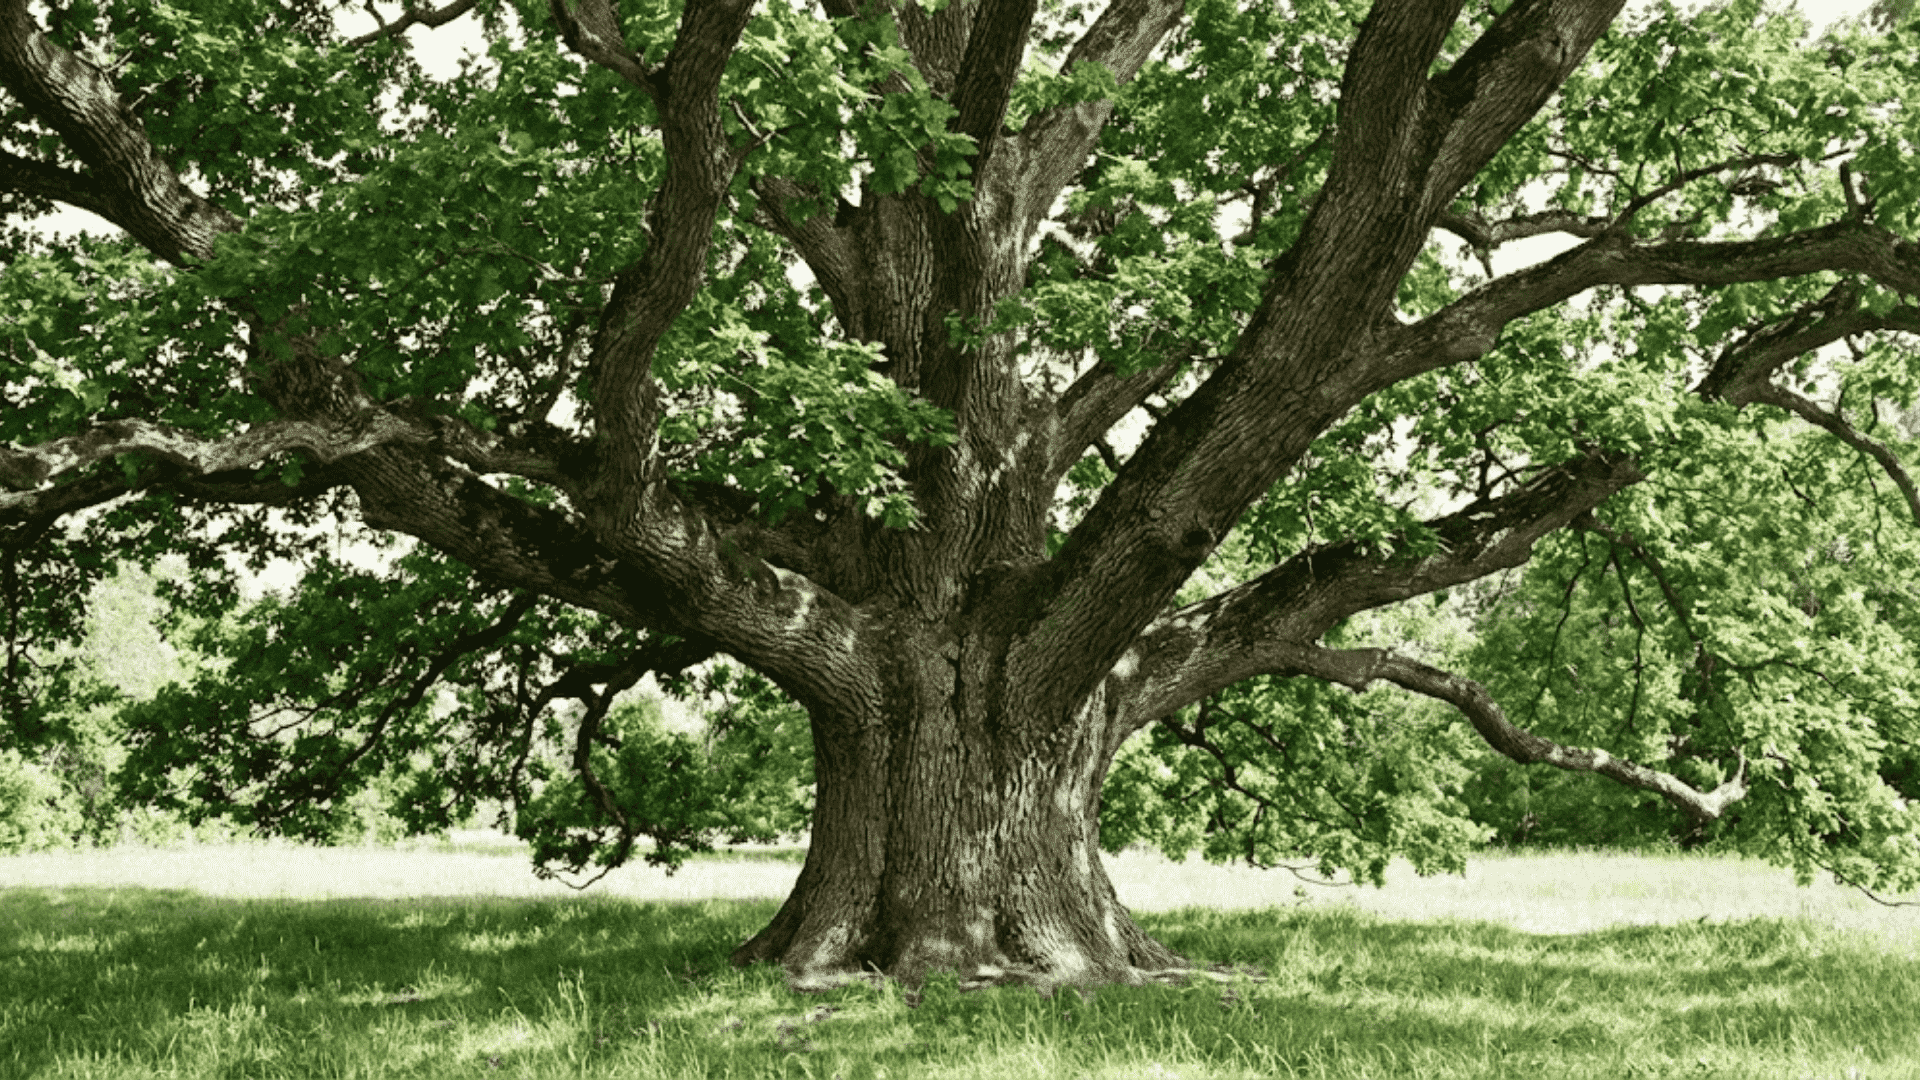
Start by finding a tree with a solid trunk. Look for thick branches that can handle weight. Oak and maple work best because they’re strong and grow steadily.
Avoid trees with cracks, hollow spots, or signs of disease. Your tree is the foundation, so pick wisely.
Step 2: Check the Safety of the Area
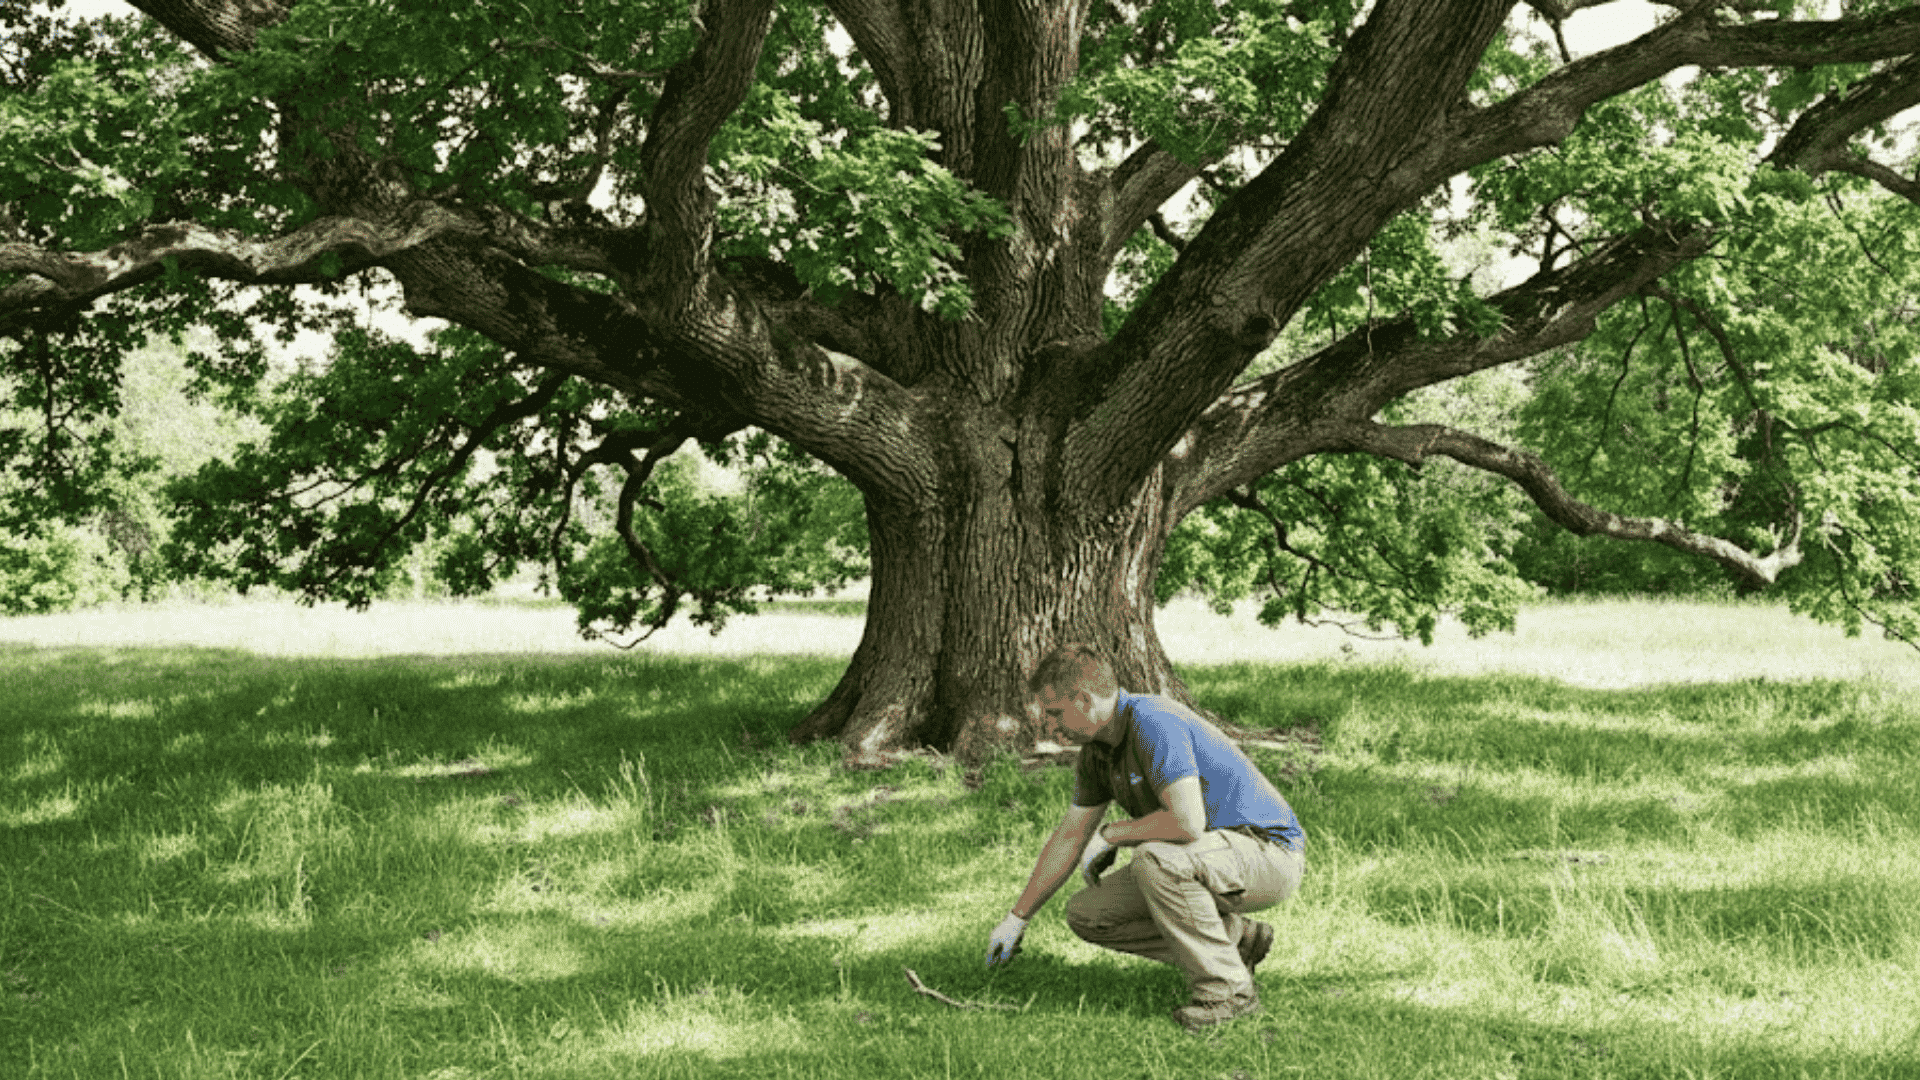
Clear the ground below your build spot. Remove rocks, branches, and anything kids could land on.
Stay at least 10 feet away from power lines. Check for underground utilities, too. A safe zone around your treehouse prevents accidents and gives kids space to play.
Step 3: Plan the Layout of Your Treehouse
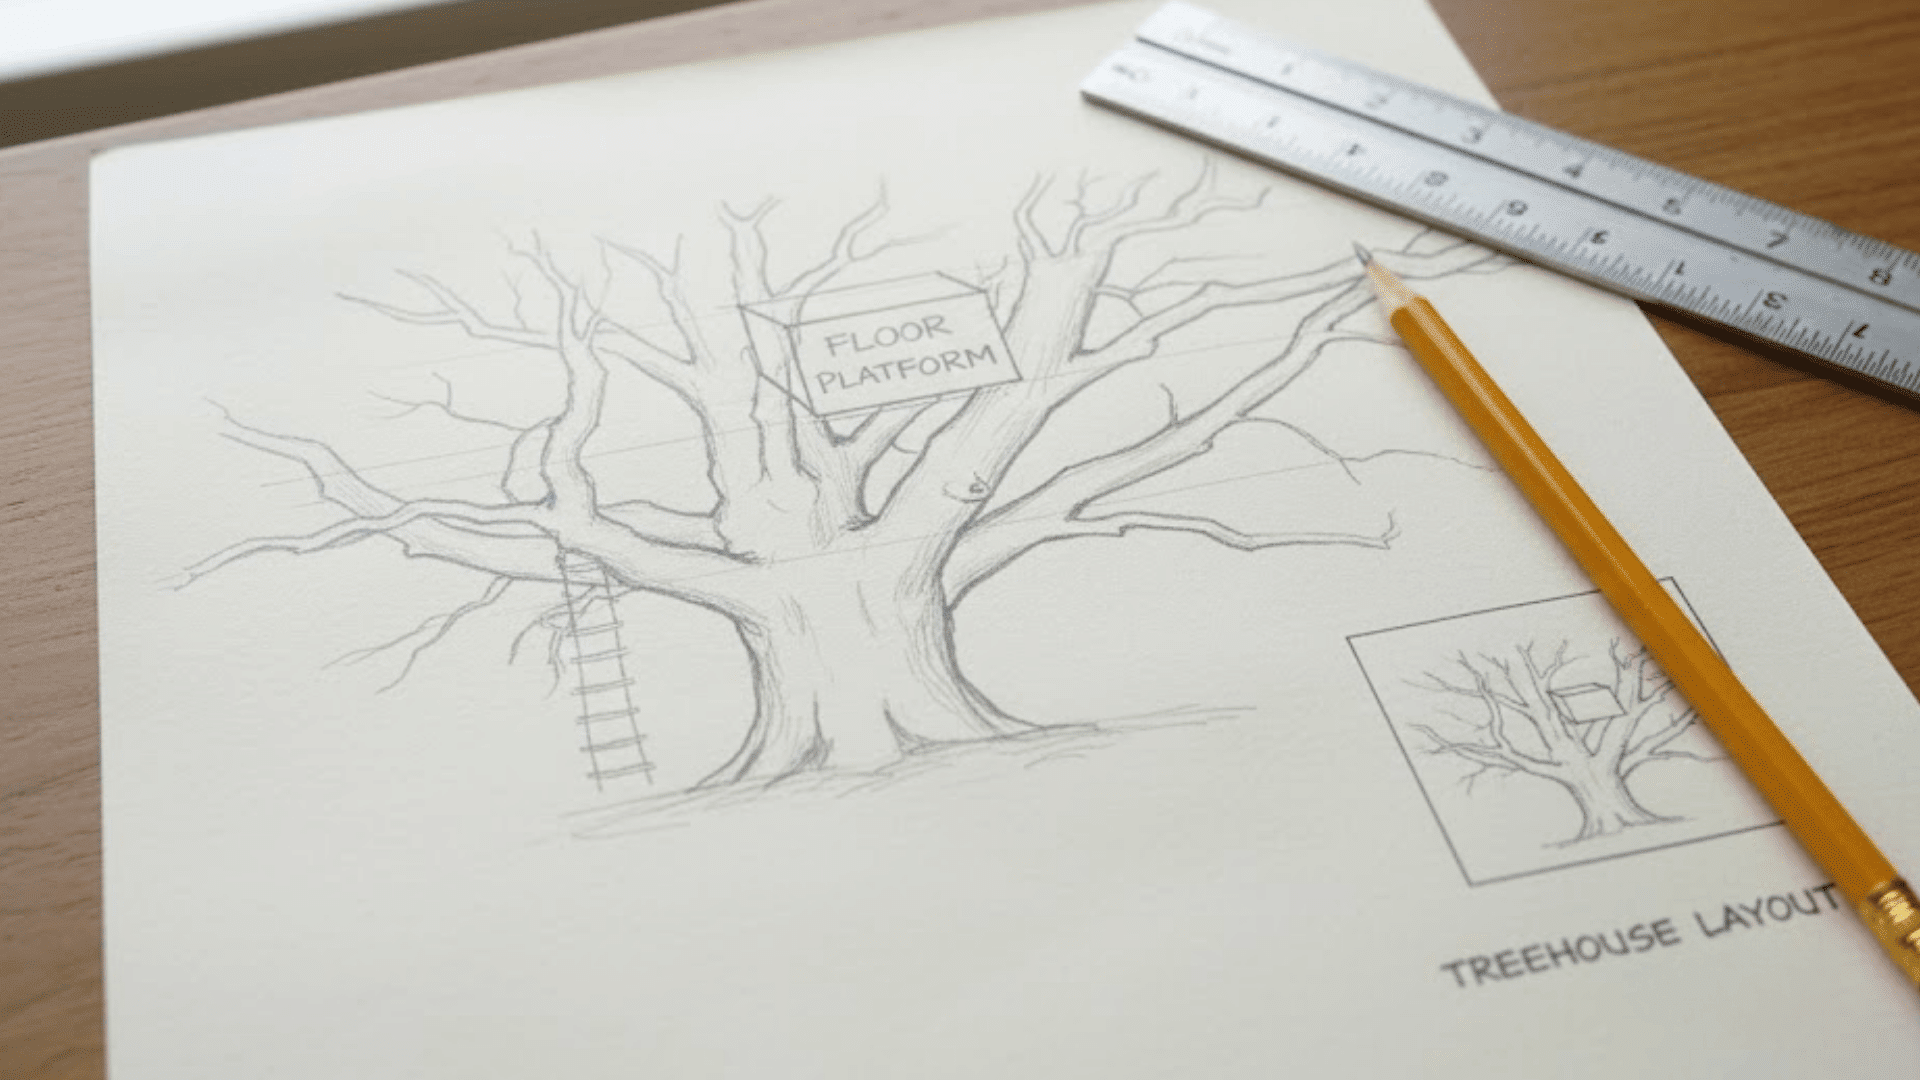
Sketch out your design on paper. Decide how big you want it and what shape works best. Plan where your ladder will go. Keep the layout simple with a basic support system.
Measure twice before you cut anything. Good planning saves time and materials.
Step 4: Gather the Tools and Materials
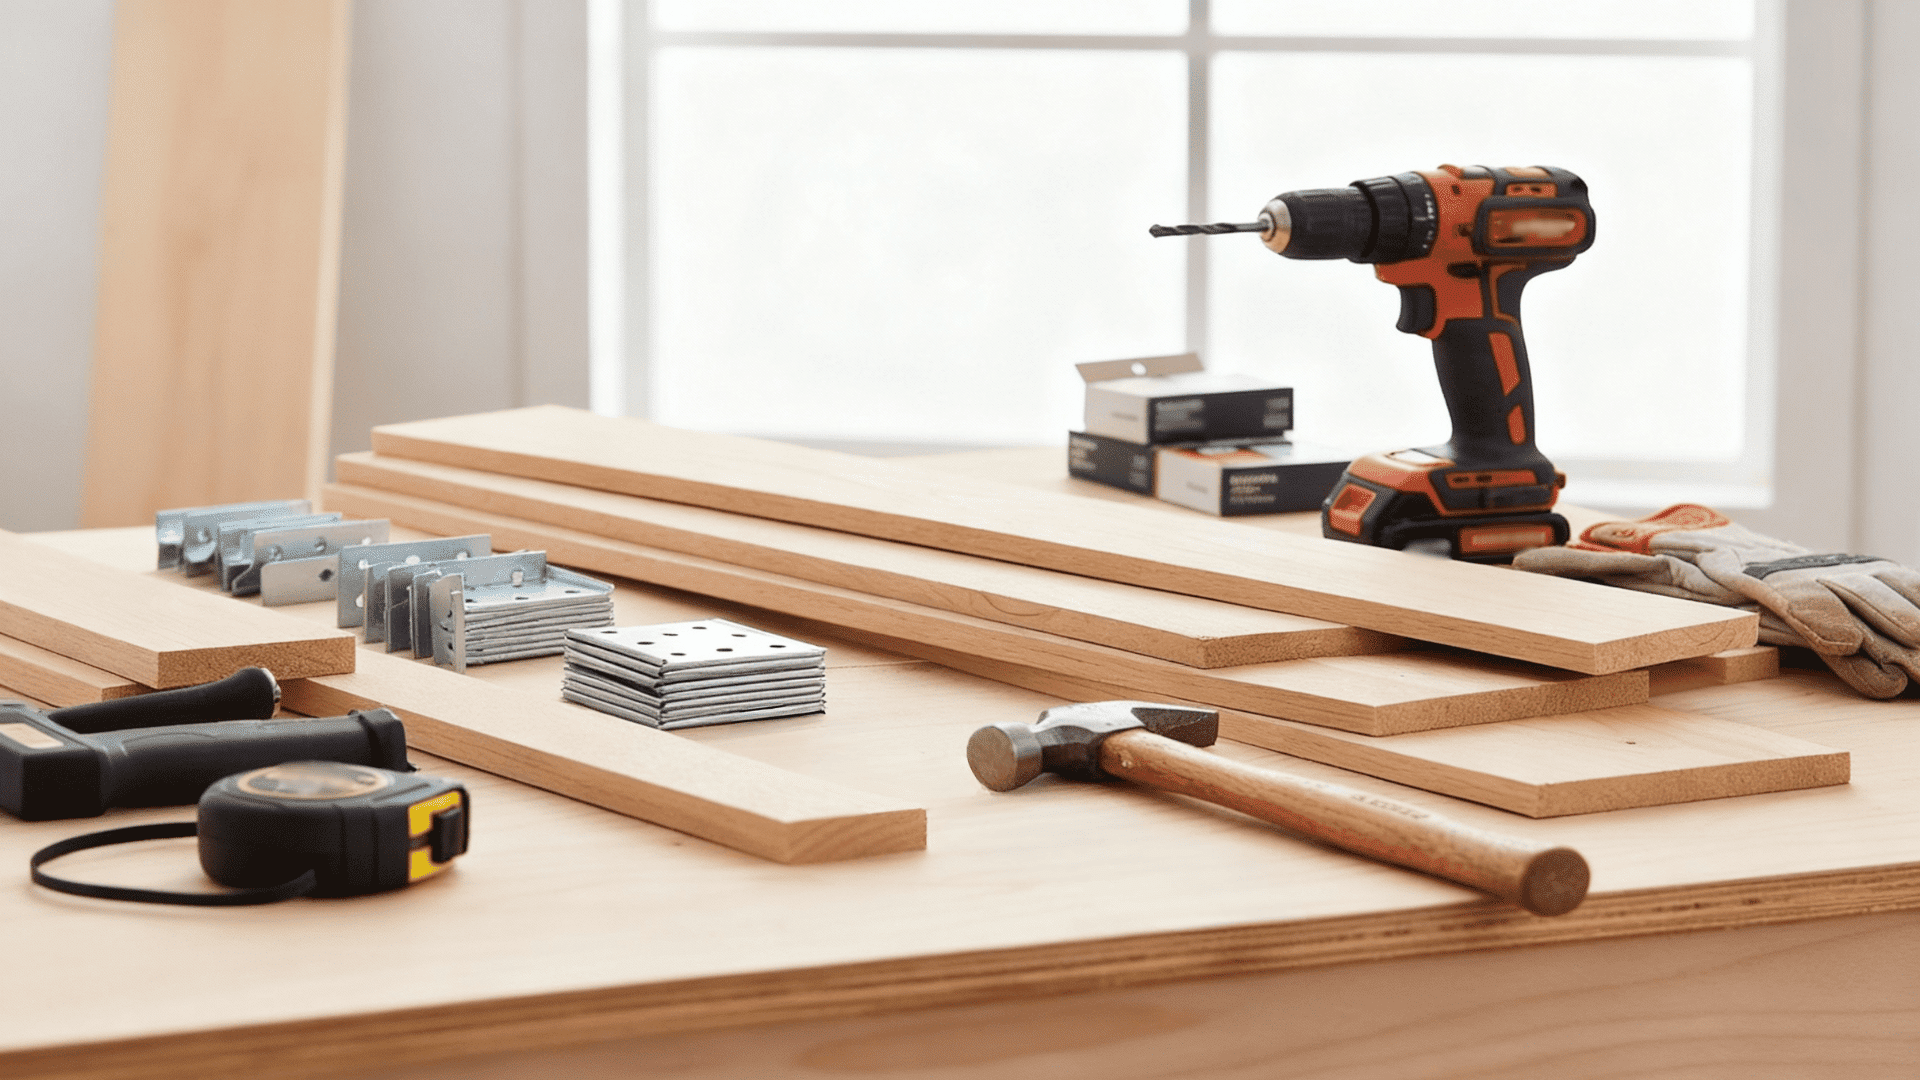
Pull together everything from your list. Lay out your lumber, screws, brackets, and safety gear.
Having it all ready means you won’t stop mid-project to run to the store. Check each piece for damage. Organization makes the build go smoothly.
Step 5: Build the Main Support Structure
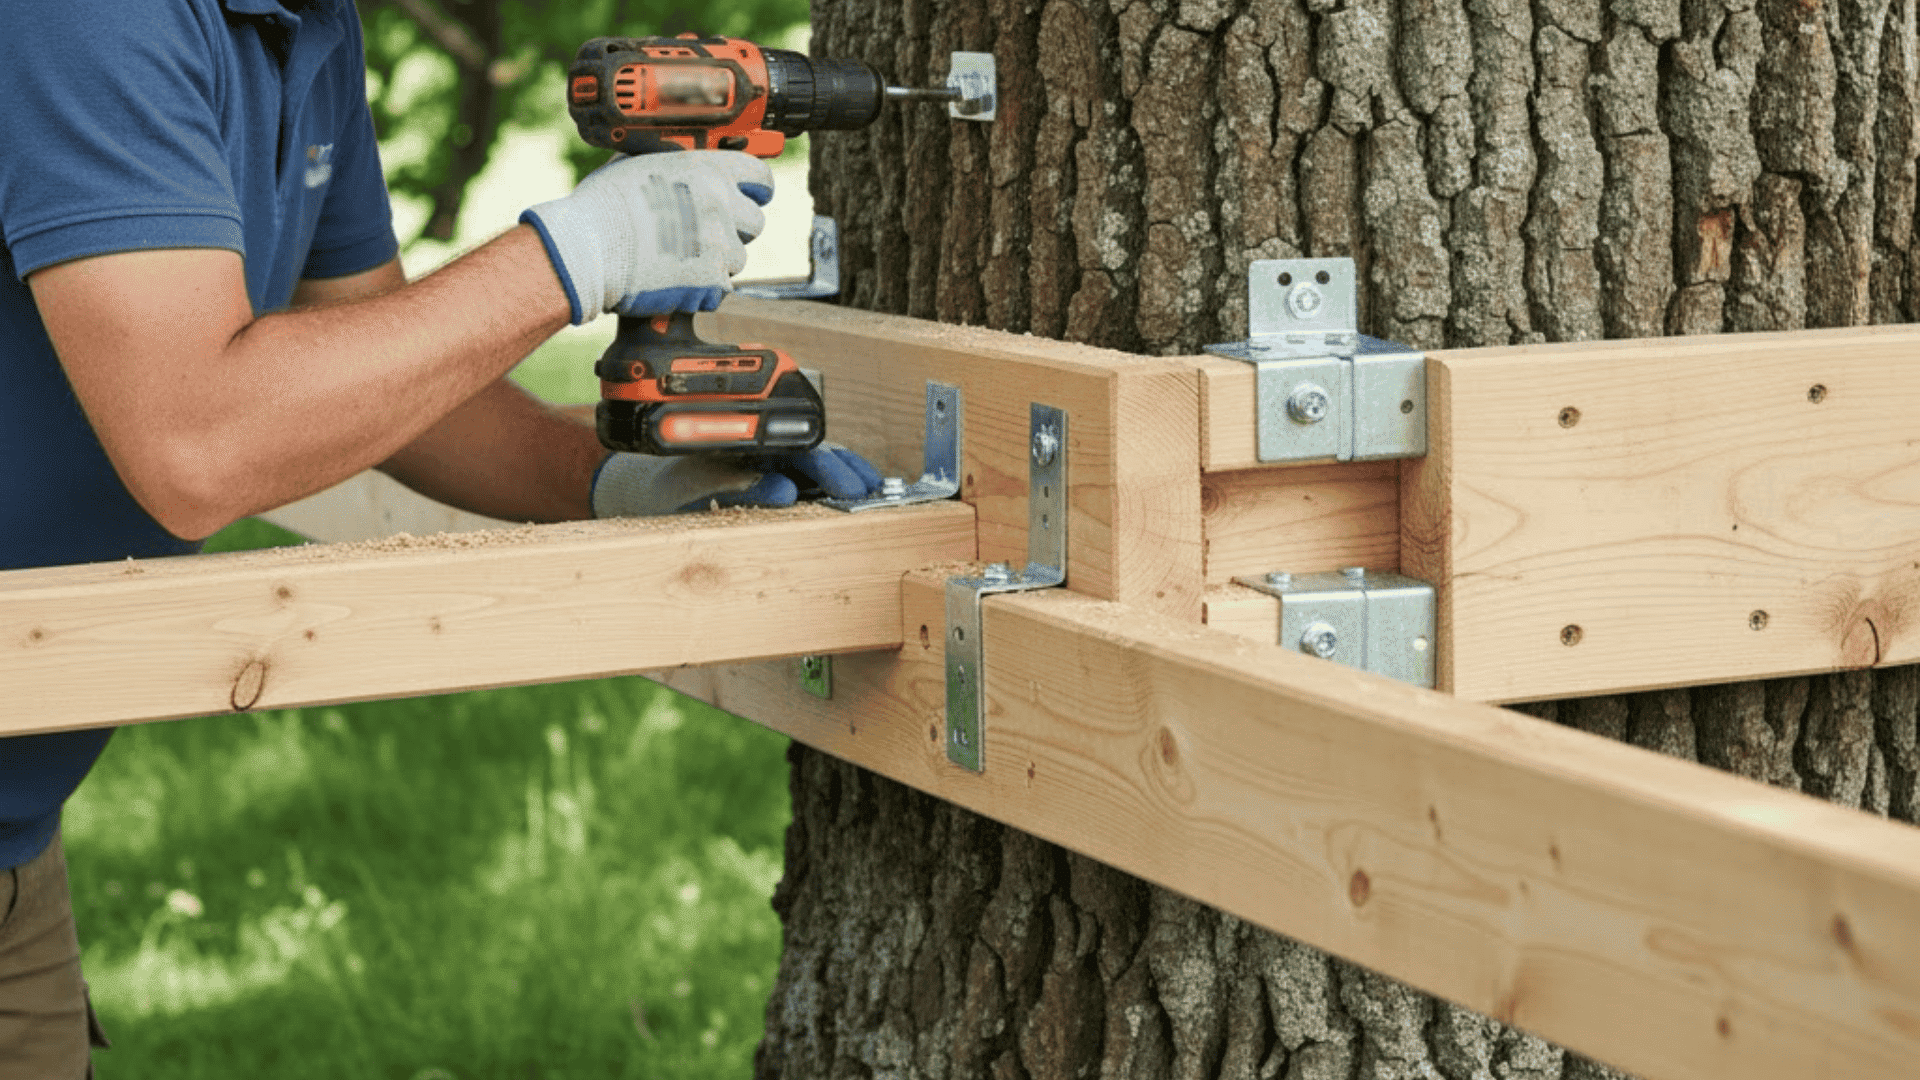
Bolt your main beams to the tree using heavy-duty bolts. Don’t wrap anything tight around the trunk.
Trees need room to grow and sway in the wind. Use brackets that allow movement. This keeps your treehouse stable and your tree healthy for years.
Step 6: Build the Floor Frame
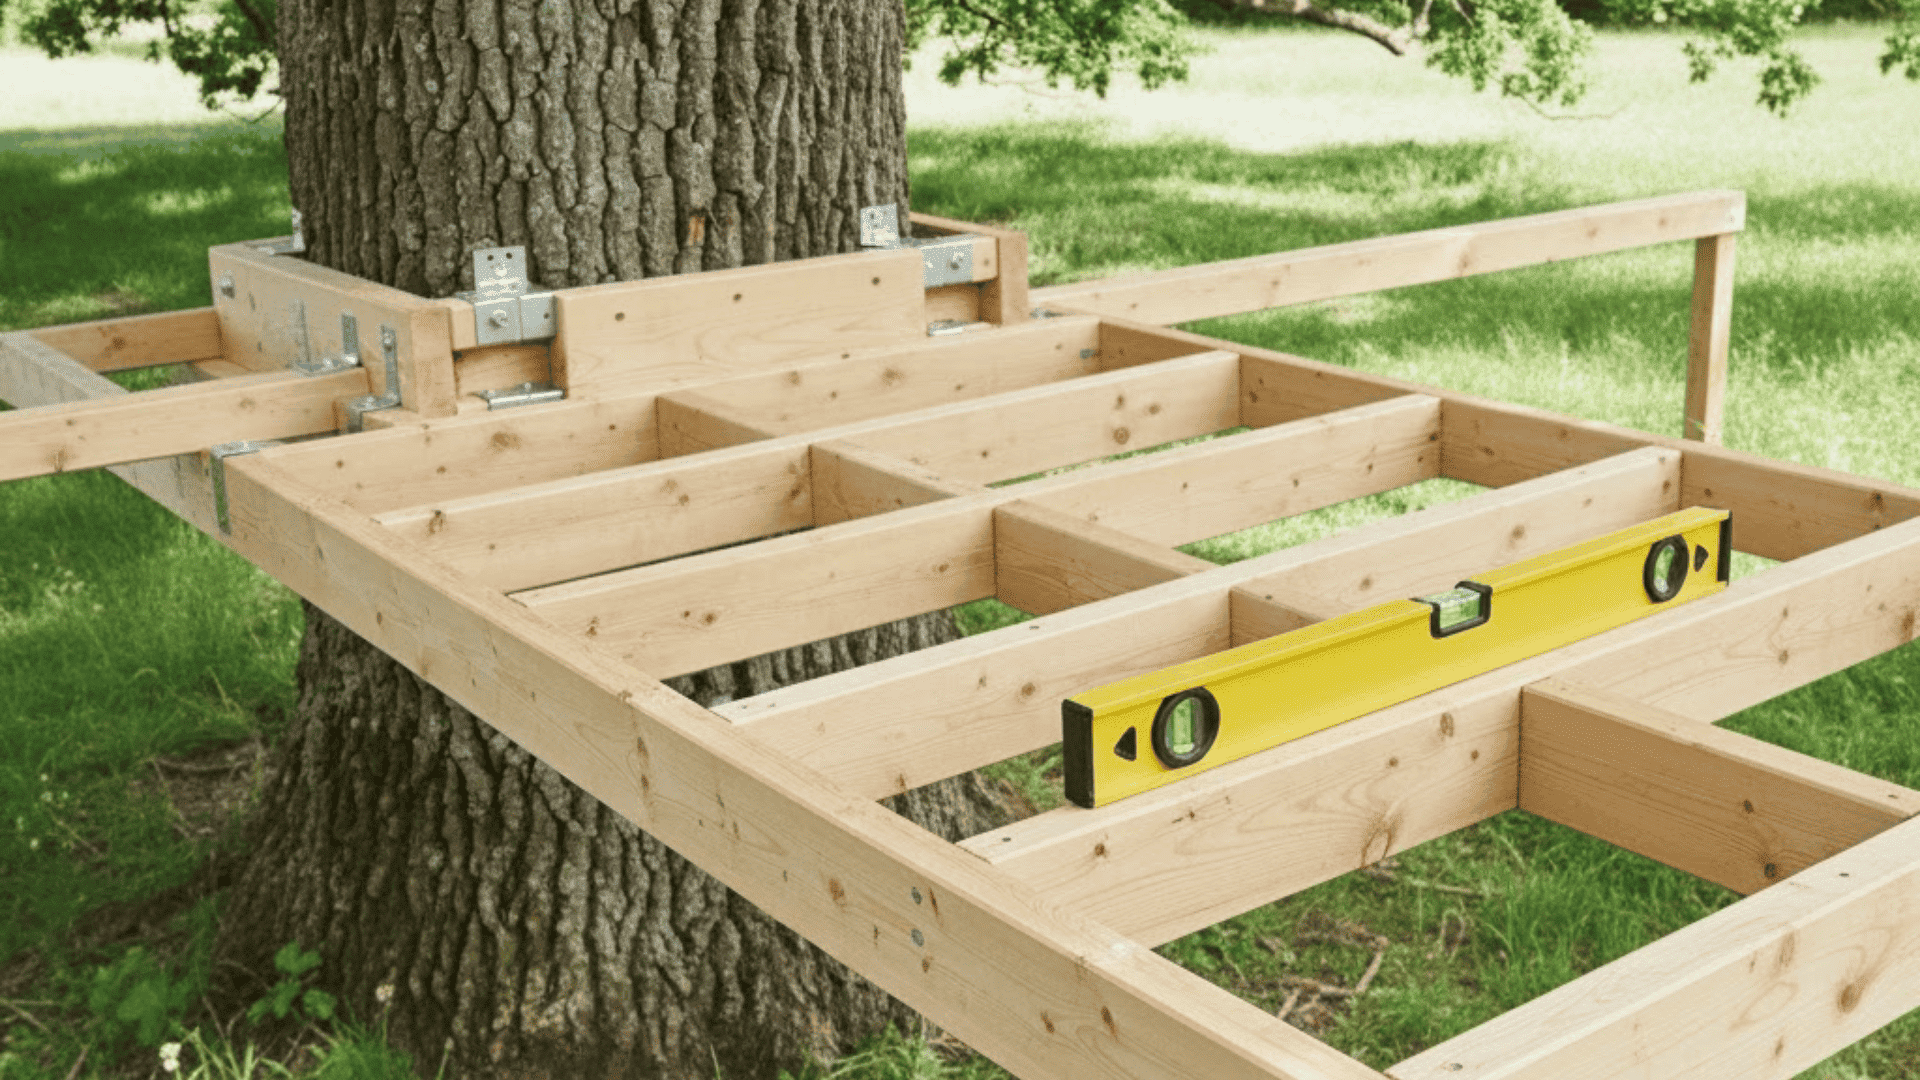
Lay out your joists evenly across the support beams. Space them 16 inches apart for solid support. Secure each one with screws and brackets.
Double-check that everything is level. A strong frame means a safe floor that won’t bounce or sag.
Step 7: Add the Floor Panels
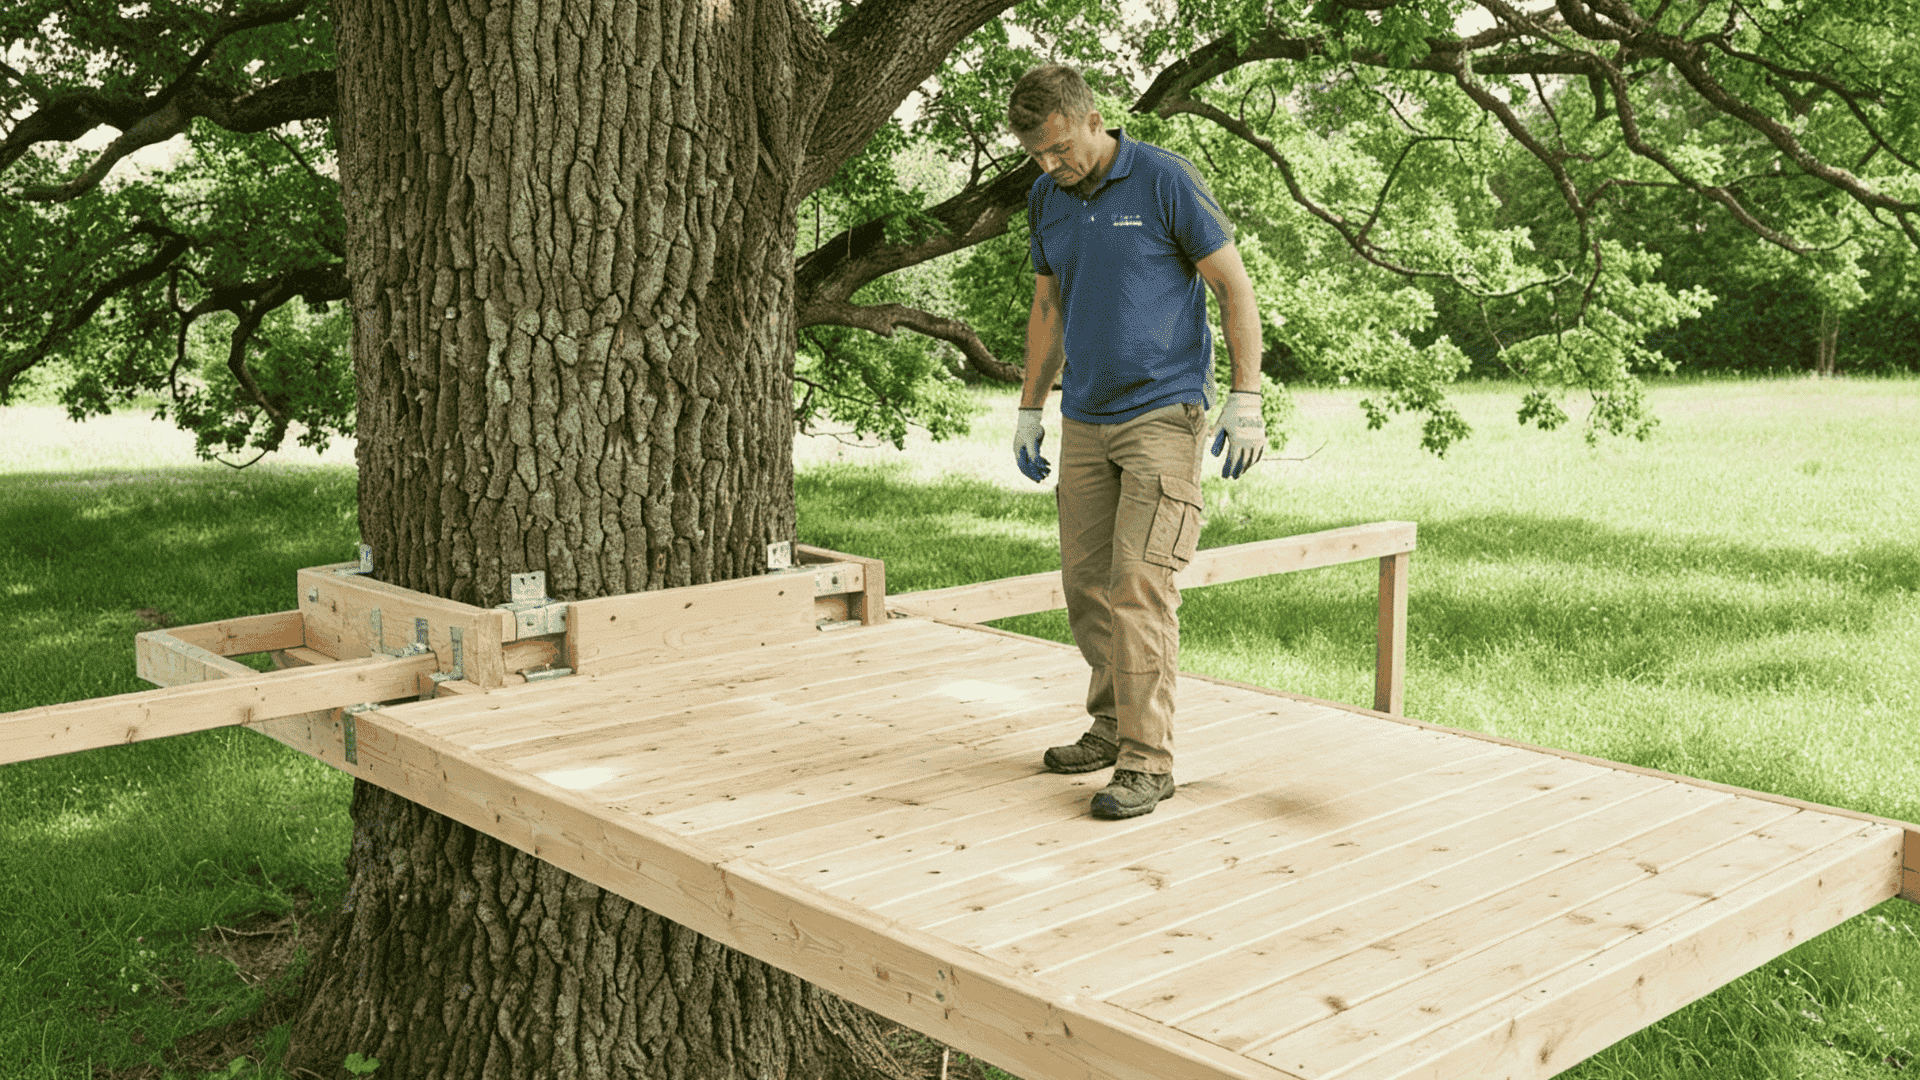
Lay your plywood or decking boards across the frame. Leave small gaps between boards for water drainage.
Screw each panel down tight. Walk across it to test for weak spots. Your floor should feel solid and stable under your weight.
Step 8: Build the Wall Frames
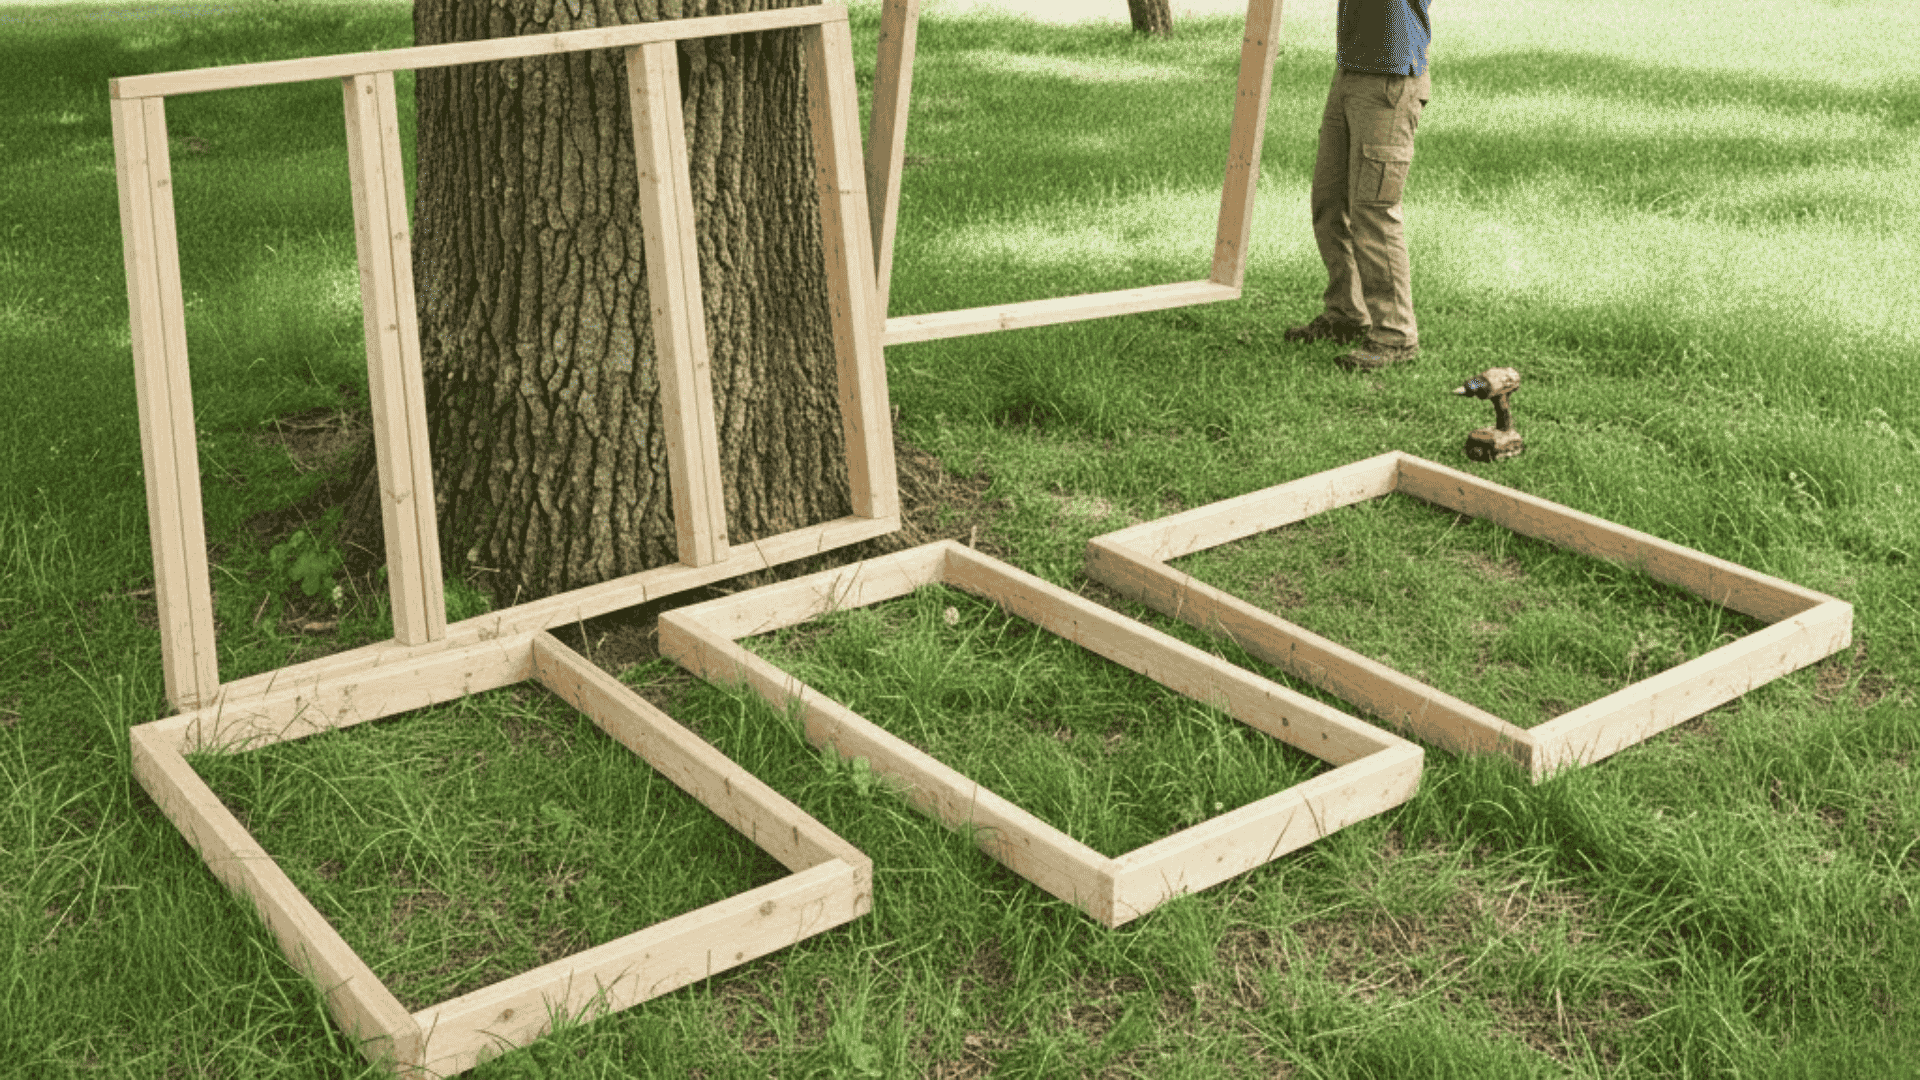
Frame each wall on the ground, then lift it into place. Decide if you want full walls or just partial ones.
Open sides give better views but less protection. Secure each frame to the floor and corner posts. Walls add structure and safety.
Step 9: Add the Roof
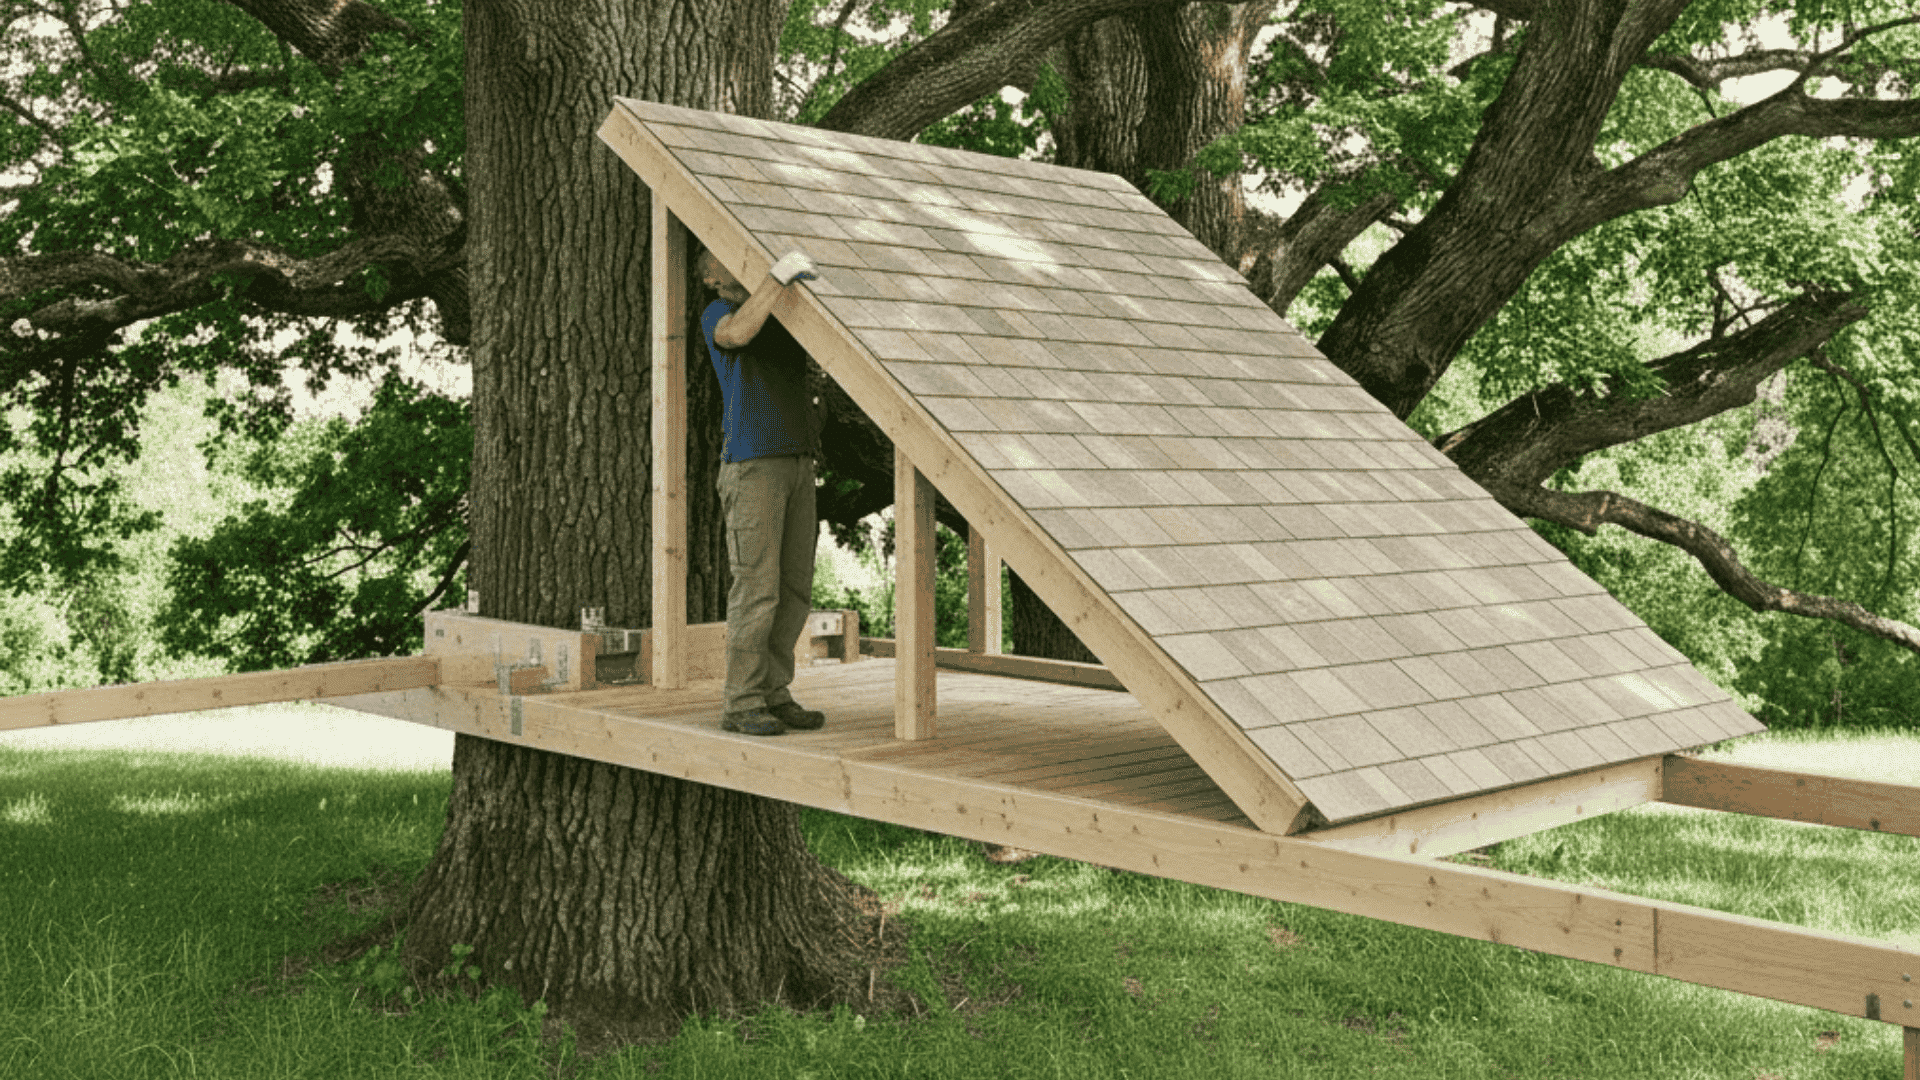
Keep your roof light so it doesn’t overload the tree. A simple slanted design lets rain run off efficiently. Attach shingles or metal panels to keep water out.
Make sure there’s overhang to protect the walls. A good roof means longer-lasting fun.
Step 10: Build the Ladder or Stairs
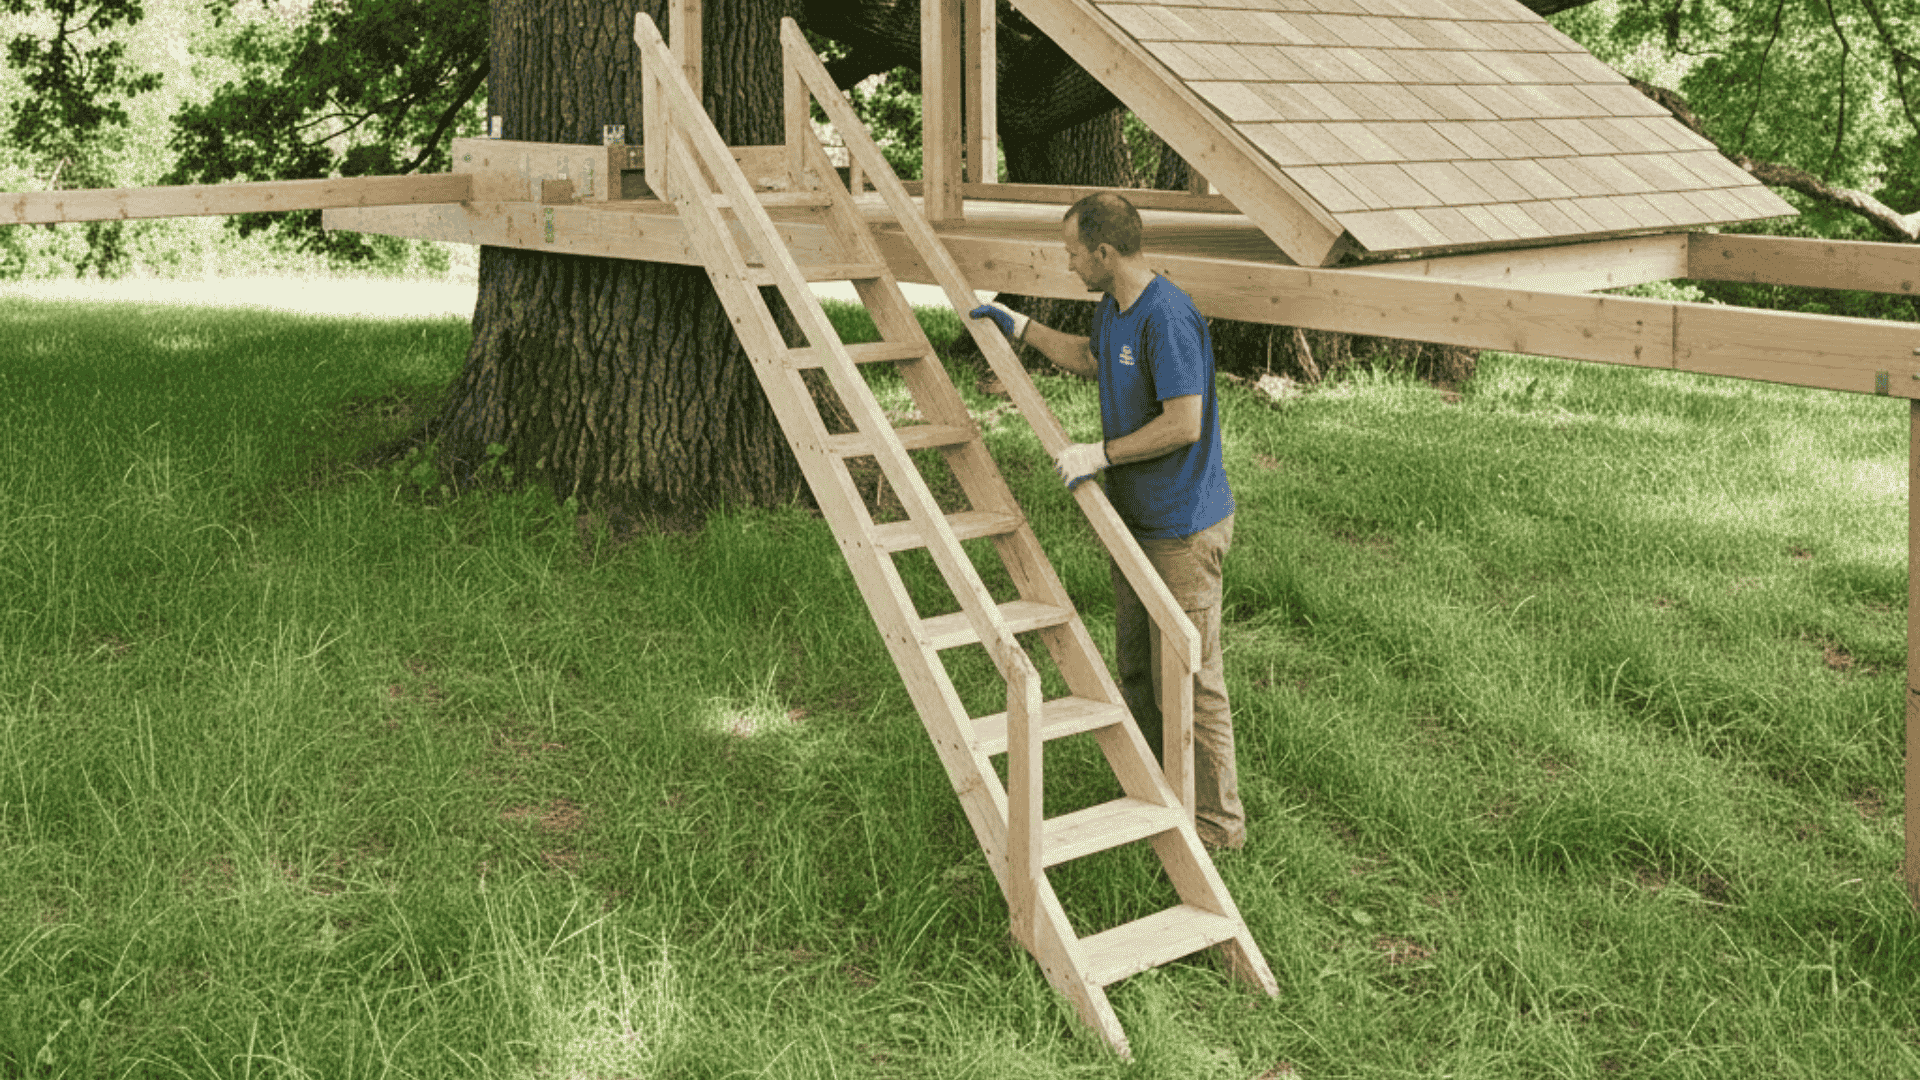
Build a ladder with steps wide enough for small feet. Attach it firmly to the platform.
Add handrails on both sides for grip. Space the rungs close together so climbing feels safe. Test it yourself before letting kids use it.
Step 11: Add Railings, Windows, and Final Touches
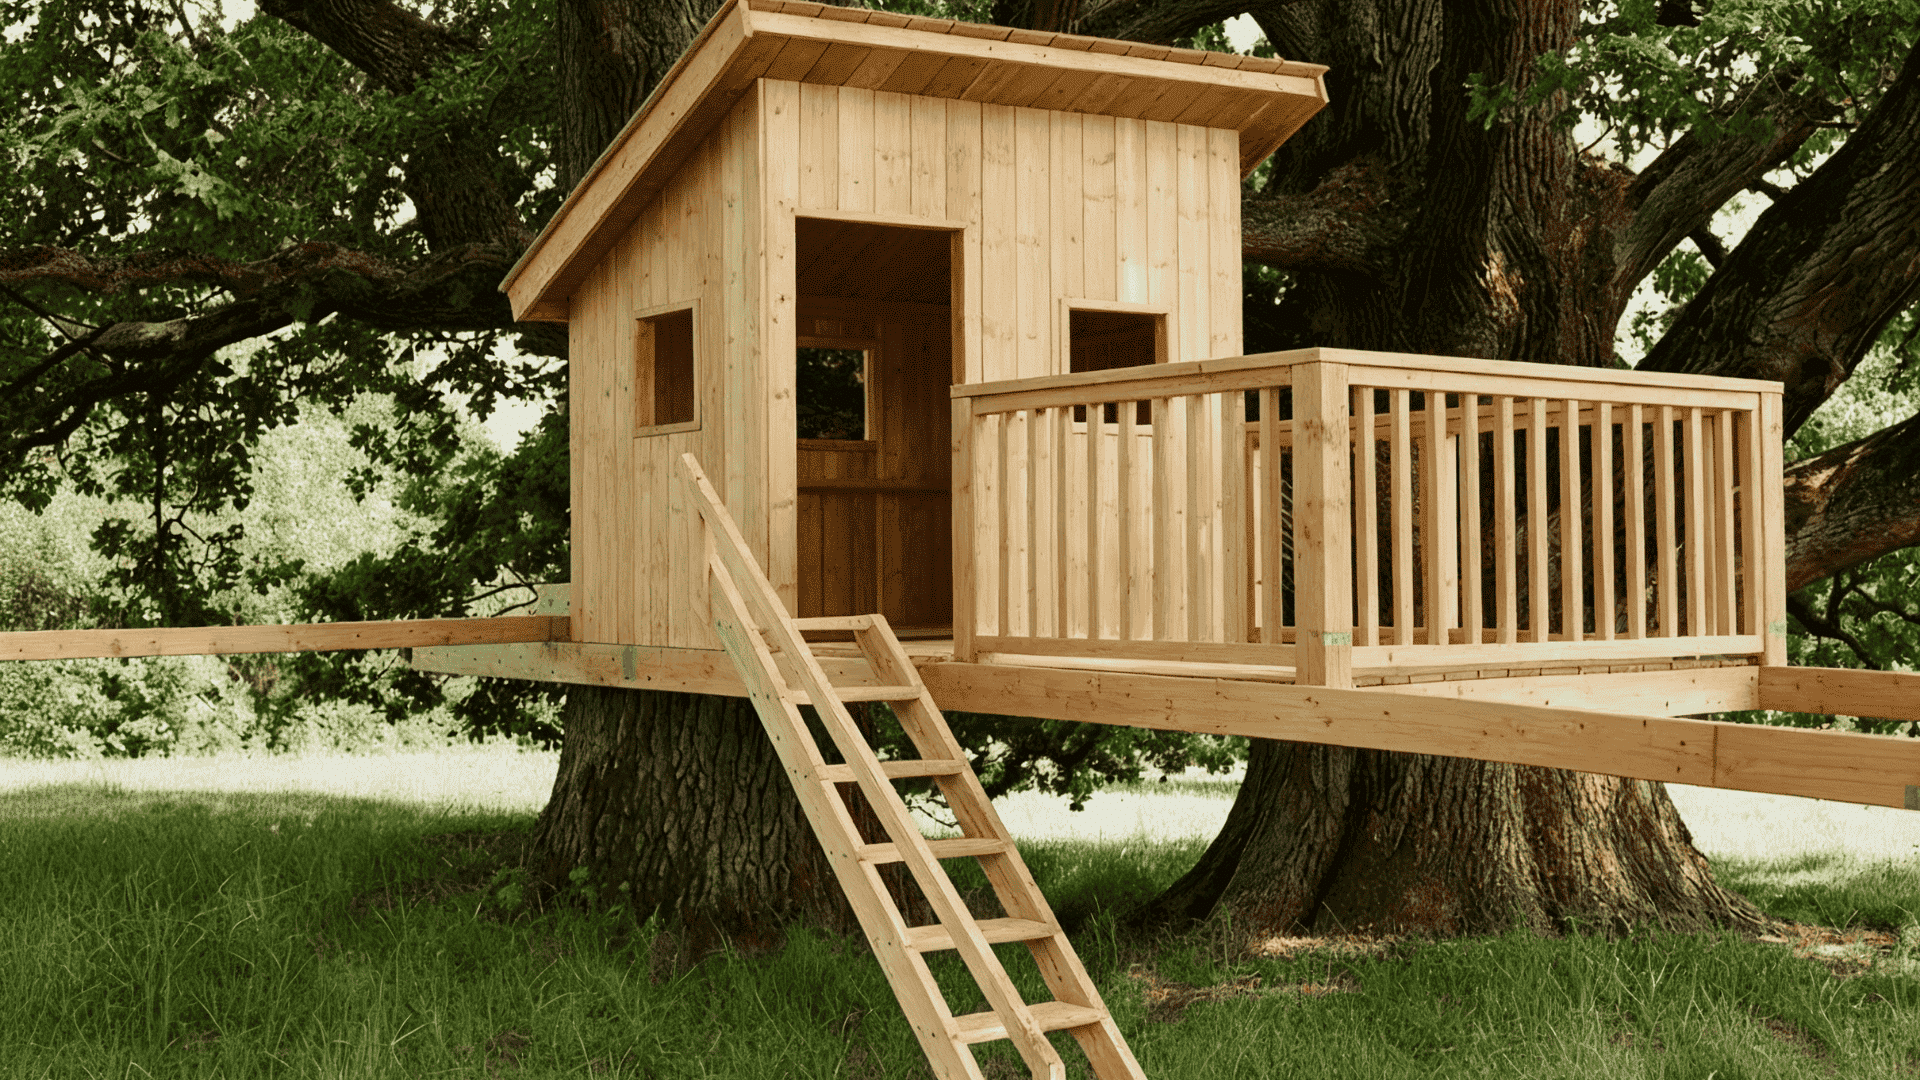
Install railings around the platform. Space posts no more than 4 inches apart to prevent falls.
Cut window openings for light and air. Sand rough edges smooth. Finish with outdoor paint or stain to protect the wood from weather and make it look great.
Tips to Remember While Building a Treehouse
- Work with a partner whenever possible: Building alone can be risky, especially when lifting heavy beams or working at height. A second person helps hold materials steady and can hand you tools when needed.
- Check weather forecasts before you start: Rain makes wood slippery and dangerous to work with. Wind can make climbing unsafe. Pick dry, calm days for building. You’ll work faster and safer in good conditions.
- Use a tool belt to keep supplies handy: Climbing up and down for every screw wastes time and energy. Keep your most-used items close. This also prevents dropped tools from becoming hazards below.
- Take breaks when you feel tired: Fatigue leads to mistakes and accidents. Step down, drink water, and rest your muscles. A fresh mind makes better decisions. Your project isn’t going anywhere.
- Inspect your work at the end of each day: Look for loose screws, uneven boards, or anything that seems off. Catching problems early is easier than fixing them later. Walk around and tug on connections to test strength.
- Let the structure settle before adding weight limits: Give bolts and joints a few days to adjust. Come back and retighten everything. Then test the platform yourself before letting kids play on it
How Much Does it Cost?
Here’s a quick breakdown of what you can expect to spend.
| Item Category | Estimated Cost |
|---|---|
| Lumber (2x4s, 2x6s, 4x4s, plywood) | $300 – $600 |
| Bolts, screws, and brackets | $75 – $150 |
| Roofing materials | $100 – $200 |
| Ladder materials | $50 – $100 |
| Paint or stain | $40 – $80 |
| Safety gear (if needed) | $30 – $60 |
| Total Basic Build | $600 – $1,200 |
Note: The above is just an estimated cost, the actual costs may vary.
How to Keep the Tree Safe While Building a Treehouse
Your tree is alive and needs care during construction. Use special treehouse bolts instead of nails.
These cause less damage and allow growth. Never wrap chains or rope tightly around the trunk. This chokes the tree over time. Avoid stripping bark when installing supports. Work carefully around roots, too.
Heavy foot traffic compacts soil and harms root systems. Place protective boards on the ground while you work.
Don’t overload branches beyond their capacity. Spread weight across multiple connection points. Monitor your tree each season for signs of stress, such as wilting leaves or dying branches.
Adjust or remove hardware if you notice problems. A healthy tree means a lasting treehouse.
Final Thoughts
From checking tree strength to hammering that last board, you know exactly what this project demands.
The tools are listed, the steps are clear, and the safety rules are there to protect everyone involved. Your kids will remember this treehouse forever.
That’s something no store-bought playset can give them. Time to turn that backyard into something special.