A clogged or damaged bathtub drain is frustrating. Water pools around your feet during showers, and the problem just gets worse over time. You need a fix that actually works.
I’m going to show you how to remove a bathtub drain yourself. You’ll save money and handle this repair in under an hour.
This tutorial covers the tools you need and step-by-step removal methods for different drain types.
Let’s start right away.
Reasons to Remove and Replace Your Bathtub Drain
Bathtub drains don’t last forever. Sometimes they need attention.
The following are the most common reasons you might need to remove and replace yours.
1. Slow Drainage That Won’t Clear
Your bathtub takes forever to empty after each shower. You’ve tried drain cleaners and plungers, but nothing works.
The problem is usually a buildup inside the drain assembly itself, not just a simple clog downstream.
2. Broken or Damaged Drain Stopper
The stopper mechanism broke off inside the drain. Or maybe it won’t stay open anymore.
When the stopper fails, you can’t control the water flow properly. Replacing the entire drain assembly fixes this issue permanently.
3. Visible Rust and Corrosion
Old metal drains develop rust spots and corrosion over time. This looks bad and can stain your tub.
Corroded drains also become weak and may leak. Fresh drains improve both function and appearance in your bathroom.
4. Persistent Leaks Below the Tub
Water drips from underneath your bathtub onto the ceiling below. The rubber gasket or putty seal around your drain wore out.
Removing and resealing the drain stops these leaks. You’ll prevent water damage to your home.
5. Incompatible Stopper Style
The current drain stopper doesn’t match your needs or preferences. Maybe you want a different style or mechanism.
Some stoppers work better than others for different situations. Changing the drain lets you choose what works best for you.
Precautions to Take Before Removing a Bathtub Drain
Safety matters when working on plumbing projects. Take a few simple steps before you start, and the job goes much smoothly.
Key precautions to follow:
- Turn off the water supply to your bathroom or the entire house
- Place a drain cover or a rag over the drain opening to catch small parts
- Protect your tub surface with towels or cardboard to prevent scratches
- Wear safety glasses when using tools above your face
- Keep good lighting in your work area
- Have a bucket ready for any standing water in the pipes
How to Remove Each Drain Type
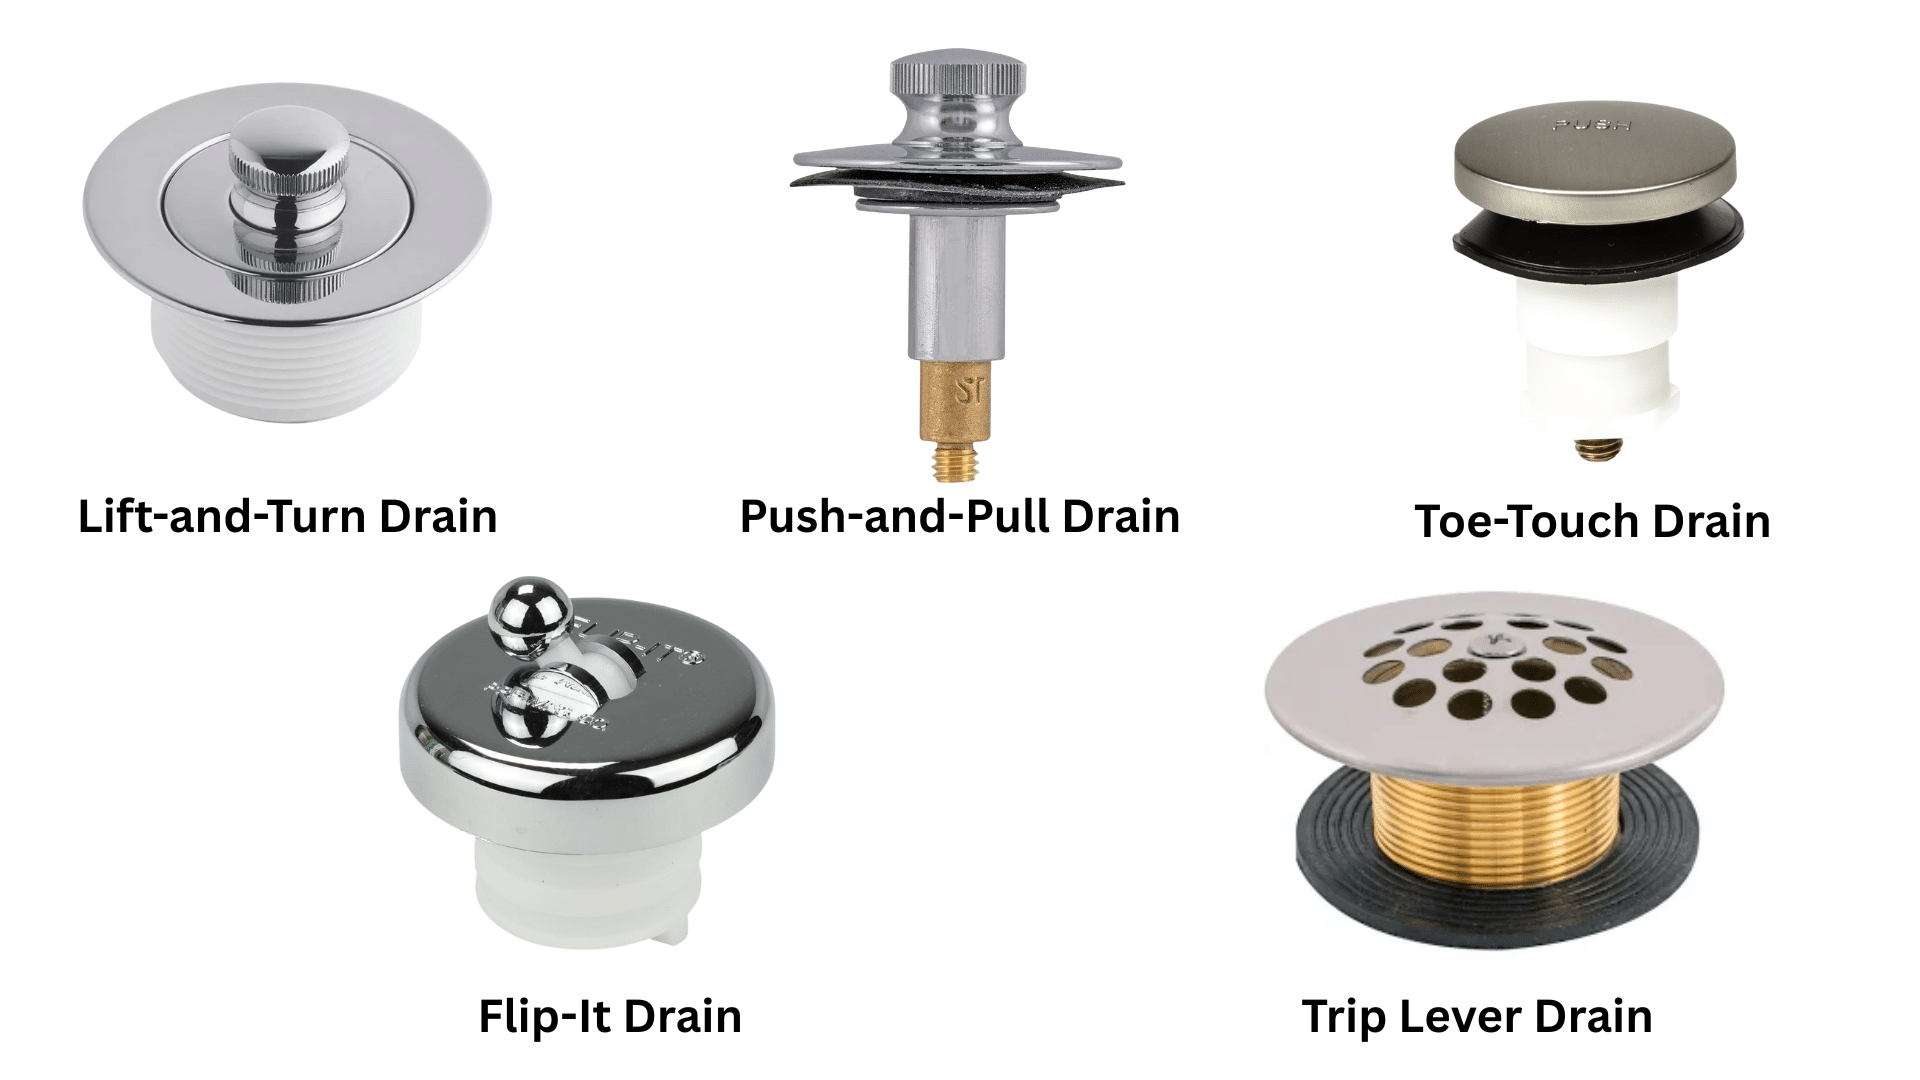
The following are steps to remove each drain type.
Lift-and-Turn Drain
- Rotate the stopper to the open position.
- Hold the stopper body firmly while unscrewing the knob counterclockwise.
- Once the knob comes off, lift the entire stopper assembly straight out of the drain.
- Some models have a setscrew on the side that needs removal first.
Push-and-Pull Drain
- Pull the stopper to the open position.
- Grip the stopper body and turn it counterclockwise while holding steady pressure.
- The stopper should unscrew after several rotations.
- Lift it out once completely loosened.
Toe-Touch Drain
- Press down on the stopper to open it.
- Look for a small setscrew on the side of the cap.
- Use an Allen wrench or a small screwdriver to loosen this screw.
- Once loose, unscrew the entire cap counterclockwise.
- Pull the stopper mechanism straight up and out of the drain opening.
Flip-It Drain
- This type has a toggle lever on the overflow plate.
- Simply lift the stopper straight up out of the drain.
- No unscrewing is required for this style.
- The stopper sits in the drain and comes out easily with a firm upward pull.
Trip Lever Drain
- Remove the overflow plate screws on the front of the tub.
- Pull the entire linkage assembly out through the overflow opening.
- This type doesn’t have a visible stopper in the drain.
- The mechanism sits inside the overflow tube and controls drainage from there
How to Remove a Bathtub Drain
Removing a bathtub drain takes the right approach and proper tools. The process becomes straightforward once you understand the steps.
Step 1: Gather Materials
Before starting, collect all necessary tools and supplies. You’ll need a drain removal tool or pliers, a screwdriver set, plumber’s putty or silicone sealant, a flashlight, and clean rags.
Having everything ready saves time and prevents mid-project trips to the hardware store. Check your drain type first because some designs require specific tools like a drain key or needle-nose pliers.
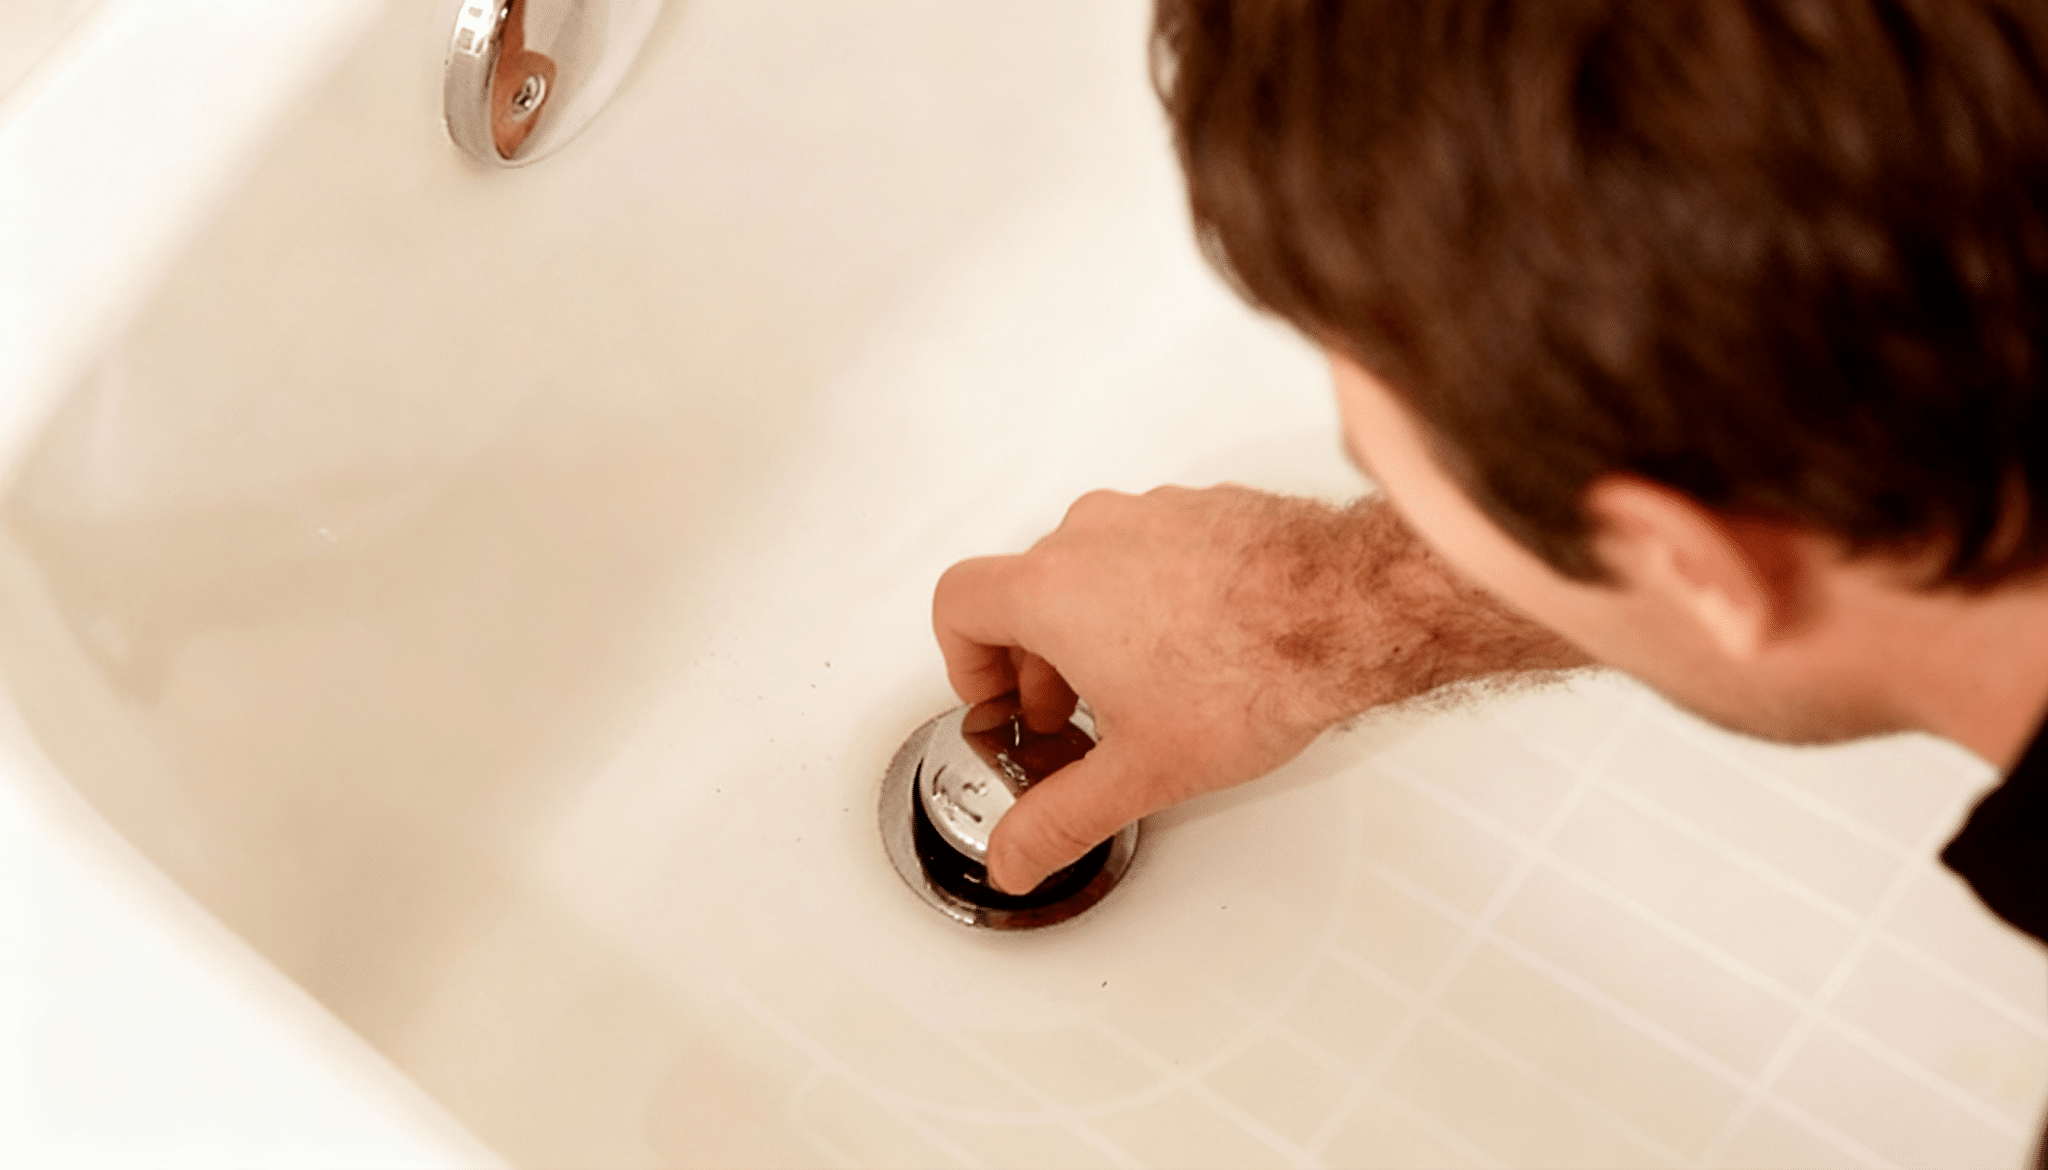
Step 2: Remove Drain Stopper
The stopper removal method depends on your bathtub drain type. Each drain type has different mechanisms of removal.
After removal, inspect the stopper for any attached debris and set it aside, ensuring clear access to the drain assembly for the next steps.
Step 3: Loosen the Assembly
Insert a drain removal tool into the drain basket crossbars. Turn counterclockwise to break the seal between the drain and the drainpipe.
Apply steady pressure without forcing it. If the drain won’t budge, spray penetrating oil around the edges and wait 15 minutes.
The threads may be corroded or sealed with old putty, requiring extra patience and effort.
Step 4: Remove Drain Basket
Continue turning the drain basket counterclockwise once loosened. Keep steady pressure as you unscrew it completely from the drainpipe.
Lift the basket straight up and out. Some baskets have a rubber gasket underneath that may stick.
Wiggle gently if needed, but avoid using excessive force that could damage the pipe threads or tub surface.
Step 5: Clean the Drain Opening
Scrape away old plumber’s putty or silicone from around the drain opening. Use a putty knife and work carefully to avoid scratching the tub surface.
Wipe the area with a clean rag and rubbing alcohol. Remove all debris, hair, and buildup from the drainpipe threads.
A clean surface ensures a proper seal when installing the new drain and prevents future leaks.
Step 6: Replace Bathtub Drain
Apply fresh plumber’s putty or silicone around the underside of the new drain flange. Insert the drain basket into the opening and press down firmly.
Thread it clockwise into the drainpipe by hand first. Use your drain tool to tighten it securely, but don’t overtighten. Wipe away excess putty that squeezes out.
Let the silicone cure according to the package directions before using the tub.
When to Call a Professional Plumber
Sometimes the smart move is calling in an expert. If your drain won’t budge after multiple attempts with different tools, stop before you cause damage.
Cracked tubs, stripped threads, or visible pipe corrosion all need professional attention. Homes with older cast-iron or galvanized pipes can have hidden issues underneath.
Water leaking from below during removal means you’ve hit a problem beyond a simple drain swap. Plumbers have specialized tools and experience to handle tricky situations safely.
Don’t risk expensive repairs trying to save a few dollars on a service call.
Wrapping It Up
Removing a bathtub drain isn’t as complicated as it looks.
Most drains come out without too much trouble when you use the correct technique.
Take your time with this project. Rushing leads to mistakes and broken parts. If something feels wrong or the drain won’t move, reassess your approach before forcing it.
Got questions about your specific drain situation? Drop a comment below and I’ll help you figure it out.