Tired of staring at those plain, boring bathroom walls?
I get it. You want something with character, something that screams “custom design” without the custom price tag.
Most homeowners think adding board and batten in bathroom means calling expensive contractors and dealing with weeks of mess. But you can completely change your bathroom walls in just one weekend, and it’ll cost you less than a fancy dinner for two.
No special skills needed, no major construction headaches. Just you, some basic tools, and a willingness to get a little sawdust on your hands. Let’s get started?
What is a Board and Batten Wall? (Types, Uses, and Materials)
Board and batten is a classic wall treatment that’s been around for centuries.
Think of it as vertical wooden boards placed side by side, with narrow strips (called battens) covering the gaps between them. It creates those clean, lined patterns you see in farmhouse and cottage-style homes.
You’ve got two main types to choose from:
- Traditional board and batten uses real wood planks with actual gaps.
- The modern version uses flat panels with battens attached on top for the same look but easier installation.
Most people use pine, cedar, or MDF for their projects. Pine costs less but needs more prep work. Cedar resists moisture naturally, making it perfect for bathrooms. MDF gives you smooth, consistent results and takes paint beautifully.
This style works great in bathrooms, hallways, dining rooms, and bedrooms. It adds texture and visual interest while protecting your walls from everyday wear and tear.
Is Board and Batten Right for Your Bathroom?
Absolutely, board and batten in bathroom walls is a classic, but you need to think about moisture first. Bathrooms get steamy, and that humidity can warp wood if you’re not careful.
With proper ventilation and the right materials, it works beautifully in wet spaces.
I recommend using moisture-resistant materials like cedar or properly sealed pine. Skip regular MDF unless it’s specifically made for bathrooms. Make sure your exhaust fan works well, and always seal your wood with quality primer and paint.
Consider your bathroom size too. Board and batten can make small spaces feel cozy or cramped, depending on your design choices. Vertical lines draw the eye up, making low ceilings appear higher. But if your bathroom is already tight, horizontal battens might work better.
The style fits perfectly with farmhouse, cottage, or transitional decor. It’s also great for covering up less-than-perfect drywall.
Stepwise DIY Board and Batten Bathroom Wall
Ready to get your hands dirty? I’ll walk you through everything you need for the board and batten in bathroom walls project.
From gathering the right tools to handling those tricky corners around outlets, this step-by-step guide makes the whole process straightforward and manageable.
Tools and Materials Required
| Tools | Materials |
|---|---|
| Measuring tape | 1×4 boards for rails and battens |
| Stud finder | Top trim molding (¾ inch thick) |
| Level | Construction adhesive |
| Brad nailer with 1¼” and 2” nails | Caulk and caulking gun |
| Table saw | Wood filler |
| Miter saw | Primer and paint |
| Utility knife | Painter’s tape |
| Foam roller & paintbrush | Sandpaper or sanding block |
Step 1: Plan the Layout Thoughtfully
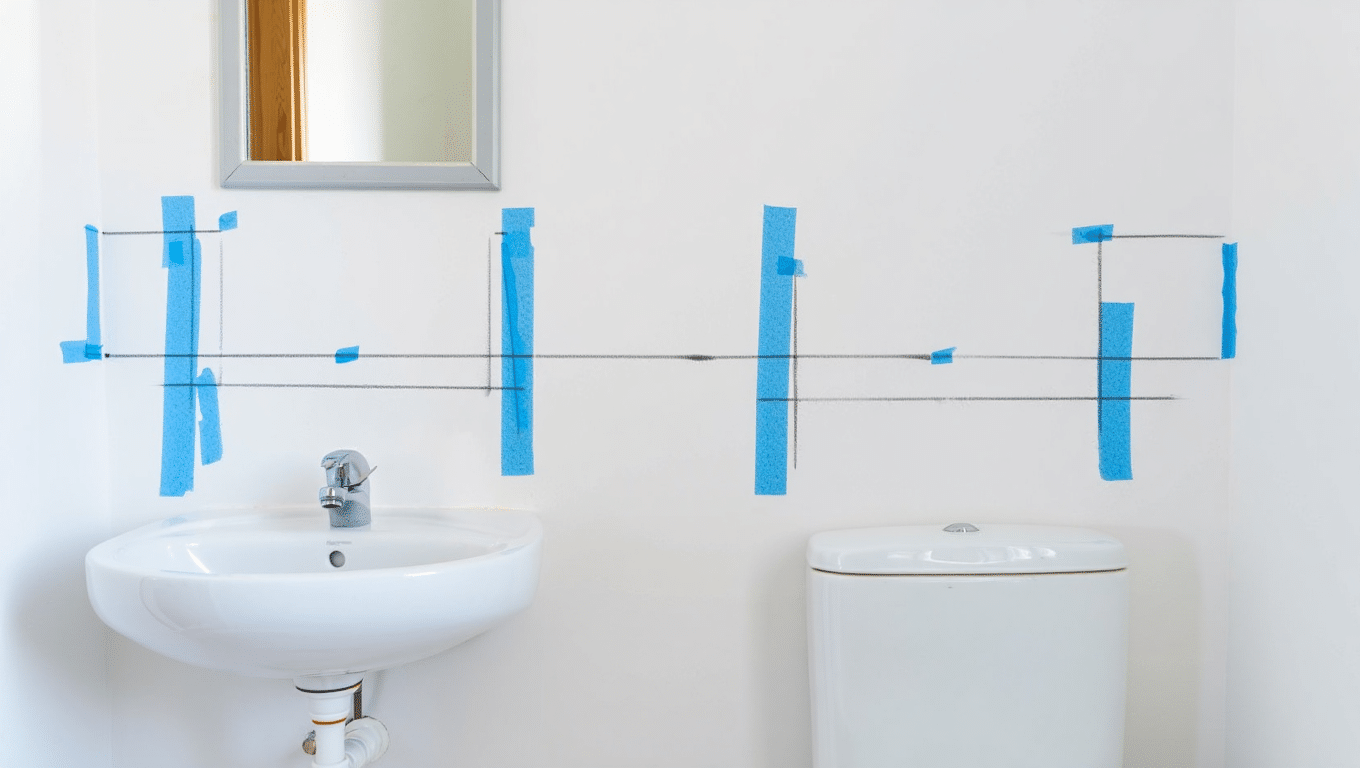
Begin by assessing your bathroom’s dimensions. Measure each wall carefully, especially around permanent features like toilets, sinks, and mirrors.
Decide how high your board and batten will go (65 inches works well for tall ceilings).
Use painter’s tape or a pencil to map out approximate batten spacing, starting with the smallest wall. This will help you maintain symmetry and avoid awkward placements around outlets or fixtures.
Step 2: Cut and Prepare Your Materials
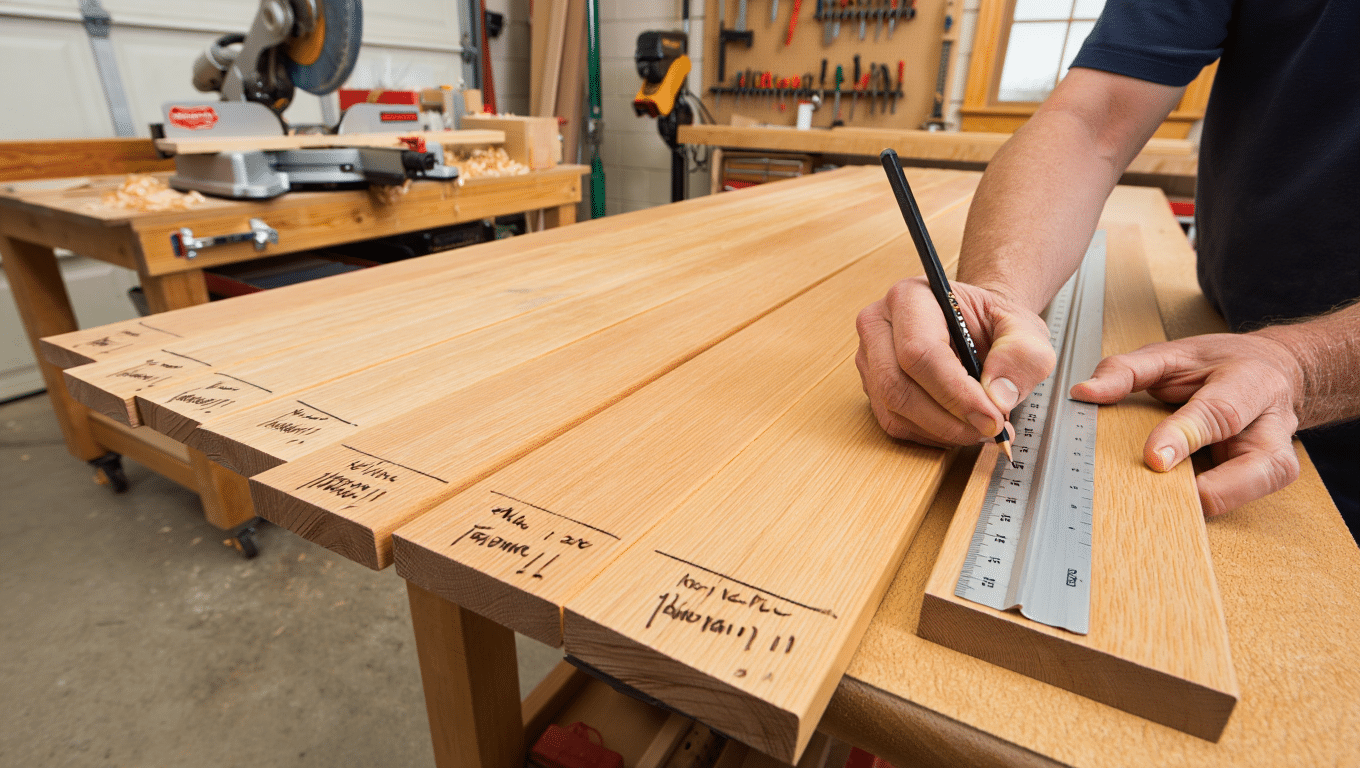
Once your layout is finalized, calculate how many vertical battens and rails you need.
Account for height variations in the room; some walls may differ by up to ⅛ inch. Pre-cut boards based on specific wall measurements instead of a standard height for uniform snugness.
Don’t forget to bevel edges for cleaner corner joins.
Step 3: Install the Top Rail First
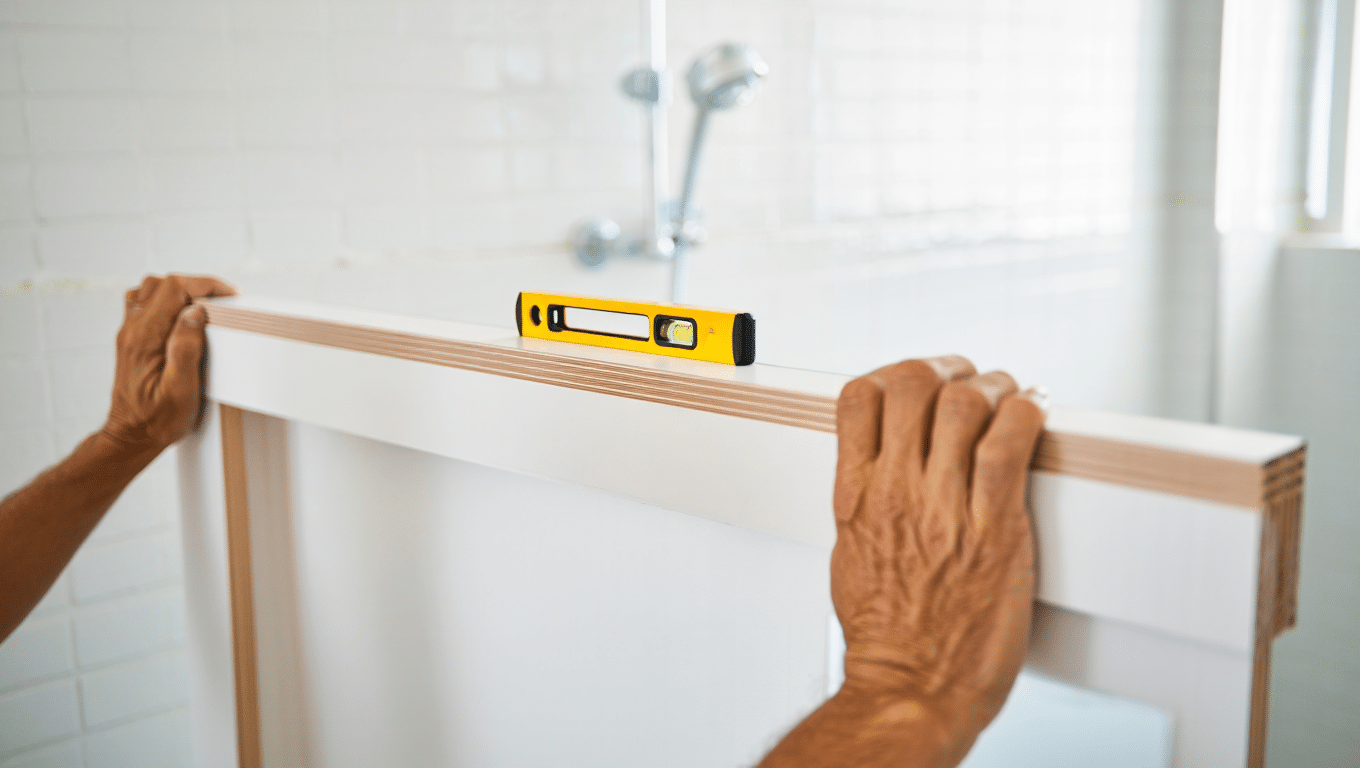
Instead of starting with the battens, install the top horizontal rail first. Ensure it’s level across all walls.
Use a combination of construction adhesive and brad nails (into studs when possible) to secure it. This establishes a consistent top line and makes it easier to custom-fit battens individually for a clean, seamless look.
Step 4: Attach Vertical Battens
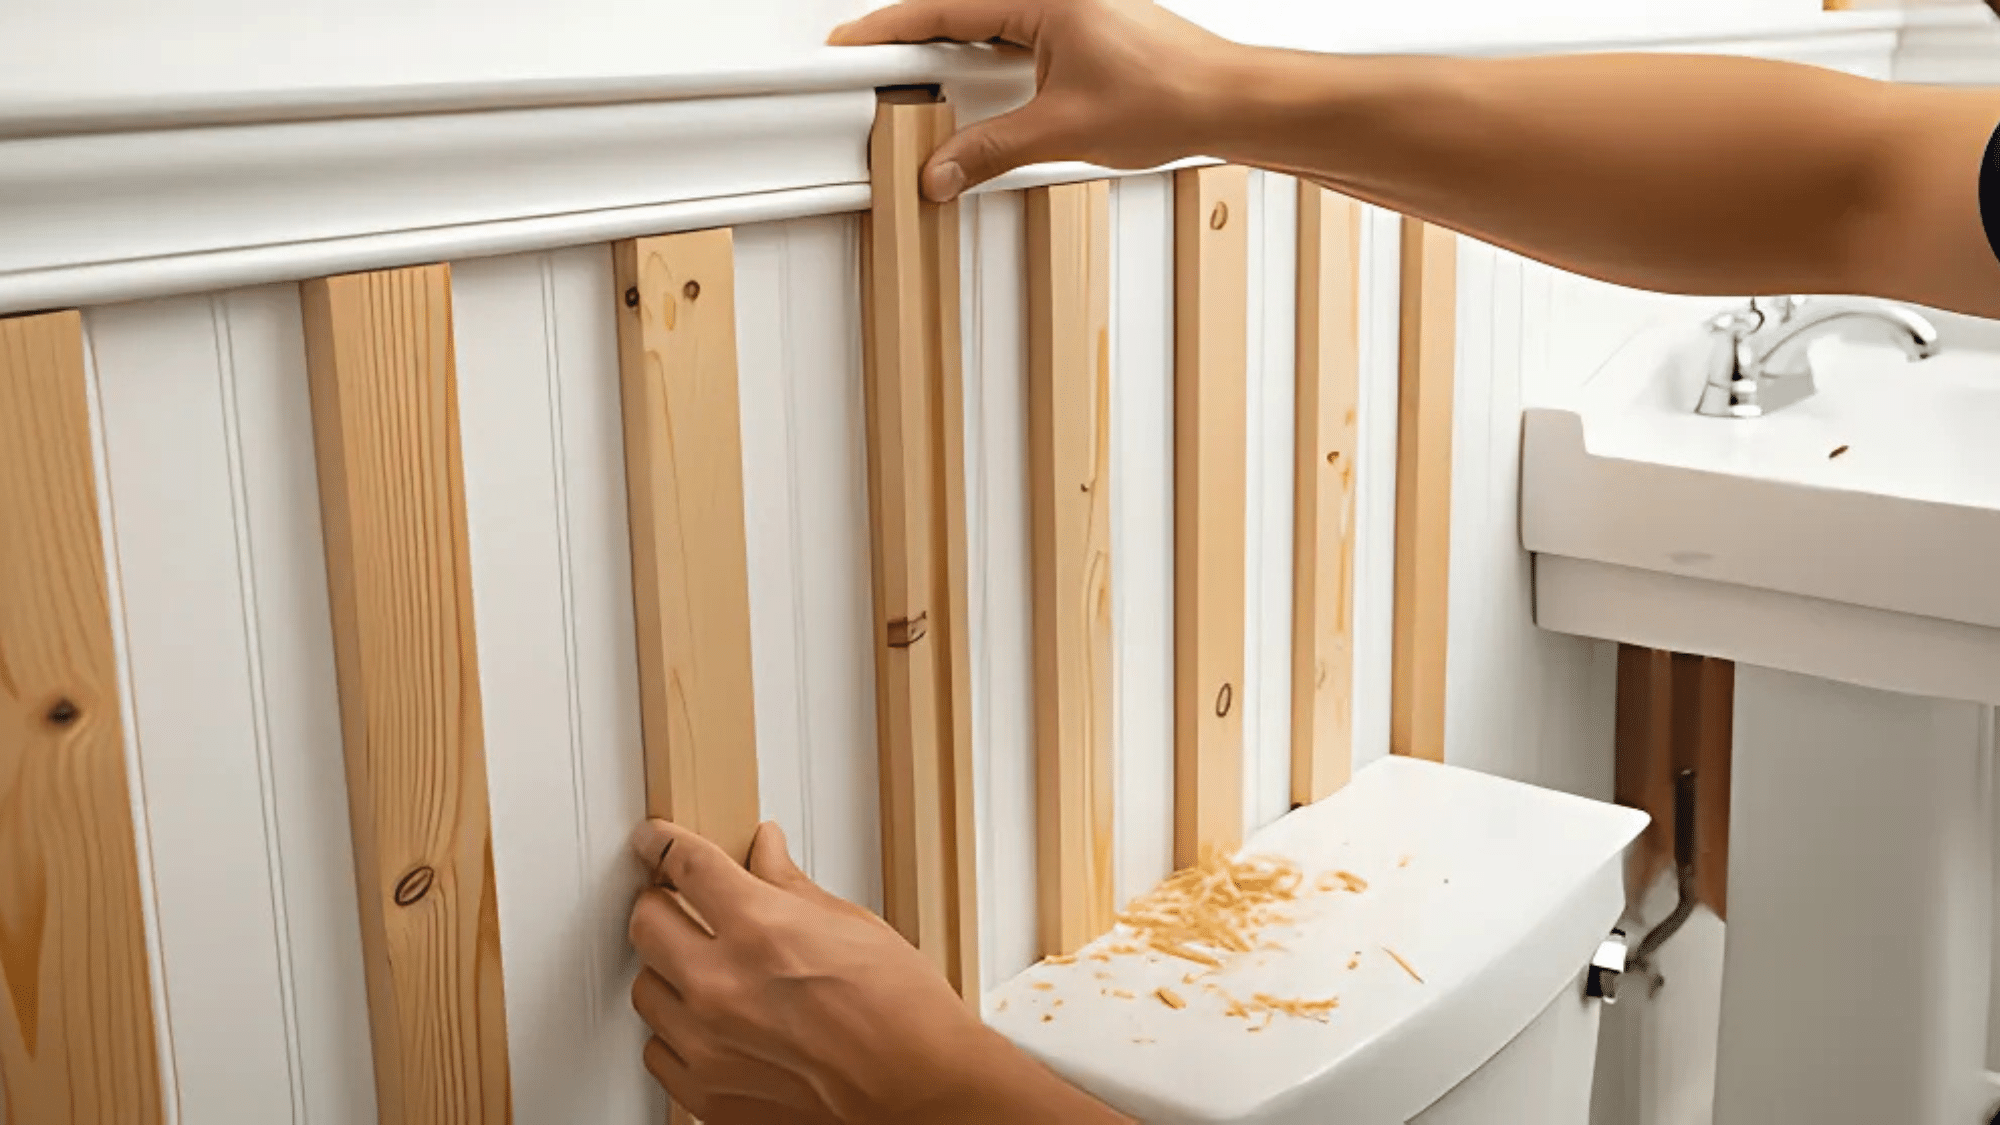
Fit each batten between the baseboard and top rail, adjusting lengths slightly for each wall. Use 2” nails for studs and shorter ones (1¼”) where studs aren’t accessible.
Let the adhesive do most of the holding work, and use the nails primarily for positioning while it dries.
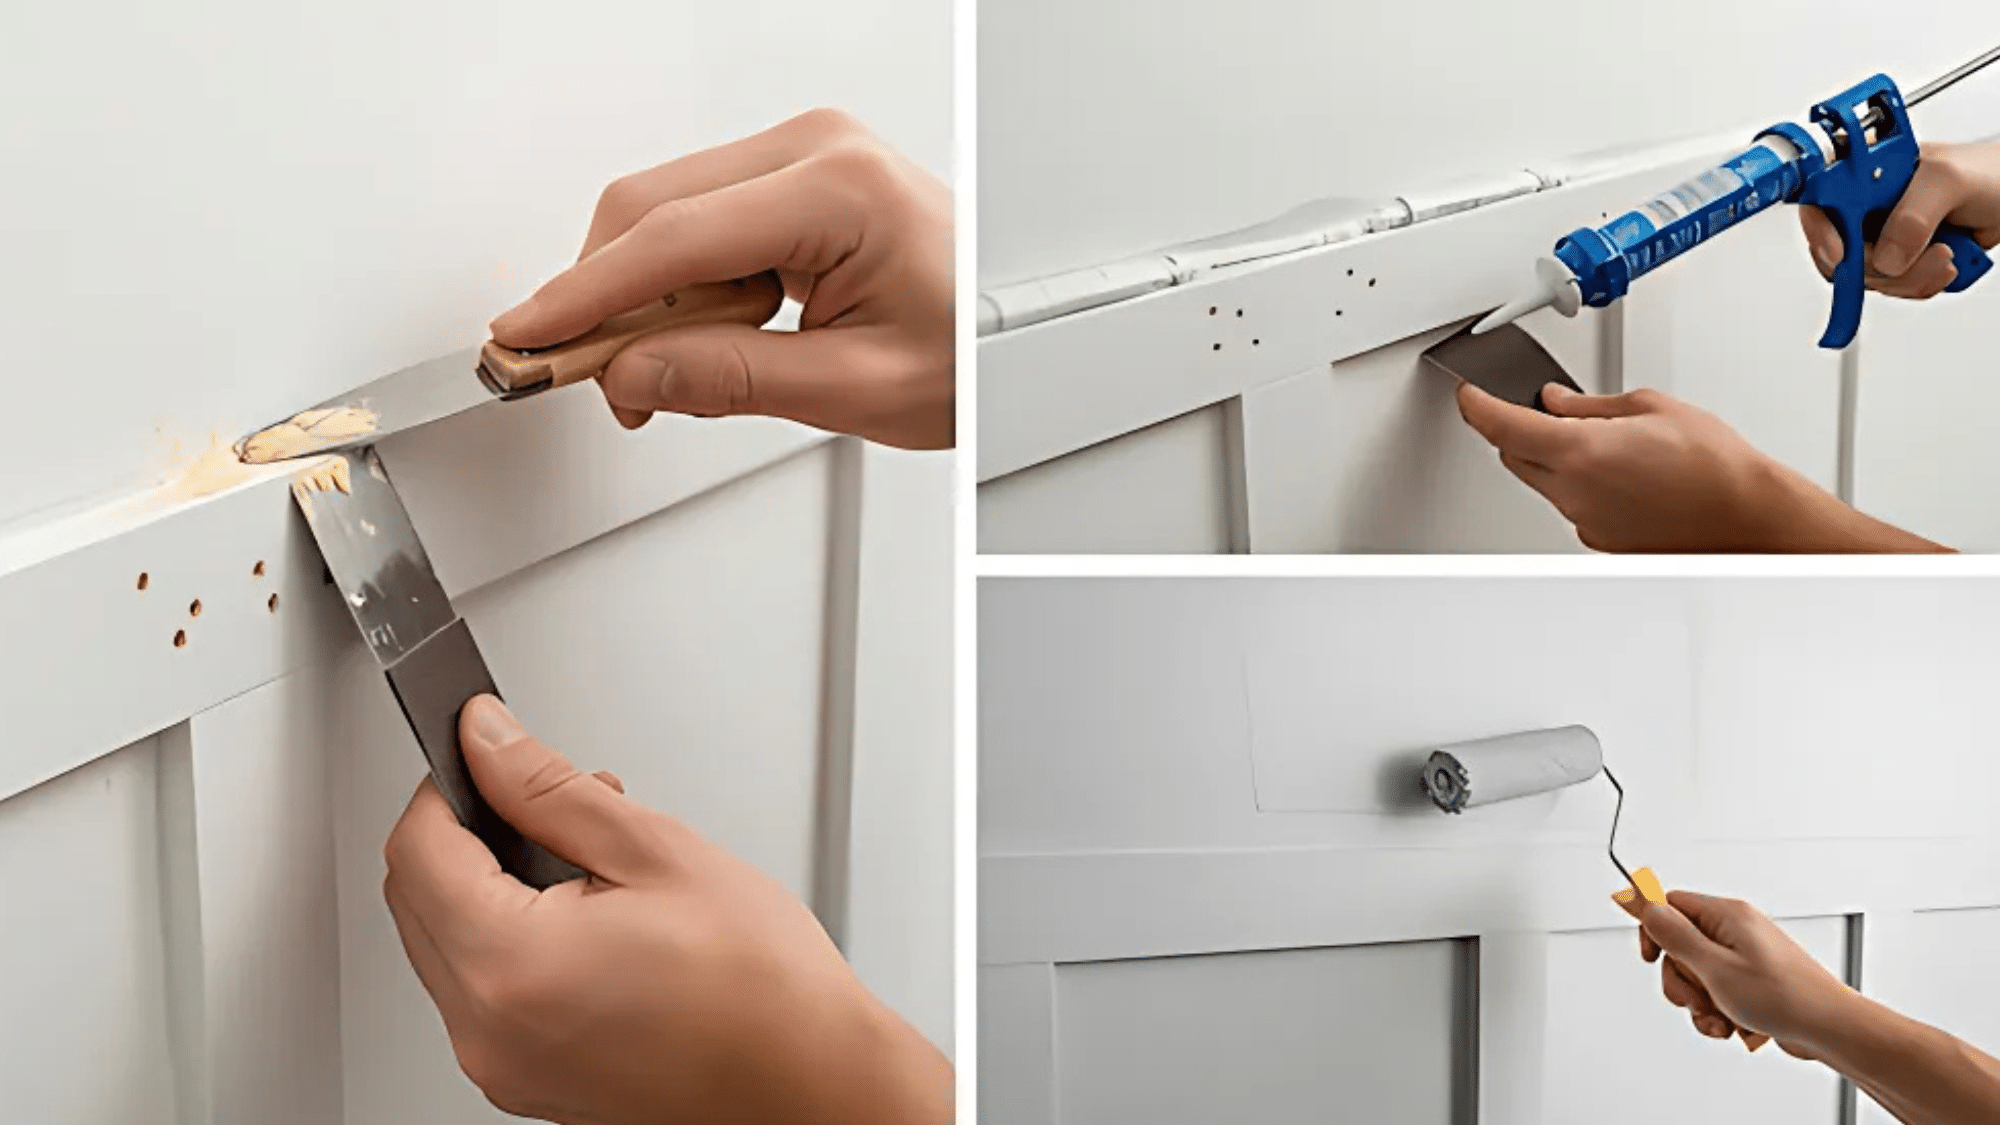
Step 5: Finish with Finesse

Once all pieces are in place, fill holes with wood filler and caulk all seams for a polished finish.
Sand smooth, then apply multiple coats of paint (expect at least 2–5 coats for even coverage). Choose a roller appropriate for drywall, not cabinetry, to speed up the process and get consistent results.
Tips for Tricky Spots: Corners, Switchboards & More
Every bathroom has those awkward spots that make you scratch your head.
Don’t worry – I’ve figured out the easiest ways to handle corners, work around outlets, and deal with fixtures without losing your mind.
Corners
- Inside corners: Instead of butting full-width battens together, rip each board down by ¾” and bevel the edges at 45° angles. This makes the joint look intentional and neat.
- Outside corners (if any): Use corner molding or apply the same beveling technique for a seamless appearance.
Switchboards & Outlets
- Measure and mark the center of the switch or outlet.
- Create cut-outs in battens where needed or use bevel cuts around outlets for a clean, built-in look.
- Keep batten lines aligned horizontally across all walls to maintain design flow.
Uneven Walls or Surfaces
- Customize each batten’s length using a table saw if the wall height fluctuates.
- For walls that bow slightly, use adhesive generously and apply pressure until secure.
Modern Bathroom Board and Batten Design Ideas
Board and batten doesn’t have to look old-fashioned. Today’s designers are putting fresh spins on this classic look, creating styles that feel current and classy.
Let me show you some ideas that’ll give your bathroom a modern edge.
1. Sleek Minimalist
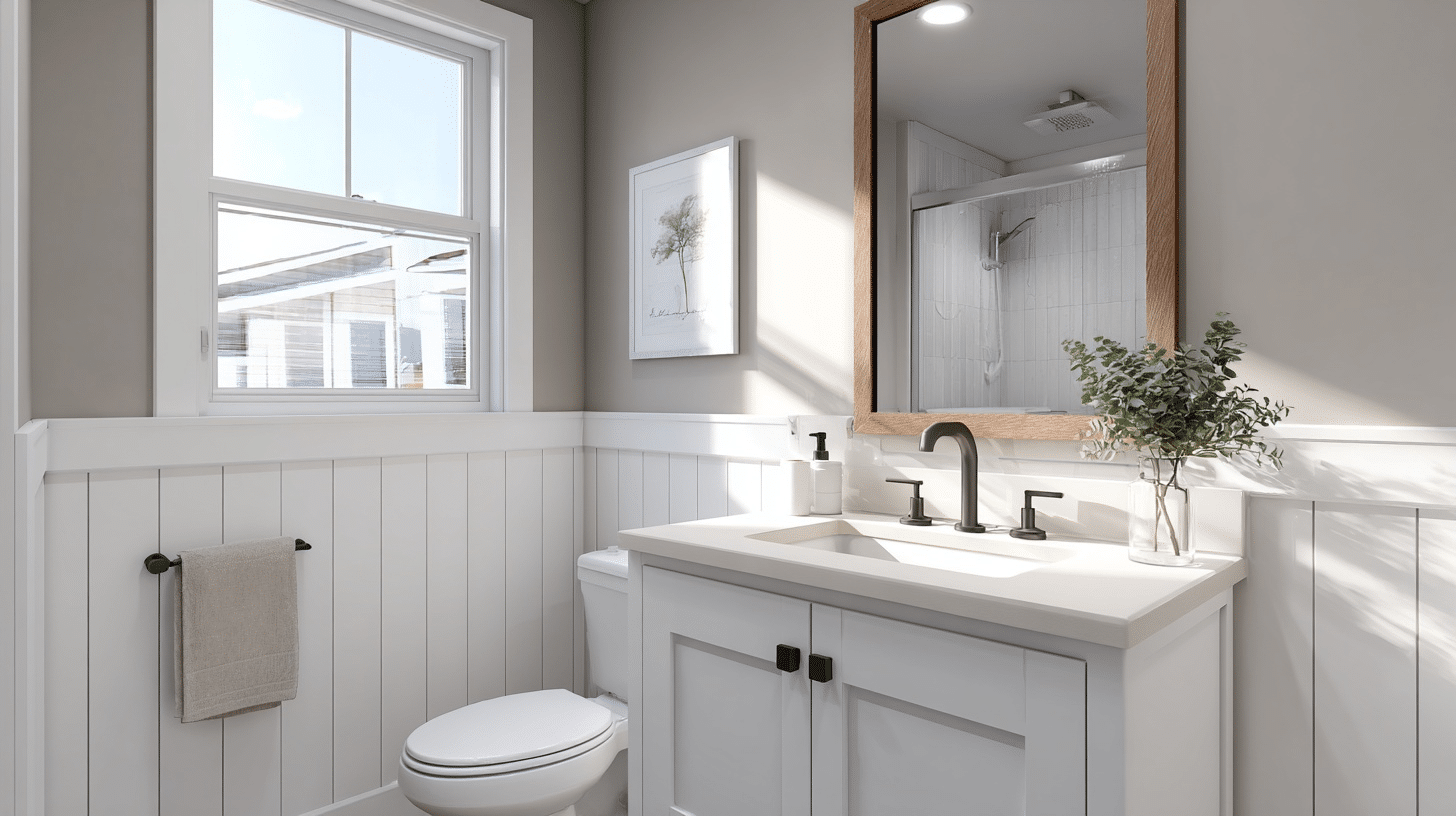
Board and batten painted in crisp white or soft gray creates a bright, airy feel.
Clean lines, minimal hardware, and uncluttered surfaces give the bathroom a spacious and modern appeal. Ideal for small bathrooms where simplicity maximizes perceived space.
- Aesthetic: Modern Minimalist
- Best Color Combination: White board & batten with soft gray or beige walls
- Hardware: Brushed nickel faucets and linear cabinet pulls
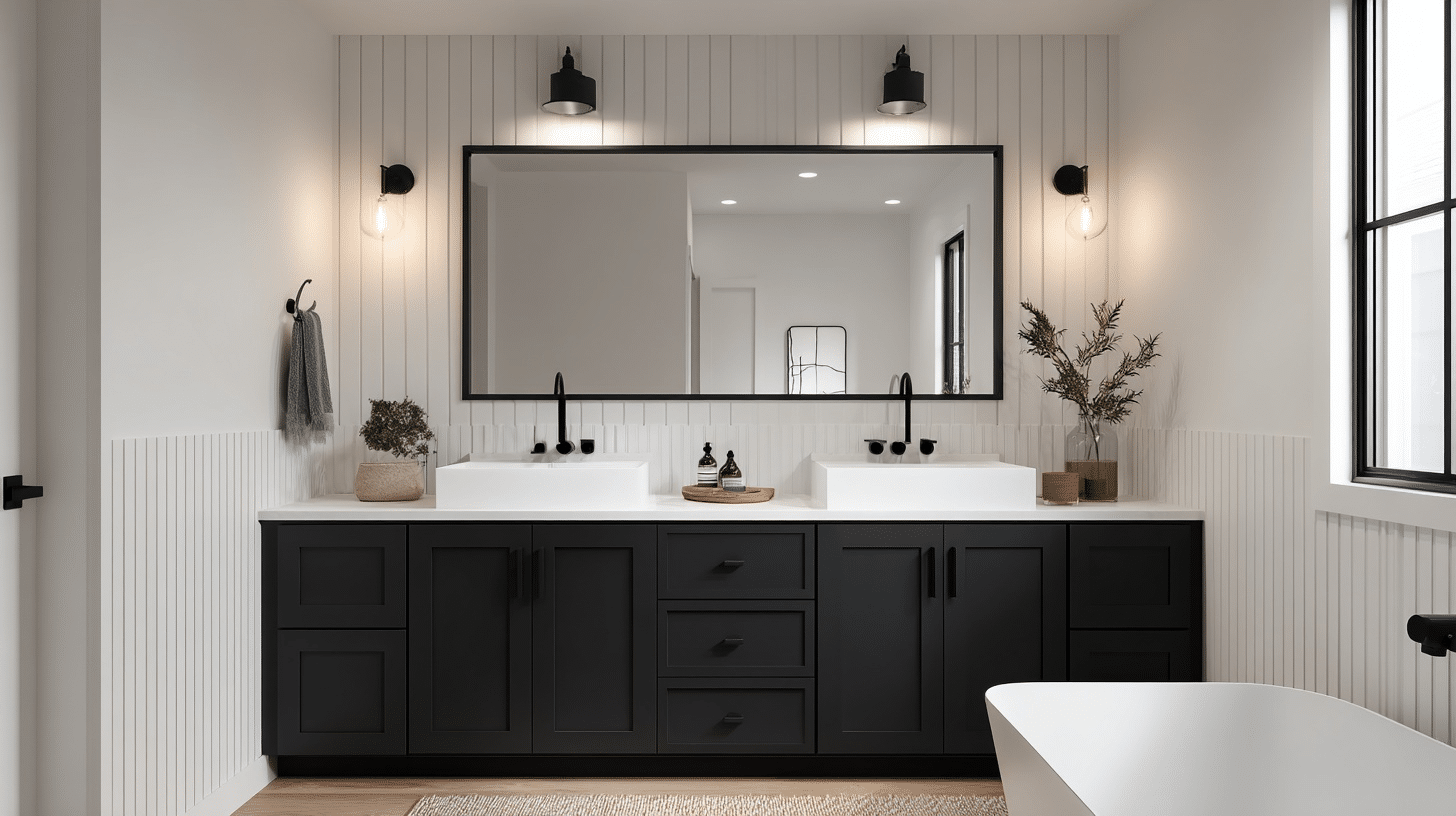
2. Moody Industrial
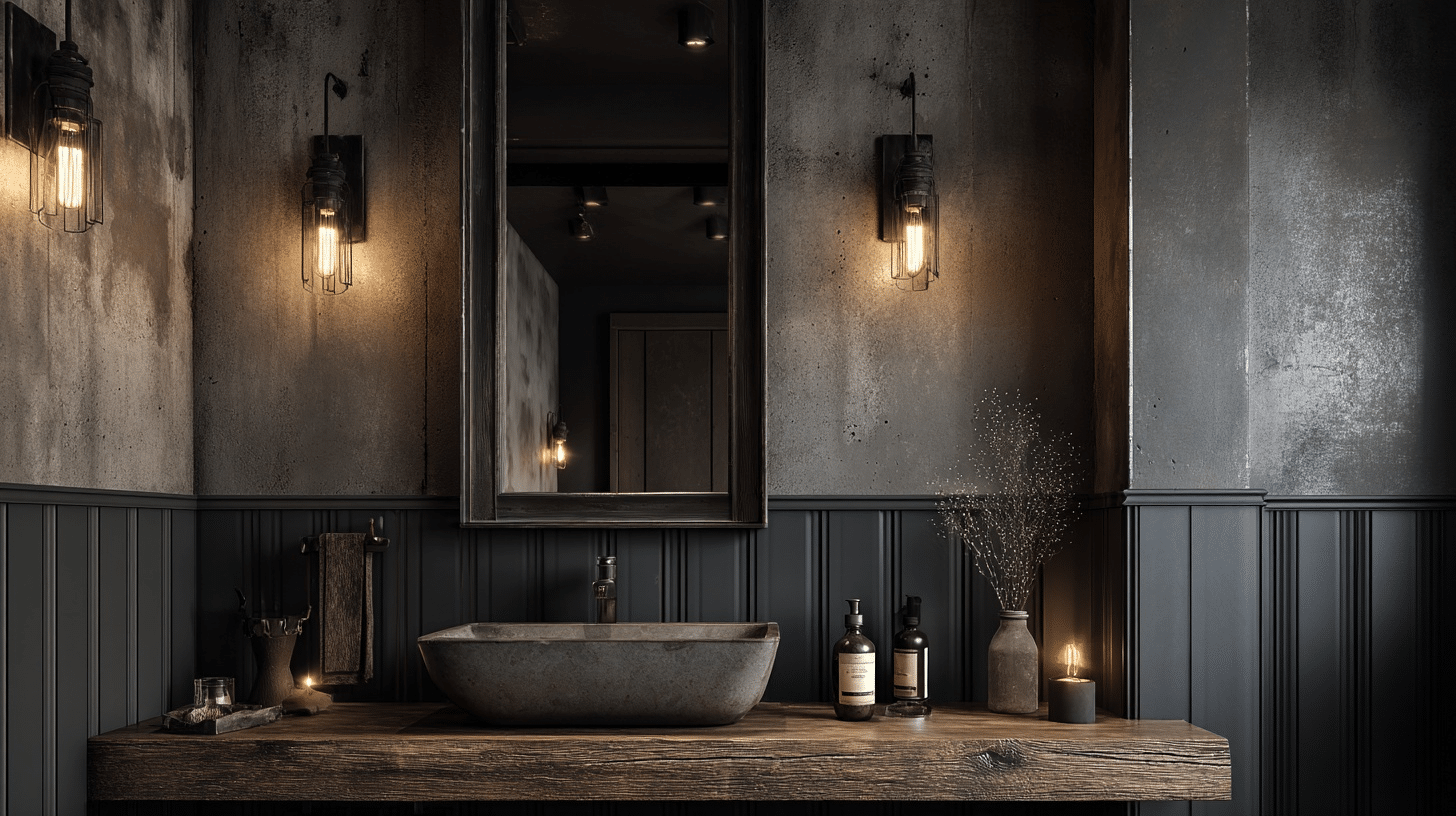
Dark-toned board and batten paired with matte black fixtures bring a moody, urban vibe. Concrete textures, industrial lighting, and metallic accents make the bathroom feel edgy yet classy.
Perfect for those wanting a bold design statement.
- Aesthetic: Industrial Chic
- Best Color Combination: Charcoal board & batten with concrete or stone walls
- Hardware: Matte black fixtures and exposed metal brackets
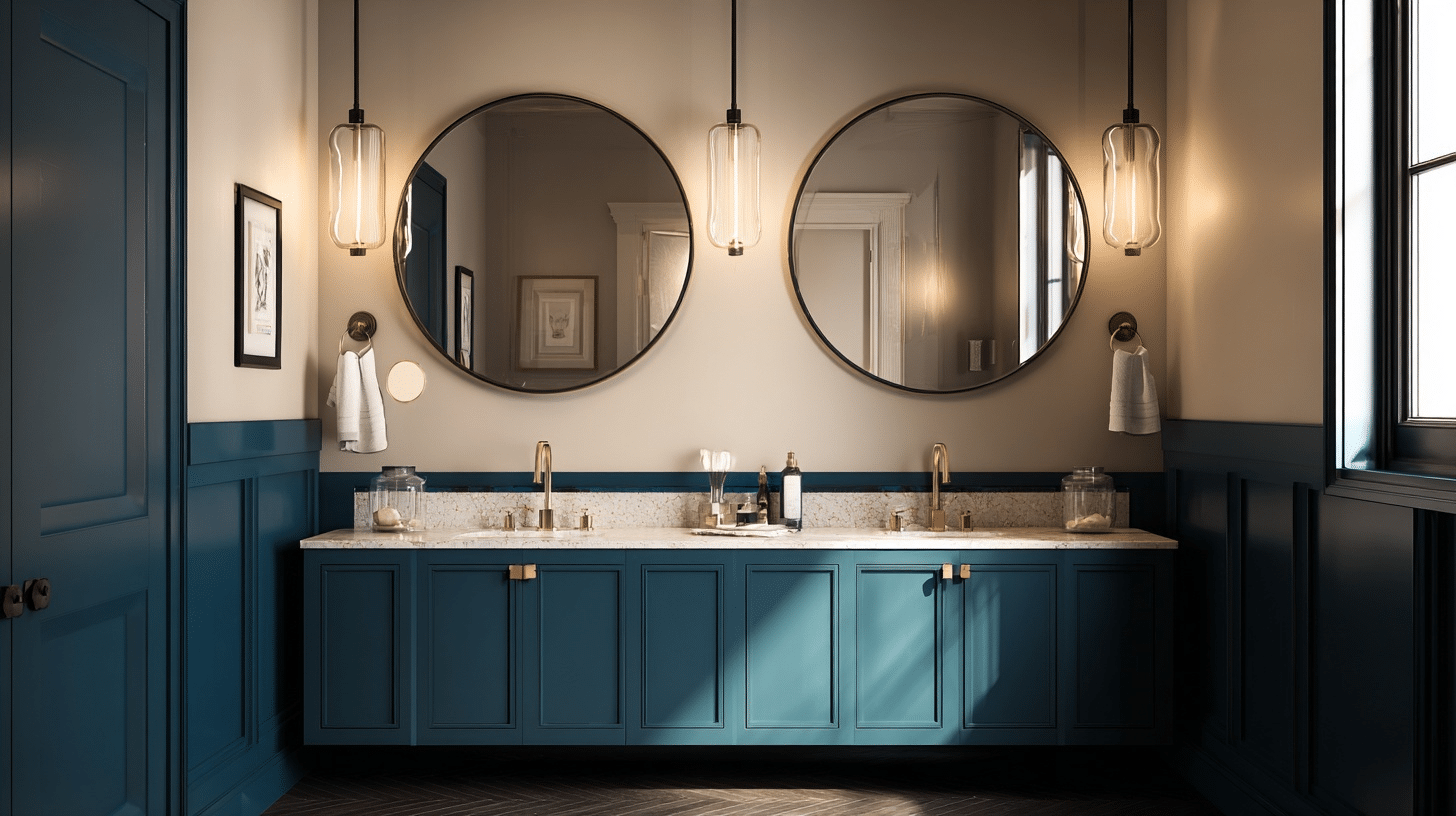
3. Coastal Retreat
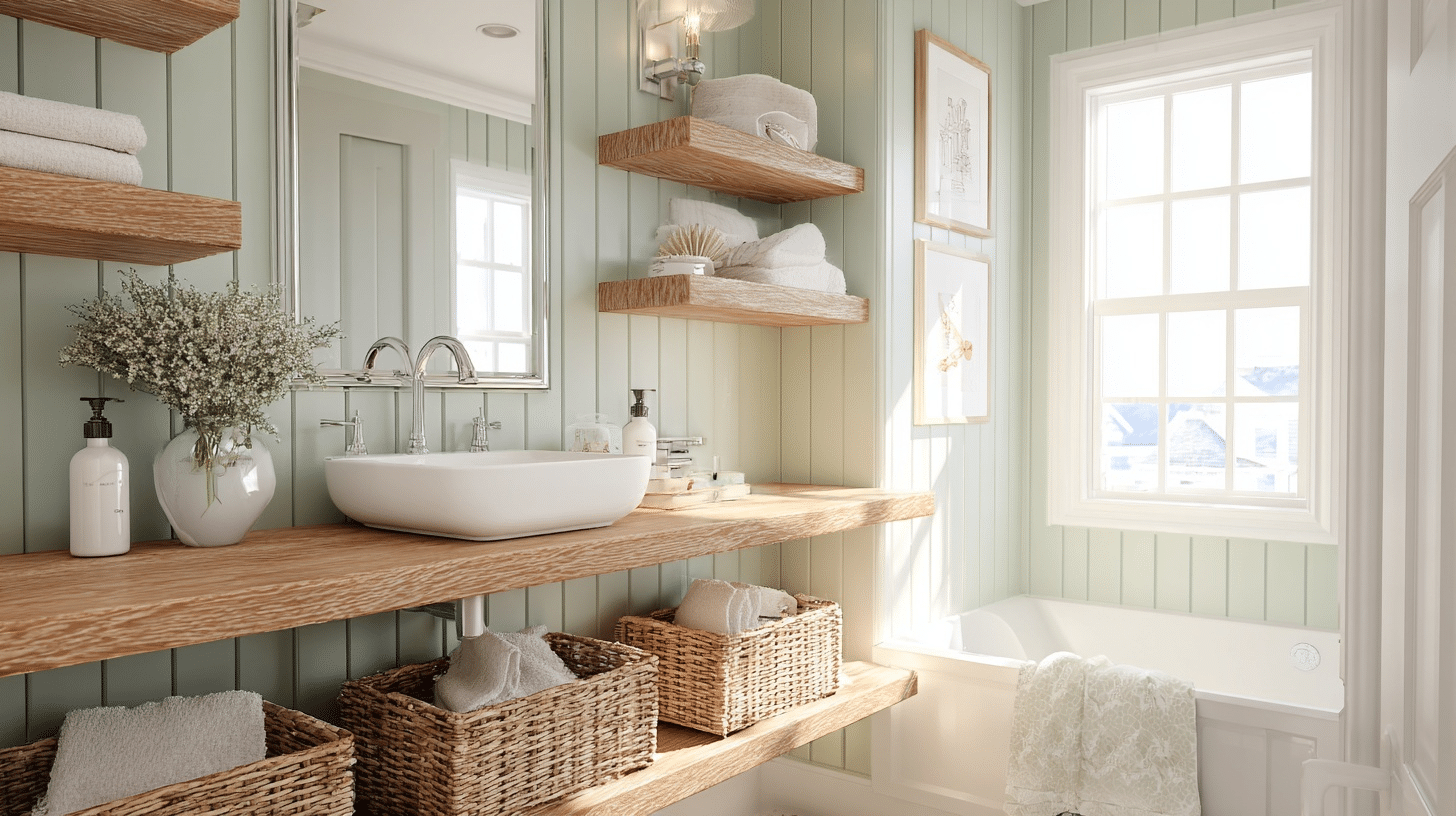
Soft blue or seafoam board and batten evoke a beachy calm.
Combined with natural wood tones and breezy textiles, it’s perfect for creating a relaxing spa-like bathroom that feels like a seaside getaway.
- Aesthetic: Coastal Modern
- Best Color Combination: Seafoam board & batten with white walls
- Hardware: Polished chrome faucets and rope-accented towel hooks
4. Scandinavian Warmth
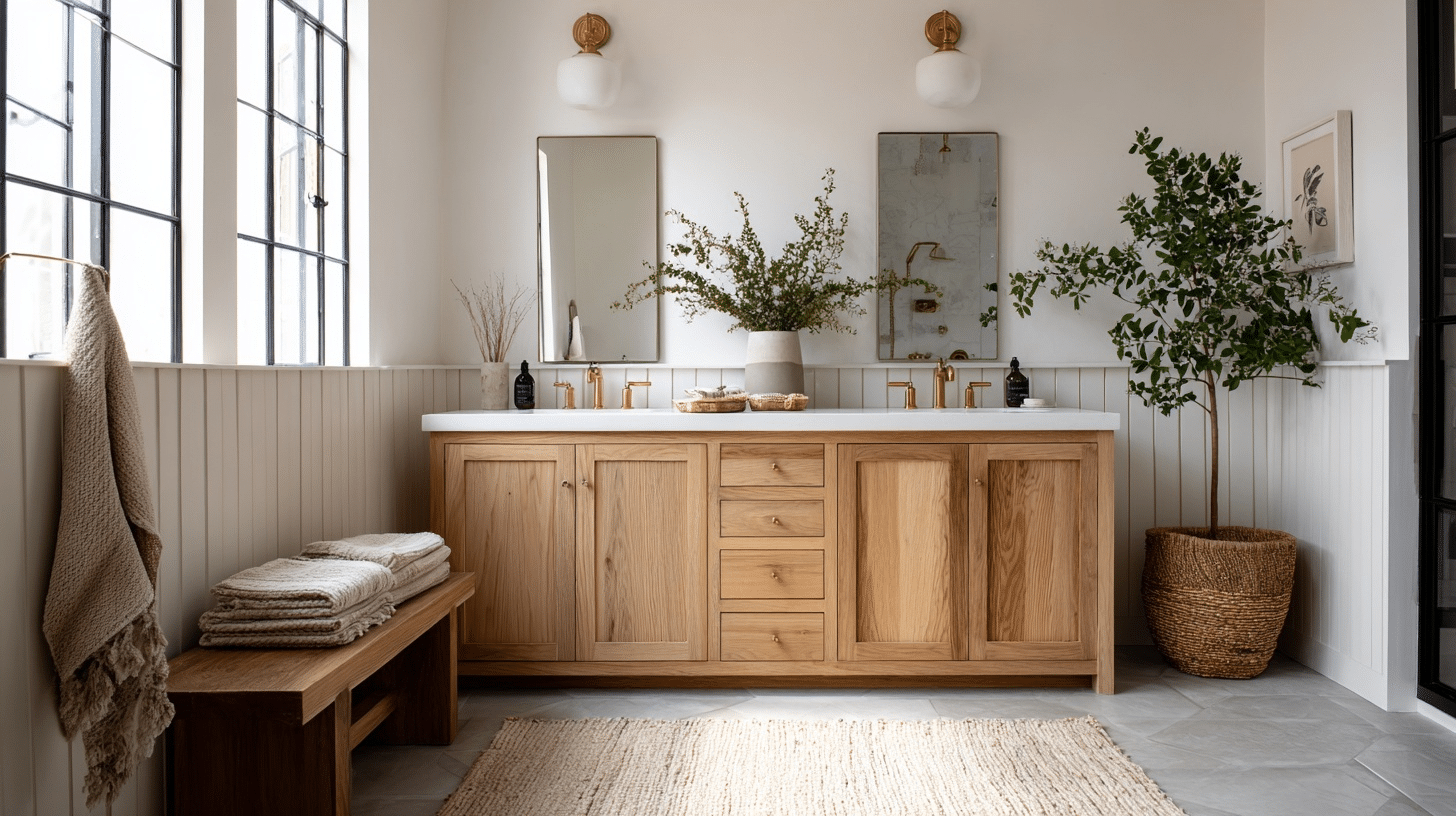
Light wood battens with white walls create a cozy yet contemporary Scandinavian vibe. The simplicity of design paired with organic elements promotes warmth and comfort without overwhelming the senses.
- Aesthetic: Scandinavian Modern
- Best Color Combination: White walls with light oak or birch battens
- Hardware: Brushed brass handles and warm-toned wall sconces
5. Urban Glam
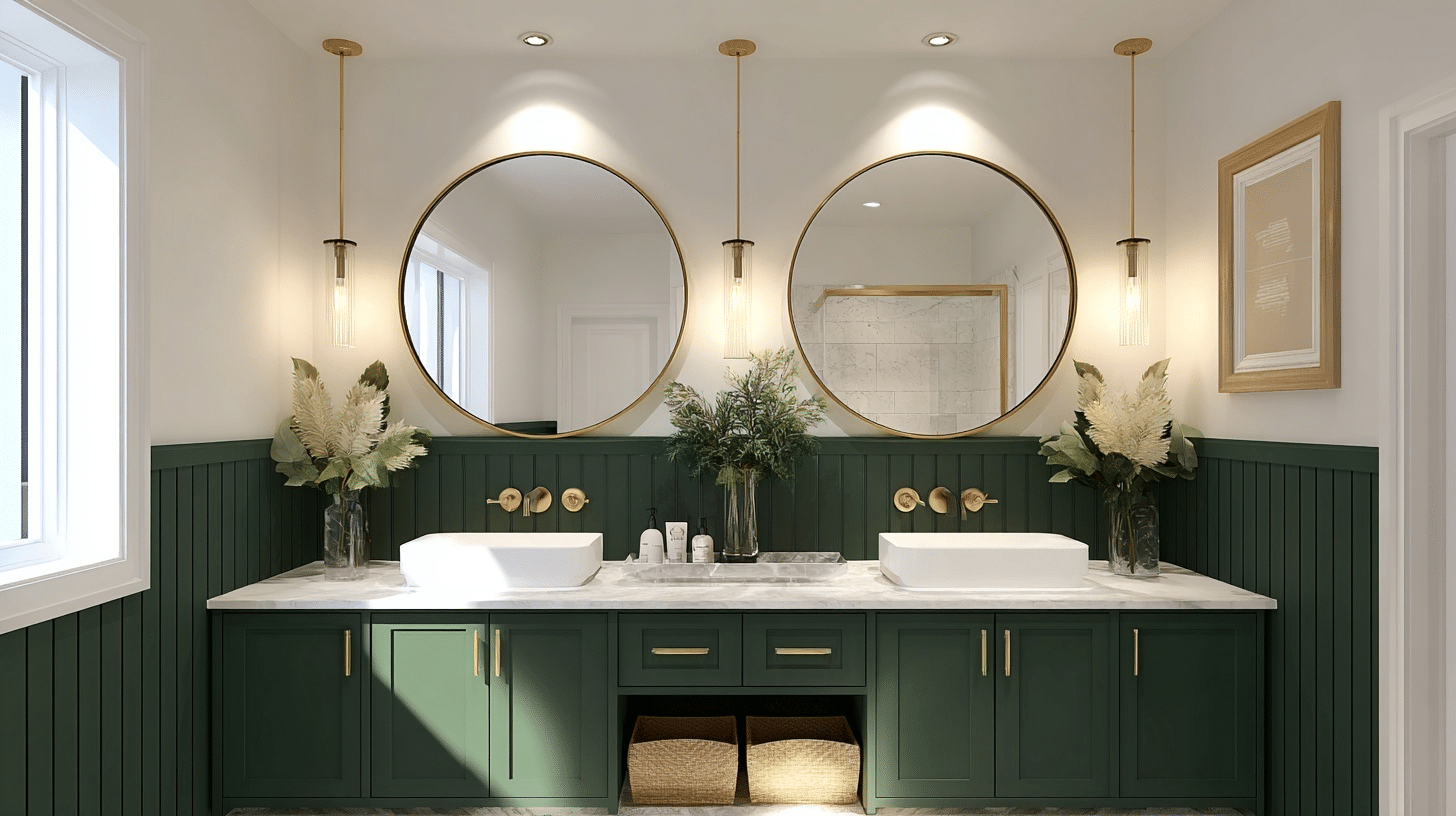
Glossy deep green or navy board and batten paired with gold details changes the bathroom into a classy, hotel-inspired retreat.
A mix of dramatic color and shiny accents captures modern charm.
- Aesthetic: Luxe Modern
- Best Color Combination: Emerald green board & batten with off-white walls
- Hardware: Polished gold faucets and crystal cabinet knobs
6. Farmhouse Modern
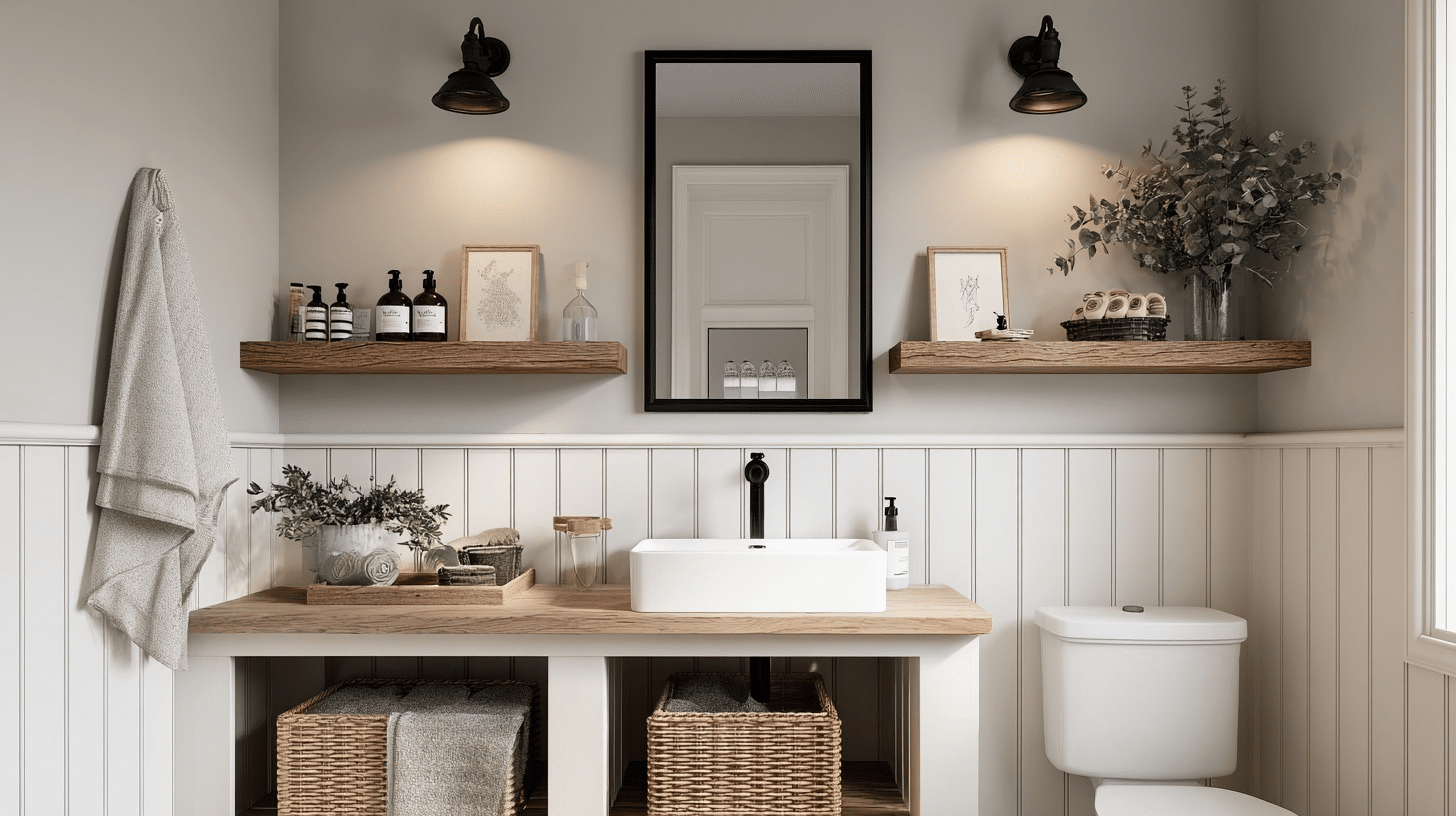
Classic white board and batten with subtle texture pairs beautifully with black or bronze accents. Adding rustic wood shelving and vintage-style lighting makes the space cozy yet current.
- Aesthetic: Modern Farmhouse
- Best Color Combination: Crisp white board & batten with greige walls
- Hardware: Oil-rubbed bronze faucets and farmhouse-style hooks
7. Contemporary Contrast
Two-tone board and batten, like black on the lower half and white above, creates striking visual interest.
Paired with clean-lined mirrors and modern lighting, it’s perfect for a bold but uncluttered look.
- Aesthetic: Bold Contemporary
- Best Color Combination: Black board & batten with white upper walls
- Hardware: Satin nickel or matte black lever handles
Board and Batten vs. Shiplap: Which is Better for Bathrooms?
Both styles look great, but they’re quite different. I get asked this question all the time, so let me break down the key differences.
Understanding these will help you pick the perfect option for your space and budget.
| Feature | Board and Batten | Shiplap |
|---|---|---|
| Installation | Vertical boards with battens | Horizontal planks with grooves |
| Moisture Resistance | Good with proper sealing | Better natural water shedding |
| Cost | Moderate to high | Moderate |
| Maintenance | Regular touch-ups needed | Less frequent maintenance |
| Style | Traditional, cottage look | Modern farmhouse feel |
| Small Bathrooms | Makes the ceilings look higher | Can make rooms feel wider |
Board and Batten Installation Mistakes to Avoid
Trust me, I’ve made my share of mistakes on DIY projects. Some of these errors can really mess up your finished look or cause problems down the road.
Learn from my experience and skip these common pitfalls.
1. Skipping the Level Check: Don’t assume your walls are straight. Always use a level when marking your board placement. Crooked lines will haunt you every time you look at the wall.
2. Forgetting to Prime Before Painting: Raw wood soaks up paint like a sponge. Skip the primer, and you’ll need three coats of expensive paint to get even coverage.
3. Not Planning Your Layout First: Measure twice, cut once. Plan where each board goes before making any cuts. This prevents awkward spacing around windows and doors.
4. Using the Wrong Nail Size: Too short, and your boards will pop off. Too long and you’ll hit plumbing or wiring. Stick with 1.5-inch finish nails for most projects.
5. Ignoring Expansion Gaps: Wood moves with humidity changes. Leave small gaps at corners and joints, or your boards might buckle later.
6. Rushing the Caulking Process: Take your time filling nail holes and sealing gaps. Sloppy caulk work shows up big time after painting.
To Conclude
You now have everything you need to tackle your own board and batten bathroom project.
From choosing the right materials to handling those tricky corners, these techniques will help you create a stunning feature wall that rivals any professional installation.
Start by measuring your walls and sketching out your layout. Pick up those materials this weekend, and by next Sunday evening, you could be admiring your beautiful new board and batten walls.
Ready to turn that boring bathroom into your favorite room in the house? Your tools are waiting, and your walls are ready for their makeover.