Planning a bathroom renovation can feel overwhelming. I’ve seen too many of my clients start projects without a proper timeline, only to face delays, budget overruns, and endless stress.
I’m going to show you exactly how to create a bathroom remodel schedule that keeps your project on track for my clients.
In this blog post, I’ll walk you through each phase of scheduling your bathroom renovation.
You’ll learn how to sequence tasks properly, build in buffer time for surprises, and coordinate contractors effectively just as I do for my clients.
What is a Bathroom Remodel Schedule?
A bathroom remodel schedule is your project’s blueprint for success. Think of it as a detailed timeline that maps out every single task from demolition to final cleanup.
I like to call it your renovation roadmap because it shows you exactly where you’re going and how to get there.
Here’s what makes a good schedule different from just winging it. It breaks down your entire project into manageable phases.
Each phase has specific tasks, estimated timeframes, and clear dependencies. For example, you can’t install your vanity until the electrical work is done and the walls are painted.
How Long Does a Bathroom Remodel Typically Take?

The timeline really depends on what my client is tackling.
A minor refresh, new paint, fixtures, and vanity usually takes 1-3 weeks. But a full gut renovation? Plan on 6-8 weeks minimum, and I’ve seen complex projects for my clients stretch to 12 weeks.
Several factors impact the timeline for my client. Permit approvals can add 2-4 weeks upfront.
Custom orders for tiles or vanities? Tack on another month. Structural surprises behind walls will definitely slow things down.
Room size matters too a small powder room moves faster than a master suite with separate shower and tub.
Stage 1: Planning and Designing
Timeline: 2-4 weeks
When I’m working on a client’s bathroom renovation, I spend weeks creating mood boards and measuring every corner twice. This is the stage where we make crucial layout decisions, “where the toilet will go?”, “should we opt for a single or double vanity?”.
I help my clients select all fixtures, tiles, and finishes before anyone picks up a hammer.
This stage can feel slow, but I’ve learned that rushing design decisions always come back to haunt you later, especially when contractors are waiting on answers.
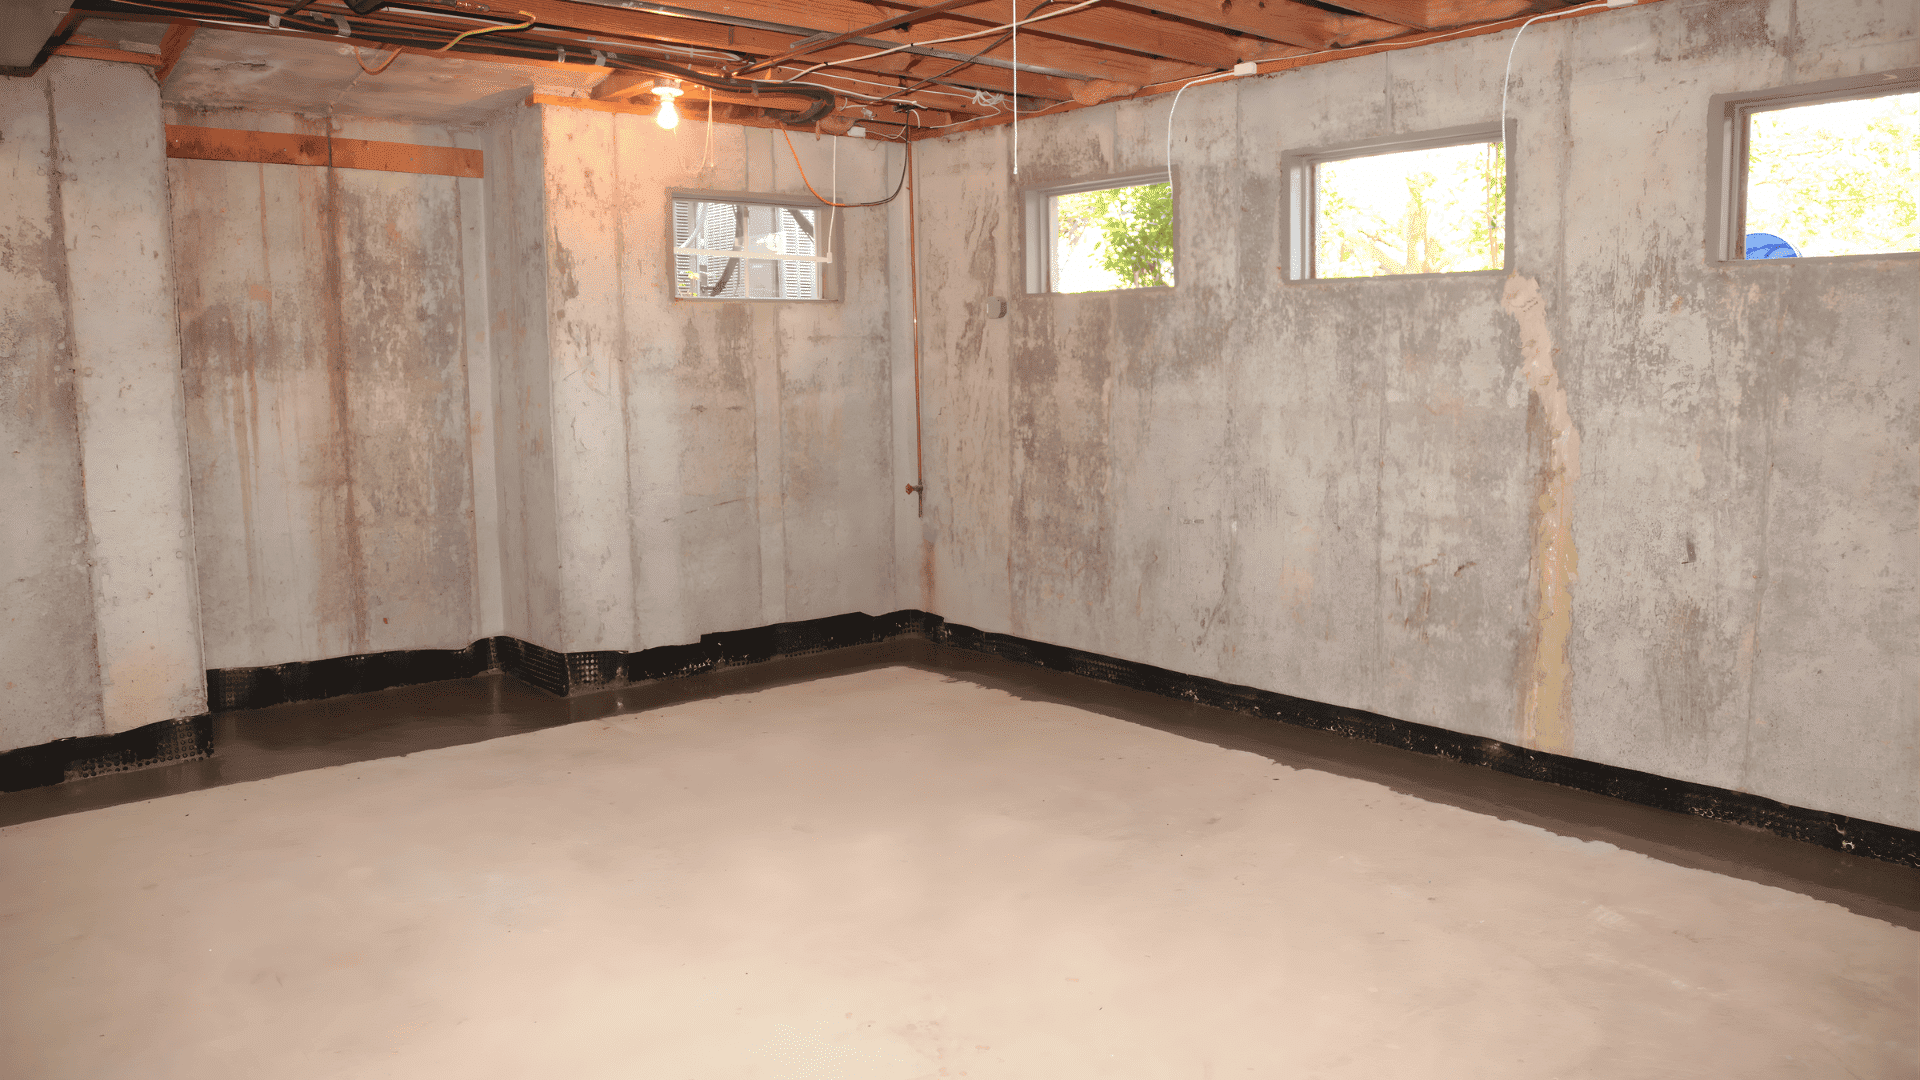
Stage 2: Demolition
Timeline: 2-3 days
Demo day is always satisfying but messy. For my clients, I typically budget 2–3 days for a full teardown. This is when surprises show up, like rotted subfloors or unexpected wiring.
I always advise clients to expect the unexpected and build in extra time just in case.
Stage 3: Plumbing and Electrical Rough-In
Timeline: 3-5 days
This is when major systems get rerouted or upgraded for my client’s new shower valves, electrical panels, ventilation fansvall the stuff behind walls.
I schedule inspections immediately after completion because nothing gets covered until it’s approved. This stage often reveals code violations that need fixing, adding time and cost.
Stage 4: Structural and Surface Work
Timeline: 1-2 weeks
Waterproofing comes first; I never skip this step after seeing water damage nightmares in my client’s projects. Then, insulation, drywall, and flooring prep.
The sequence matters: subfloor, waterproofing, tile backer, then surfaces.
I learned to do flooring before painting to avoid tile dust ruining fresh paint. Patience here prevents major rework later.
Stage 5: Fixture and Cabinet Installation
Timeline: 1 week
Order matters tremendously here for my client. I install the tub first, then vanity, toilet, and finally lighting fixtures.
Cabinet installation happens before countertops but after flooring. Each trade builds on the previous one’s work, so coordination is crucial. One mistake in sequencing can mean removing finished work to access connections.
Stage 6: Finishing Touches and Final Walkthrough
Timeline: 2-3 days
Grout, caulk, touch-up paint, and hardware installation happen now for my client. I test every fixture, check all switches, and run water everywhere.
My punch list covers everything from cabinet alignment to paint coverage. This stage feels minor but determines whether your bathroom looks DIY or professional. Don’t rush these final details.
Factors that Influence the Timeline
1. Scope of Project (Size, Design Complexity): A 5×8 powder room with standard fixtures? That’s usually straightforward for my clients. But when I tackled a client’s master bath with custom tile work, a walk-in shower, and double vanities, everything took longer.
Complex designs require more coordination between trades, precise measurements, and often custom orders that extend lead times.
2. Availability of Skilled Trades and Materials: I’ve learned through my client projects that during peak renovation season, good contractors book out months in advance.
Popular tile selections can have 6–8 week lead times. Supply chain hiccups happen, too. I once waited three weeks for a specific faucet for a client’s house because it was backordered.
3. Permit Delays and Inspection Timelines: What should be a quick approval can stretch for weeks, especially in busy municipalities. For my clients, I always factor in 2–4 weeks for permits alone.
Then there’s the challenge of scheduling inspections, rough plumbing, electrical, and final inspections all need separate appointments, which don’t always align with the contractor’s schedule.
4. Hidden Issues (Mold, Plumbing Problems): Opening walls in a client’s home is like a box of chocolates; you never know what you’ll find.
I’ve uncovered rotted subfloors, outdated electrical systems that needed upgrading, and plumbing that wasn’t up to code.
These surprises can add time and cost to the project, so I always build in a buffer for the unexpected.
Pro Tips for Your Bathroom Remodel Schedule
Creating a remodel schedule is more than just penciling in start and end dates.
Here’s how to build a smarter schedule that keeps your remodel on track and your sanity intact.
- Get a detailed contract timeline with weekly milestones, not vague estimates.
- Schedule mini-walkthroughs every Friday to catch issues early.
- Build buffer days between major phases for drying time and delays.
- Always have a backup plan for showering and bathroom access.
- Track actual timeline against your schedule to learn for next time
Key Takeaways
Creating a solid bathroom remodel schedule isn’t just about avoiding chaos; it’s about turning your vision into reality without losing your mind or your budget.
I’ve walked you through the essential stages, common pitfalls, and pro strategies that separate successful renovations from disaster stories.
Begin with a realistic timeline, communicate clearly with your team, and approach the process with a positive attitude. Soon enough, you’ll be soaking in that beautiful new space, wondering why you waited so long to begin.
Your dream bathroom is just one well-planned schedule away.