Need TPO roof repair? Here’s the truth most contractors skip.
TPO roofs aren’t maintenance-free. Ignoring small issues like seam splits or punctures can lead to costly damage down the line. I’ve seen too many owners wait too long, only to face major repairs.
The key? Spot warning signs early and act fast. Quick fixes now can save you thousands later.
Let’s uncover the hidden TPO problems and the repair methods that actually last.
Understanding TPO Roofing Systems Before You Start
Before diving into TPO roof repair, it’s helpful to understand what makes these systems unique.
TPO stands for Thermoplastic Polyolefin, a flexible, heat-reflective, single-ply membrane used on many flat roofs today. It’s installed in large sheets and joined with heat welding, which forms strong, seamless bonds.
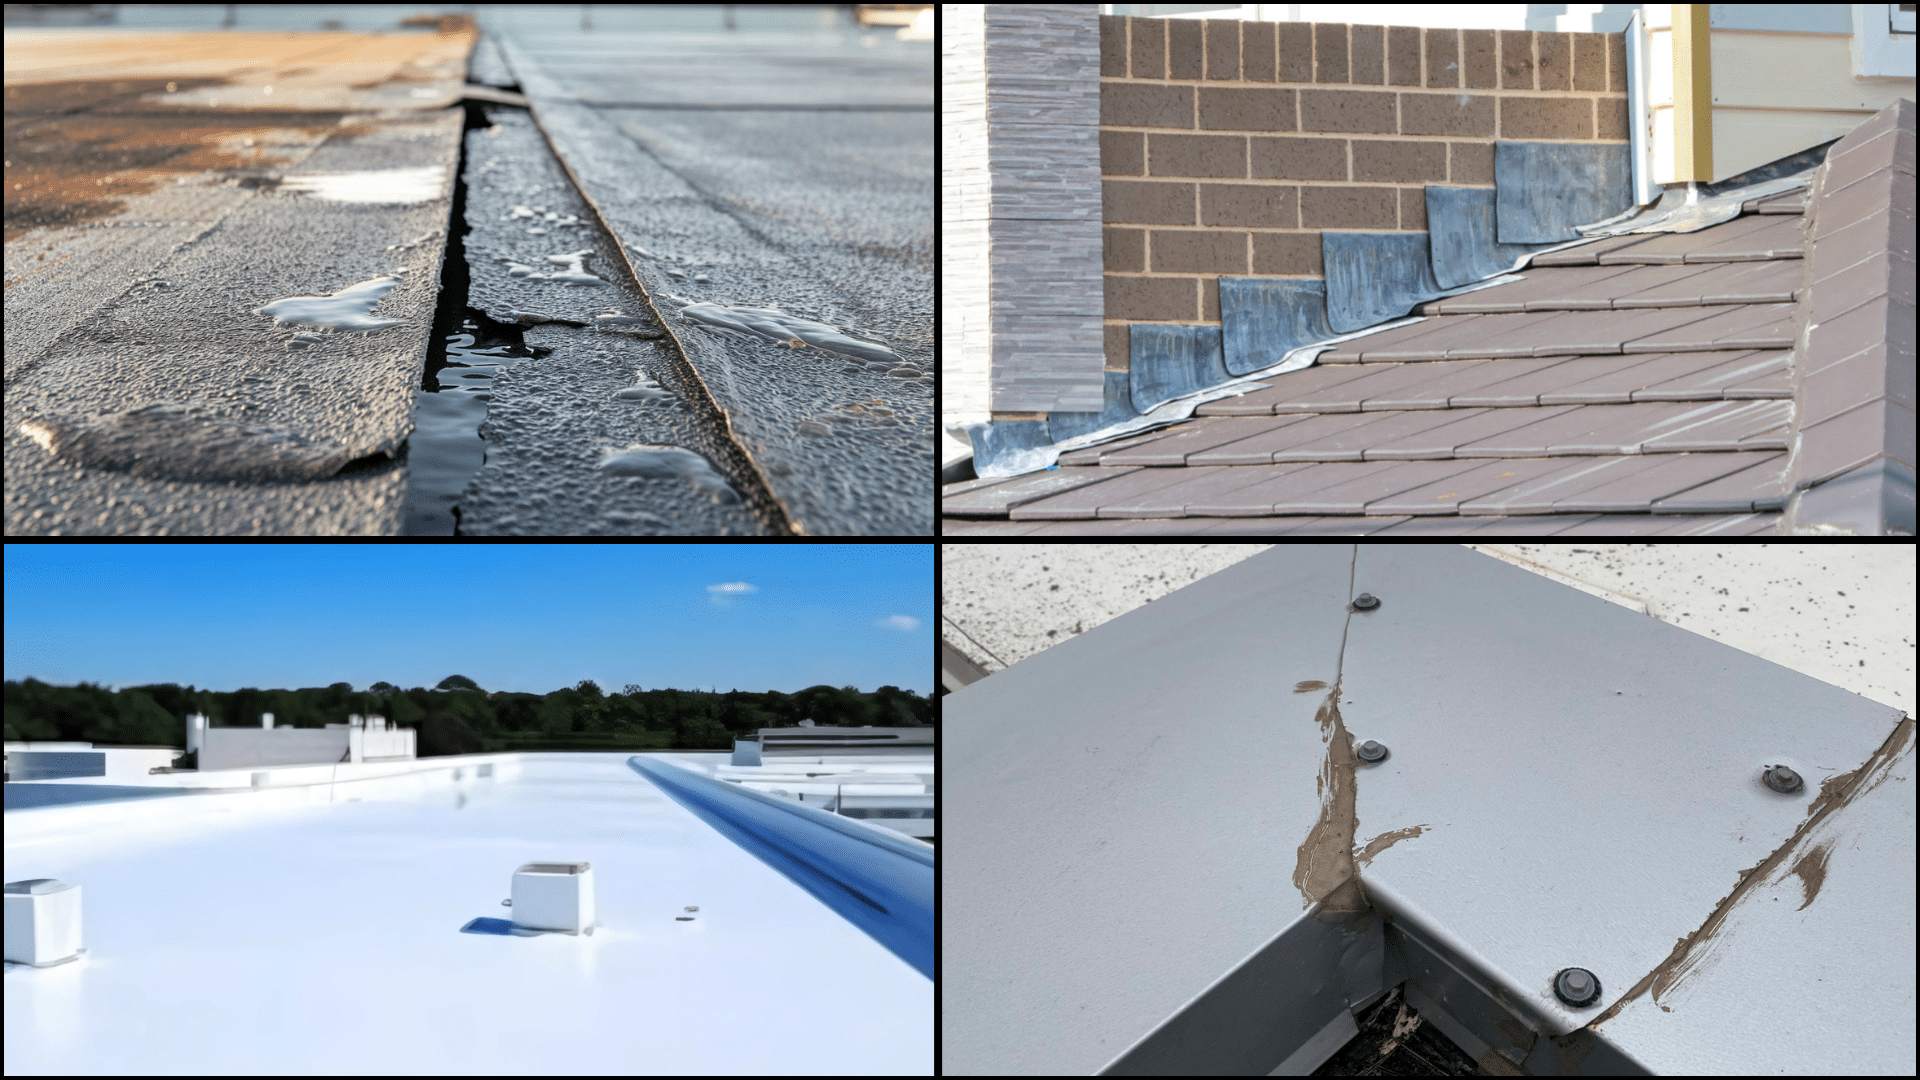
Most repair issues happen at seams, vents, drains, or where the membrane meets walls, so knowing this helps you fix problems the right way.
Essential Tools for TPO Inspection
| Tools | Purpose |
|---|---|
| Flashlight or headlamp | For dark areas |
| Camera | To document problems |
| Measuring tape | For sizing damaged areas |
| Chalk marker | To outline issues |
| Ladder | For safe roof access |
| Non-slip shoes | For safety |
Estimated Total Budget: $42–$72 (DIY) approx.
For professional repairs, costs may range from $96–$180+ approx., depending on repair size and tools required.
Simple Steps for Any TPO Roof Repair
TPO roofs are tough, but even the best ones can get damaged. These easy steps will guide you through fixing small issues so your roof stays safe and dry.
Step 1: Inspect the Roof Surface
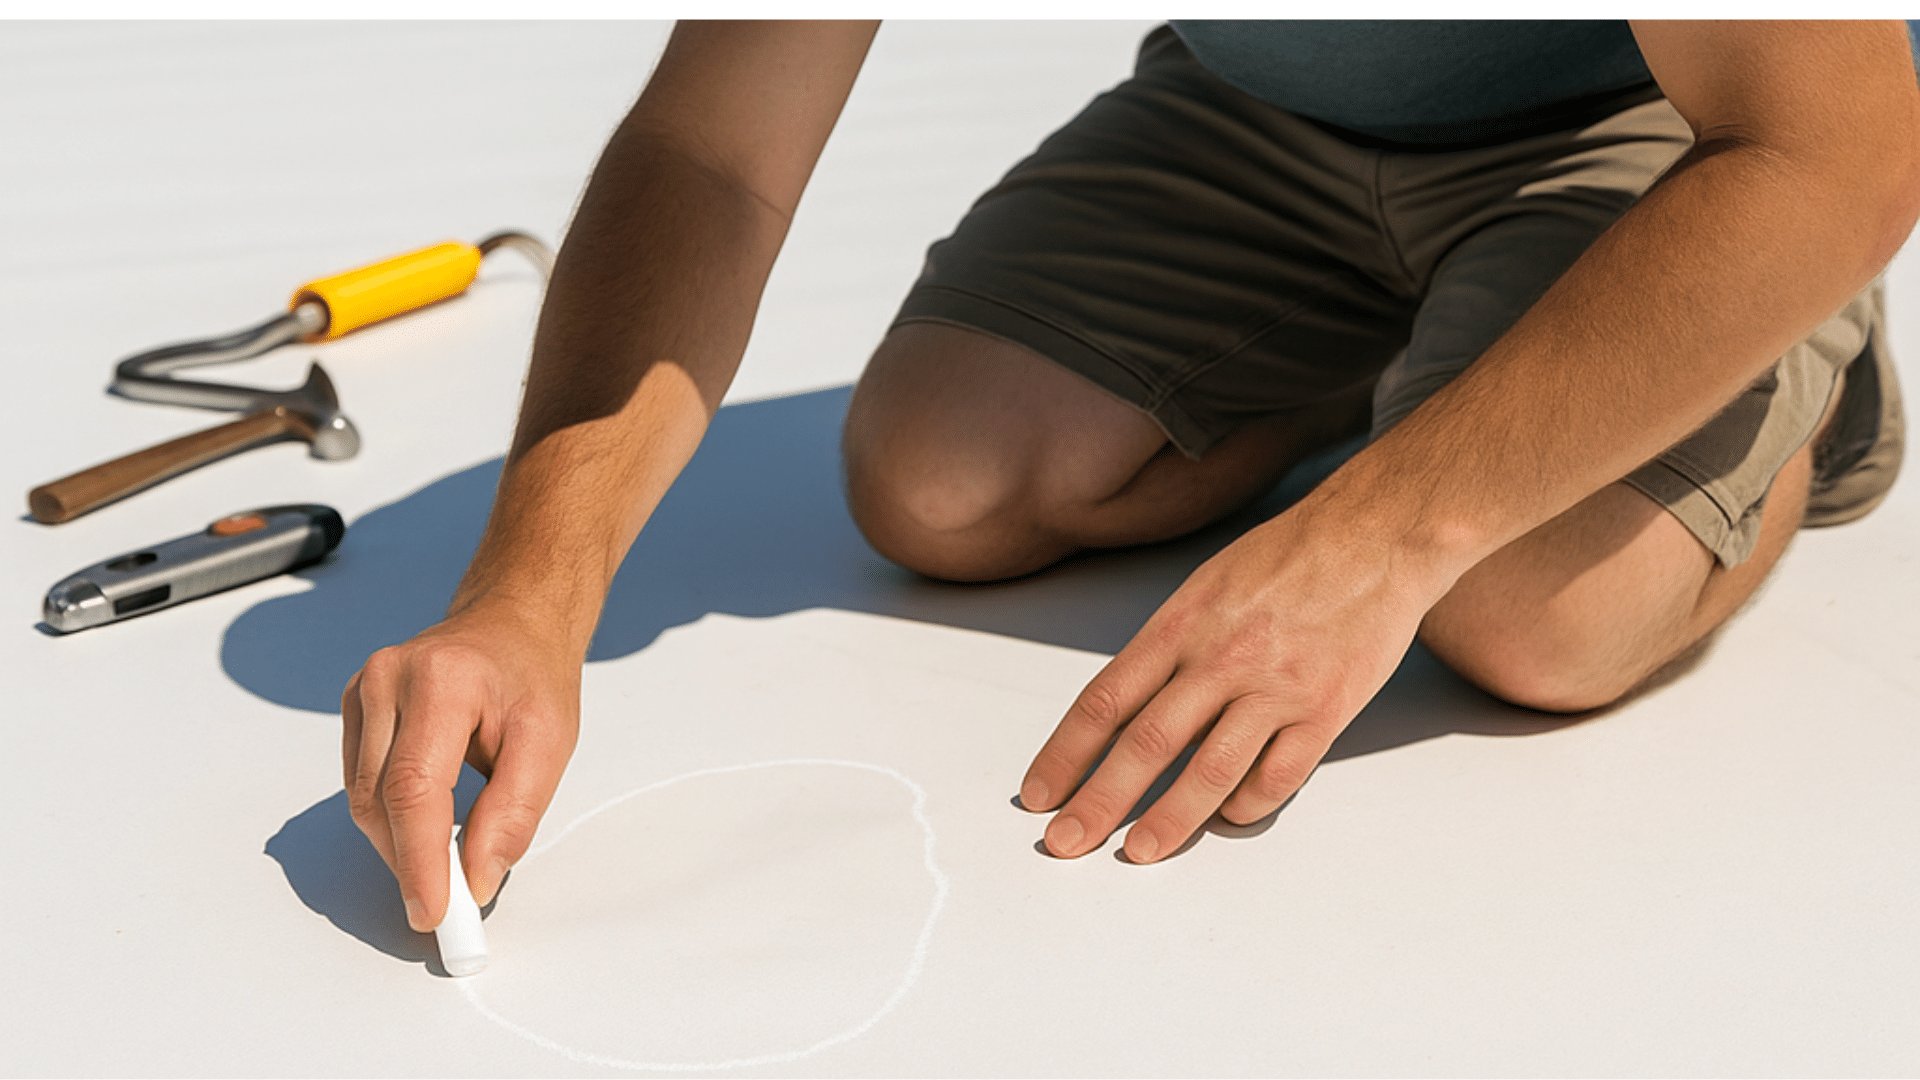
Start by carefully walking across your TPO roof. Look closely for signs like bubbles, rips, loose seams, or punctures. These are common damage points. Use chalk to mark every spot that looks worn or suspicious.
This helps you remember exactly where to make repairs later. It’s essential to inspect the entire surface, as even minor issues can lead to leaks if left unaddressed.
Step 2: Clean the Area Thoroughly
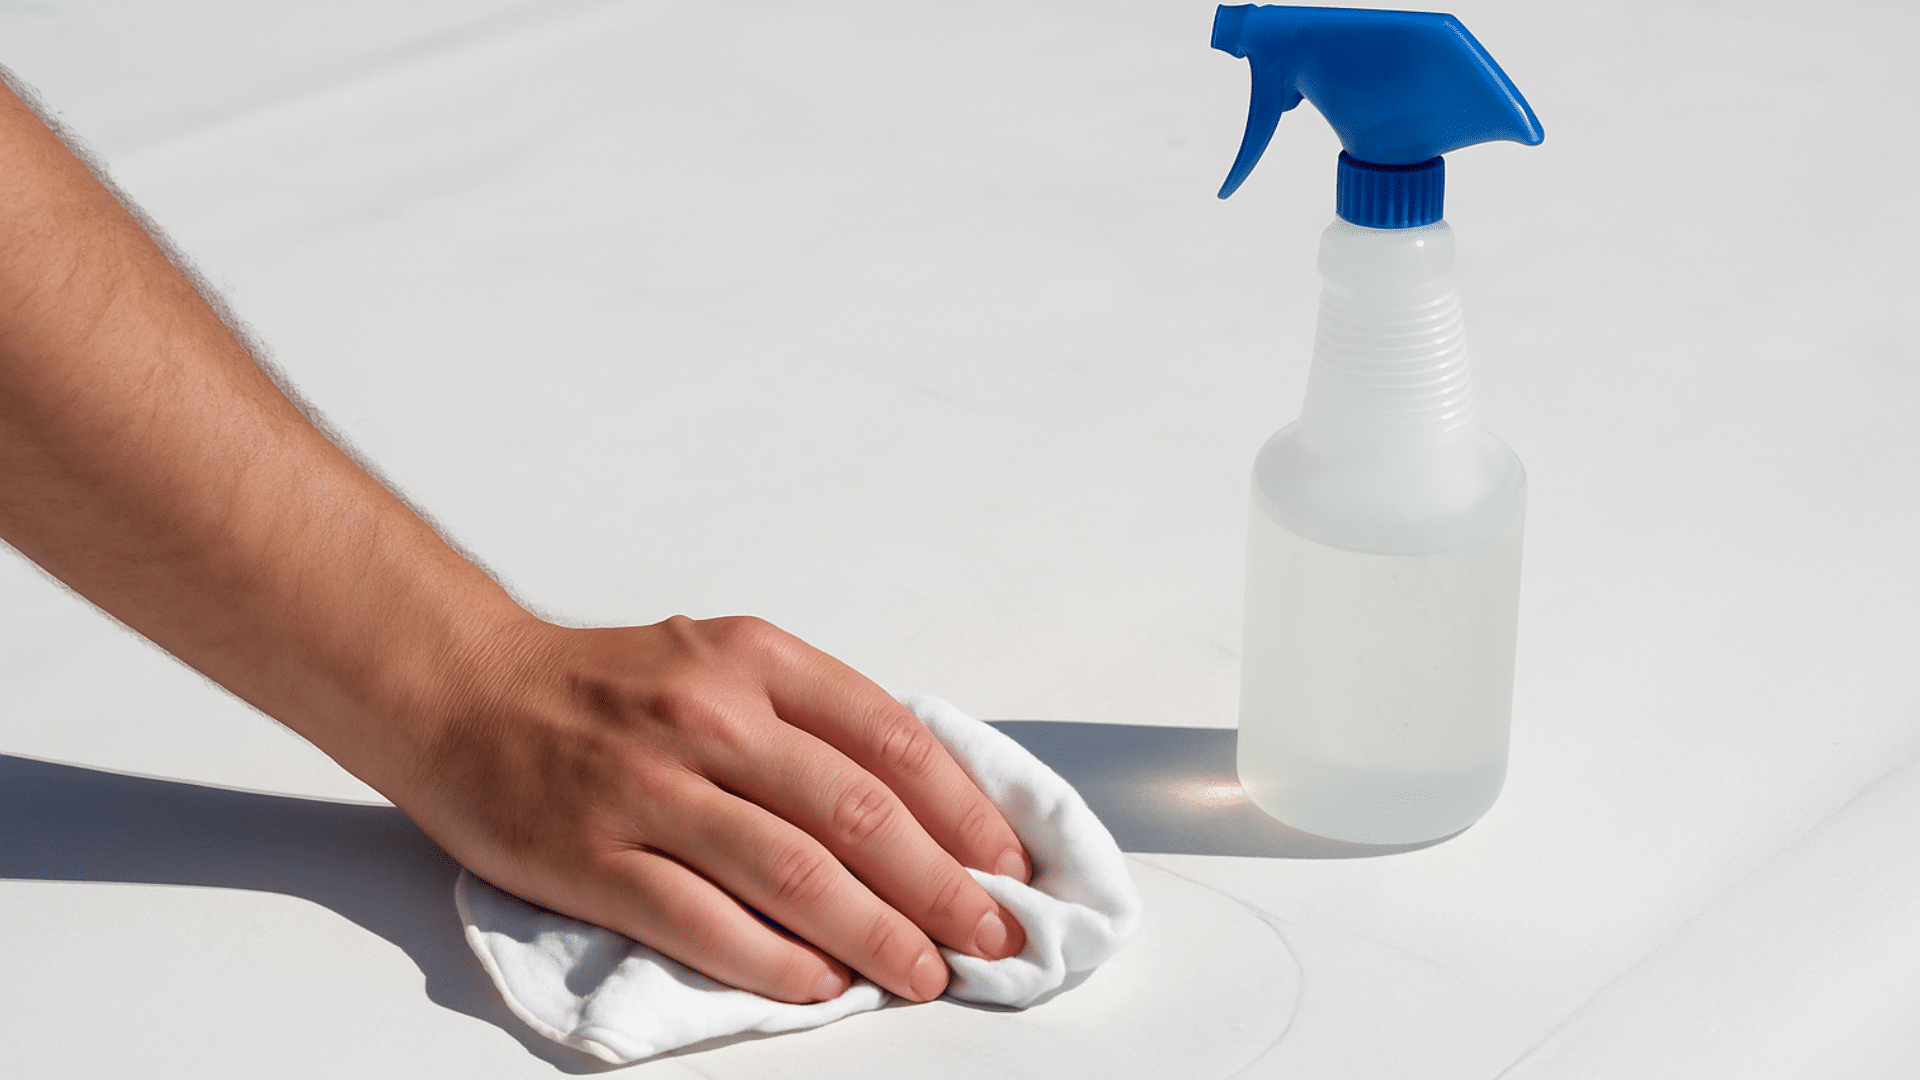
Before fixing anything, the repair area must be very clean. Grab a TPO-safe cleaner and a rag to wipe away dust, dirt, and greasy spots.
A clean surface lets the patch or glue stick better. If the area is still dirty, your repair might not last. So, take your time and make sure everything is dry and squeaky clean before moving on.
Step 3: Cut or Trim Damaged Material (If Needed)
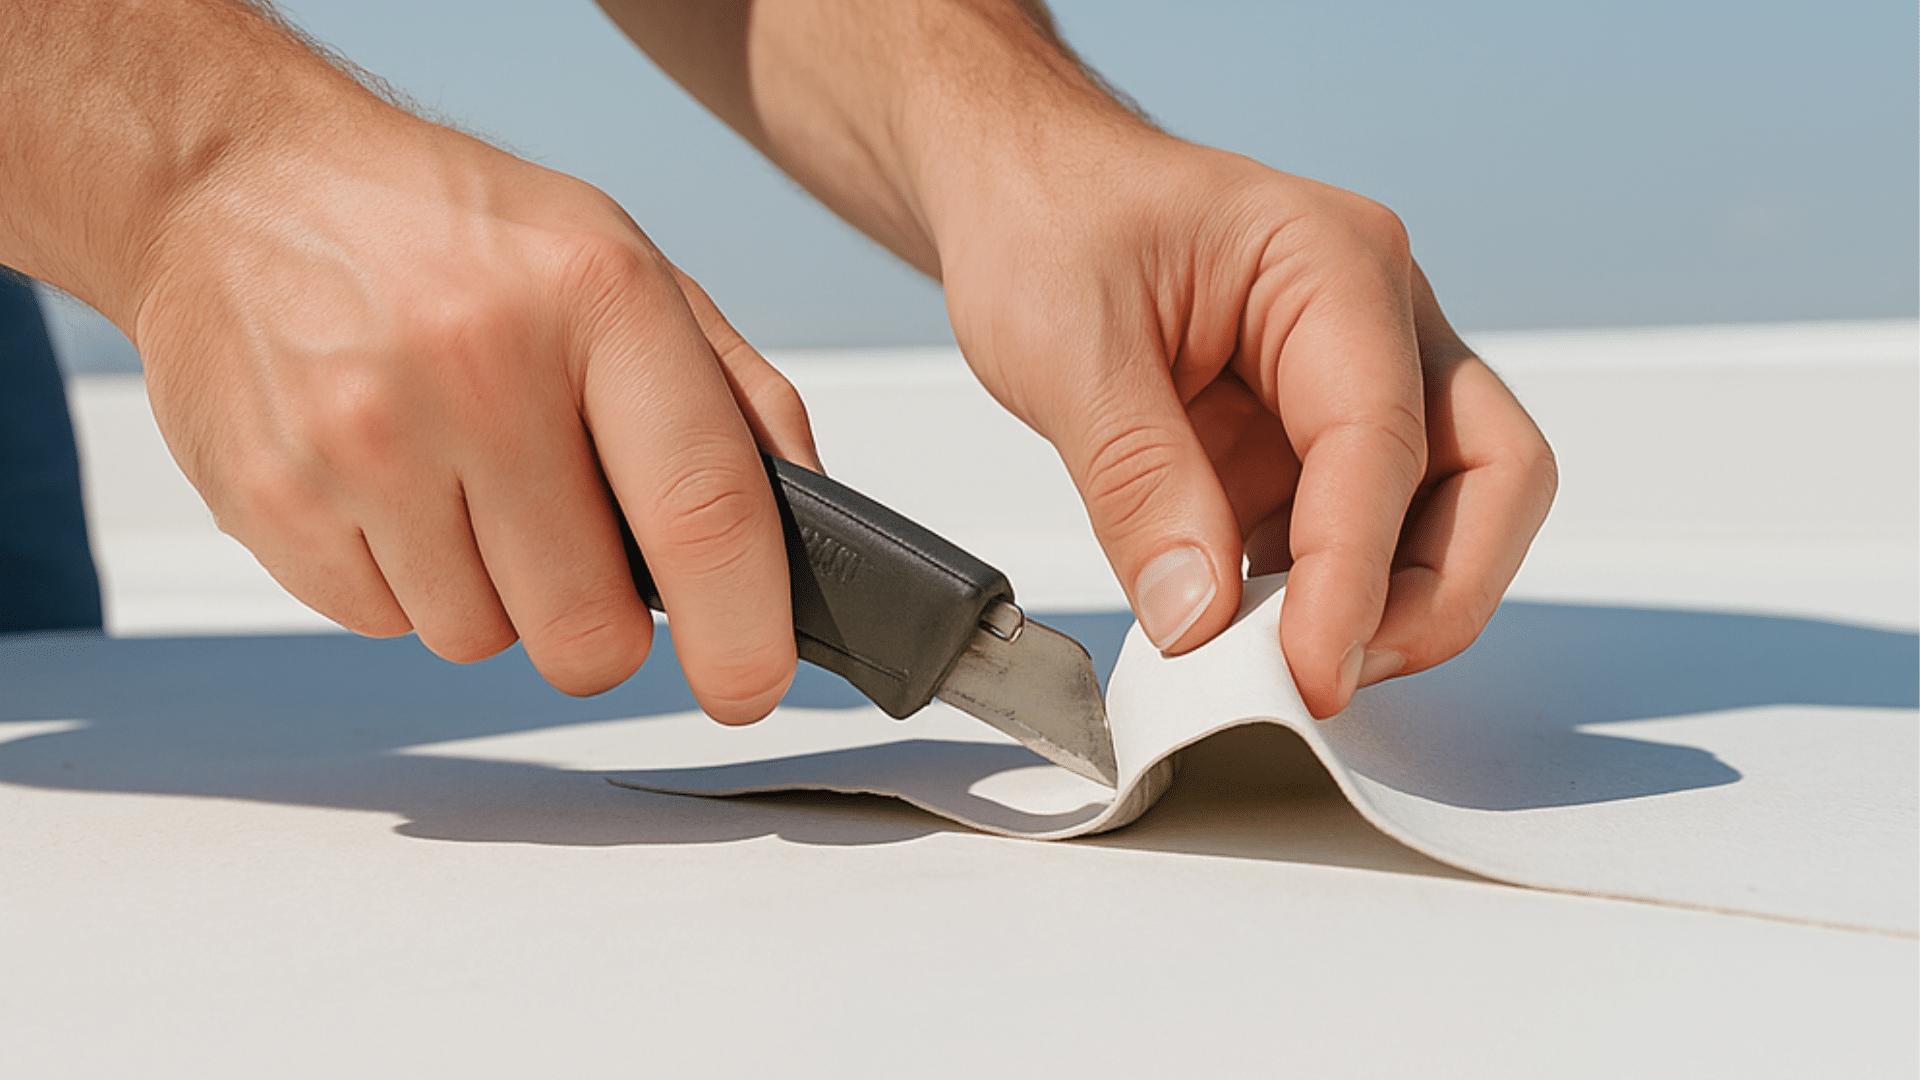
If you see any parts of the TPO roof peeling or torn, carefully cut them away using a utility knife. Be gentle and don’t cut too deep.
Removing loose edges helps stop the tear from spreading and gives the patch a flat, solid place to stick. Try to keep the area smooth so your patch can seal tightly without any gaps or bumps.
Step 4: Prepare the Patch Area
When using a patch, always round off its corners with scissors or a knife. Sharp corners can wear away over time.
Your patch should be 2 to 3 inches bigger than the damaged area on all sides. This gives your repair more holding power. Laying out your patch like this helps keep out water and makes your fix stronger and more secure.
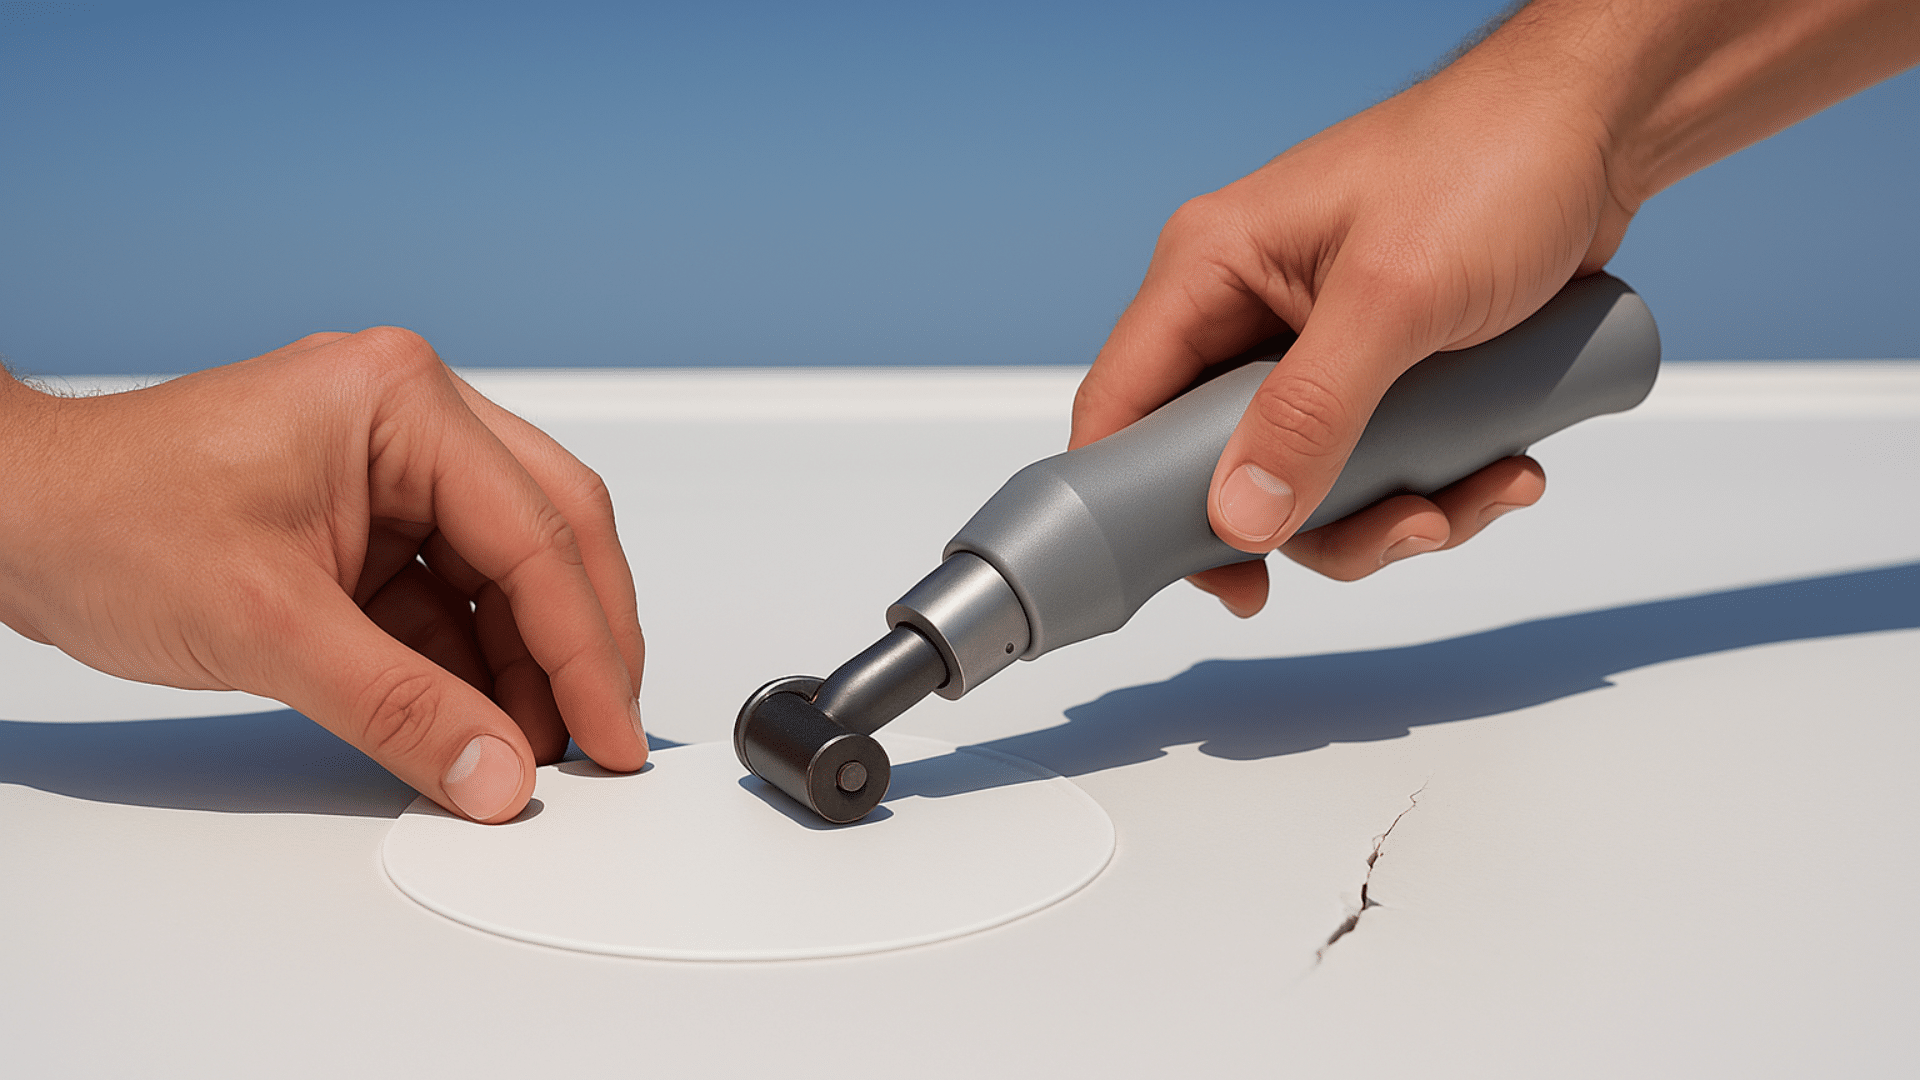
Step 5: Apply Adhesive or Heat-Weld
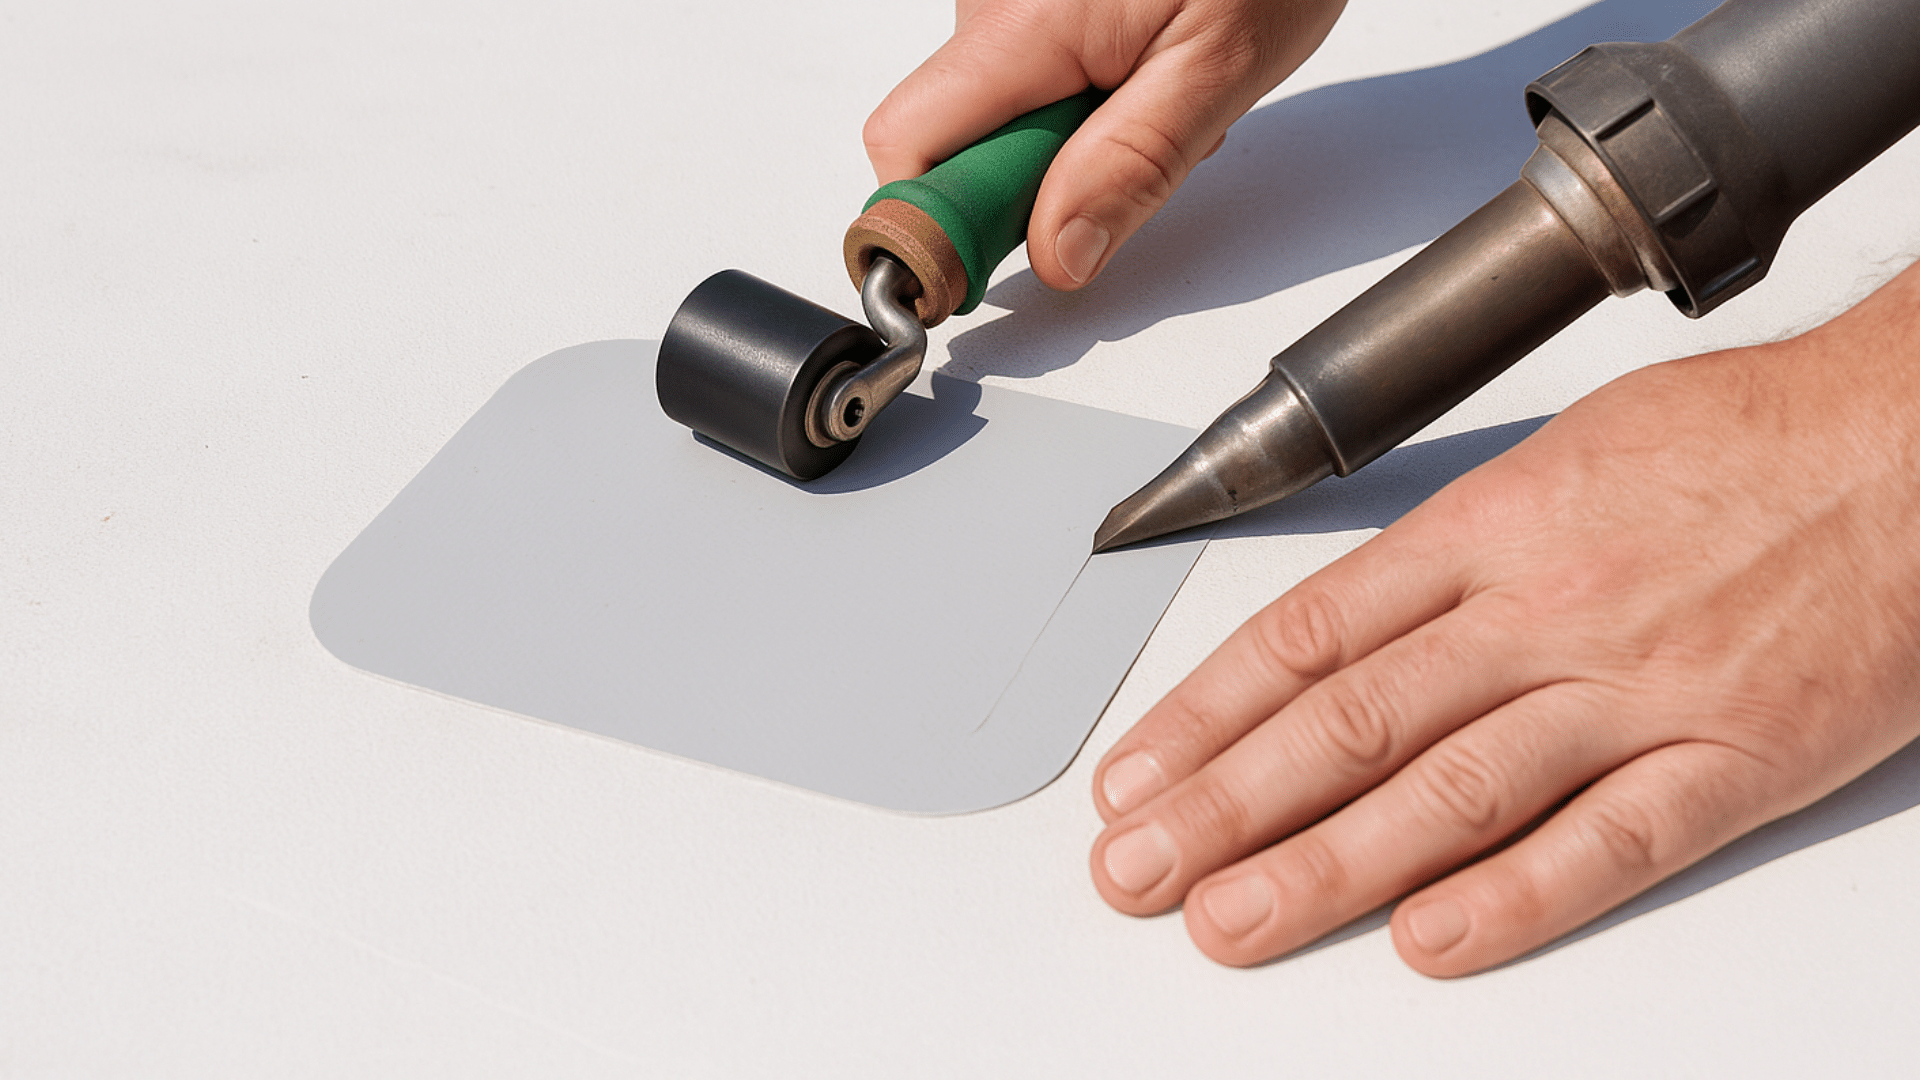
Now it’s time to attach the patch. You can either use a special adhesive or heat-weld it with a hot air gun and seam roller.
If you’re using glue, spread it evenly and press the patch down firmly. For heat-welding, roll over the patch slowly to melt the edges together. Either method creates a waterproof seal if done correctly. Take your time for the best results.
Step 6: Seal the Edges
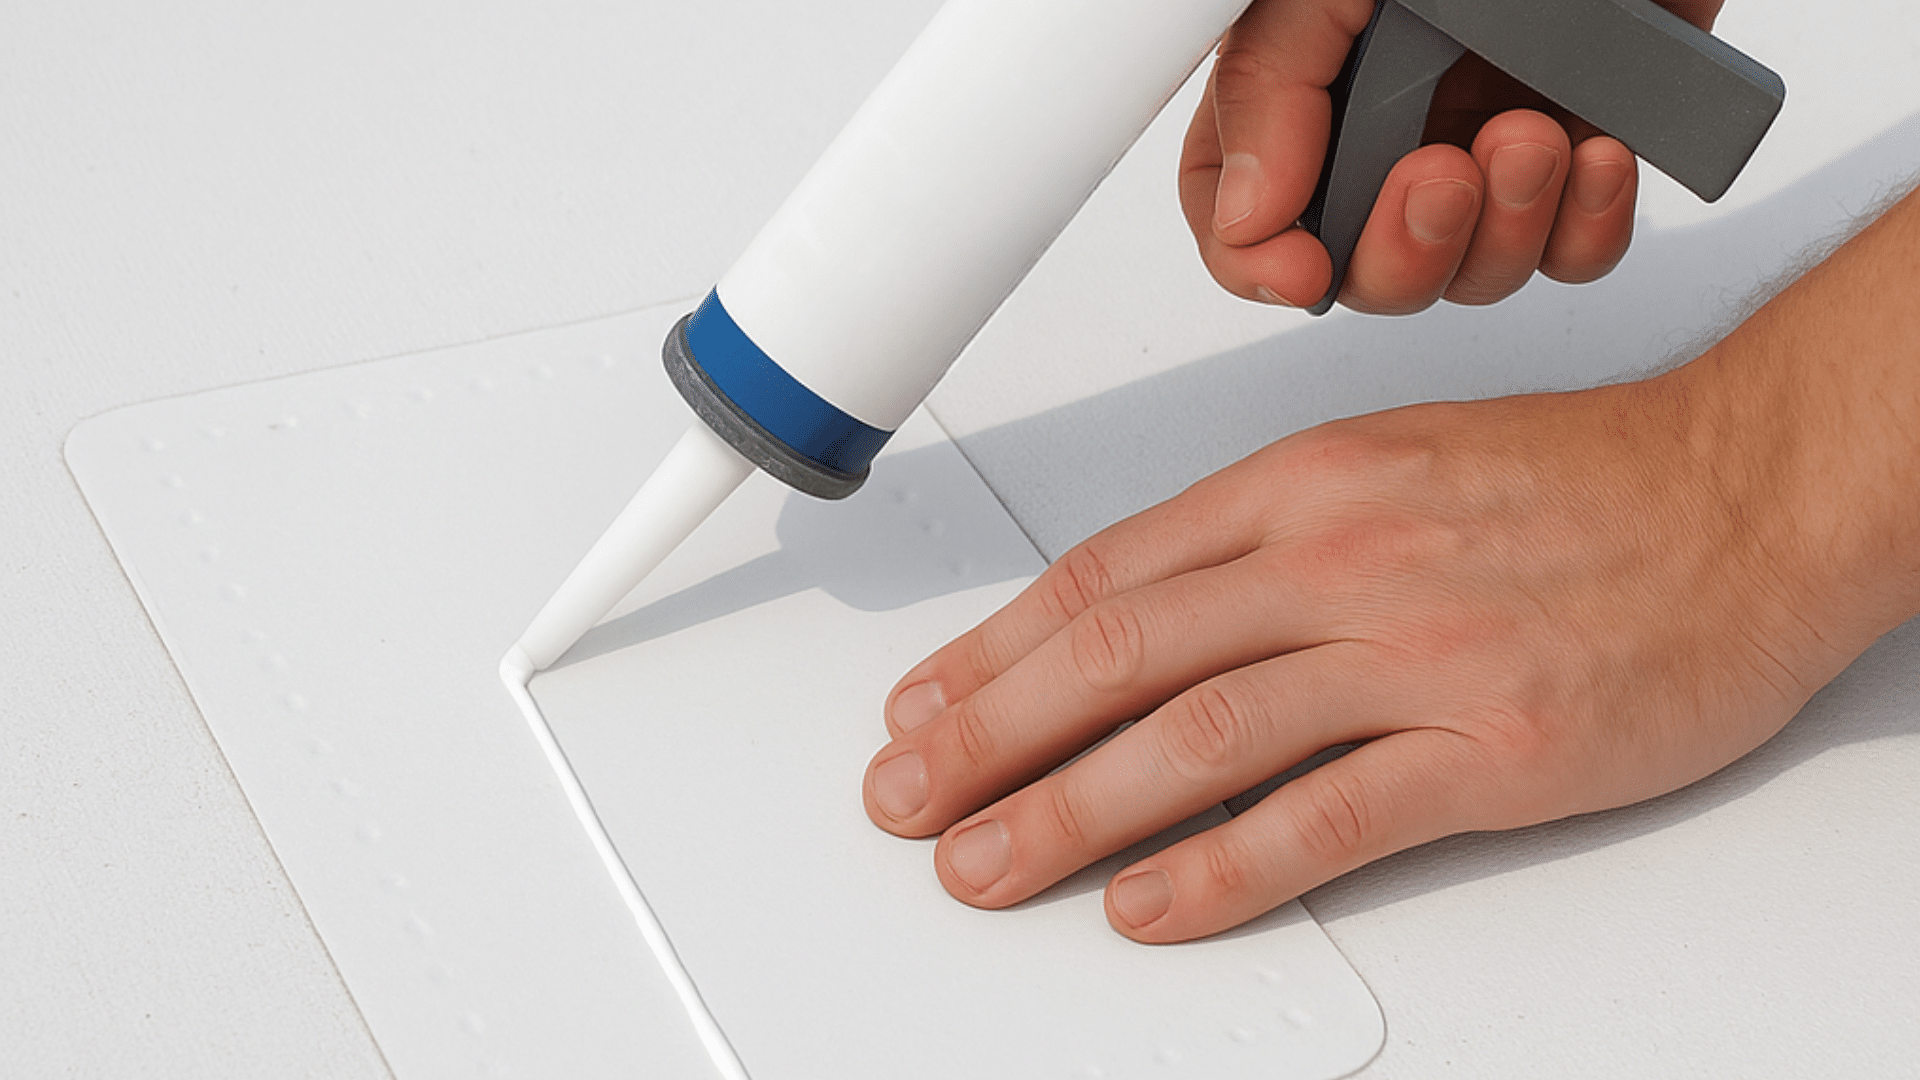
After the patch is in place, it’s important to seal the edges.
Use TPO lap sealant and apply it all around the sides of the patch. This step blocks water from sneaking underneath and adds extra strength.
Make sure there are no open gaps or corners left out. It’s like putting a lid on your repair to keep it safe from rain and weather.
Step 7: Let It Cure and Recheck
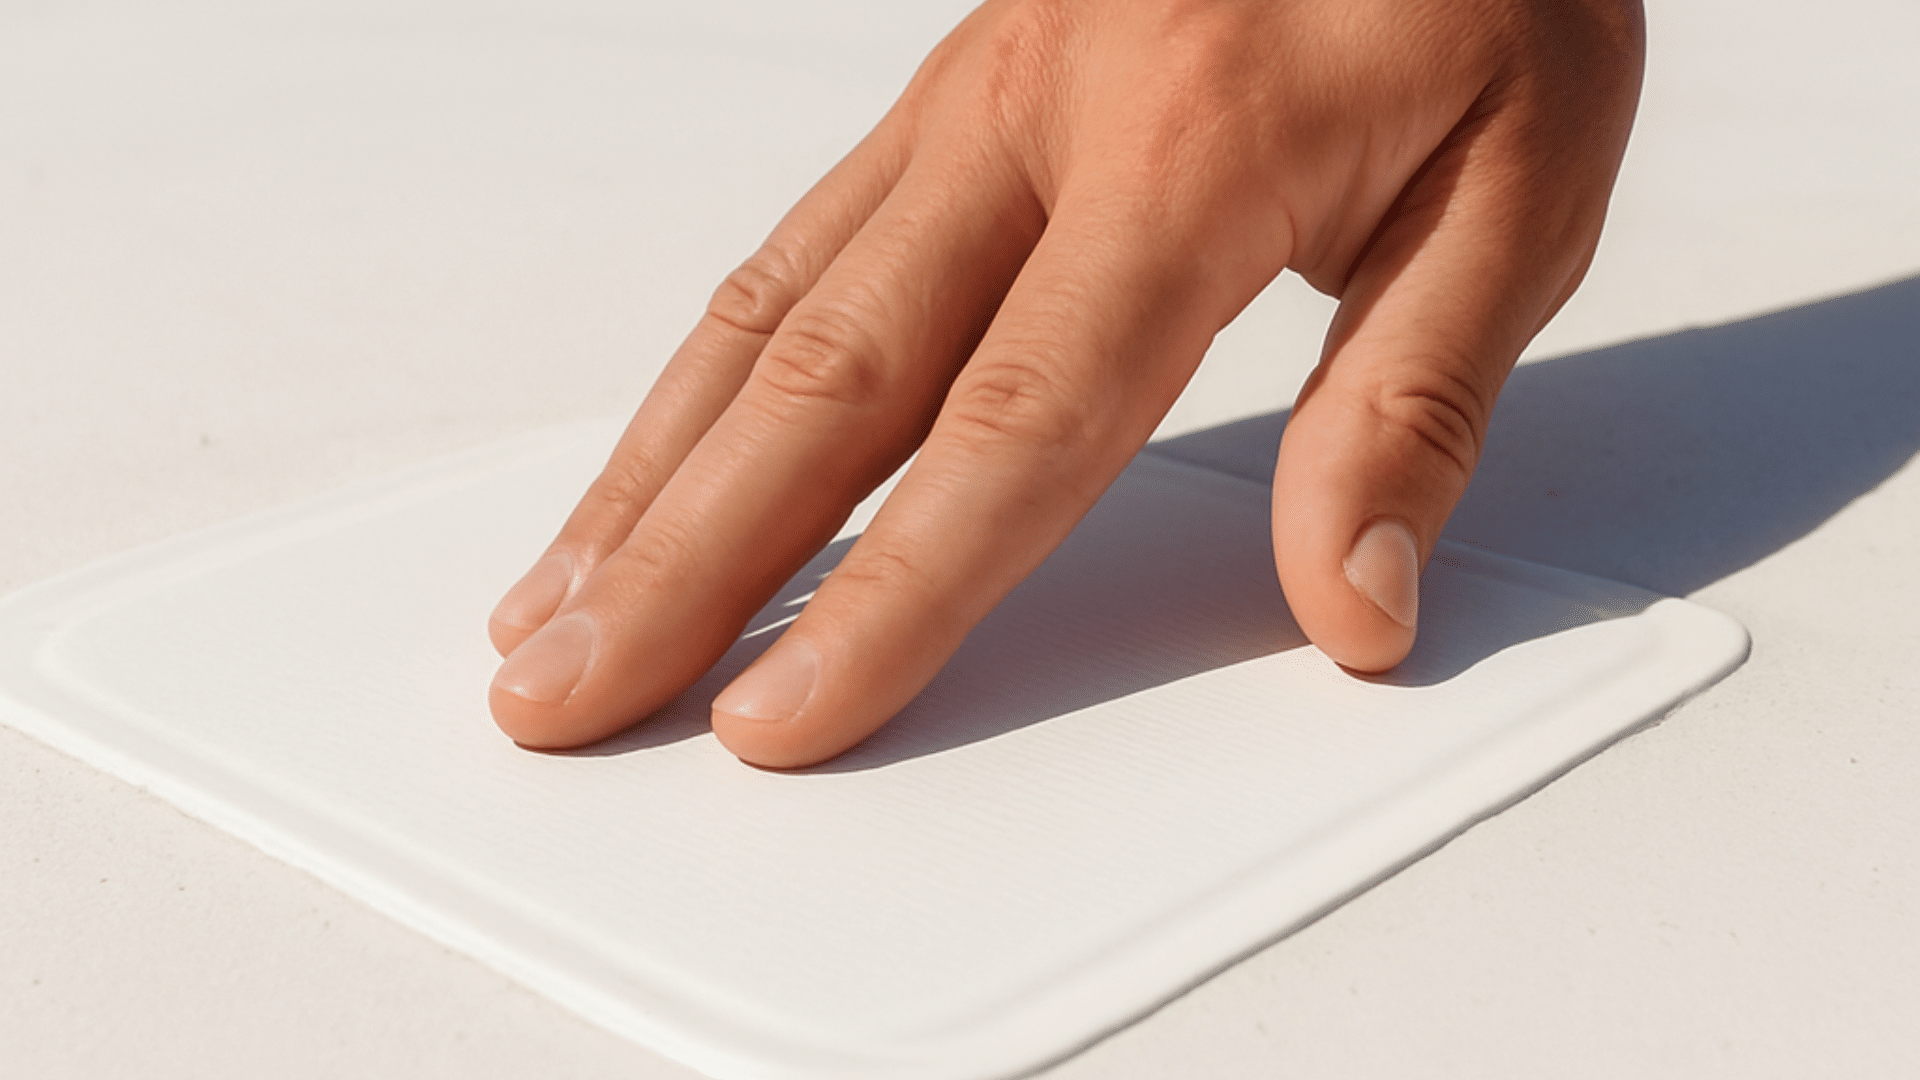
Once the repair is finished, give it time to fully dry or cure. This might take several hours or up to a full day, depending on the weather and materials used.
After 24 hours, go back and check the area. Press on it gently to make sure it’s sealed well. If everything looks good, your TPO roof is ready to face the elements again!
Common TPO Roof Repair Types
Getting TPO roof repair done right requires understanding different repair techniques for various problems.
Each type of damage needs specific steps and materials to create lasting fixes that prevent future leaks and costly damage.
1. Seam Repair
- What it is: Seam failures happen when the welded joints between TPO sheets come apart, allowing water to seep in.
- How it occurs: Often caused by poor installation, age-related wear, or weather expansion and contraction. UV exposure and standing water can weaken seams over time.
2. Puncture and Tear Repair
- What it is: Small holes or rips in the TPO membrane can lead to leaks and insulation damage underneath.
- How it occurs: Usually from foot traffic, sharp tools, fallen branches, or HVAC work done on the roof without proper precautions.
3. Membrane Patching
- What it is: Small holes or rips in the TPO membrane can lead to leaks and insulation damage underneath.
- How it occurs: Usually from foot traffic, sharp tools, fallen branches, or HVAC work done on the roof without proper precautions.
4. Flashing Repair
- What it is: Leaks or separation where the membrane meets roof penetrations like vents, pipes, or HVAC units.
- How it occurs: Flashing can fail due to movement from equipment, improper sealing, or inadequate overlap during installation.
5. Corner and Edge Repair
- What it is: This repair deals with damaged or lifted TPO membrane sections around roof corners, edges, or terminations; areas that are especially prone to wear and stress.
- How it occurs: Corner and edge problems often arise due to wind uplift, shrinkage of the membrane, or improper installation. These high-tension spots are also vulnerable to damage from foot traffic, debris, or aging sealant pulling away over time.
How to Avoid Mistakes During TPO Roof Repairs
TPO roof repairs require careful attention to detail and proper techniques. Common mistakes can lead to costly damage, water leaks and a shortened roof lifespan.
Understanding these pitfalls helps homeowners make better repair decisions.
- Clean surfaces completely before starting any repair work: Dirt and debris prevent proper bonding and cause repair failures.
- Use only TPO-compatible materials and sealants: Wrong products won’t bond properly and can damage the membrane.
- Allow proper curing time between repair steps: Rushing the process leads to weak bonds and early repair failures.
- Ensure patches extend at least 3 inches beyond damage: Small patches don’t provide adequate coverage and leak around edges.
- Avoid working in wet or extremely hot conditions: Bad weather prevents proper adhesion and makes TPO roof repair work dangerous.
The Bottom Line
Proper TPO roof repair is simple with the right materials and timely action.
Inspecting your roof every six months helps catch minor issues early, and quick fixes like seam sealing and patching can add years to its life.
Clean surfaces well, use TPO-compatible materials, and allow proper curing to prevent repair failures. With regular care, most of these roofs last 15–20 years, saving you costly emergency repairs.
Have questions or tips about TPO roof repair? Share your experience in the comments!